IMIPAW IP-DU3L-KY
IMIPAW Automatic Pet Feeder User Manual
Model: IP-DU3L-KY
1. Introduction
Thank you for choosing the IMIPAW Automatic Pet Feeder. This device is designed to provide precise and scheduled meals for your beloved cats and small dogs, ensuring they are fed consistently even when you are away. With its programmable timer, generous capacity, and user-friendly features, it simplifies pet care and promotes healthy eating habits.
This manual provides detailed instructions on how to set up, operate, and maintain your automatic pet feeder. Please read it thoroughly before use to ensure proper functionality and safety.
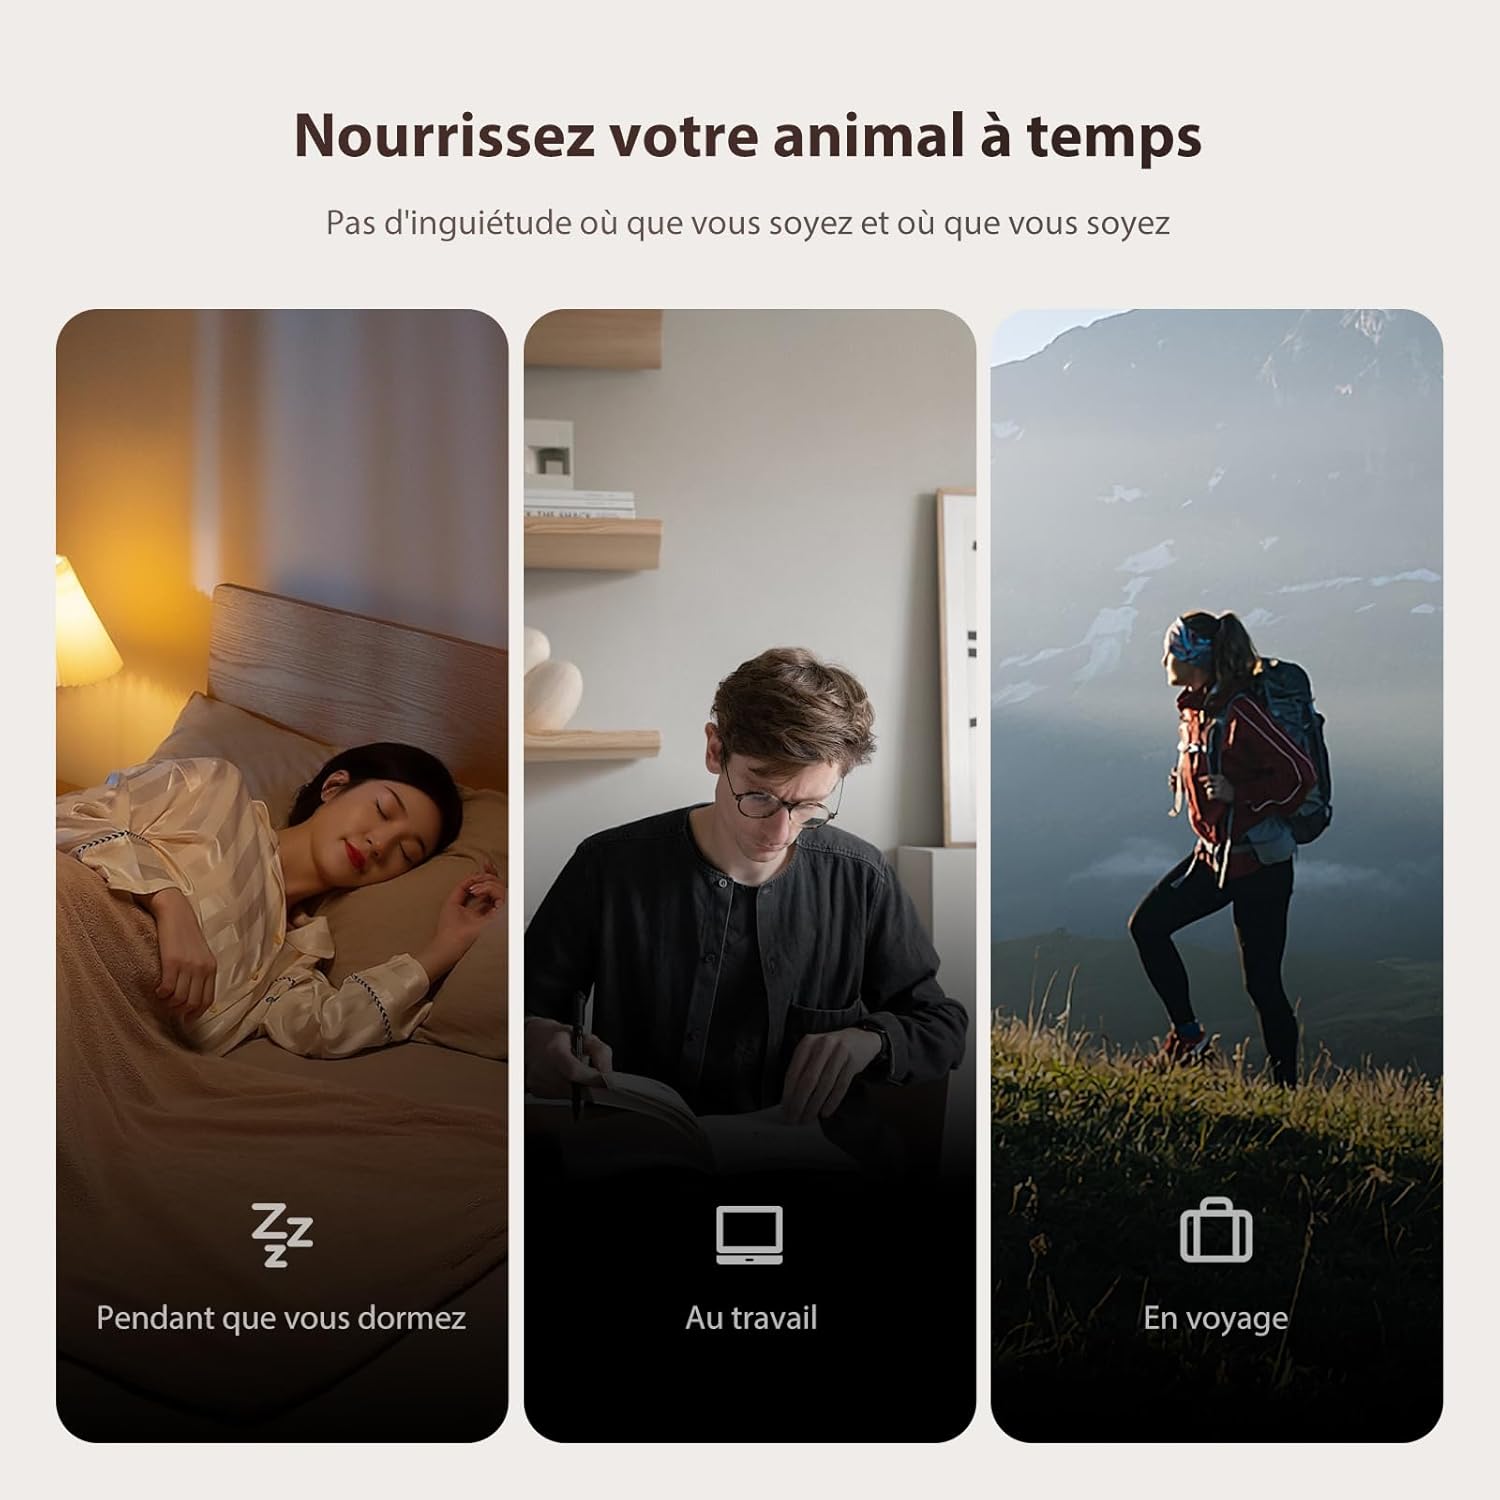
The IMIPAW Automatic Pet Feeder ensures your pet is fed on time, whether you are sleeping, working, or traveling.
2. Safety Information
- Do not immerse the main unit in water or any other liquid.
- This device is intended for indoor use only.
- Use only dry pet food with a kibble size between 2-10mm.
- Keep out of reach of children and pets when not in use or during maintenance.
- Ensure the power adapter cable is not chewed by pets.
- Always unplug the feeder before cleaning.
3. Product Overview
The IMIPAW Automatic Pet Feeder consists of several key components designed for efficient and reliable feeding.

Front view of the IMIPAW Automatic Pet Feeder.
Components:
- Food Storage Reservoir: Transparent container for dry pet food (3L capacity).
- Control Panel: Features an LCD screen and buttons for programming.
- Food Dispenser Outlet: Where food is dispensed into the bowl.
- Food Tray/Bowl: Removable for easy cleaning.
- Lid with Security Lock: Prevents pets from accessing food.
- Anti-slip Base: Ensures stability.

Key features: Security lock, stable anti-slip base, smooth food distribution, and a durable 150cm braided nylon cable to prevent chewing.

The security lock lid prevents pets from opening the feeder and overeating.

The feeder offers a comfortable feeding angle, designed to prevent neck strain for cats.
4. Setup
4.1 Unpacking and Assembly
- Carefully remove all components from the packaging.
- Ensure all parts are present: main unit, food storage reservoir, lid, and food tray.
- Attach the food tray to the main unit by sliding it into place until it clicks securely.

Step-by-step guide on how to open, fill, and prepare the feeder for use.
4.2 Power Supply
The feeder supports dual power supply for continuous operation.
- Primary Power: Connect the DC 5V power adapter to the feeder and plug it into a wall outlet.
- Backup Power: For power outages, insert 3 x D-cell alkaline batteries (not included) into the battery compartment at the bottom of the unit. This ensures uninterrupted feeding.
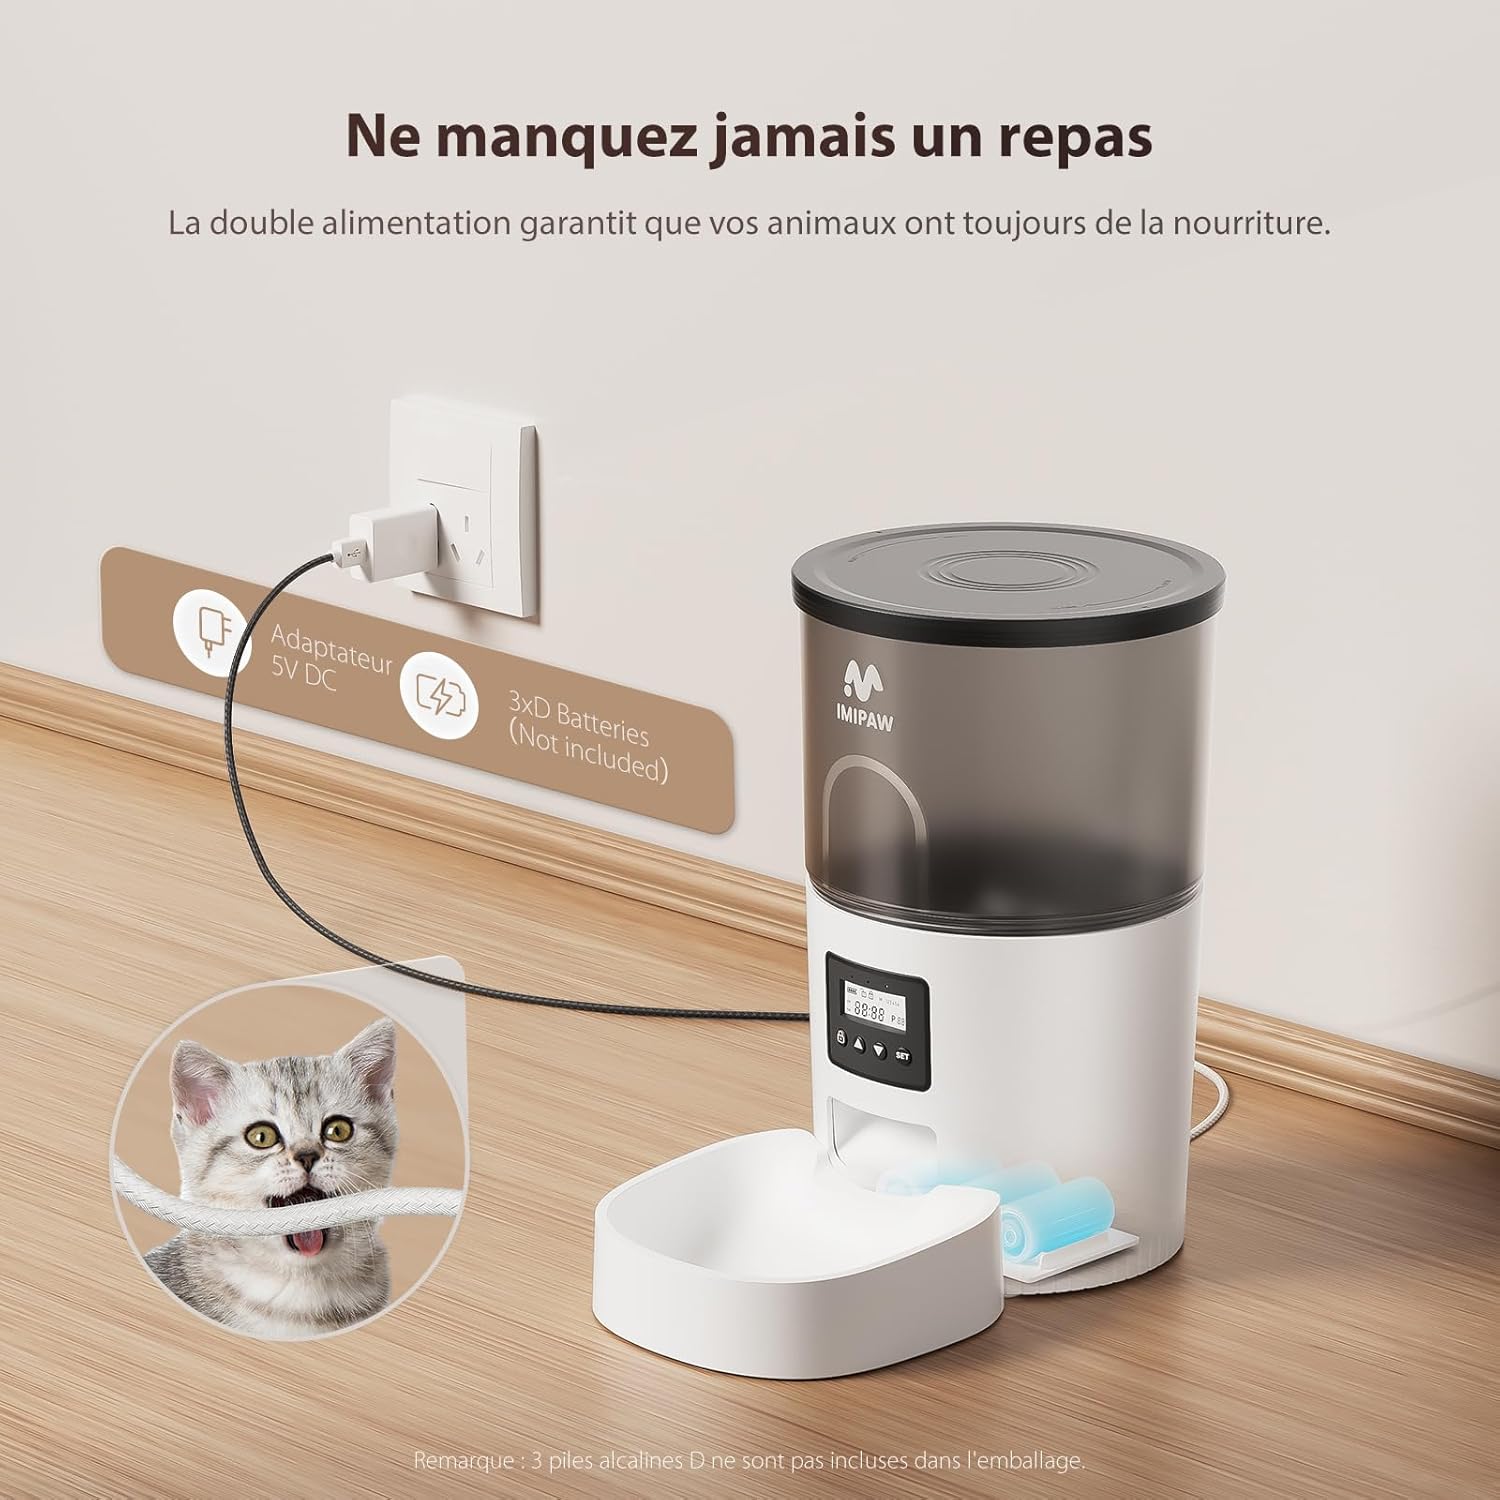
The feeder offers dual power options: a 5V DC adapter and backup D-cell batteries (not included).
4.3 Filling the Food Reservoir
- Twist the lid counter-clockwise to unlock and remove it.
- Pour dry pet food into the transparent reservoir. The 3L capacity can hold enough food for several days for most pets.
- Replace the lid and twist clockwise to lock it securely.

The transparent reservoir allows for easy monitoring of food levels.
5. Operating Instructions
5.1 Control Panel Overview
The integrated LCD screen and buttons allow for easy programming.

The LCD control panel with buttons for lock, up, down, and set. Buttons and screen automatically lock after 30 seconds of inactivity.
- Lock Button: Press and hold for 3 seconds to lock/unlock the control panel.
- SET Button: Press and hold for 3 seconds to set the current time. Briefly press to confirm settings and move to the next step.
- UP/DOWN Buttons: Use to adjust values (time, meal times, portions).
- Manual Feed: Simultaneously press UP and DOWN buttons to dispense one portion manually.
- Factory Reset: Press and hold the UP button for 6 seconds to restore factory settings.
5.2 Setting the Feeding Schedule
You can program up to 6 meals per day, with each meal consisting of 1 to 20 portions (1 portion = 5-7g).

Example of a personalized meal schedule, allowing up to 6 meals and 20 portions per meal.
- Unlock the Panel: Press and hold the Lock button for 3 seconds.
- Set Current Time: Press and hold the SET button for 3 seconds. Use UP/DOWN to adjust the hour, then press SET. Repeat for minutes.
- Program Meal Times: After setting the current time, the display will show 'Meal 1'. Press SET to enter meal time setting. Use UP/DOWN to set the hour, then press SET. Repeat for minutes.
- Set Portions: After setting the meal time, the display will show 'Portion'. Use UP/DOWN to set the number of portions (1-20) for this meal. Press SET to confirm.
- Add More Meals: The display will automatically move to 'Meal 2'. Repeat steps 3 and 4 for up to 6 meals. If you don't need all 6 meals, simply press SET to skip to the next meal or exit programming.
- Exit Programming: Once all desired meals are set, press and hold the SET button for 3 seconds to exit programming mode.
- Lock the Panel: Press and hold the Lock button for 3 seconds to prevent accidental changes.
6. Maintenance
6.1 Cleaning
Regular cleaning ensures hygiene and proper functioning of the feeder.
- Food Tray: The food tray is removable and can be washed with soap and water. Ensure it is completely dry before reattaching.
- Food Reservoir: The transparent food reservoir can be detached and cleaned. Wash with mild soap and water, then rinse thoroughly and dry completely.
- Main Unit: Wipe the main unit with a damp cloth. Do not immerse the main unit in water.
6.2 Food Compatibility
The feeder is designed for dry pet food. It accommodates kibble sizes from 2mm to 10mm, including dry kibble, mixed food, and freeze-dried food.

The feeder is compatible with various dry food types, including dry kibble, mixed food, and freeze-dried food (2-10mm size).
7. Troubleshooting
| Problem | Possible Cause | Solution |
|---|---|---|
| Feeder not dispensing food. | No power; Food blockage; Empty reservoir; Incorrect programming. | Check power connection/batteries. Clear any food blockages. Refill reservoir. Verify feeding schedule settings. |
| Food gets stuck. | Kibble size too large; Moisture in food; Accumulation of debris. | Use appropriate kibble size (2-10mm). Ensure food is dry. Clean the dispenser outlet regularly. |
| Programming issues. | Control panel locked; Incorrect button sequence. | Unlock the control panel by holding the Lock button for 3 seconds. Follow programming steps carefully. Perform a factory reset if necessary (hold UP button for 6 seconds). |
| Pet accessing food from lid. | Lid not securely locked. | Ensure the lid is twisted clockwise until it is fully locked. |
8. Specifications
| Feature | Detail |
|---|---|
| Model Number | IP-DU3L-KY |
| Capacity | 3 Liters |
| Dimensions (L x W x H) | 18.2 x 18.2 x 28.3 cm |
| Weight | 1.2 Kilograms |
| Power Supply | DC 5V Adapter (included) + 3 x D-cell Batteries (not included) |
| Material | Acrylonitrile Butadiene Styrene |
| Target Species | Cats, Small Dogs |
| Kibble Size Compatibility | 2-10mm dry food |
| Max Meals per Day | 6 |
| Max Portions per Meal | 20 (approx. 5-7g per portion) |
| Special Features | Anti-slip, Automatic, Portion Control, Programmable, Regular Feeding |
9. Warranty and Support
IMIPAW is committed to ensuring your satisfaction. If you encounter any issues during the use of this pet feeder, please contact our customer service for specific instructions or assistance. We strive to provide the best quality products and user comfort.
For support, please refer to the contact information provided with your purchase or visit the official IMIPAW website. Please note that the product is Transparency Verified, meaning each item has a unique code verified before shipment.
Ask a question about this manual
Ask about setup, troubleshooting, compatibility, parts, safety, or missing instructions. Manuals+ will review the question and use this page’s manual context to help answer it.