
Introduction
This manual provides essential instructions for the setup, operation, and maintenance of your Astarama POWKIDDY RGB10 MAX3 Handheld Game Console. Please read this manual thoroughly before using the device to ensure proper functionality and to maximize your gaming experience.
Product Overview
The POWKIDDY RGB10 MAX3 is an open-source handheld game console designed for retro gaming. It features a 5.0-inch IPS screen, a high-performance ARM quad-core CPU, and supports a wide range of emulators.
Key Features
- 5.0-inch IPS screen with 1280*720 resolution, fully OCA laminated.
- ARM quad-core 1.8GHz high-performance CPU.
- LPDDR4 1GB RAM.
- Built-in 2.4GHz WiFi and Bluetooth connectivity.
- Dual TF card slots for independent system and game storage (TF1-OS, TF2-GAME).
- Compatible with various emulators including MAME, N64, PS, CP3, NEOGEO, GBA, NES, SFC, MD, NDS.
- 4000 mAh lithium-ion battery.
- Supports open-source Linux systems.
Component Identification
Familiarize yourself with the console's buttons and ports as illustrated below:

Image: Key Introduction. This diagram labels the various physical components of the console, including L1/L2/R1/R2 shoulder buttons, volume controls, HD output, reset button, source button, direction keys, select button, start button, operation keys (A, B, X, Y), dual analog rockers, charging port (Type-C), OTG-USB port, and two TF card slots (Card 1 and Card 2).

Image: 5.0 Inch IPS Screen. This image emphasizes the console's 5.0-inch IPS screen, which offers a clear display for gaming, and mentions its open-source game console capabilities and high-performance quad-core CPU.
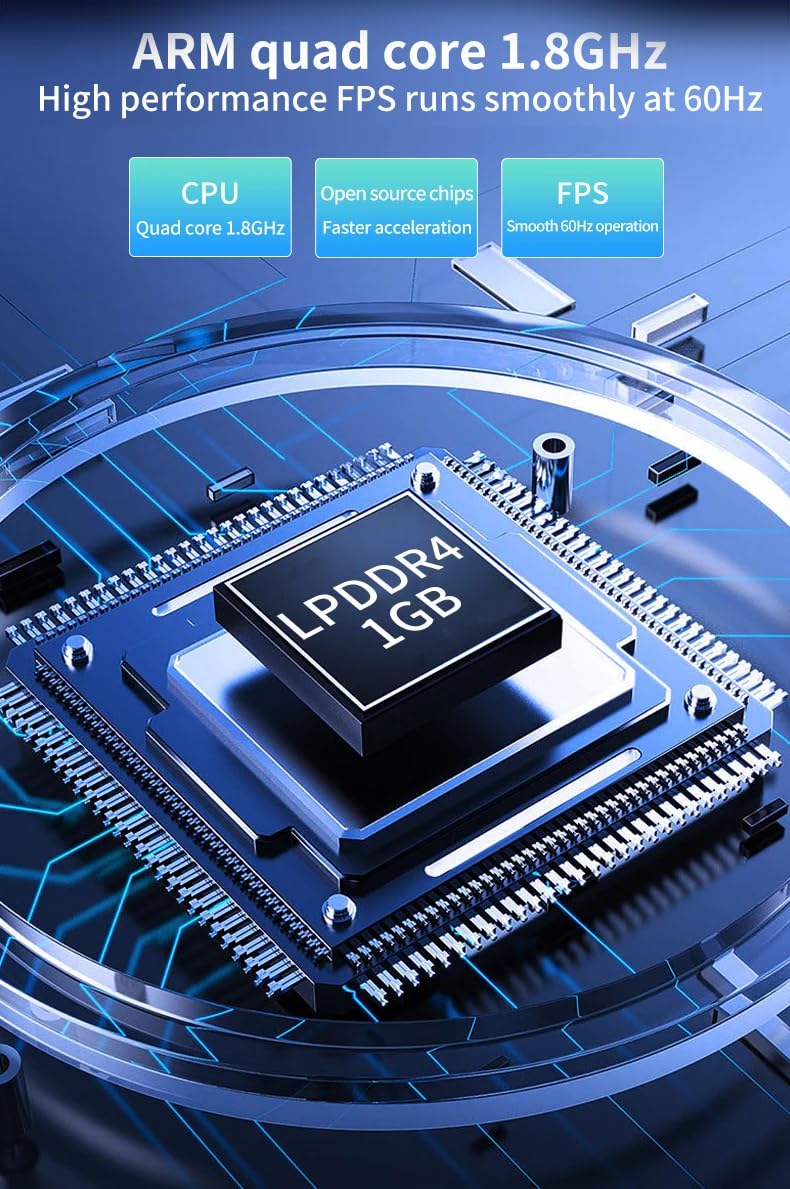
Image: ARM Quad-Core 1.8GHz. This image details the internal ARM quad-core 1.8GHz CPU and LPDDR4 1GB RAM, highlighting the console's processing power for smooth 60Hz FPS operation and faster acceleration.
Setup
1. Initial Charging
Before first use, fully charge the console using the provided TYPE-C charging cable and a 5V-2A power adapter. A full charge typically takes approximately 2 hours.
2. Inserting TF Cards
The console uses two TF (microSD) card slots:
- TF1-OS: This slot is for the operating system card (16GB-256GB). Ensure the system card is properly inserted into this slot.
- TF2-GAME: This slot is for your game storage card (16GB-256GB). Insert your game card here.
Ensure both cards are inserted correctly before powering on the device.
3. Powering On/Off
- To Power On: Press and hold the Power button until the screen illuminates.
- To Power Off: Navigate to the system menu and select the "Shutdown" option, or press and hold the Power button until the device powers down. Avoid simply holding the power button for extended periods during operation to prevent data corruption.
Operating Instructions
1. Basic Navigation
Use the directional keys (D-pad) or the analog rockers to navigate through menus and game selections. The A, B, X, Y buttons are typically used for confirmation, cancellation, and in-game actions. The Start and Select buttons perform various functions depending on the system and game.
2. Loading Games
Once powered on, the system will boot into its operating system. Navigate to the game section, select your desired emulator, and then choose a game from your TF2-GAME card. The console is compatible with various emulators such as MAME, N64, PS, CP3, NEOGEO, GBA, NES, SFC, MD, and NDS.
3. WiFi and Bluetooth Connectivity
The console features built-in 2.4GHz WiFi and Bluetooth. Access the system settings to enable and configure these features. WiFi allows for online multiplayer battles and system updates, while Bluetooth enables connection to compatible accessories.

Image: Built-in WiFi 2.4. This image highlights the console's built-in 2.4GHz WiFi capability, which supports multiplayer battles and online fighting, offering an upgraded gameplay experience.
4. Connecting to a TV (HD Output)
The RGB10 MAX3 supports HD TV connection for synchronous playback on a larger screen. Connect an HD cable (purchased separately) from the console's HD port to your television's HDMI input. Switch your TV's input source to the corresponding HDMI port.
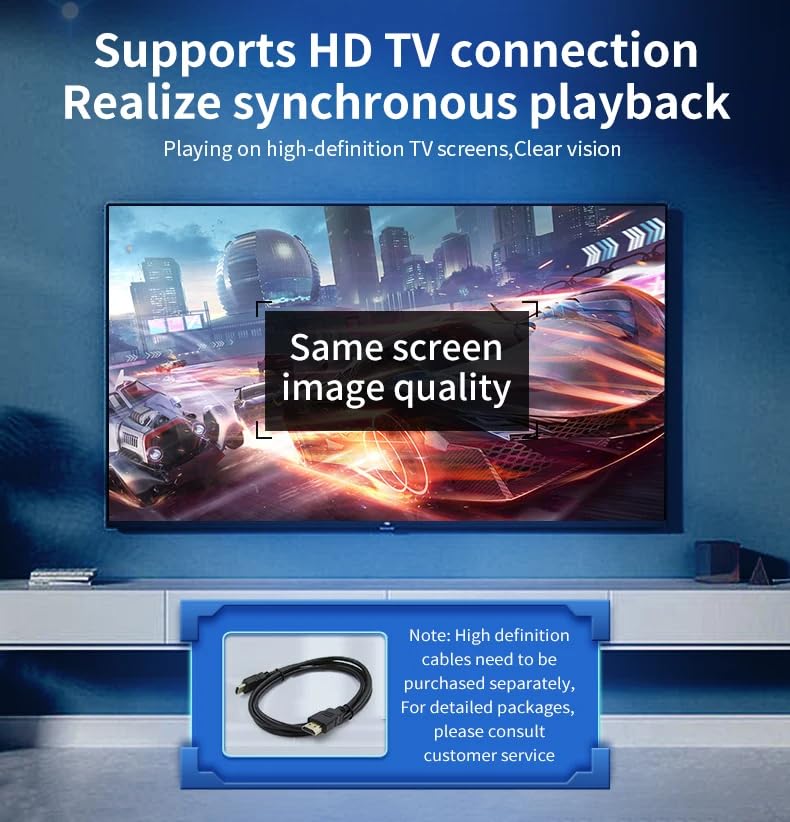
Image: Supports HD TV Connection. This image demonstrates the console's ability to connect to a high-definition television, allowing for synchronous playback and a clear vision gaming experience on a larger display. Note that the HD cable is sold separately.
5. System Updates
As an open-source system, the console's firmware can be upgraded. Refer to the official community or support channels for instructions on how to perform system updates to ensure optimal performance and access to new features.
Maintenance
- Cleaning: Use a soft, dry cloth to clean the console's exterior. Avoid using liquid cleaners or abrasive materials.
- Screen Care: Use a microfiber cloth specifically designed for electronics to clean the IPS screen. Do not press hard on the screen.
- Battery Care: To prolong battery life, avoid fully discharging the battery frequently. If storing the device for an extended period, charge it to about 50% and store it in a cool, dry place.
- Storage: Store the console in a clean, dry environment away from direct sunlight, extreme temperatures, and excessive dust.
Troubleshooting
- Console does not power on: Ensure the battery is charged. Connect the charger and try again. Verify that the TF1-OS card is correctly inserted.
- Screen issues (e.g., distorted display): Try restarting the console. If the issue persists, ensure the system software is up to date.
- Games not loading: Check if the TF2-GAME card is properly inserted and that the game files are in a compatible format for the selected emulator.
- Controls unresponsive: Restart the console. If specific buttons are consistently unresponsive, contact customer support.
- WiFi/Bluetooth connection issues: Ensure the features are enabled in settings. Try restarting the console and your network device (for WiFi).
For persistent issues not covered here, please refer to the official product support resources or contact customer service.
Specifications
| Feature | Specification |
|---|---|
| System | Open Source Linux (supports various distributions) |
| Screen | 5.0-inch IPS, OCA laminated, 1280*720 resolution |
| CPU | ARM Quad-core 1.8GHz |
| RAM | LPDDR4 1GB |
| External Storage | TF1-OS (16GB-256GB), TF2-GAME (16GB-256GB) |
| Wireless Connectivity | Built-in WiFi 2.4GHz + Bluetooth |
| Sound | Built-in cavity speaker 1W*2 |
| Battery | 4000 mAh Lithium-ion |
| Charging Input | 5V-2A (TYPE-C) |
| Max Power Consumption | 5W |
| Battery Life | Approx. 8 hours (2 hours charging time) |
| Interfaces | TYPE-C (charging), OTG-USB, 3.5MM headset, HD output |
| Dimensions | 189.5*76.5*18MM (body), handle up to 33MM (approx. 7.5 x 3 x 0.7 inches) |
| Compatible Emulators | MAME, N64, PS, CP3, NEOGEO, GBA, NES, SFC, MD, NDS, and mainstream 64-bit 3D simulators |
Warranty and Support
For warranty information, technical support, or service inquiries, please contact the retailer or manufacturer directly. Keep your purchase receipt as proof of purchase. Specific warranty terms may vary by region and retailer.