Ledvion LVS10021
Ledvion Modern Solar LED Projector (Model LVS10021) Instruction Manual
30W, 4000K, 4800 Lumens, IP65, with Motion Detector
1. Introduction
Thank you for choosing the Ledvion Modern Solar LED Projector. This manual provides essential information for the safe and efficient use of your new solar-powered lighting system. Please read these instructions carefully before installation and operation, and retain them for future reference.
This projector is designed for outdoor applications, featuring a motion detector, IP65 weather resistance, and energy-efficient LED technology powered by solar energy.
2. Package Contents
- 1x Ledvion Solar LED Projector (30W)
- 1x Solar Panel
- Mounting Screws and Wall Plugs
- 1x Remote Control
- 1x Instruction Manual (this document)
3. Safety Instructions
- Ensure all components are intact before installation.
- Do not attempt to modify or disassemble the product. This may void the warranty and pose safety risks.
- Keep the solar panel clean to ensure optimal charging efficiency.
- Install the product in a location that receives direct sunlight for most of the day.
- Avoid installing near heat sources or flammable materials.
- This product is IP65 rated for outdoor use; however, avoid submerging it in water.
4. Setup and Installation
The Ledvion Solar LED Projector is designed for easy installation. Follow these steps:
- Choose a Location: Select an outdoor location for the solar panel that receives maximum direct sunlight throughout the day. The projector itself can be mounted in the desired illumination area.
- Mount the Solar Panel:
Using the provided screws and wall plugs, securely mount the solar panel. Ensure it is angled to capture sunlight effectively.

Image: The solar panel and LED projector are shown mounted on an exterior wall, illustrating a typical installation scenario. The solar panel is positioned above the projector to maximize sun exposure.
- Mount the LED Projector:
Mount the LED projector in the desired area using the remaining screws and wall plugs. Ensure it is positioned to provide optimal lighting coverage.
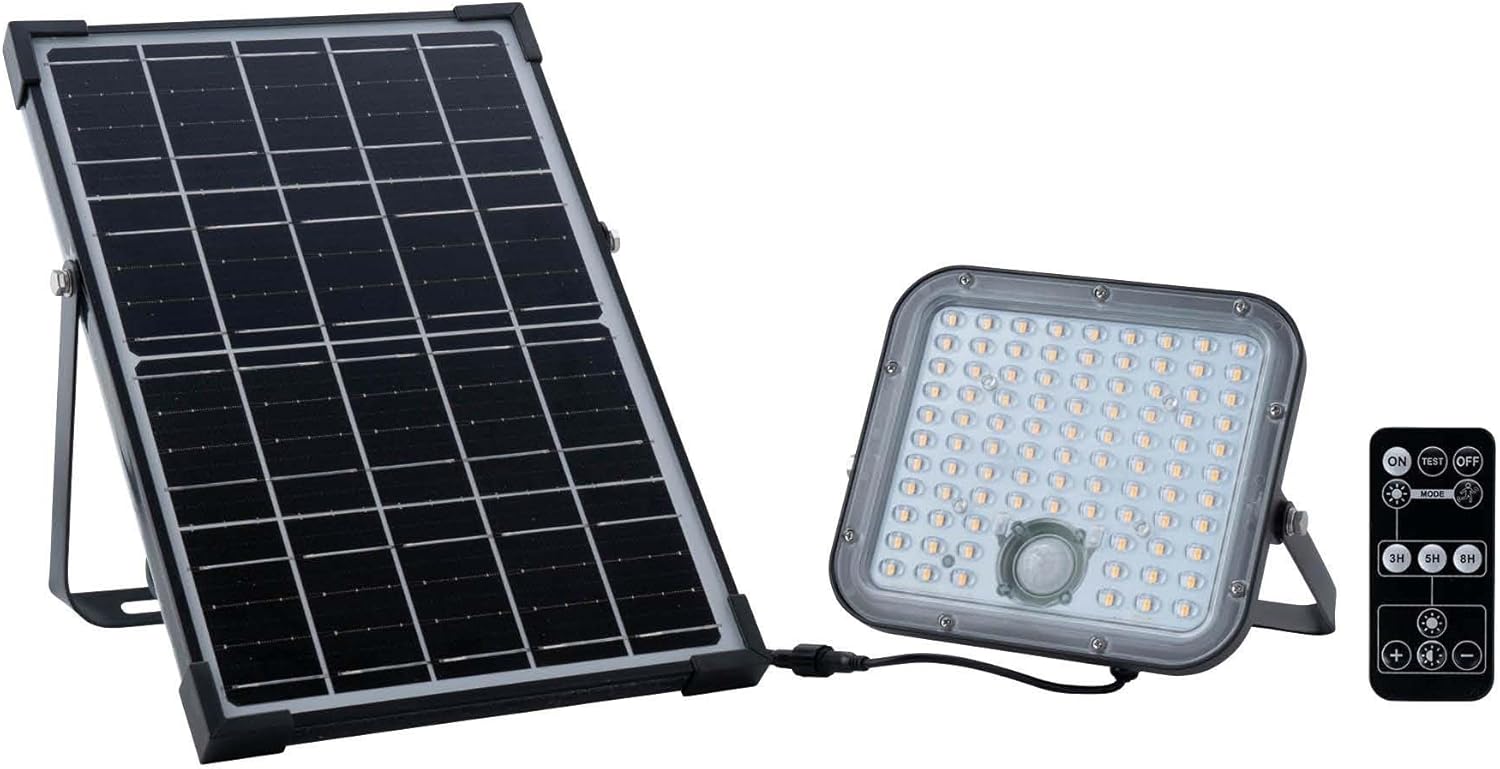
Image: All components of the Ledvion Solar LED Projector are displayed, including the solar panel, the LED light unit with its array of LEDs and motion sensor, and a remote control for operation.
- Connect the Components: Connect the cable from the solar panel to the input port on the LED projector. Ensure the connection is secure.
- Initial Charge: Allow the solar panel to charge the internal battery for at least 6-8 hours in direct sunlight before first use.
5. Operating Instructions
The projector operates automatically based on light conditions and motion detection. It also includes a remote control for manual adjustments.
Automatic Operation:
- The integrated twilight switch will automatically turn the light on at dusk.
- The motion sensor will activate the full brightness (4800 Lumens) when movement is detected within its range.
- The light will dim or turn off after a set period of no motion, conserving battery life.
Remote Control Functions:
The remote control allows for manual override and setting adjustments:
- ON/OFF: Manually turn the projector on or off.
- TEST: Activates the light for a short test period.
- MODE: Cycles through different operating modes (e.g., always on at low brightness, motion-activated only, etc.). Refer to the remote's specific markings for details.
- 3H/5H/8H: Sets the duration for which the light remains on after activation or in continuous mode.
- Brightness +/-: Adjusts the light intensity.
Note: The effectiveness of solar charging depends on the amount of direct sunlight received. During darker winter periods, battery charging may be reduced.
6. Maintenance
- Cleaning: Regularly clean the solar panel surface with a soft, damp cloth to remove dust, dirt, or debris. A clean panel ensures maximum charging efficiency.
- Inspection: Periodically check all connections and mounting points for security and signs of wear or damage.
- Battery: The integrated battery has an estimated lifespan of 6 to 10 years. Battery replacement should only be performed by qualified personnel.
- Do not use abrasive cleaners or solvents on any part of the projector or solar panel.
7. Troubleshooting
| Problem | Possible Cause | Solution |
|---|---|---|
| Light does not turn on at night. | Insufficient solar charge. Solar panel is dirty or obstructed. Motion sensor not triggered. | Ensure solar panel receives direct sunlight for 6-8 hours. Clean the solar panel. Test motion sensor by walking in front of it. Check remote settings. |
| Light duration is short. | Insufficient battery charge. Overcast weather conditions. | Allow more time for charging in direct sunlight. Understand that performance may vary in winter or cloudy conditions. |
| Light flickers or is dim. | Low battery charge. Loose connection. | Ensure adequate charging. Check all cable connections between the solar panel and projector. |
| Motion sensor not working. | Sensor obstructed. Incorrect mode selected. | Clear any obstructions from the sensor. Use the remote control to select the correct motion-activated mode. |
8. Specifications
| Feature | Detail |
|---|---|
| Brand | Ledvion |
| Model Number | LVS10021 |
| Power | 30 Watts |
| Luminous Flux | 4800 Lumens |
| Color Temperature | 4000 Kelvin |
| Ingress Protection (IP) Rating | IP65 (Weather Resistant) |
| Special Features | Motion Detector, Solar Powered |
| Housing Material | ABS + PC |
| Shade Material | Aluminum |
| Product Dimensions (L x W x H) | 39 x 26 x 7 cm |
| Item Weight | 1.84 Kilograms |
| Power Source | Solar Powered |
| Usage | Outdoor (Garden) |
| Estimated Battery Lifespan | 6-10 years |
9. Warranty and Support
For warranty information or technical support, please contact Ledvion customer service. Refer to your purchase documentation for specific warranty terms and contact details.
Manufacturer: Ledvion
ASIN: B0CXXXC3V8
Seller: Ledvion (via Amazon.com.be)