Introduction
This manual provides comprehensive instructions for the setup, operation, and maintenance of your uPunch MK1000 Biometric Fingerprint/Proximity Time Clock. This device is designed to accurately track employee work hours using multiple authentication methods, including fingerprint, RFID proximity cards, and PINs, without requiring monthly fees.
Please read this manual thoroughly before operating the device to ensure proper usage and to maximize its functionality.
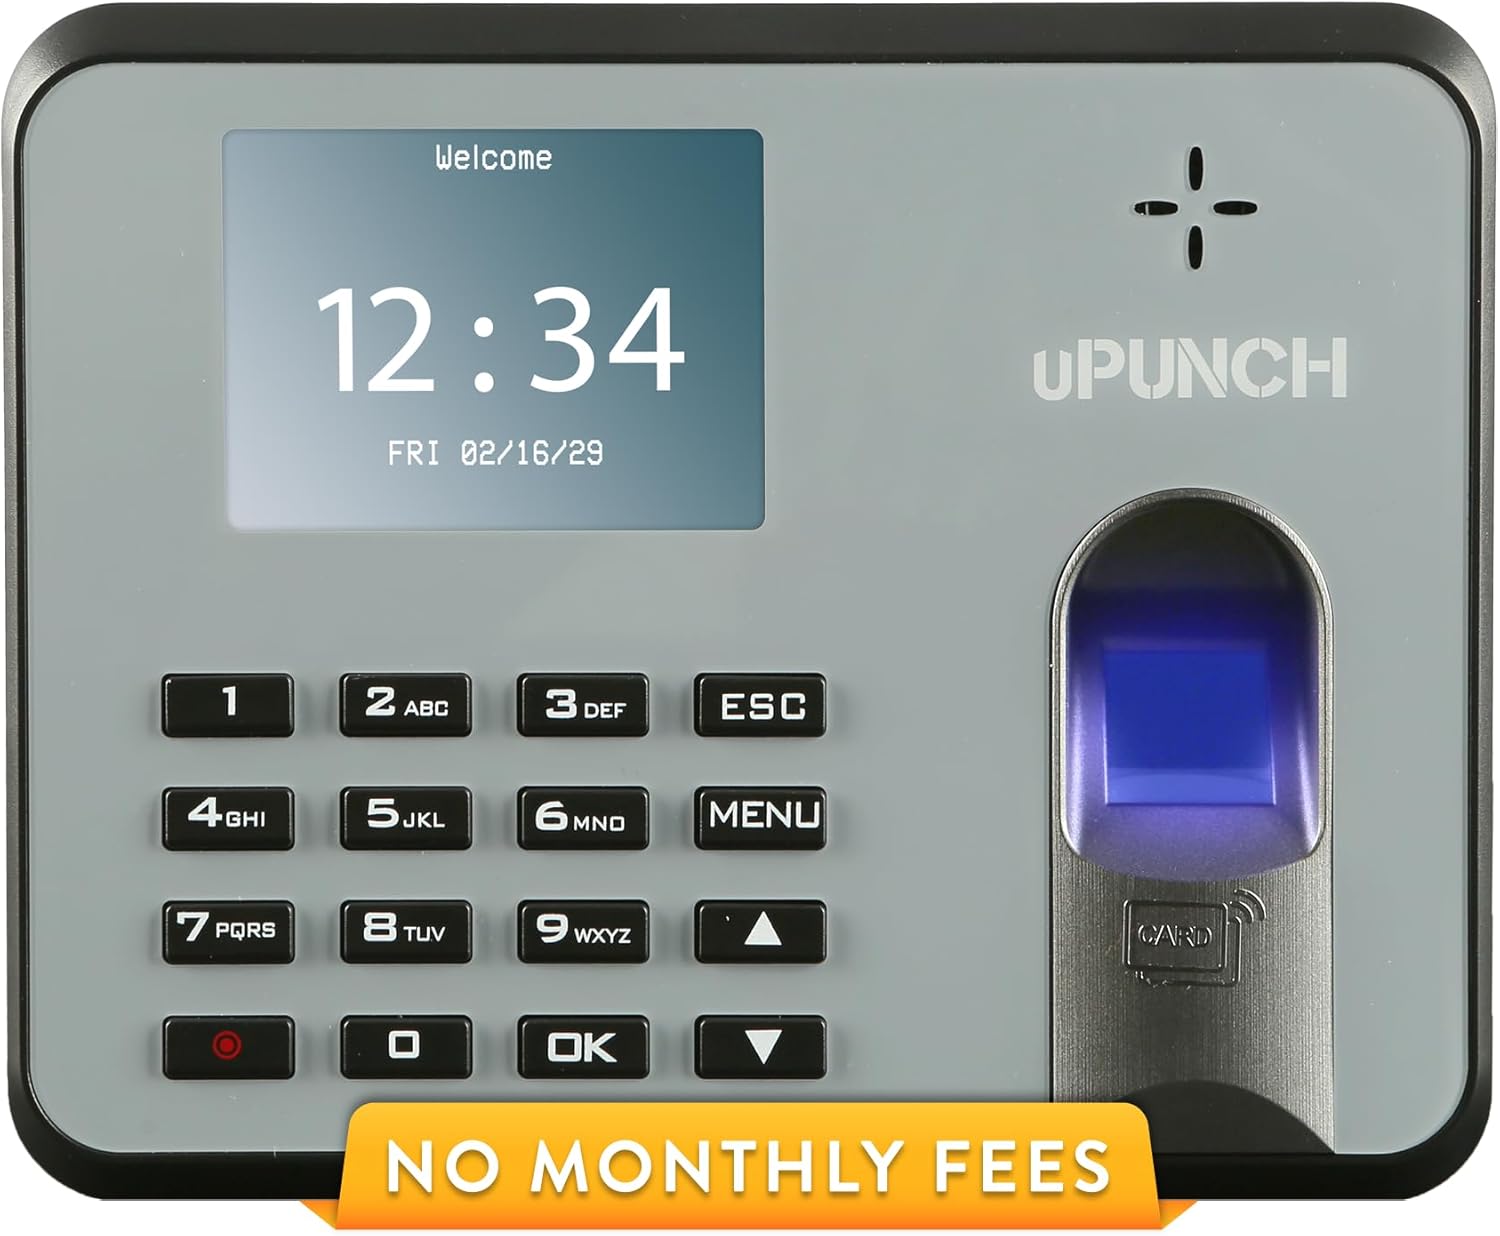
Figure 1: uPunch MK1000 Biometric Fingerprint/Proximity Time Clock.
Key Features
The uPunch MK1000 offers a range of features designed for efficient employee time tracking:
- Advanced Employee Time Tracking: Provides three authentication options for employees: biometric fingerprint scanning, RFID proximity cards, and personal identification numbers (PINs).
- Versatile Time Tracking System: Records various punch types including in, out, break start, and break end. The system also monitors overtime hours and highlights early or late punches for easy review.
- Effortless Setup and Use: Requires no software installation. Time card data is transferred via a USB flash drive. The device supports both wall and desk mounting.
- Streamlined Payroll Processing: Generates comprehensive time and attendance reports, facilitating quick and accurate payroll calculations by transferring data directly to your computer.
- Dedicated Support and Warranty: Includes unlimited free in-house customer support and is backed by a 2-year warranty.
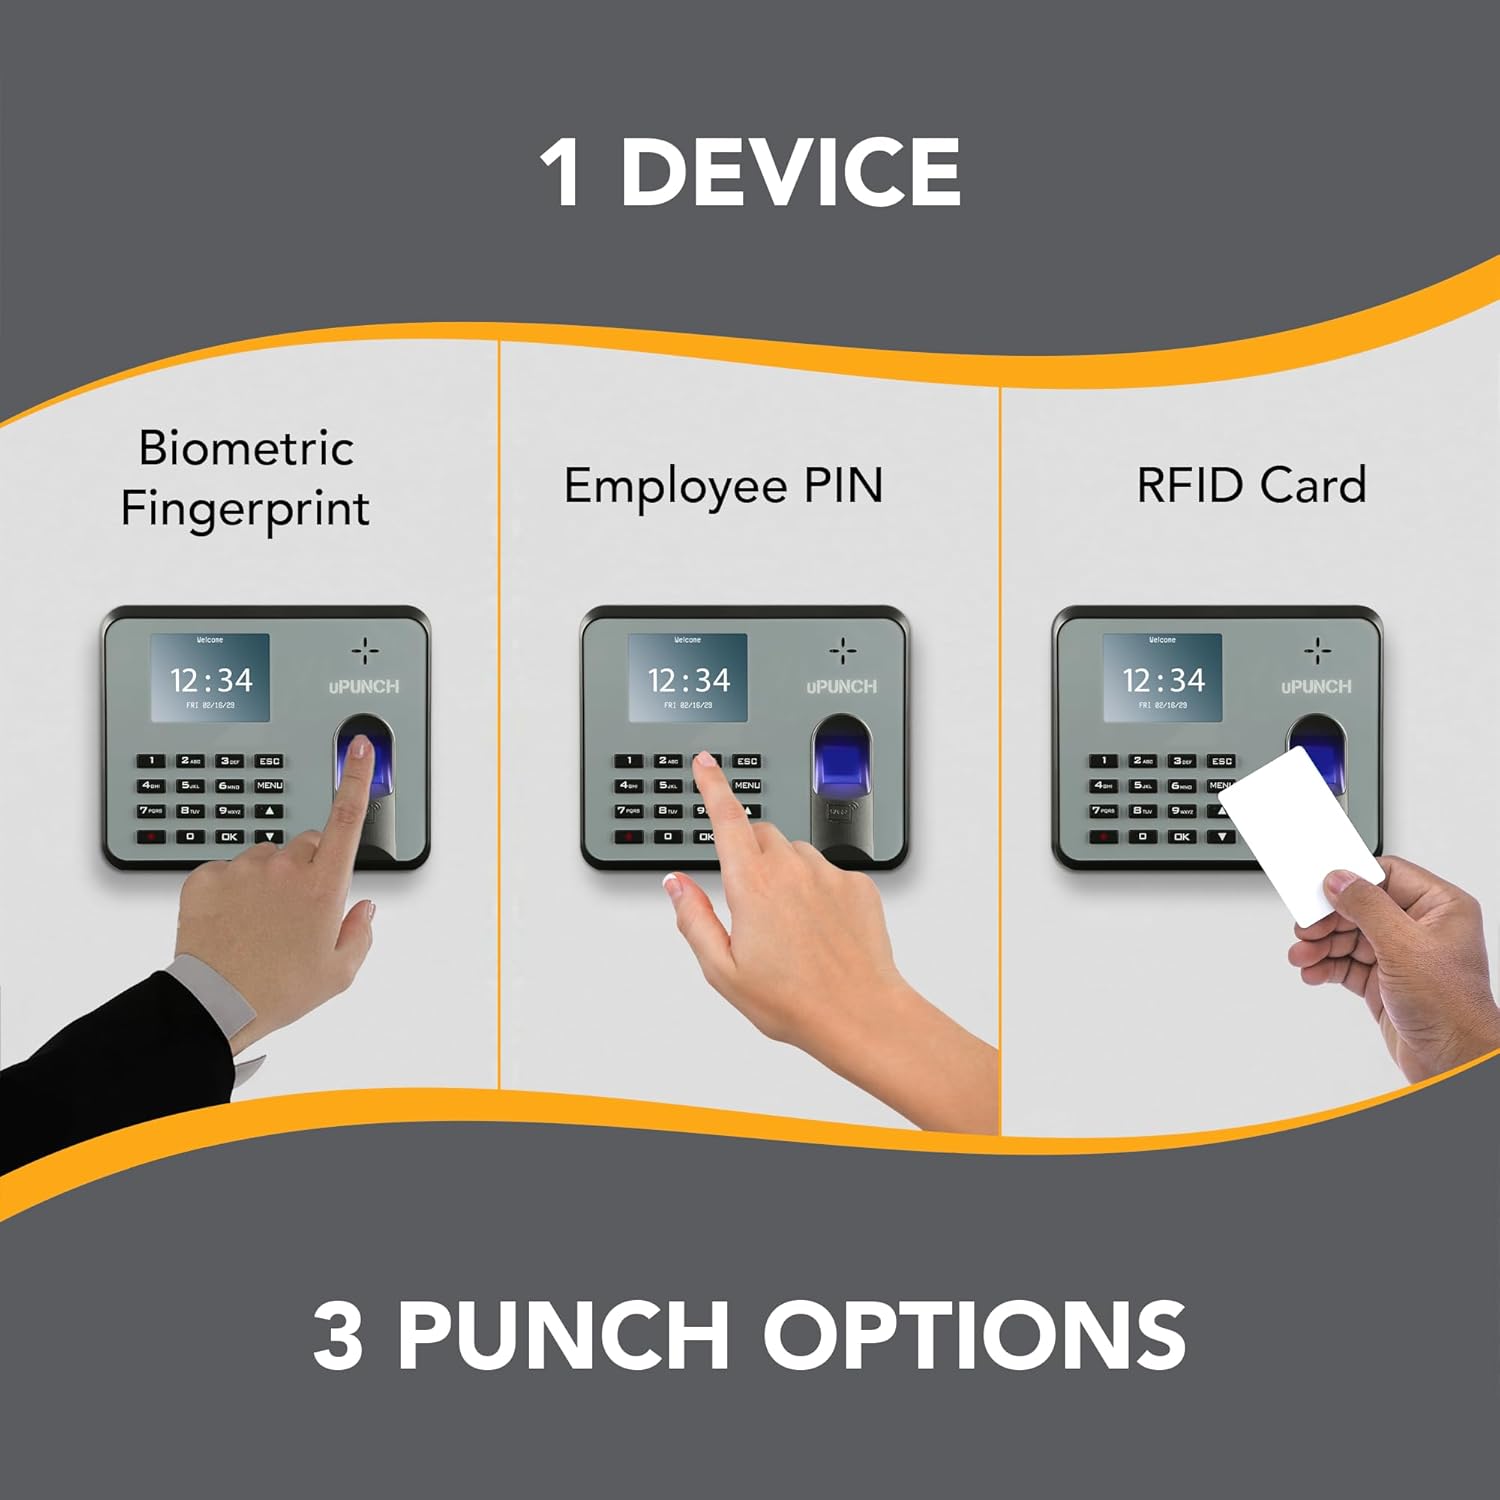
Figure 2: The uPunch MK1000 supports fingerprint, PIN, and RFID card authentication methods.
Setup Guide
Follow these steps to set up your uPunch MK1000 time clock:
- Unpacking and Placement: Carefully remove the time clock and all accessories from the packaging. Choose a suitable location for the device, either on a desk or mounted on a wall. Ensure it is near a power outlet.
- Power Connection: Connect the provided power adapter to the time clock and then plug it into a standard electrical outlet. The device will power on automatically.
- Initial Configuration: Upon first power-up, you may need to set the current date and time. Follow the on-screen prompts using the keypad.
- Employee Enrollment:
- Adding Employees: Access the device's menu to add new employees. Assign each employee a unique ID.
- Registering Fingerprints: For biometric authentication, guide employees to register their fingerprints by following the on-screen instructions. Multiple fingers can be registered per employee for convenience.
- Assigning RFID Cards: If using RFID cards, assign a unique card to each employee and register it with their profile on the device.
- Setting PINs: Employees can also be assigned a personal PIN for clocking in and out.

Figure 3: Overview of the quick setup process for the uPunch MK1000.
Operating Instructions
The uPunch MK1000 provides multiple methods for employees to clock in and out:
Punching In/Out
- Fingerprint Authentication: Employees place their registered finger on the scanner. The device will confirm the punch.
- RFID Card Authentication: Employees tap their assigned RFID proximity card against the designated card reader area on the device.
- PIN Authentication: Employees enter their unique PIN using the keypad and press the 'OK' button.

Figure 4: Employee authenticating with a fingerprint scan.

Figure 5: Employee authenticating with an RFID proximity card.
Data Transfer for Payroll
To generate payroll reports, follow these steps:
- Insert the provided USB flash drive into the USB port on the time clock.
- Navigate through the device menu to the 'Data Transfer' or 'Report' option.
- Select the desired date range for the report and initiate the transfer to the USB drive.
- Once the transfer is complete, safely remove the USB drive from the time clock.
- Insert the USB drive into your computer. The time clock data will be available in a compatible format (e.g., Excel) for review and payroll processing.

Figure 6: Inserting the USB flash drive into the time clock for data transfer.
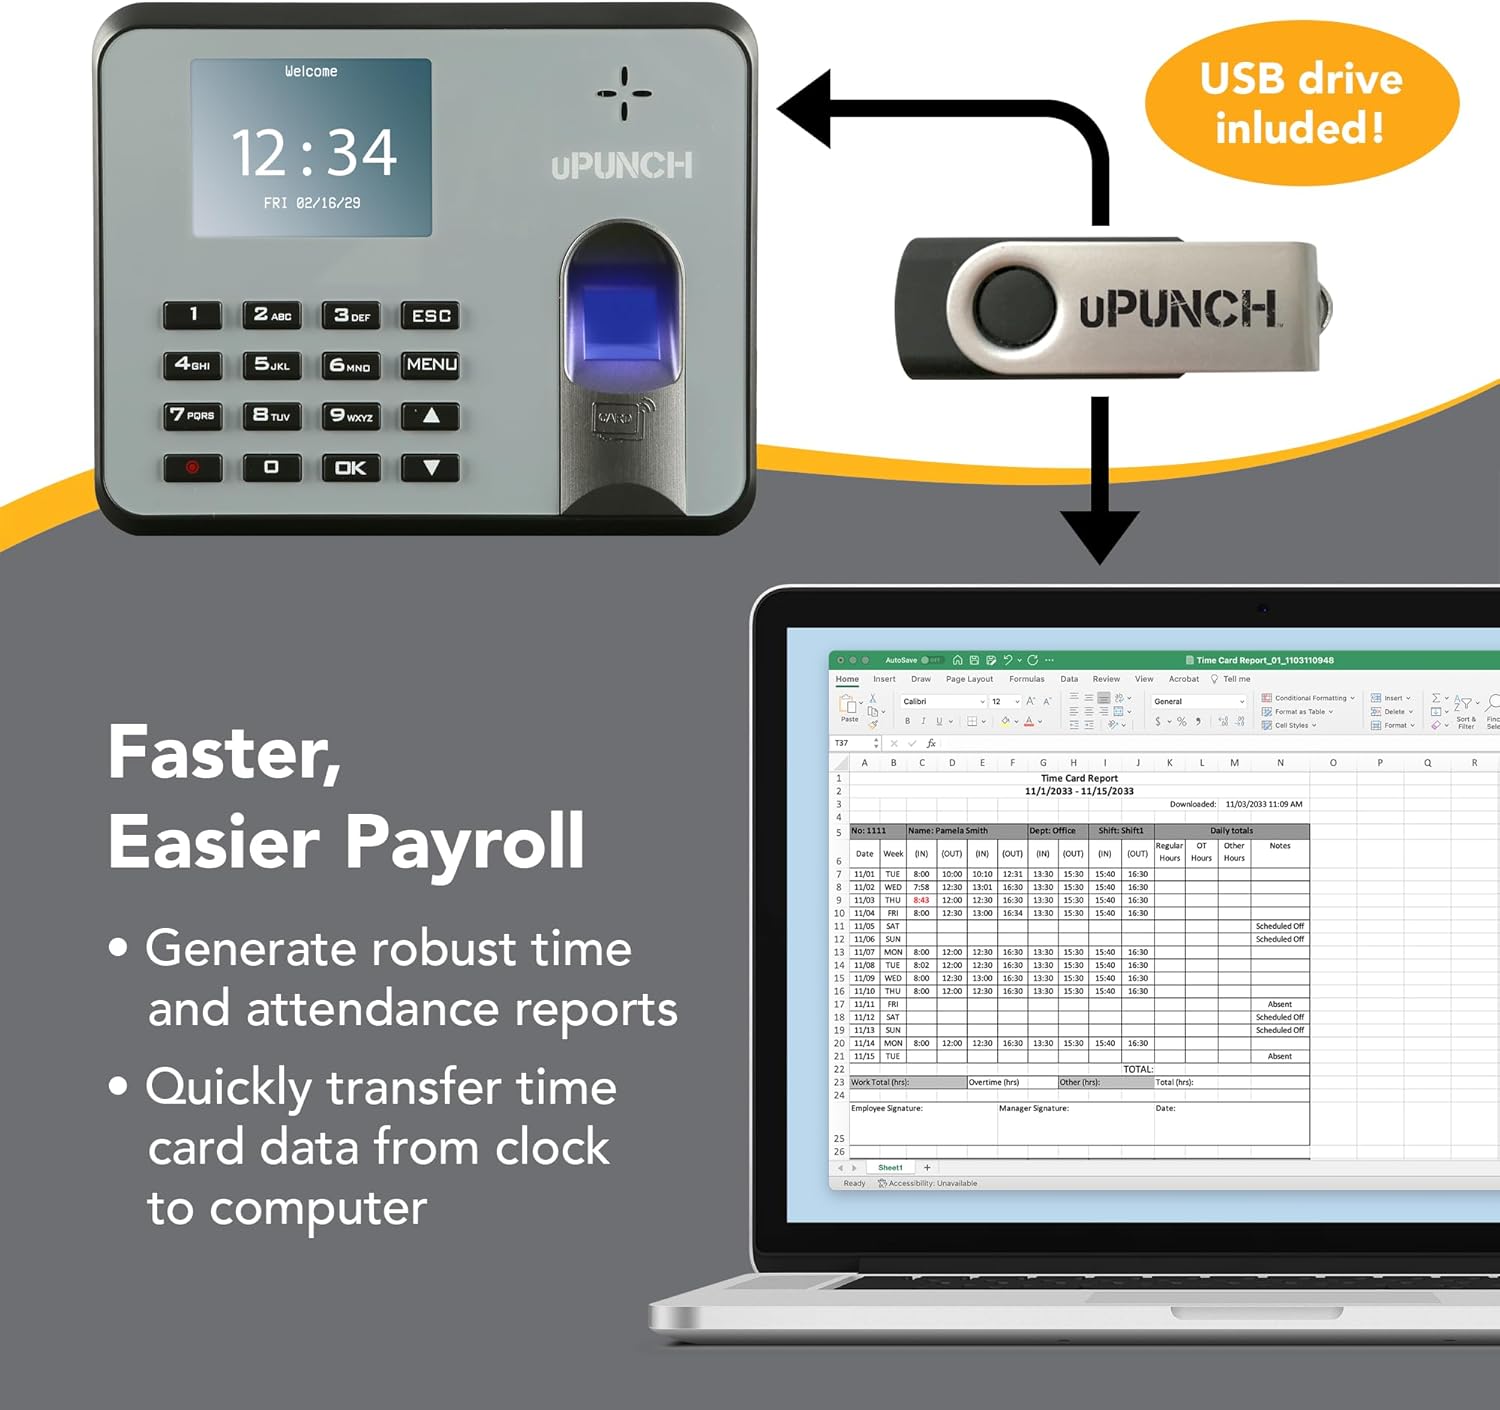
Figure 7: Example of a time card report displayed on a computer after data transfer.
Maintenance
Proper maintenance ensures the longevity and optimal performance of your uPunch MK1000 time clock.
- Cleaning the Device: Regularly wipe the device's screen and fingerprint scanner with a soft, dry, lint-free cloth. Avoid using abrasive cleaners or solvents, which can damage the surface.
- Data Backup: Periodically back up your time clock data to your computer using the USB flash drive. This ensures that your records are secure in case of unforeseen issues.
- Firmware Updates: Check the official uPunch website for any available firmware updates. Follow the instructions provided with the update to ensure your device has the latest features and security enhancements.
Troubleshooting
This section addresses common issues you might encounter with your uPunch MK1000 time clock.
- Issue: Device does not power on.
- Solution: Ensure the power adapter is securely connected to both the time clock and a working electrical outlet. Verify the outlet is supplying power.
- Issue: USB drive is not recognized by the device.
- Solution: Ensure the USB drive is fully inserted into the port. Try using a different USB drive to rule out a drive-specific issue. If the problem persists, contact customer support.
- Issue: Fingerprint scan fails repeatedly.
- Solution: Ensure the finger is clean and dry. Place the entire pad of the finger flat on the scanner. Re-enroll the fingerprint if necessary, ensuring a clear scan during registration. Try using a different registered finger.
- Issue: Incorrect date or time displayed.
- Solution: Access the device's menu settings to manually adjust the date and time. Ensure the time zone setting is correct.
Product Specifications
| Feature | Detail |
|---|---|
| Brand | uPunch |
| Model Number | MK1000 |
| Color | Black, White, Or Silver |
| Display Type | Digital |
| Power Source | Corded Electric |
| Shape | Rectangular |
| Indoor/Outdoor Usage | Indoor |
| Frame Material | Plastic |
| Batteries Included | Yes |
| Mounting Type | Tabletop, Wall Mount |
| Alarm Clock | No |
| Operation Mode | Electrical |
| Clock Form | Time Clock |
| UPC | 697777397268 |
| Item Weight | 1.19 pounds |
| Product Dimensions | 8 x 1.5 x 5.5 inches |
| Date First Available | June 5, 2024 |

Figure 8: Approximate dimensions of the uPunch MK1000 time clock.
Warranty and Support
Warranty Information
The uPunch MK1000 Biometric Fingerprint/Proximity Time Clock comes with a 2-year warranty from the date of purchase, covering defects in materials and workmanship under normal use. Please retain your proof of purchase for warranty claims.
Customer Support
For any questions, technical assistance, or warranty support, please contact uPunch customer service. Unlimited free in-house customer support is available to assist you.
- Phone: 800-518-8925
- Email: Support@TrackMyPunch.com

Figure 9: uPunch offers dedicated customer support for assistance.

