
1. Introduction
This manual provides detailed instructions for the setup, operation, and maintenance of your Tawiliysy 13" Bluetooth Auto Sync Wall Clock. Please read this manual thoroughly before using the product to ensure proper function and longevity.
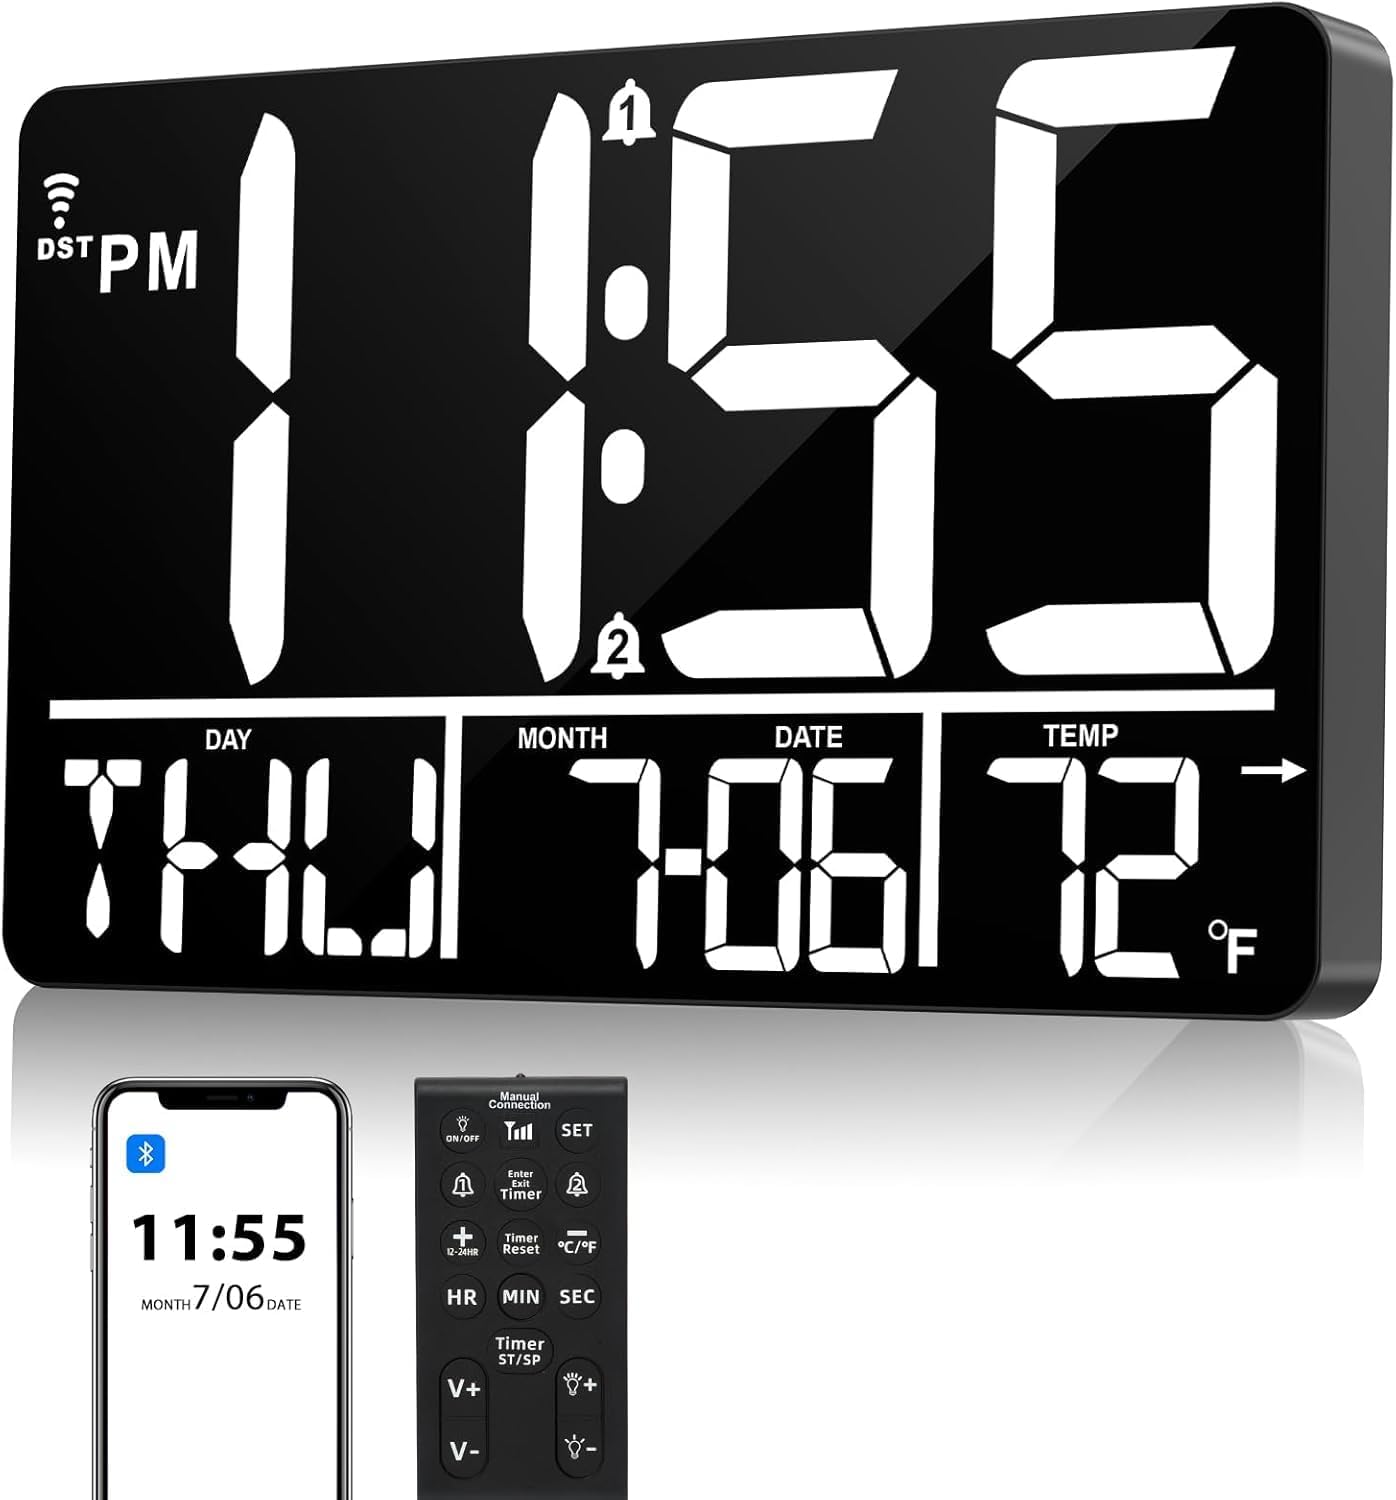
The Tawiliysy 13-inch Bluetooth Auto Sync Wall Clock, featuring a large digital display, remote control, and Bluetooth connectivity for automatic time synchronization.
2. Product Components
The package includes the following items:
- Digital Wall Clock (Model LY104)
- Power Adapter + 1.5 meter Power Cord
- Wireless Remote Control
- Product Manual
- 4 AAA batteries (for memory backup, included)
3. Setup
3.1 Power Connection
- Connect the provided power adapter to the clock's power input port.
- Plug the power adapter into a standard electrical outlet. The clock requires continuous power to operate.
Note: The built-in memory backup battery (4 AAA batteries) is for storing settings only and does not power the clock for display. The clock must be plugged in for use.
3.2 Mounting Options
The clock can be either wall-mounted or placed on a table using its integrated stand.
- Wall Mount: Use the keyhole slots on the back of the clock to hang it securely on screws or hooks (not included) in your desired location.
- Table Stand: Extend the integrated stand on the back of the clock to place it on a flat surface.

The clock can be wall-mounted or placed on a table, offering flexible placement options.
3.3 Bluetooth Time Synchronization
The clock can automatically synchronize its time with your smartphone via Bluetooth.
- Ensure Bluetooth is enabled on your smartphone.
- On your phone, search for available Bluetooth devices. The clock should appear as "104 LED CLOCK" or similar.
- Select the clock to pair. Once paired, the clock will automatically synchronize its time with your phone.
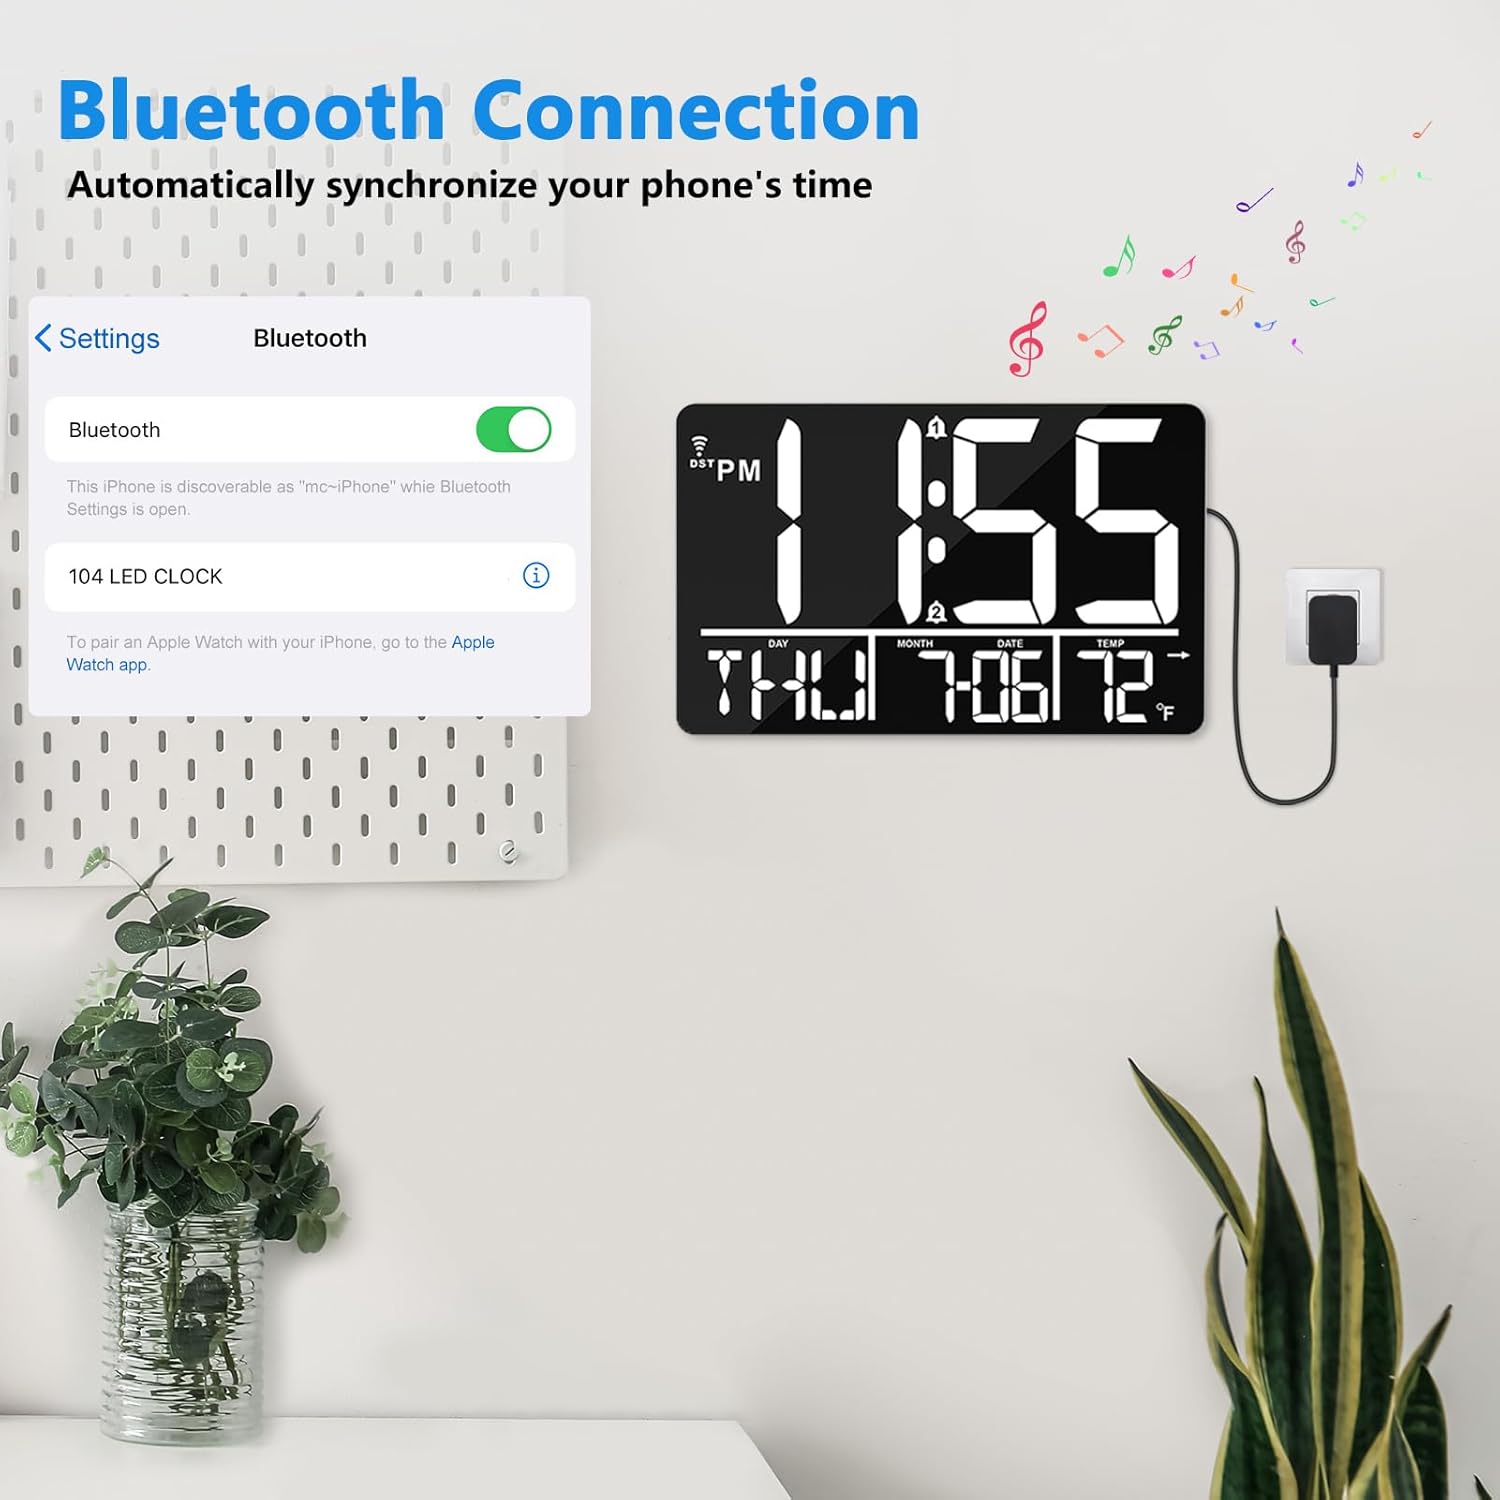
Bluetooth connection allows for automatic time synchronization with your smartphone.
3.4 Remote Control Setup
The wireless remote control allows for convenient adjustment of clock settings from up to 10 meters away.
- Ensure the remote control has working batteries.
- Point the remote control directly at the clock when making adjustments.

The remote control provides convenient access to clock settings.
4. Operating Instructions
4.1 Time and Date Display
- The clock displays time, day, month, and date.
- To switch between 12-hour and 24-hour formats, use the designated button on the remote control or the clock's back panel.

The clock supports both 12-hour and 24-hour time display modes.
4.2 Temperature Display
- The clock displays the ambient temperature.
- To switch between Celsius (°C) and Fahrenheit (°F), use the designated button on the remote control or the clock's back panel.

The clock can display temperature in Celsius or Fahrenheit.
4.3 Brightness Adjustment
The clock features both automatic and manual brightness control.
- Auto-Dimming: A built-in sensor automatically adjusts display brightness based on ambient light conditions.
- Manual Adjustment: Use the remote control to select from 4 levels of brightness (20%, 50%, 80%, 100%) to suit your preference.
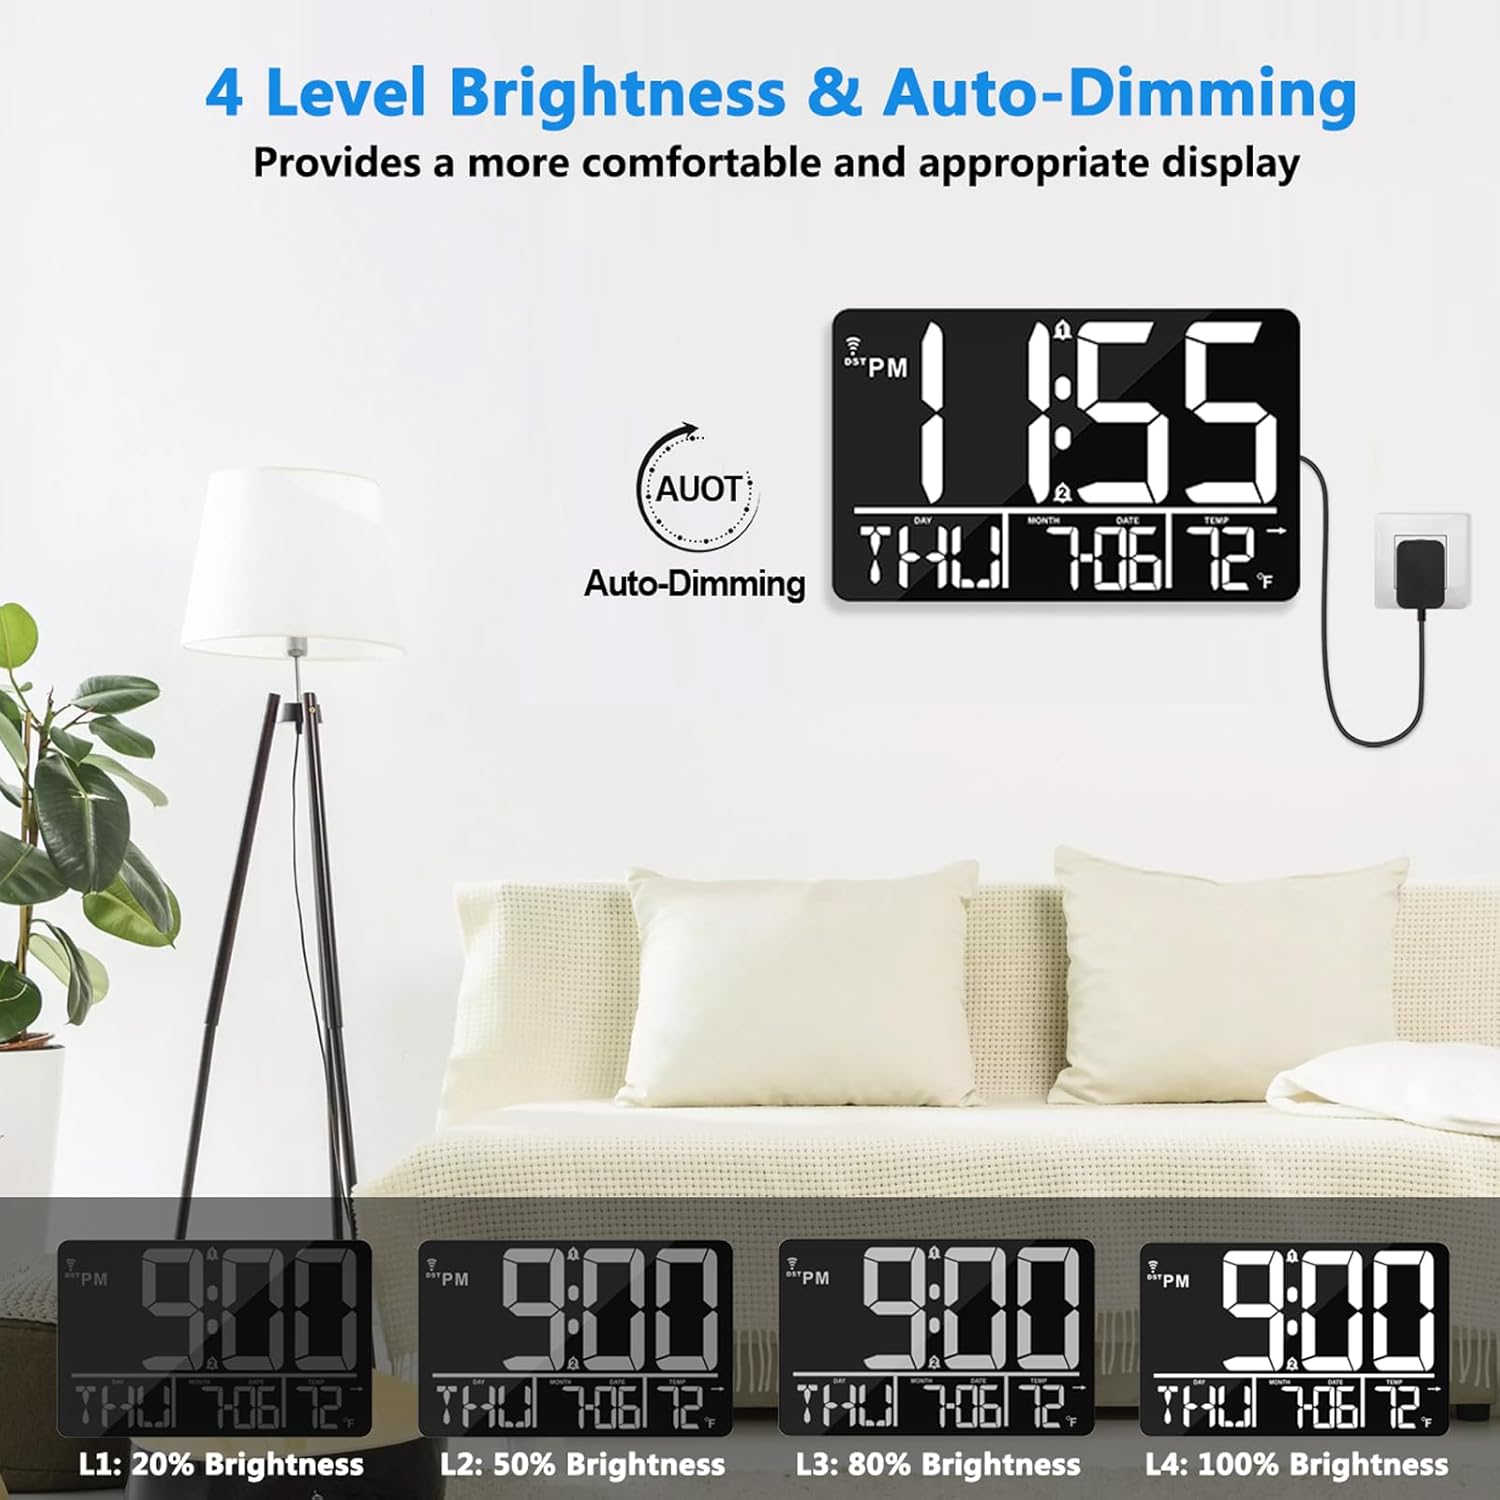
The clock offers 4 levels of brightness and an auto-dimming function.
4.4 Alarm Settings
The clock supports dual alarms and offers a selection of ringtones.
- Dual Alarms: Set two independent alarms for different times or purposes.
- Ringtones: Choose from 25 unique ringtones.
- Volume: Adjust the alarm volume to one of 4 available levels.
- Snooze Function: Activate snooze for additional sleep time after the alarm sounds.

The clock includes a snooze function for alarms.

Choose from 25 unique ringtones for your alarms.
4.5 Automatic Daylight Saving Time (DST)
The clock is equipped with an Auto DST function, which automatically adjusts the time at the beginning and end of Daylight Saving Time. No manual adjustment is required.

The Auto DST function automatically adjusts for Daylight Saving Time.
4.6 Countdown and Countup Timer
The clock includes a versatile timer function for various activities.
- Countdown Timer: Set a specific duration (maximum 99 hours, 59 minutes, 59 seconds) for tasks like cooking, exercise, or studying.
- Countup Timer: Measure elapsed time for activities.

The clock features both countdown and countup timer modes for various activities.
5. Maintenance
5.1 Cleaning
To clean the clock, gently wipe the display and casing with a soft, dry cloth. Avoid using abrasive cleaners, solvents, or excessive moisture, as these can damage the surface or internal components.
5.2 Battery Replacement (Memory Backup)
The clock uses 4 AAA batteries for memory backup. These batteries preserve your settings (time, alarms) during a power outage. If settings are lost after a power interruption, replace the AAA batteries located in the battery compartment on the back of the clock.
6. Troubleshooting
| Issue | Possible Cause | Solution |
|---|---|---|
| Clock does not power on. | Power adapter not connected or faulty. | Ensure the power adapter is securely plugged into the clock and a working electrical outlet. Test the outlet with another device. |
| Bluetooth time sync fails. | Bluetooth not enabled on phone; clock not discoverable; interference. | Ensure Bluetooth is active on your phone. Restart both the clock and your phone. Try pairing again. Keep the phone close to the clock during pairing. |
| Remote control not working. | Remote batteries low or depleted; obstruction; out of range. | Replace the remote control batteries. Ensure there are no obstructions between the remote and the clock. Operate within 10 meters of the clock. |
| Time is inaccurate. | Bluetooth sync failed; manual adjustment needed. | Attempt Bluetooth synchronization again. If persistent, manually set the time using the remote control or buttons on the back. |
| Display is too dim or too bright. | Brightness setting needs adjustment. | Use the remote control to manually adjust the brightness levels. Check if auto-dimming is enabled and if ambient light conditions are affecting it. |
7. Specifications
| Feature | Detail |
|---|---|
| Brand | tawiliysy |
| Model Number | LY104 |
| Display Type | Digital LED |
| Color | White Numbers |
| Product Dimensions | 7.4"W x 11.6"H (approx. 18.8 cm x 29.5 cm) |
| Item Weight | 1.85 pounds (approx. 0.84 kg) |
| Power Source | Corded Electric |
| Memory Backup Batteries | 4 AAA batteries (included) |
| Special Features | Adjustable Brightness, Auto DST, Bluetooth Sync time, Calendar Display, Timer, Dual Alarm, Selectable Ringtones |
| Mounting Type | Wall Mount, Table Mount |
| Indoor/Outdoor Usage | Indoor |
8. Warranty and Support
For any product inquiries, technical support, or warranty claims, please contact Tawiliysy customer service. Refer to the product packaging or the retailer's website for specific contact information.
We are committed to providing friendly and helpful customer service to ensure your satisfaction with our product.