1. Introduction
This manual provides essential instructions for the safe and effective installation, operation, and maintenance of your MULS 5200mAh 14.4V Lithium-Ion battery replacement. This battery is designed for specific robot vacuum cleaner models to restore optimal performance.
2. Safety Information
Please read and understand all safety warnings before installing or using the battery. Failure to follow these instructions may result in electric shock, fire, or serious injury.
- Batteries are prohibited from being used in water or fire.
- Do not knock or disassemble the battery.
- Keep the battery away from children and pets.
- Do not short-circuit the battery terminals.
- Avoid exposing the battery to extreme temperatures.
- Dispose of used batteries according to local regulations.

Figure 2.1: The battery features multiple protection mechanisms including over-current, over-heating, over-discharge, short-circuit, over-voltage, and over-charge protection to ensure safe operation.
3. Product Specifications
| Battery Type | Rechargeable Lithium-Ion |
| Capacity | 5200mAh |
| Voltage | 14.4V |
| Item Weight | 7.7 ounces (approx. 218g) |
| Dimensions | 7.8 x 1.98 x 1.26 inches (approx. 19.8 x 5.0 x 3.2 cm) |
| Certifications | CE, FCC, RoHS |
| Internal Identifier | FHDH8865 (as seen on battery label) |
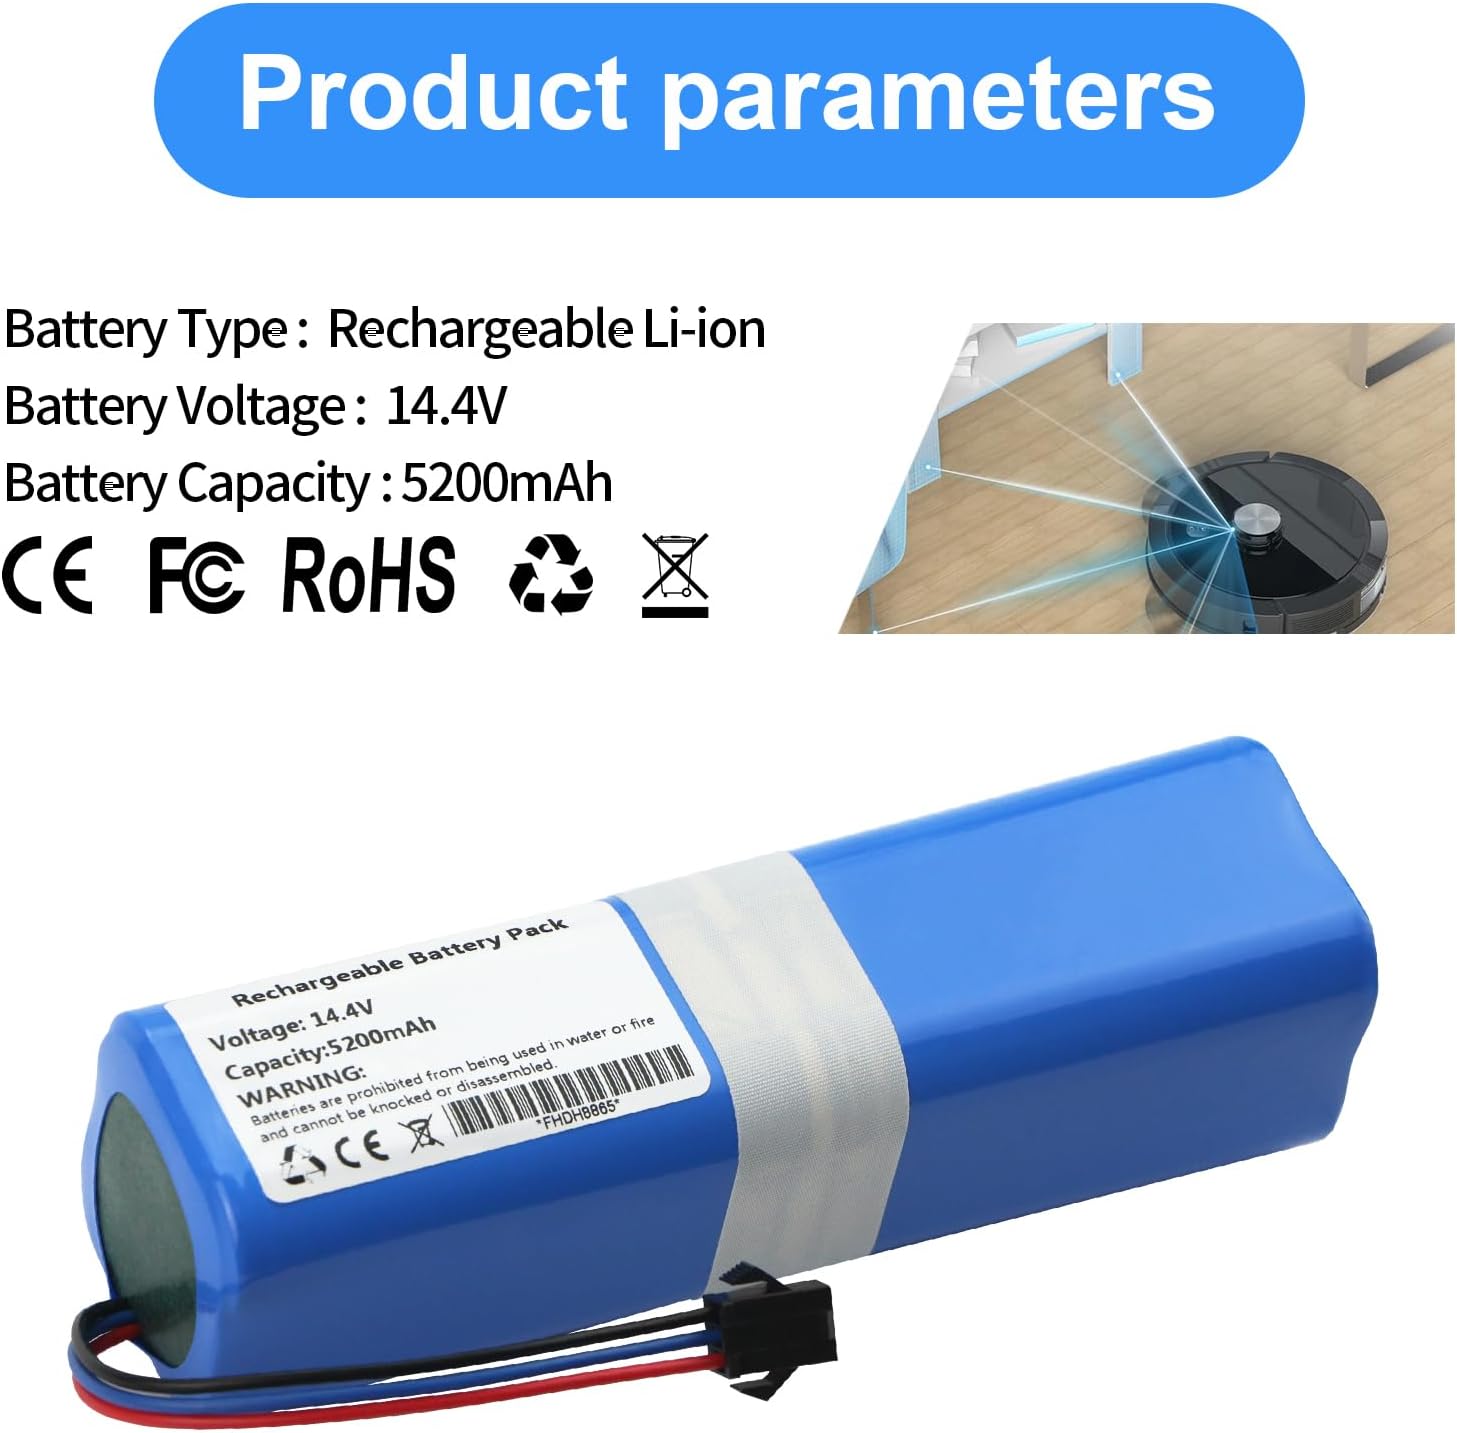
Figure 3.1: Key product parameters and certifications.

Figure 3.2: Battery dimensions for compatibility verification.
4. Compatible Models
This MULS replacement battery is compatible with the following robot vacuum cleaner models:
- Mamibot EXVAC 890
- Garlyn SR-800 Max
- SUN-INTE-279
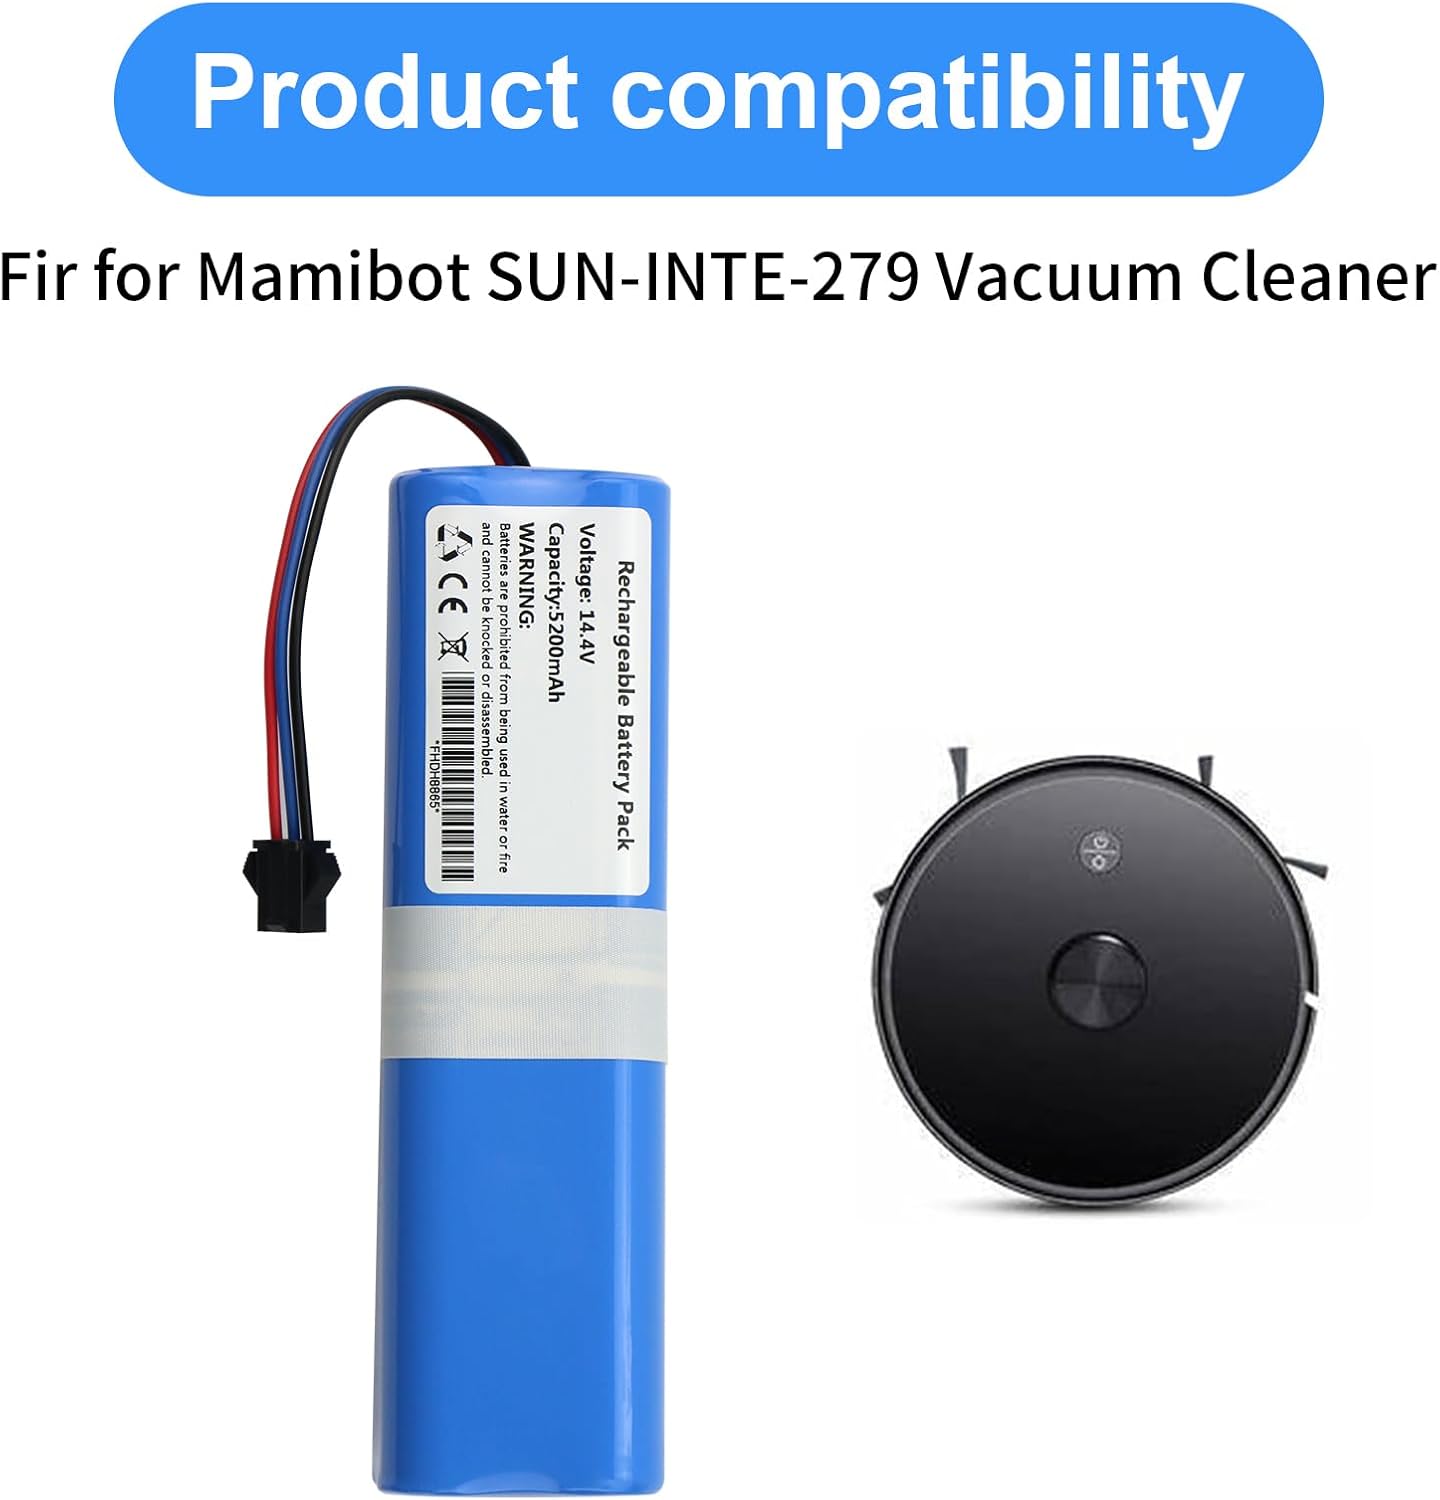
Figure 4.1: Visual representation of battery compatibility with a robot vacuum.
5. Installation Instructions
Follow these steps to safely replace the battery in your robot vacuum cleaner:
- Power Off: Ensure your robot vacuum cleaner is completely powered off and disconnected from its charging base.
- Access Battery Compartment: Carefully turn the robot vacuum cleaner upside down. Locate the battery compartment cover, typically secured by screws.
- Remove Screws: Use a suitable screwdriver (often a Phillips head) to remove the screws securing the battery compartment cover. Keep the screws in a safe place.
- Remove Cover: Lift off the battery compartment cover.
- Disconnect Old Battery: Gently disconnect the old battery's connector from the vacuum cleaner's port. Do not pull on the wires.
- Insert New Battery: Place the new MULS battery into the compartment, ensuring it fits correctly.
- Connect New Battery: Carefully align and connect the new battery's connector to the vacuum cleaner's port. Ensure a secure connection.
- Verify Connector Type: Before connecting, ensure the connector on the new battery matches the original.

Figure 5.1: Detail of the battery connector. Verify this matches your original battery's connector before installation.
- Replace Cover: Place the battery compartment cover back into position.
- Secure Screws: Reinsert and tighten the screws to secure the cover. Do not overtighten.
- Initial Charge: Place the robot vacuum cleaner back on its charging base for an initial full charge before first use.

Figure 5.2: The replacement battery and a typical screwdriver for installation.
6. Operating Instructions
Once installed, the battery operates as part of your robot vacuum cleaner's power system. For optimal performance and longevity:
- First Use: Fully charge the battery before its first use.
- Regular Charging: Allow the robot vacuum to return to its charging base after each cleaning cycle to maintain battery health.
- Avoid Deep Discharge: Do not allow the battery to completely drain frequently, as this can reduce its lifespan.
- Storage: If storing the vacuum for an extended period, ensure the battery is partially charged (around 50%) and store in a cool, dry place. Recharge every 3-6 months.
7. Maintenance
Proper maintenance ensures the longevity and performance of your battery:
- Cleaning: Periodically inspect the battery and its contacts for dust or debris. Clean with a dry cloth if necessary.
- Temperature: Operate and store the battery within recommended temperature ranges (typically 0°C to 40°C or 32°F to 104°F).
- Disposal: When the battery reaches the end of its life, dispose of it responsibly at a designated recycling facility. Do not discard with household waste.
8. Troubleshooting
If you encounter issues with your new battery, consider the following:
- Vacuum Not Powering On:
- Ensure the battery is correctly installed and the connector is securely attached.
- Verify the battery compartment cover is properly closed and secured.
- Confirm the battery has been charged.
- Short Run Time:
- Ensure the battery is fully charged.
- Check if the vacuum cleaner itself has any blockages or issues that might increase power consumption.
- New batteries may require a few charge/discharge cycles to reach full capacity.
- Charging Issues:
- Verify the charging base and power adapter are functioning correctly.
- Clean the charging contacts on both the vacuum and the charging base.
If problems persist, please contact customer support.
9. Warranty and Support
MULS provides the following support for this product:
- Money Back Guarantee: 30-day no-questions-asked full money back.
- Exchange Guarantee: 12-month exchange guarantee.
- Customer Service: 24/7 email service for any problems or inquiries.
For assistance, please refer to the contact information provided with your purchase or visit the MULS brand store on Amazon.
Visit the MULS Store