1. Introduction
This manual provides essential information for the proper installation, operation, and maintenance of your oceanside 150A Brushless Electronic Speed Controller (ESC). Designed for 1/8 scale RC cars, this ESC offers robust performance, advanced protection features, and user-friendly programming. Please read this manual thoroughly before using the product to ensure optimal performance and safety.
The oceanside 150A Brushless ESC is a waterproof and dustproof electronic speed controller, featuring enhanced heat dissipation for reliable operation in various conditions. It is constructed from durable plastic, aluminum alloy, copper, and electronic components.
2. Product Overview
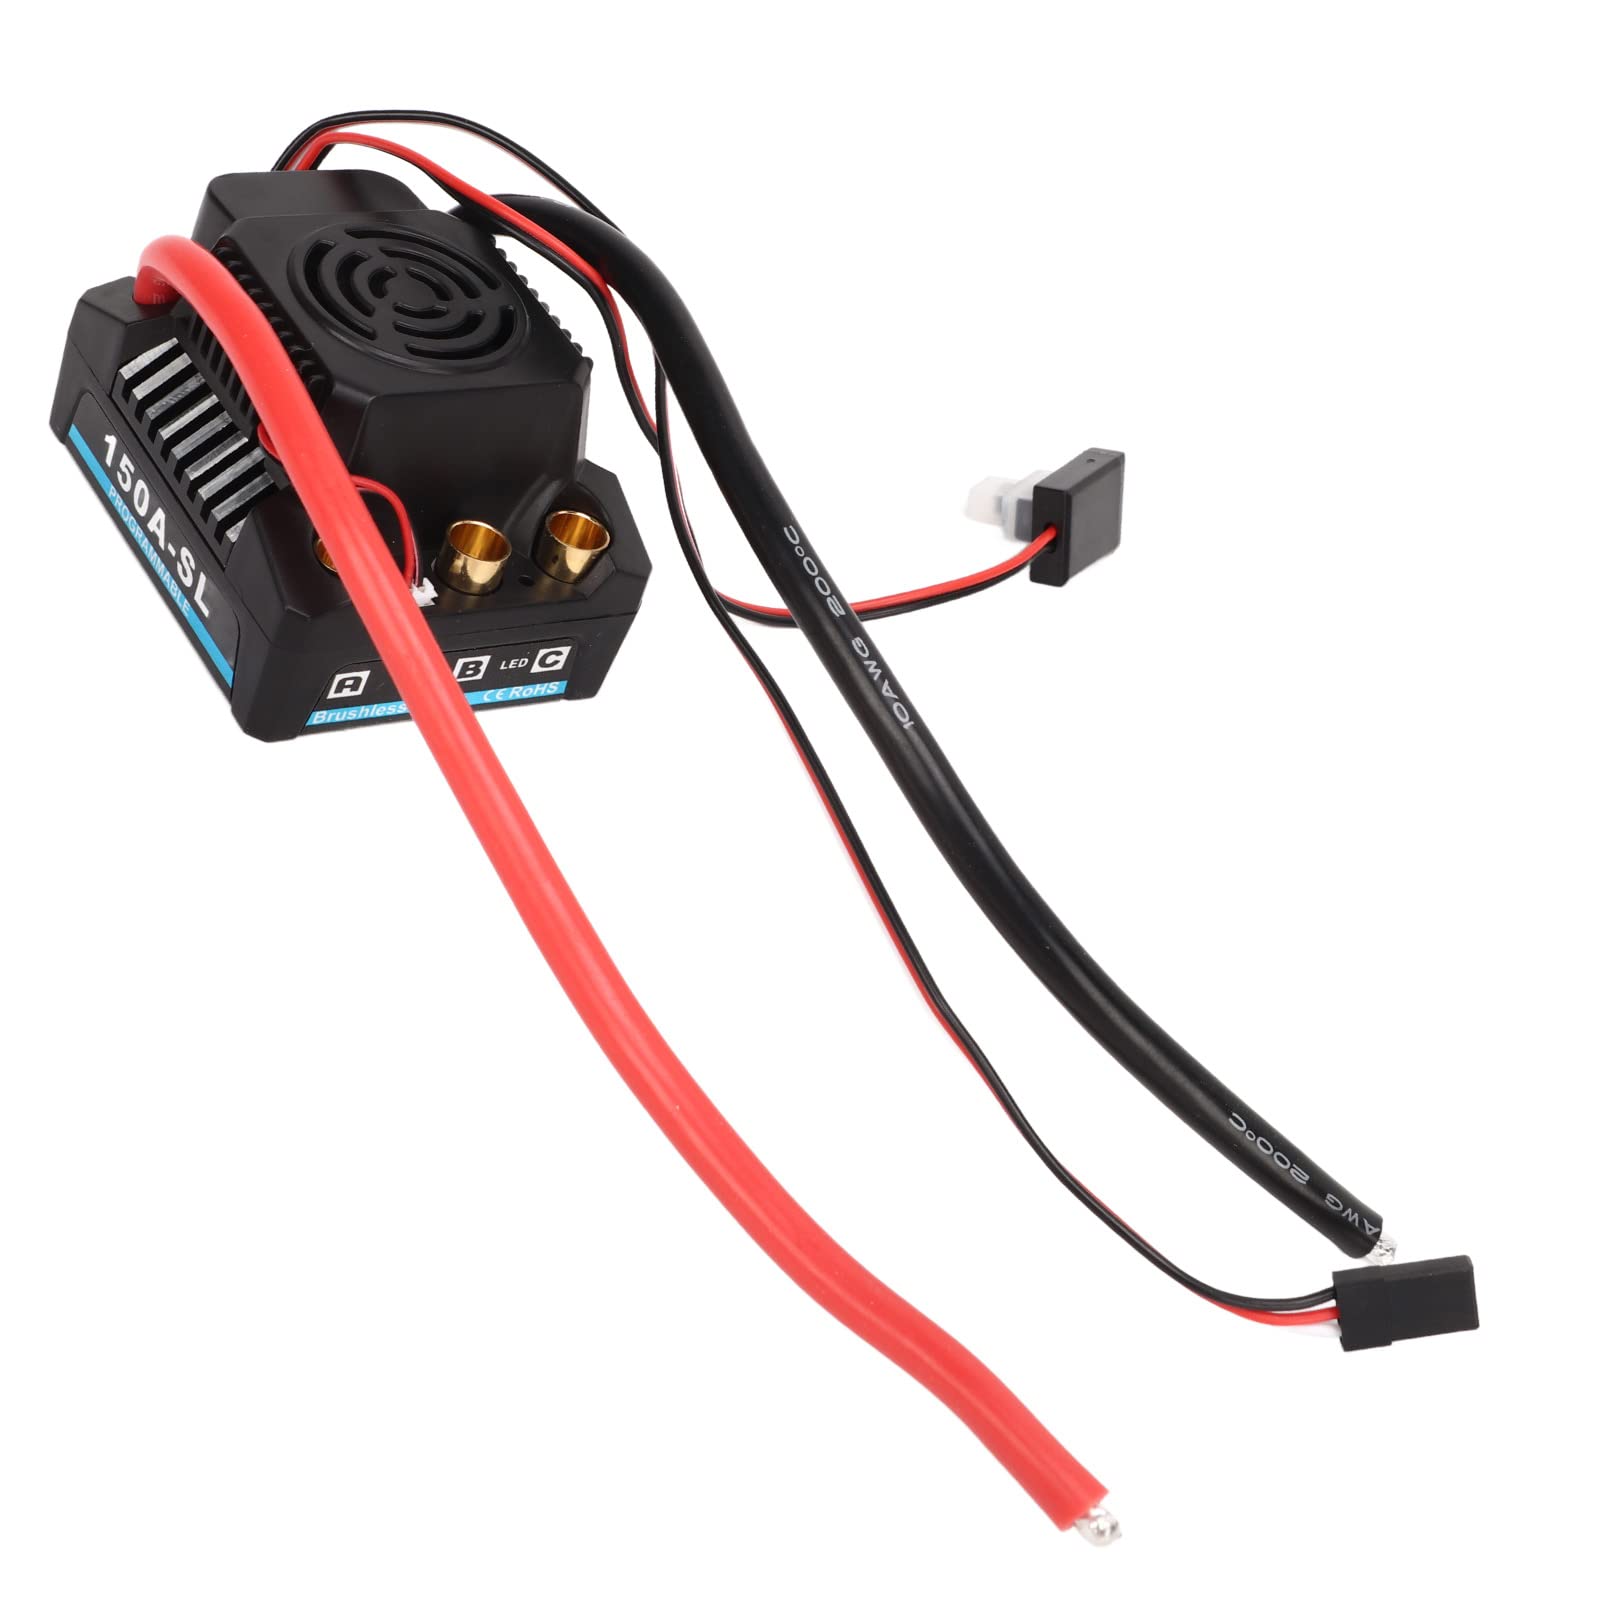
Figure 1: Front view of the oceanside 150A Brushless ESC, highlighting its programmable nature.
The oceanside 150A Brushless ESC is engineered for high-performance RC applications. Key features include:
- Waterproof and Dustproof Design: Ensures reliable operation in challenging outdoor environments.
- Multiple Protection Features: Includes low voltage cutoff, overheating protection, throttle signal loss protection, and motor lockout protection for enhanced safety and longevity.
- Easy Programming: Compatible with a pocket program card for quick and convenient adjustments.
- High Performance: Delivers a pulse current of 150A and a control current of 720A, suitable for high-strength racing and off-road driving.
- Wide Compatibility: Specifically designed for 1/8 scale RC cars, offering optimal control and responsiveness.
3. Specifications
| Feature | Specification |
|---|---|
| Item Type | 150A Brushless ESC |
| Material | Plastic, Aluminum Alloy, Copper, Electronic Components |
| Pulse Current | 150A |
| Control Current | 720A |
| Applicable Voltage | 2-4S (LiPo) |
| BEC Output | 5A/5.8V |
| Applicable RC Car Scale | 1/8 |
| Item Weight | 4.2 ounces |
4. Setup and Installation
Proper installation is crucial for the performance and longevity of your ESC. Follow these steps carefully:
- Mounting the ESC: Securely mount the ESC in your 1/8 RC car chassis using double-sided tape or screws. Ensure adequate airflow around the ESC for optimal heat dissipation.
- Connecting to the Motor: Connect the three motor wires from the ESC to your brushless motor. The connection order may affect motor rotation direction; if the motor spins in the wrong direction, swap any two of the three wires.
- Connecting to the Receiver: Plug the small signal cable from the ESC into the throttle channel (usually channel 2) of your RC receiver.
- Connecting to the Battery: Connect the battery connector from the ESC to your 2-4S LiPo battery. Ensure correct polarity (red to positive, black to negative) to prevent damage.
- Initial Calibration: Perform throttle range calibration with your radio transmitter. Refer to your transmitter's manual for specific instructions. This typically involves turning on the transmitter, then the ESC while holding full throttle, then neutral, then full brake.

Figure 2: Detailed view of the ESC's connection points for power, motor, and receiver.
The ESC is compatible with a pocket program card for easy adjustments. Simply connect the program card to the designated port on the ESC to modify settings such as cut-off voltage, drag brake, and punch control.
5. Operating Instructions
Once the ESC is properly installed and calibrated, you can begin operating your RC car:
- Power On Sequence: Always turn on your radio transmitter first, then connect the battery to the ESC.
- Driving: The ESC provides flat acceleration and linear characteristics, offering precise control. Gradually apply throttle for smooth starts and acceleration.
- Power Off Sequence: Disconnect the battery from the ESC first, then turn off your radio transmitter.

Figure 3: The 150A Brushless ESC is suitable for various 1/8 scale RC applications.
The high pulse current of 150A and control current of 720A ensure powerful performance, making it suitable for demanding racing and off-road conditions.
6. Maintenance
Regular maintenance helps ensure the longevity and optimal performance of your oceanside 150A Brushless ESC:
- Cleaning: Despite being waterproof and dustproof, it is recommended to clean the ESC after use, especially after running in wet or dusty conditions. Use a soft brush or compressed air to remove debris.
- Inspection: Periodically inspect all wires and connectors for signs of wear, damage, or corrosion. Ensure all connections are secure.
- Storage: Store the ESC in a cool, dry place away from direct sunlight and extreme temperatures when not in use.

Figure 4: The waterproof design allows for operation in wet conditions, but proper cleaning is still recommended.
7. Troubleshooting
If you encounter issues with your ESC, refer to the following common problems and solutions:
| Problem | Possible Cause | Solution |
|---|---|---|
| Motor not responding | Incorrect throttle calibration, loose connections, throttle signal loss. | Recalibrate throttle range. Check all wiring connections. Ensure transmitter is on and battery is charged. |
| ESC cuts out during operation | Low voltage cutoff activated, overheating protection activated. | Recharge or replace battery. Allow ESC to cool down. Check for obstructions to airflow. |
| Motor runs in reverse | Incorrect motor wire connection. | Swap any two of the three motor wires. |
| ESC LED flashes or beeps abnormally | Error code indication (e.g., low voltage, overheating). | Consult the programming card manual for specific error codes. Address the indicated issue. |
The ESC is equipped with multiple protection features, including low voltage cutoff, overheating protection, throttle signal loss protection, and motor lockout protection. These features are designed to prevent damage to the ESC and motor. If a protection feature is triggered, the ESC may temporarily cease operation or reduce power output.
8. Warranty and Support
For warranty information or technical support regarding your oceanside 150A Brushless ESC, please contact oceanside customer service through your retailer or the official oceanside website. Keep your purchase receipt as proof of purchase for any warranty claims.
Always refer to the official oceanside resources for the most up-to-date information and support.