Introduction
This manual provides essential instructions for the installation, operation, and maintenance of your GEYUEYA Home Solar Address Sign. Designed for clear visibility, this solar-powered sign features dual color modes and flexible mounting options to enhance your property's identification.
Package Contents
Verify that all components listed below are included in your package:
- 1 x Solar Address Sign Unit
- 3 x Number Sets (0-9, providing 3 quantities of each number)
- 3 x Aligned Cards (for 3, 4, or 5 digits)
- 4 x ABS Round Pipes (for ground mounting)
- 2 x Ground Anchors (spikes)
- 2 x Extension Joints (for connecting pipes)
- 3 x Screws
- 4 x Expansion Pillar-hinges

Setup and Installation
1. Applying Address Numbers
The address sign includes three sets of numbers (0-9) and alignment templates for 3, 4, or 5 digits. Select the appropriate template for your address. Carefully peel off the required numbers from the adhesive sheets. Use the chosen alignment card to ensure numbers are centered and evenly spaced on the sign's display area. Press firmly to secure the numbers.

2. Mounting Options
Your solar address sign offers two primary installation methods: wall mounting or ground staking.
- Wall Mounting: Use the provided screws and expansion pillar-hinges to securely attach the sign to a wall. Ensure the solar panel on top is exposed to direct sunlight for optimal charging.
- Ground Staking: Assemble the ABS round pipes and ground anchors to create a sturdy stake. The two-pole design provides enhanced stability. Insert the assembled poles into the designated holes at the bottom of the sign. Push the ground anchors firmly into the soil in a location that receives ample sunlight. The retractable ground rods allow for height adjustment.

Installation Video Guide
Operating Instructions
1. Power On/Off
Locate the 'ON/OFF' button on the back of the sign. Press this button to activate or deactivate the sign's lighting function.
2. Selecting Light Modes
The sign features two lighting modes: 2700K warm light and 6500K cool white light. Press the 'WARM/WHITE' button on the back of the sign to switch between these two modes according to your preference.

3. Solar Charging and Automatic Lighting
The GEYUEYA Home Solar Address Sign is equipped with efficient monocrystalline silicon solar panels and a 2000mAh battery. During daylight hours, the sign automatically charges when exposed to sunlight. At night, it will automatically illuminate, providing up to 20 hours of continuous lighting on a full charge. Ensure the solar panel is positioned to receive maximum direct sunlight for optimal performance.

Light Mode Demonstration Video
Automatic Illumination Video
Maintenance
To ensure the longevity and optimal performance of your solar address sign, follow these maintenance guidelines:
- Cleaning: Regularly wipe the solar panel and the display surface with a soft, damp cloth to remove dust, dirt, or debris. Avoid using abrasive cleaners or harsh chemicals, as these can damage the surface or the solar cells.
- Solar Panel Exposure: Ensure the solar panel remains unobstructed by leaves, snow, or other objects to allow for efficient charging.
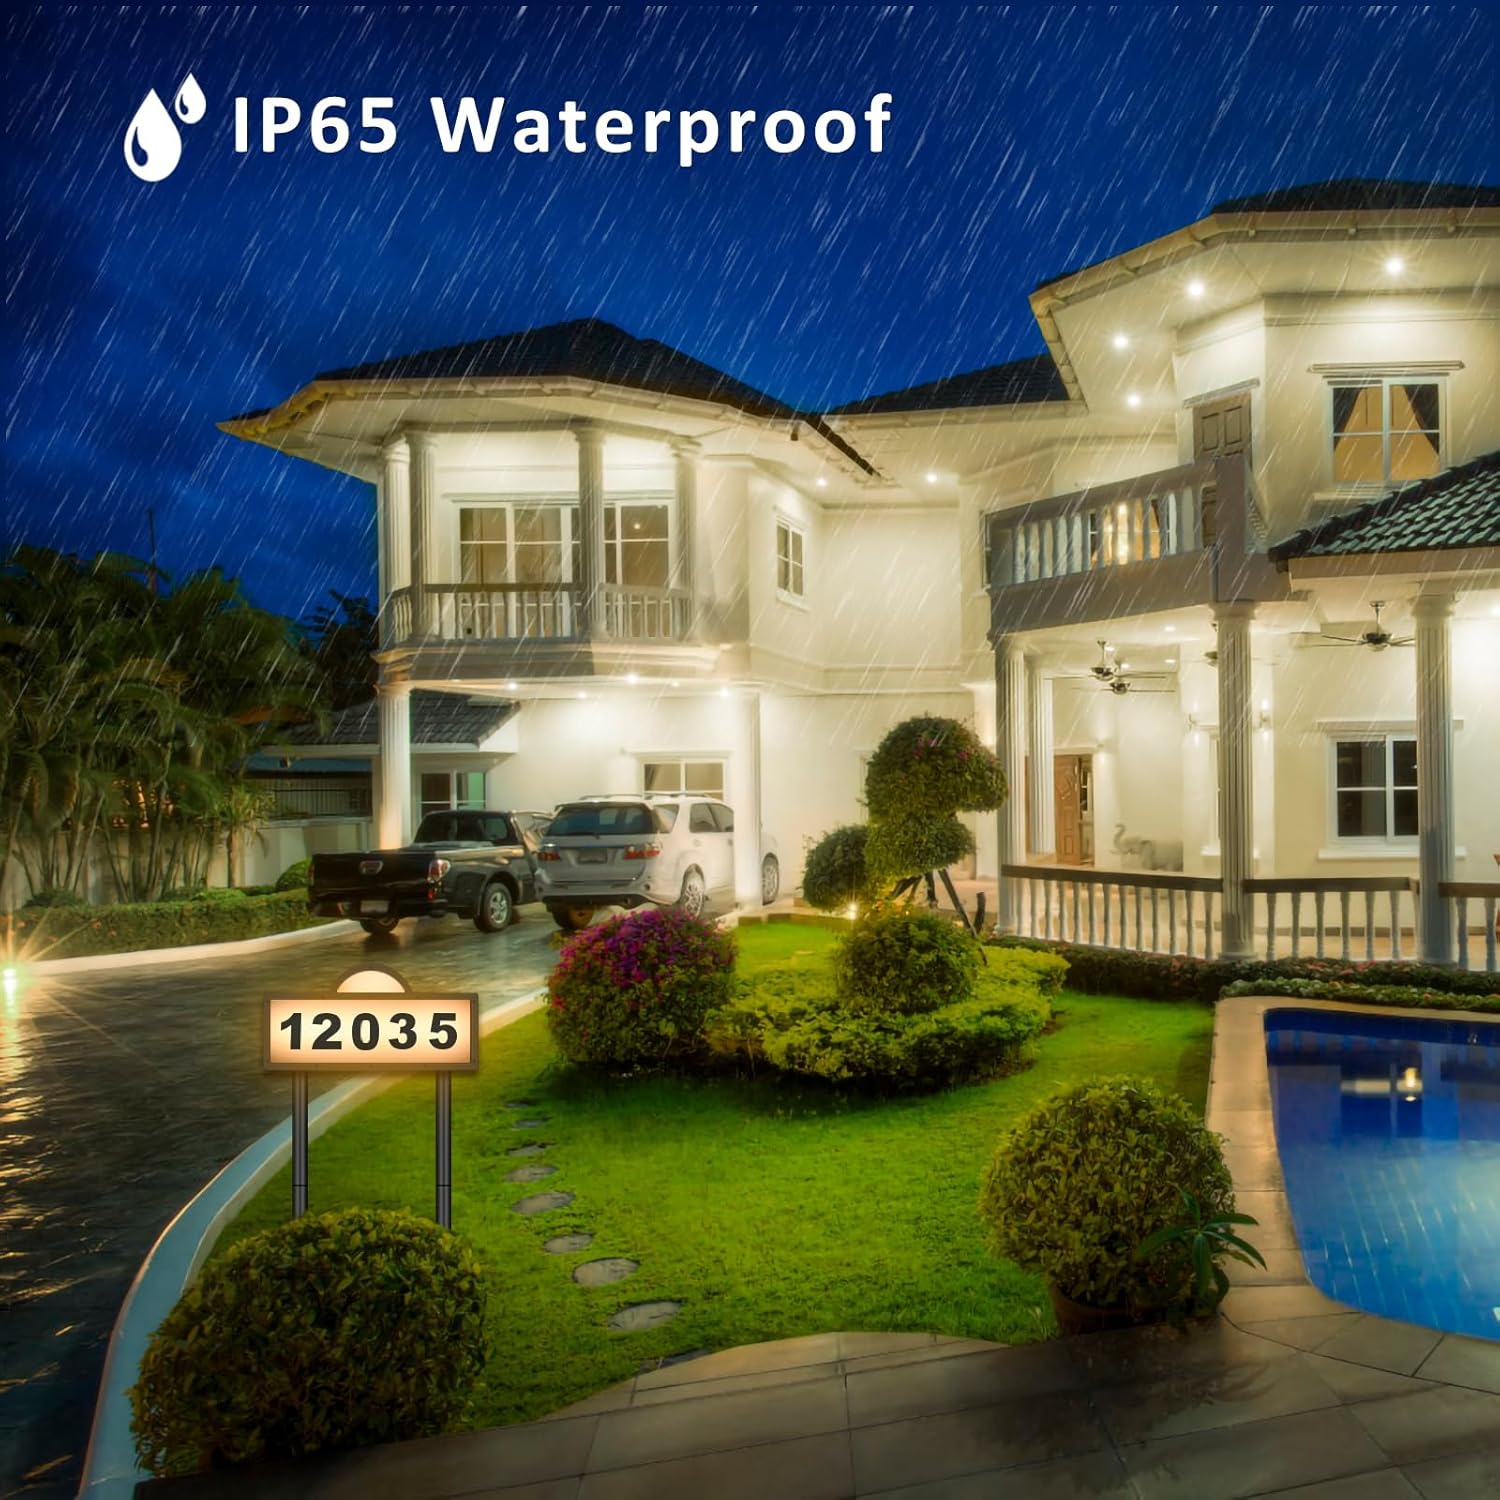
- Weather Resistance: The sign is IP65 waterproof, designed to withstand rain and other outdoor elements. However, extreme weather conditions may temporarily affect performance.
Troubleshooting
If your solar address sign is not functioning as expected, consider the following:
- Sign Not Lighting Up:
- Ensure the 'ON/OFF' switch on the back of the sign is in the 'ON' position.
- Verify that the solar panel receives at least 6-8 hours of direct sunlight daily. Relocate the sign if necessary.
- Check for any obstructions on the solar panel that might be blocking sunlight.
- Dim Light or Short Illumination Time:
- Insufficient charging due to cloudy weather or inadequate sunlight exposure can lead to dim light. Allow for several sunny days for a full charge.
- Ensure the solar panel is clean.
- Numbers Not Sticking:
- Ensure the sign's surface is clean and dry before applying numbers.
- Apply firm, even pressure when attaching the numbers.
Specifications
| Model Number | GE-WS156-New |
| Dimensions | 12.75 x 6.37 x 0.39 inches |
| Item Weight | 1.72 pounds |
| Material | Acrylonitrile Butadiene Styrene (ABS) |
| Light Type | LED (45 LEDs) |
| Color Modes | 2700K Warm White, 6500K Cool White |
| Battery Capacity | 2000mAh |
| Charging Time | 6-8 hours (direct sunlight) |
| Illumination Time | Up to 20 hours (on full charge) |
| Waterproof Rating | IP65 |
| Mounting Type | Wall Mount, Floor Standing |
Warranty and Support
This GEYUEYA Home product comes with a standard manufacturer's warranty. For specific warranty details, please refer to the product packaging or contact our customer support. If you encounter any issues or have questions regarding your solar address sign, please reach out to our support team for assistance. Contact information can typically be found on the product packaging or our official website.