VanSmaGo BL-HJ07
Astronaut Galaxy Projector User Manual
Brand: VanSmaGo | Model: BL-HJ07
Product Overview
The VanSmaGo Astronaut Galaxy Projector is a versatile device designed to transform any room into a captivating celestial experience. It features 13 distinct projection scenarios, an 8-color LED night light, and adjustable focus for clear, high-definition imagery. Its quiet operation and auto-off timer make it ideal for creating a serene environment for relaxation or sleep.
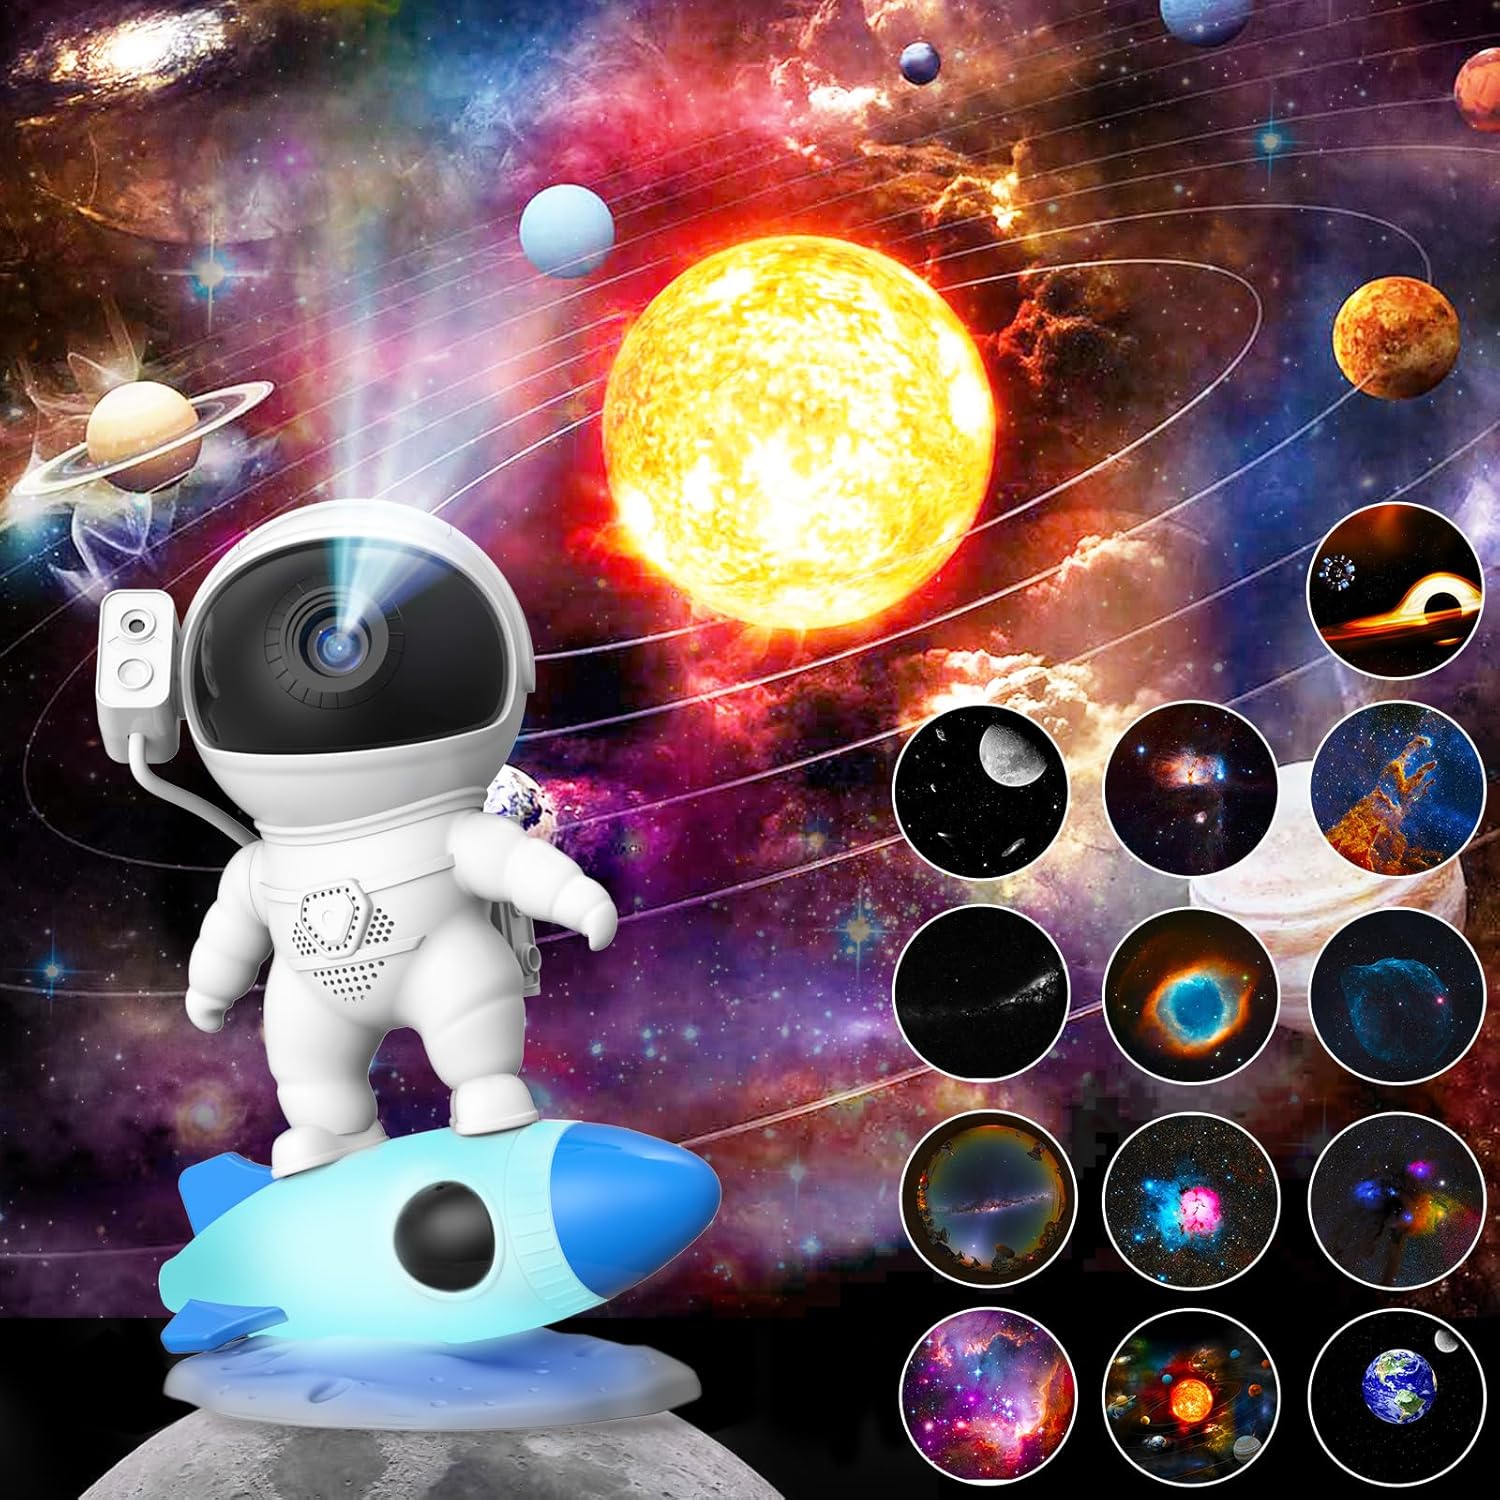
Image: The Astronaut Galaxy Projector showcasing its ability to project a realistic starry sky and nebula, with various film disc options visible.
Safety Information
Please read all safety instructions before using the projector. Keep the device away from water and high humidity. Do not attempt to disassemble or repair the unit yourself. Use only the provided Type-C cable for power. Ensure proper ventilation during operation. This product is not a toy and should be used under adult supervision for children.
Package Contents
Verify that all items are present and in good condition upon unboxing:
- 1 x Astronaut Galaxy Projector
- 13 x Film Discs (one disc is pre-inserted)
- 1 x Type-C USB Cable
- 1 x User Manual

Image: Contents of the package including the projector, film discs, and cable.
Product Features
- 13-in-1 Planetarium Projections: Explore a variety of celestial scenes including the Solar System, Earth, Moon, The Milky Way, Galaxy, Small Magellanic, The Flame Nebula, The Trifid Nebula, Starry Sky Palette, Sharpless 308, The Helix Nebula, Pillars Of Creation, and Black Hole.
- HD Projection & Adjustable Focus: Achieve clear and sharp images by rotating the top focusing head. Supports projection distances up to 16.4 feet and covers an area of 754 square feet.
- 360° Rotatable Angle: Project images onto ceilings, walls, or floors with ease.
- Super Quiet Operation & Auto-Off Timer: Enjoy a peaceful environment with silent operation. The built-in timer function allows for automatic shutdown, promoting a restful sleep. Note that the projected image rotation is intentionally slow to simulate real starry sky movement.
- 8-Color LED Night Light: The rocket base features an integrated night light with 8 changeable colors, adding an ambient glow.

Image: Visual representation of the 12 included film discs, each depicting a unique celestial body or phenomenon.

Image: Illustration demonstrating the adjustable focus mechanism on the projector's head.

Image: The projector's rocket base displaying its 8 different LED night light colors.
Setup Guide
- Unpack: Carefully remove the projector and all accessories from the packaging.
- Power Connection: Connect the provided Type-C USB cable to the projector's USB-C Port (5) and plug the other end into a compatible USB power adapter (not included) or a USB port on a computer.
- Placement: Place the projector on a stable, flat surface. For optimal projection, ensure the room is dark.
- Initial Film Disc: Verify that a film disc is already inserted into the projector. If not, or if you wish to change it, refer to the "Changing Film Discs" section.

Image: Labeled diagram of the projector's controls and ports for easy setup.
Operating Instructions
Power On/Off and Projection
Press the Power On/Off Button (1) to turn the projector on or off. The projector will begin displaying the inserted film disc.
Adjusting Focus
To achieve the clearest image, rotate the top focusing head of the astronaut's helmet. Adjust until the projected image is sharp on your desired surface.
Image: Illustration demonstrating the adjustable focus mechanism on the projector's head.
Changing Film Discs
The projector comes with 13 unique film discs. To change the projection scene:
- Gently pull out the currently inserted film disc from the slot.
- Select your desired new film disc. Ensure the disc is clean and free of dust or fingerprints.
- Insert the new film disc into the slot, making sure it is oriented correctly (usually with the image facing the projector lens).

Image: Visual guide for inserting and removing film discs.
Adjusting Rotation Speed
Press the Rotation Speed Button (2) to cycle through different rotation speeds for the projected image. The rotation is designed to be slow to simulate realistic celestial movement.
Setting the Auto-Off Timer
To set a timer for automatic shutdown, press the Timer Setting Button (3). The projector will turn off after the set duration. To cancel the timer, press the Timer Cancel Button (4).
Using the Night Light
Press the Night Light Button (6) located on the rocket base to activate the 8-color LED night light. Press repeatedly to cycle through the available colors.
Video Demonstration
Video: A demonstration of the Astronaut Galaxy Projector's features, including film disc installation, projection, and night light functions.
Maintenance
- Cleaning the Lens: Use a soft, lint-free cloth specifically designed for optical lenses to gently wipe the projector lens. Do not use abrasive cleaners or solvents.
- Cleaning Film Discs: Handle film discs by their edges to avoid fingerprints. If necessary, gently wipe them with a soft, dry cloth. Store discs in their protective cases when not in use.
- General Cleaning: Wipe the exterior of the projector with a soft, dry cloth. Do not immerse the device in water or any other liquid.
- Storage: When not in use for extended periods, store the projector in a cool, dry place, away from direct sunlight and extreme temperatures.
Troubleshooting Guide
| Problem | Possible Cause | Solution |
|---|---|---|
| Projector does not turn on. | No power connection or faulty cable. | Ensure the Type-C cable is securely connected to both the projector and a working power source. Try a different USB port or power adapter. |
| Projected image is blurry. | Focus not adjusted; dirty lens or film disc. | Rotate the top focusing head to adjust clarity. Clean the projector lens and film disc with a soft, lint-free cloth. |
| No image projected. | Film disc not inserted or incorrectly inserted. | Ensure a film disc is properly inserted into the slot. Refer to "Changing Film Discs" section. |
| Night light not working. | Night Light Button not pressed or power issue. | Press the Night Light Button (6). Check power connection. |
| Image rotation is too slow. | This is by design. | The rotation speed is intentionally slow to simulate realistic celestial movement. This is not a malfunction. |
Technical Specifications
| Feature | Detail |
|---|---|
| Brand | VanSmaGo |
| Model Number | BL-HJ07 |
| Product Dimensions | 5.1 x 6.4 x 9 inches |
| Item Weight | 1 Pound |
| Material | Acrylonitrile Butadiene Styrene (ABS) |
| Light Source Type | LED |
| Voltage | 5 Volts |
| Wattage | 500 Milliwatts |
| Connectivity Technology | USB (Type-C) |
| Projection Scenarios | 13 (Film Discs Included) |
| Night Light Colors | 8 |
| Projection Distance | Up to 16.4 ft (5 meters) |
| Projection Area | Up to 754 sq ft (70 sq meters) |
| Control Method | Push Button |
| Manufacturer Recommended Age | 12 months - 3 years |

Image: Dimensions of the Astronaut Galaxy Projector.
Warranty and Customer Support
VanSmaGo products are manufactured with quality and reliability in mind. For specific warranty details, please refer to the warranty card included with your purchase or contact our customer support.
Customer Support
If you encounter any issues or have questions regarding your Astronaut Galaxy Projector, please do not hesitate to contact us through the Amazon platform. Our support team is available to assist you.
For more information about VanSmaGo products, visit the official VanSmaGo Store on Amazon.