1. Introduction
This manual provides essential information for the proper installation, operation, and maintenance of your Anchilly Micro Switch, designed specifically for the Geek Chef FM9011E Air Fryer & 6-Slice Toaster Oven Combo. Please read these instructions carefully before proceeding with any installation or repair to ensure safe and effective use.
2. Product Overview
The Anchilly Micro Switch is a precision component engineered to restore or maintain the functionality of your Geek Chef FM9011E appliance. It ensures reliable electrical contact based on mechanical actuation, critical for the safe and intended operation of the air fryer and toaster oven combo.
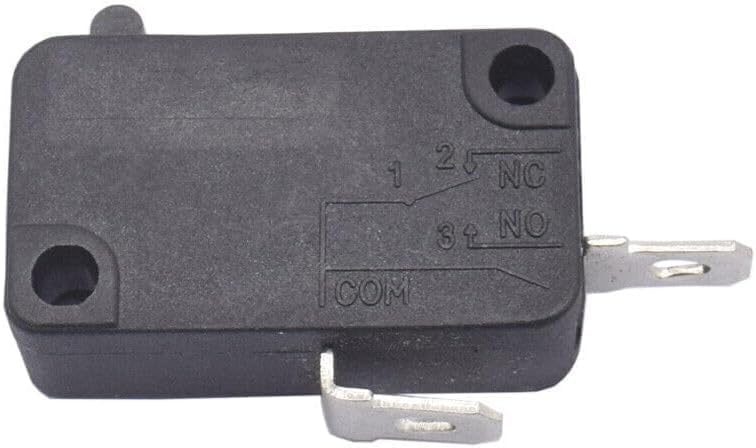
Figure 1: The Anchilly Micro Switch. This image displays the Anchilly Micro Switch, a small black rectangular component with three metal terminals labeled '1', '2', '3', 'NC' (Normally Closed), 'NO' (Normally Open), and 'COM' (Common). Two mounting holes are visible on the body, indicating points for secure attachment within the appliance.
3. Specifications
- Brand: Anchilly
- Model Number: gcFM9011E09
- Compatibility: Specifically designed for Geek Chef FM9011E Air Fryer & 6-Slice Toaster Oven Combo
- Power Rating: Compatible with 1700W appliances
- Function: Enhanced micro switch for optimal functionality
- Material: High-quality components for durability
4. Installation and Setup
Safety Warning: Before attempting any installation or repair, ensure the appliance is completely unplugged from the power source. Failure to do so may result in electric shock or injury. If you are unsure about any step, consult a qualified technician.
- Preparation: Disconnect the Geek Chef FM9011E appliance from the main power supply. Allow the appliance to cool down if it has been recently in use.
- Access: Carefully open the appliance casing to access the internal components, specifically the area where the micro switch is located. Refer to your appliance's service manual if available for specific disassembly instructions.
- Removal of Old Switch: Identify the existing micro switch. Note the wiring connections to each terminal (Common, Normally Open, Normally Closed). It is recommended to take a photograph before disconnecting wires. Carefully disconnect the wires and remove the old switch from its mounting.
- Installation of New Switch: Position the new Anchilly Micro Switch in the same location as the old one. Secure it using the original mounting hardware.
- Wiring: Reconnect the wires to the corresponding terminals on the new switch. Ensure connections are secure and match the original configuration (refer to your photograph). The terminals are typically labeled COM (Common), NO (Normally Open), and NC (Normally Closed).
- Reassembly: Carefully reassemble the appliance casing, ensuring all screws and fasteners are tightened appropriately.
- Testing: Plug the appliance back into the power source. Perform a functional test to ensure the micro switch operates correctly (e.g., door closure detection, button press response).
5. Operation
The micro switch functions as a safety or control mechanism within your appliance. When its actuator is pressed (e.g., by closing the oven door or pressing a button), it changes the state of its electrical contacts, either opening a normally closed circuit or closing a normally open circuit. This action signals the appliance's control board to perform a specific function or to enable/disable power to certain components.
6. Maintenance
The Anchilly Micro Switch is designed for long-term reliability and typically requires no routine maintenance. However, to ensure its longevity and proper function:
- Keep the internal environment of the appliance clean and free from excessive grease or debris, which could impede the switch's actuator.
- Avoid exposing the appliance to extreme temperatures or humidity beyond its operational specifications.
- If the appliance is moved, ensure no internal components, including the switch, are dislodged or damaged.
7. Troubleshooting
If your appliance exhibits issues related to the micro switch, consider the following:
- Appliance Not Starting/Responding: If the appliance does not power on or respond to controls after a door closure or button press, the micro switch may not be activating correctly. Check for proper installation and ensure the actuator is not obstructed.
- Intermittent Function: If the appliance sometimes works and sometimes doesn't, the switch contacts might be worn or dirty. Re-check wiring connections for looseness.
- Physical Damage: Inspect the switch for any visible physical damage, such as a broken actuator or cracked casing. A damaged switch will require replacement.
If troubleshooting steps do not resolve the issue, it is recommended to consult a professional appliance repair technician.
8. Warranty and Support
For specific warranty information regarding your Anchilly Micro Switch, please refer to the product packaging or contact your retailer. For technical support or further assistance, please reach out to the seller or manufacturer through the contact information provided at the point of purchase.