1. Introduction
Thank you for choosing the Energizer LED Headlamp PRO Series. This manual provides essential information for the safe and effective operation of your new headlamps. This pack includes two high-performance headlamps: the Energizer LED Headlamp PRO and the Energizer LED Headlamp Pro360. Both models are designed for durability and versatility, featuring IPX4 water resistance and multiple light modes suitable for various indoor and outdoor activities.
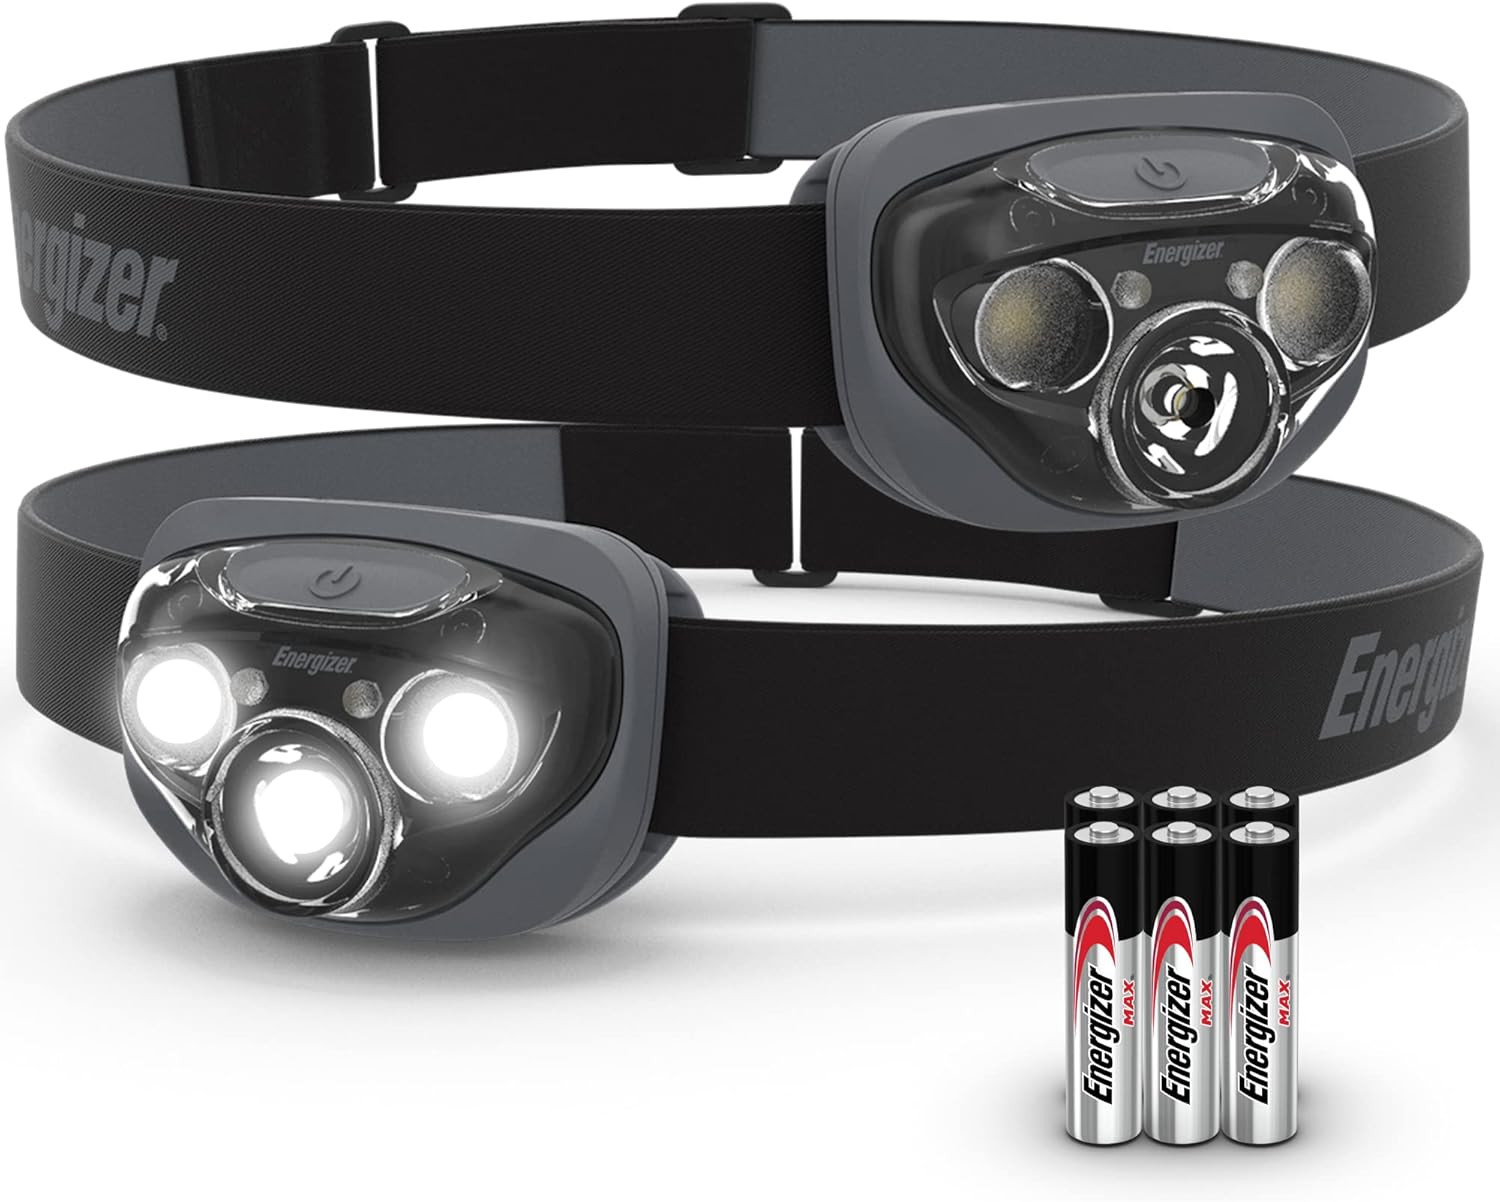
Image 1.1: The Energizer LED Headlamp PRO Series package, including two headlamps and AAA batteries.
2. Setup
2.1 Battery Installation
Your Energizer LED Headlamps require 3 AAA batteries each (included). Follow these steps to install or replace batteries:
- Locate the battery compartment on the back of the headlamp unit.
- Gently open the battery compartment cover. This may involve a latch or a small tab that needs to be lifted.
- Insert 3 AAA batteries, ensuring the positive (+) and negative (-) terminals align correctly with the markings inside the compartment. Incorrect insertion can prevent the headlamp from functioning.
- Close the battery compartment cover securely until it clicks into place. Ensure a tight seal to maintain water resistance.
2.2 Adjusting the Headband
The elastic headband is adjustable to fit various head sizes and can be worn over hats or helmets.
- Place the headlamp on your head.
- Use the adjustable buckle on the headband to tighten or loosen it until it feels secure and comfortable.
- The headlamp unit can be tilted up or down to direct the light beam as needed.
3. Operating Instructions
3.1 Power On/Off and Mode Selection (Energizer LED Headlamp PRO)
The Energizer LED Headlamp PRO features 7 light modes and Smart Dimming technology.
- Power On: Press the power button once to turn on the headlamp. It will typically start in the last used mode.
- Cycle Modes: Press the power button repeatedly to cycle through the available modes: Red, High, Low, Spot High, Spot Low, Wide High, Wide Low.
- Smart Dimming: In High, Low, Spot High, Spot Low, Wide High, or Wide Low modes, press and hold the power button to adjust the light intensity from 10% to 100%. Release the button at your desired brightness.
- Next Push Off: After a few seconds in any mode, the next press of the power button will turn the headlamp off, minimizing unnecessary mode cycling.
- Red LED Mode: The red LED mode is designed to preserve night vision and is ideal for situations where minimal light is required without affecting your eyes' adaptation to darkness.

Image 3.1: Demonstrating the 7 light modes, including the red LED for night vision.
3.2 Power On/Off and Mode Selection (Energizer LED Headlamp Pro360)
The Energizer LED Headlamp Pro360 offers 7 versatile light modes.
- Power On: Press the power button once to activate the headlamp.
- Cycle Modes: Press the power button repeatedly to cycle through the available modes: High, Low, Wide, Wide Low, Red, Flashing Red, Green.
- Power Off: After a few seconds in any mode, the next press of the power button will turn the headlamp off.
- Red LED Mode: Use the red LED mode to maintain night vision.
- Flashing Red Mode: The flashing red mode can be used for signaling or as a safety beacon.
- Green LED Mode: The green LED mode can be useful for specific tasks or to avoid startling wildlife.

Image 3.2: The headlamp provides extended run time, up to 35 hours on low setting.
4. Maintenance
4.1 Battery Care and Replacement
- Always use fresh, high-quality AAA alkaline batteries for optimal performance.
- If the headlamp will not be used for an extended period, remove the batteries to prevent leakage and potential damage to the device.
- Replace all three batteries at the same time. Do not mix old and new batteries or different battery types.
- Dispose of used batteries responsibly according to local regulations.
4.2 Cleaning
- To clean the headlamp, wipe the exterior with a soft, damp cloth.
- Do not use abrasive cleaners or solvents, as these can damage the housing or lens.
- Ensure the battery compartment is sealed before cleaning to maintain water resistance.
4.3 Storage
- Store the headlamp in a cool, dry place away from direct sunlight.
- Remove batteries if storing for more than a few weeks.
5. Troubleshooting
- Headlamp does not turn on:
- Check if batteries are installed correctly with the correct polarity (+/-).
- Ensure batteries are fresh and not depleted. Replace if necessary.
- Verify the battery compartment cover is fully closed.
- Light is dim or flickers:
- Batteries may be low. Replace with a fresh set of AAA batteries.
- Ensure battery contacts are clean and free of corrosion.
- Water ingress:
- The headlamps are IPX4 water resistant, meaning they are protected against splashing water from any direction. They are not designed for submersion.
- Ensure the battery compartment is properly sealed after battery installation.
6. Specifications
| Feature | Energizer LED Headlamp PRO | Energizer LED Headlamp Pro360 |
|---|---|---|
| Light Output (High Mode) | 260 Lumens | 360 Lumens |
| Beam Distance (High Mode) | Up to 80 meters | Up to 85 meters |
| Run Time (Low Mode) | Up to 35 hours | Up to 50 hours |
| Light Modes | Red, High, Low, Spot High, Spot Low, Wide High, Wide Low | High, Low, Wide, Wide Low, Red, Flashing Red, Green |
| Water Resistance | IPX4 (Splash Resistant) | |
| Drop Test Rating | 1-meter | |
| Power Source | 3 x AAA Alkaline Batteries (per headlamp) | |
| Special Features | Smart Dimming, Next Push Off | N/A |
7. Warranty and Support
7.1 Warranty Information
Energizer products are manufactured to high-quality standards. For specific warranty details, please refer to the warranty card included with your product packaging or visit the official Energizer website. Keep your purchase receipt as proof of purchase for any warranty claims.
7.2 Customer Support
If you encounter any issues or have questions regarding your Energizer LED Headlamp PRO Series, please contact Energizer customer support through their official website or the contact information provided on the product packaging. Please have your product model and purchase details ready when contacting support.