Introduction
Thank you for choosing the VINGLI 12x10 FT Retractable Patio Awning. This manual provides essential information for the safe and efficient assembly, operation, and maintenance of your awning. Please read all instructions carefully before installation and use. Keep this manual for future reference.
Safety Information
- Ensure all components are securely fastened before and after installation.
- Do not operate the awning in strong winds, heavy rain, or snow. Retract the awning to prevent damage.
- Keep children and pets away from the awning during operation.
- Do not hang objects from the awning frame or fabric.
- Regularly inspect the awning for any signs of wear or damage. Discontinue use if damage is found and contact customer support.
Package Contents
Verify that all parts are present before beginning assembly. If any parts are missing or damaged, please contact VINGLI customer service.
- 1 x Retractable Awning Unit (12x10 FT, Khaki)
- 1 x Manual Crank Handle (59-inch long)
- Mounting Hardware Kit (specific components may vary, refer to parts list in packaging)
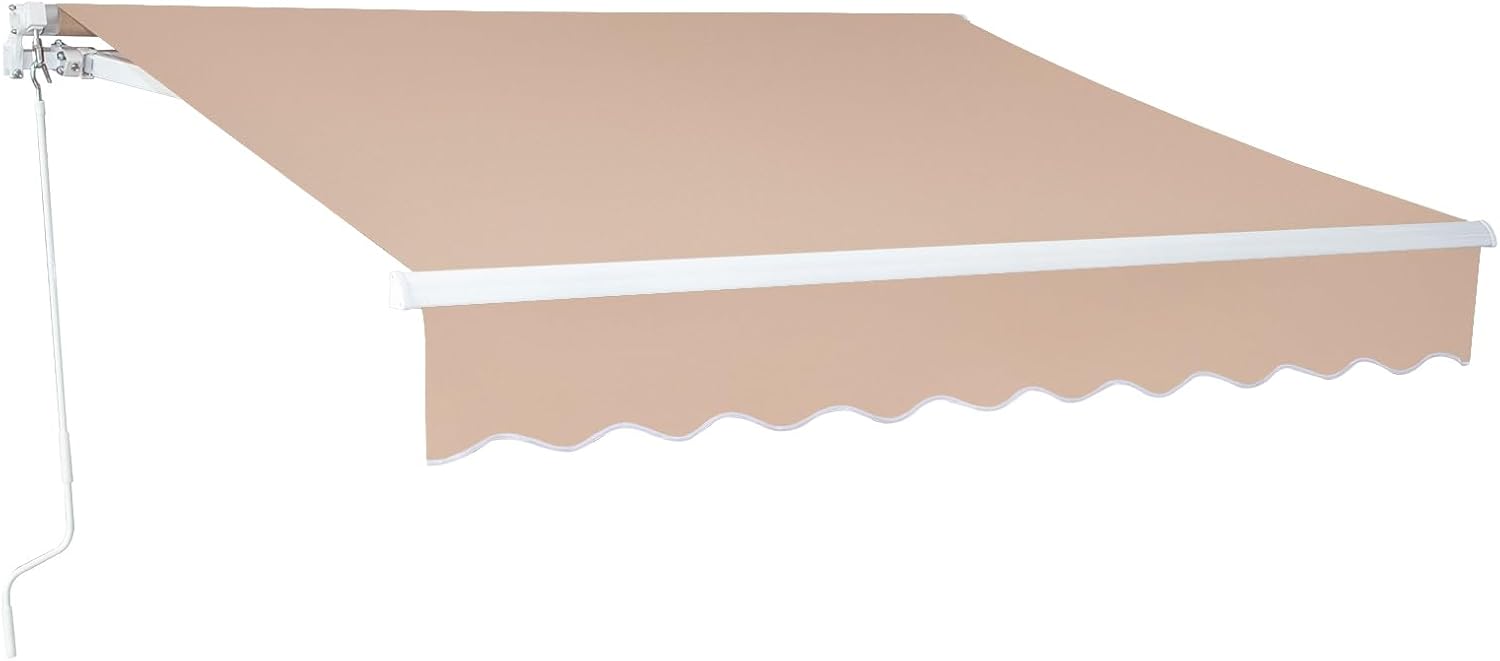
Image: Overview of the VINGLI 12x10 FT Retractable Patio Awning in Khaki, showing its full extension over a patio area.
Specifications
| Feature | Detail |
|---|---|
| Model Number | awning1210734 |
| Dimensions (W x D) | 12 ft x 10 ft (144"W x 117.6"D) |
| Color | Khaki |
| Material | Polyester fabric (280gsm, double-sided PU coating), Aluminum, Alloy Steel |
| Operation Mode | Manual (Crank Handle) |
| Adjustable Tilt Angle | 45° to 90° |
| UV Resistance | UV30+ |
| Water Resistance | Yes |
| Wind Resistance Rating | 4 |
| Assembly Required | Yes |

Image: Diagram illustrating the product dimensions, including the 11.5 ft width and 9.8 ft projection.
Setup and Installation
Proper installation is crucial for the safety and performance of your awning. It is recommended that three people assist with the assembly and installation process.
Required Tools (Not Provided):
- Drill with appropriate drill bits for your wall type
- Tape Measure
- Wrench
- Level
- Pencil for marking
Installation Guidelines:
- Location Selection: The awning is suitable for installation on balcony brick walls, concrete walls, or wooden walls adjacent to patios. Ensure the mounting surface is structurally sound and can support the weight of the awning.
- Ideal Height: The recommended installation height is between 8 feet and 12 feet from the ground.
- Clearance: If installing above a door or window, allow for an extra 11.75 inches of clearance above the structure to accommodate the awning mechanism.
- Mounting Brackets: Securely attach the mounting brackets to the chosen wall using appropriate fasteners for your wall type. Ensure the brackets are level and spaced correctly according to the detailed instructions provided in your product packaging. The durable mounting brackets are reinforced with steel rope for added stability.
- Awning Attachment: Carefully lift and attach the awning unit to the installed mounting brackets. Ensure all connections are tight and secure.
- Crank Handle Assembly: Attach the 59-inch crank handle to the designated mechanism on the awning.

Image: A VINGLI retractable awning fully extended over a patio, demonstrating a typical installation scenario.

Image: Close-up view highlighting the durable materials and reinforced mounting brackets of the awning.

Image: Detailed view of the awning's components, including the extra gasket for stability, thickened sturdy rocker arm, and premium connecting parts.
Operating Instructions
The VINGLI Retractable Patio Awning operates manually using the provided crank handle.
- Extending the Awning: Insert the crank handle into the designated loop on the awning mechanism. Turn the handle clockwise to extend the awning fabric. Continue turning until the desired projection is achieved or the awning is fully extended.
- Retracting the Awning: To retract the awning, turn the crank handle counter-clockwise. Continue turning until the awning is fully retracted against the wall.
- Adjusting the Tilt Angle: The awning's tilt angle can be adjusted from 45° to 90°. This adjustment typically involves loosening specific bolts on the arm joints, setting the desired angle, and then re-tightening the bolts. Refer to the detailed diagrams in your product packaging for precise adjustment points.
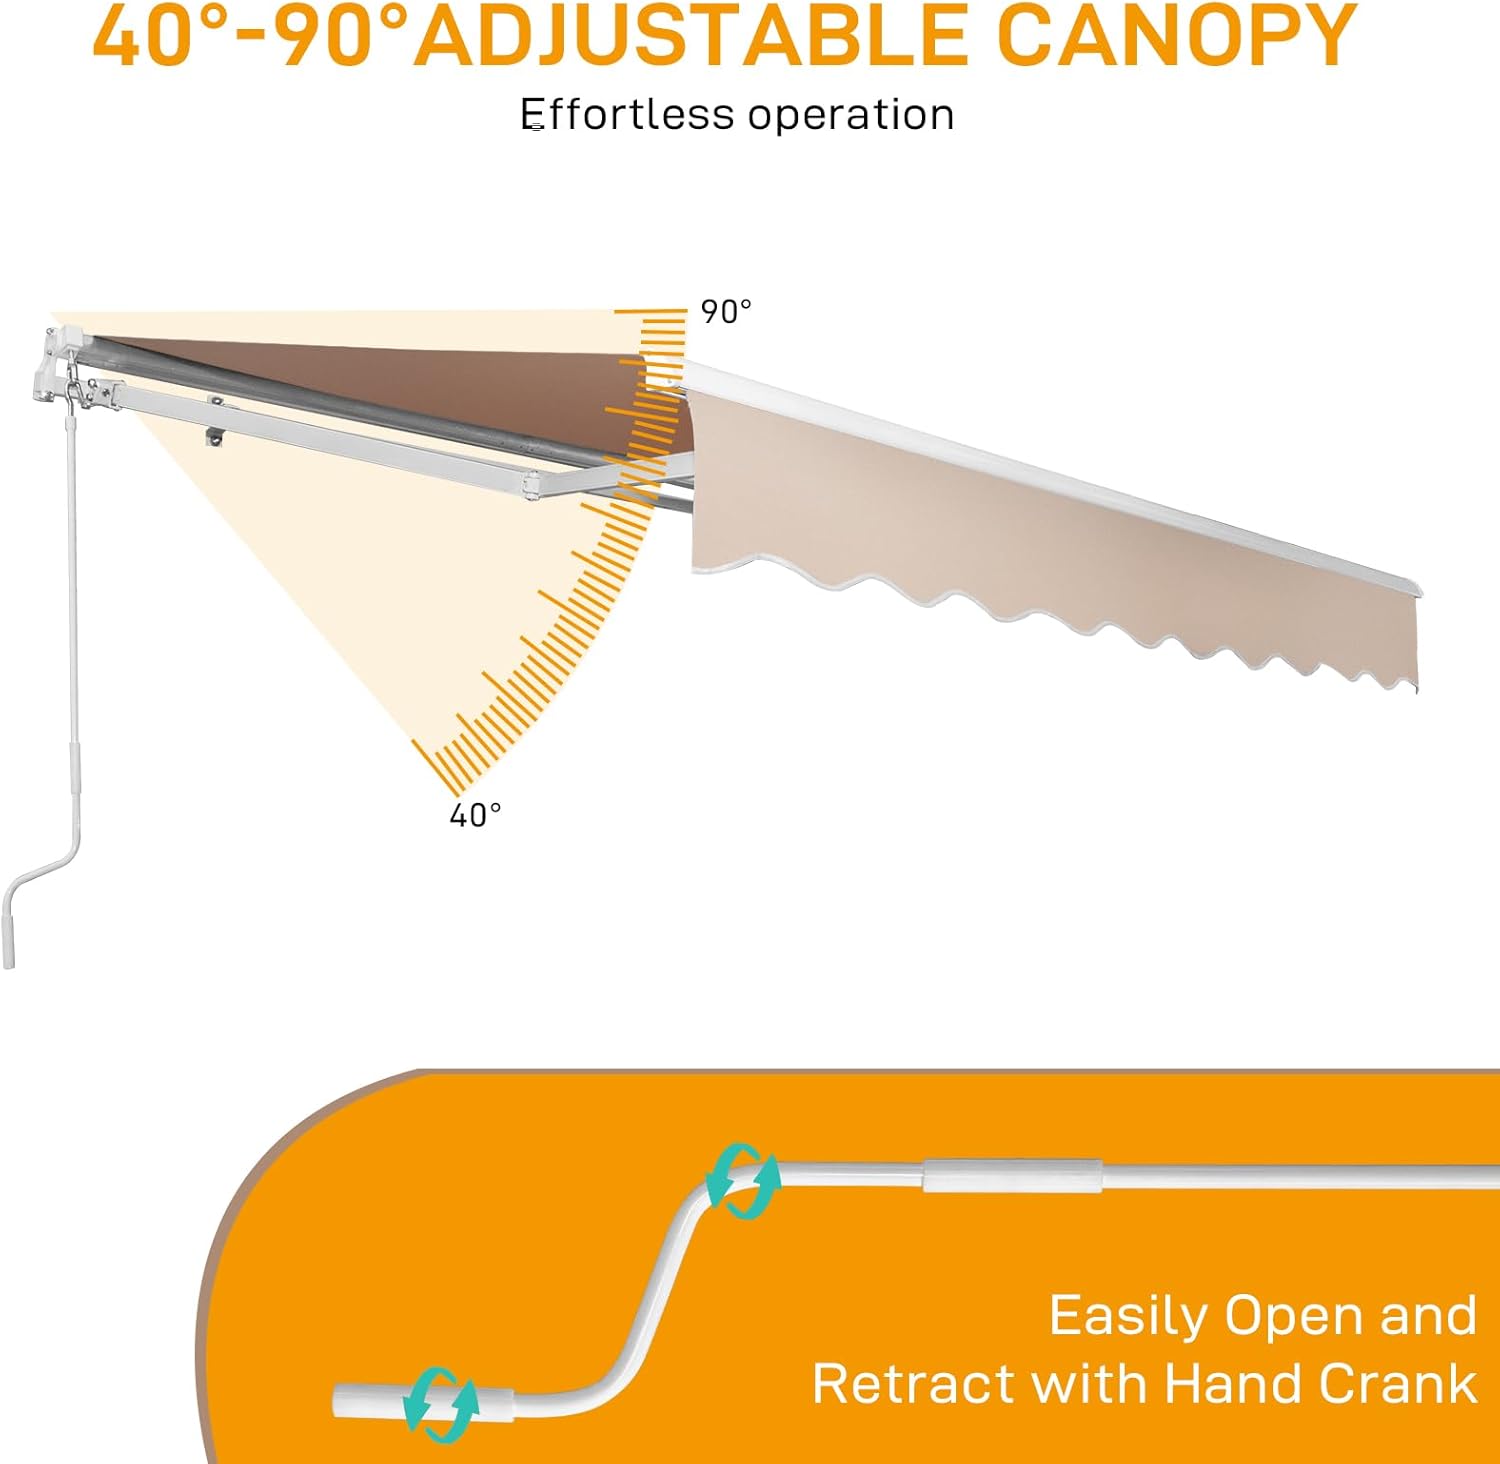
Image: Illustration showing the 40-90 degree adjustable canopy feature and the manual crank handle for easy opening and retraction.
Maintenance
Regular maintenance will prolong the life and appearance of your VINGLI awning.
- Cleaning the Fabric: The 280gsm polyester fabric with double-sided PU coating is water and fade resistant. Clean the fabric periodically with mild soap and water. Use a soft brush or sponge. Rinse thoroughly with clean water and allow to air dry completely before retracting. Do not use harsh chemicals or abrasive cleaners.
- Frame Maintenance: The aluminum alloy frame is designed to be durable and withstand various weather conditions. Wipe down the frame with a damp cloth to remove dirt and debris. Check all bolts and screws periodically and tighten if necessary.
- Winter Storage: In areas with heavy snow or ice, it is recommended to keep the awning fully retracted during winter months to prevent damage.
- Inspection: Regularly inspect the fabric for tears, the frame for bends or cracks, and the operating mechanism for smooth function. Address any issues promptly.
Troubleshooting
This section addresses common issues you might encounter with your retractable awning.
| Problem | Possible Cause | Solution |
|---|---|---|
| Awning does not extend or retract smoothly. | Obstruction in the mechanism; loose or damaged crank; fabric caught. | Check for any obstructions. Ensure the crank handle is properly engaged. Inspect the fabric for snags. If the issue persists, contact customer support. |
| Awning sags in the middle. | Incorrect tilt angle; water pooling on fabric; frame components loose. | Adjust the tilt angle to allow for proper water runoff. Ensure all frame connections are secure. Retract the awning during rain. |
| Awning fabric appears dirty or stained. | Accumulation of dirt, dust, or mildew. | Clean the fabric as per the "Maintenance" section using mild soap and water. |
Warranty and Support
For specific warranty details, please refer to the warranty card included with your product packaging or contact VINGLI customer service directly. Keep your purchase receipt as proof of purchase.
If you encounter any issues not covered in this manual or require further assistance, please contact VINGLI customer support through their official website or the retailer where the product was purchased.
VINGLI Official Website: Visit VINGLI Store on Amazon


