1. Introduction
This manual provides essential information for the installation, operation, and maintenance of the Generic OEM Replacement Dryer Timer, model 572D520P031. This component is designed as a direct replacement for specific Fisher & Paykel dryer models. Please read this manual thoroughly before attempting any installation or repair to ensure safe and correct usage.
2. Safety Information
WARNING: Disconnect power to the dryer before servicing. Failure to do so can result in electrical shock, fire, or personal injury.
- Always ensure the dryer is unplugged or the circuit breaker is turned off before beginning any work.
- Wear appropriate personal protective equipment (PPE), such as gloves and safety glasses.
- If you are unfamiliar with appliance repair procedures, it is recommended to seek assistance from a qualified technician.
- Handle the timer carefully to avoid damage to its components.
- Ensure all connections are secure and correctly made before restoring power.
3. Setup and Installation
This section outlines the general steps for replacing the dryer timer. Specific disassembly and reassembly procedures for your dryer model may vary. Refer to your dryer's service manual for detailed instructions.
3.1 Pre-Installation Checks
- Verify that the replacement timer (Model 572D520P031) matches the original timer in your dryer.
- Ensure all necessary tools are available (e.g., screwdrivers, pliers, multimeter).
- Confirm the dryer is completely disconnected from its power source.
3.2 Installation Steps
- Access the Timer: Depending on your dryer model, you may need to remove the control panel, top panel, or front panel to access the timer.
- Disconnect Wiring: Carefully label and disconnect all wires connected to the old timer. Take photos for reference if needed.
- Remove Old Timer: Unscrew or unclip the old timer from its mounting bracket.
- Install New Timer: Position the new 572D520P031 timer in the mounting bracket and secure it with screws or clips.
- Connect Wiring: Reconnect all wires to the new timer according to your labels or photos. Ensure connections are snug.
- Reassemble Dryer: Reattach any panels or components that were removed.
- Test Functionality: Restore power to the dryer and test the timer's operation through various cycles.
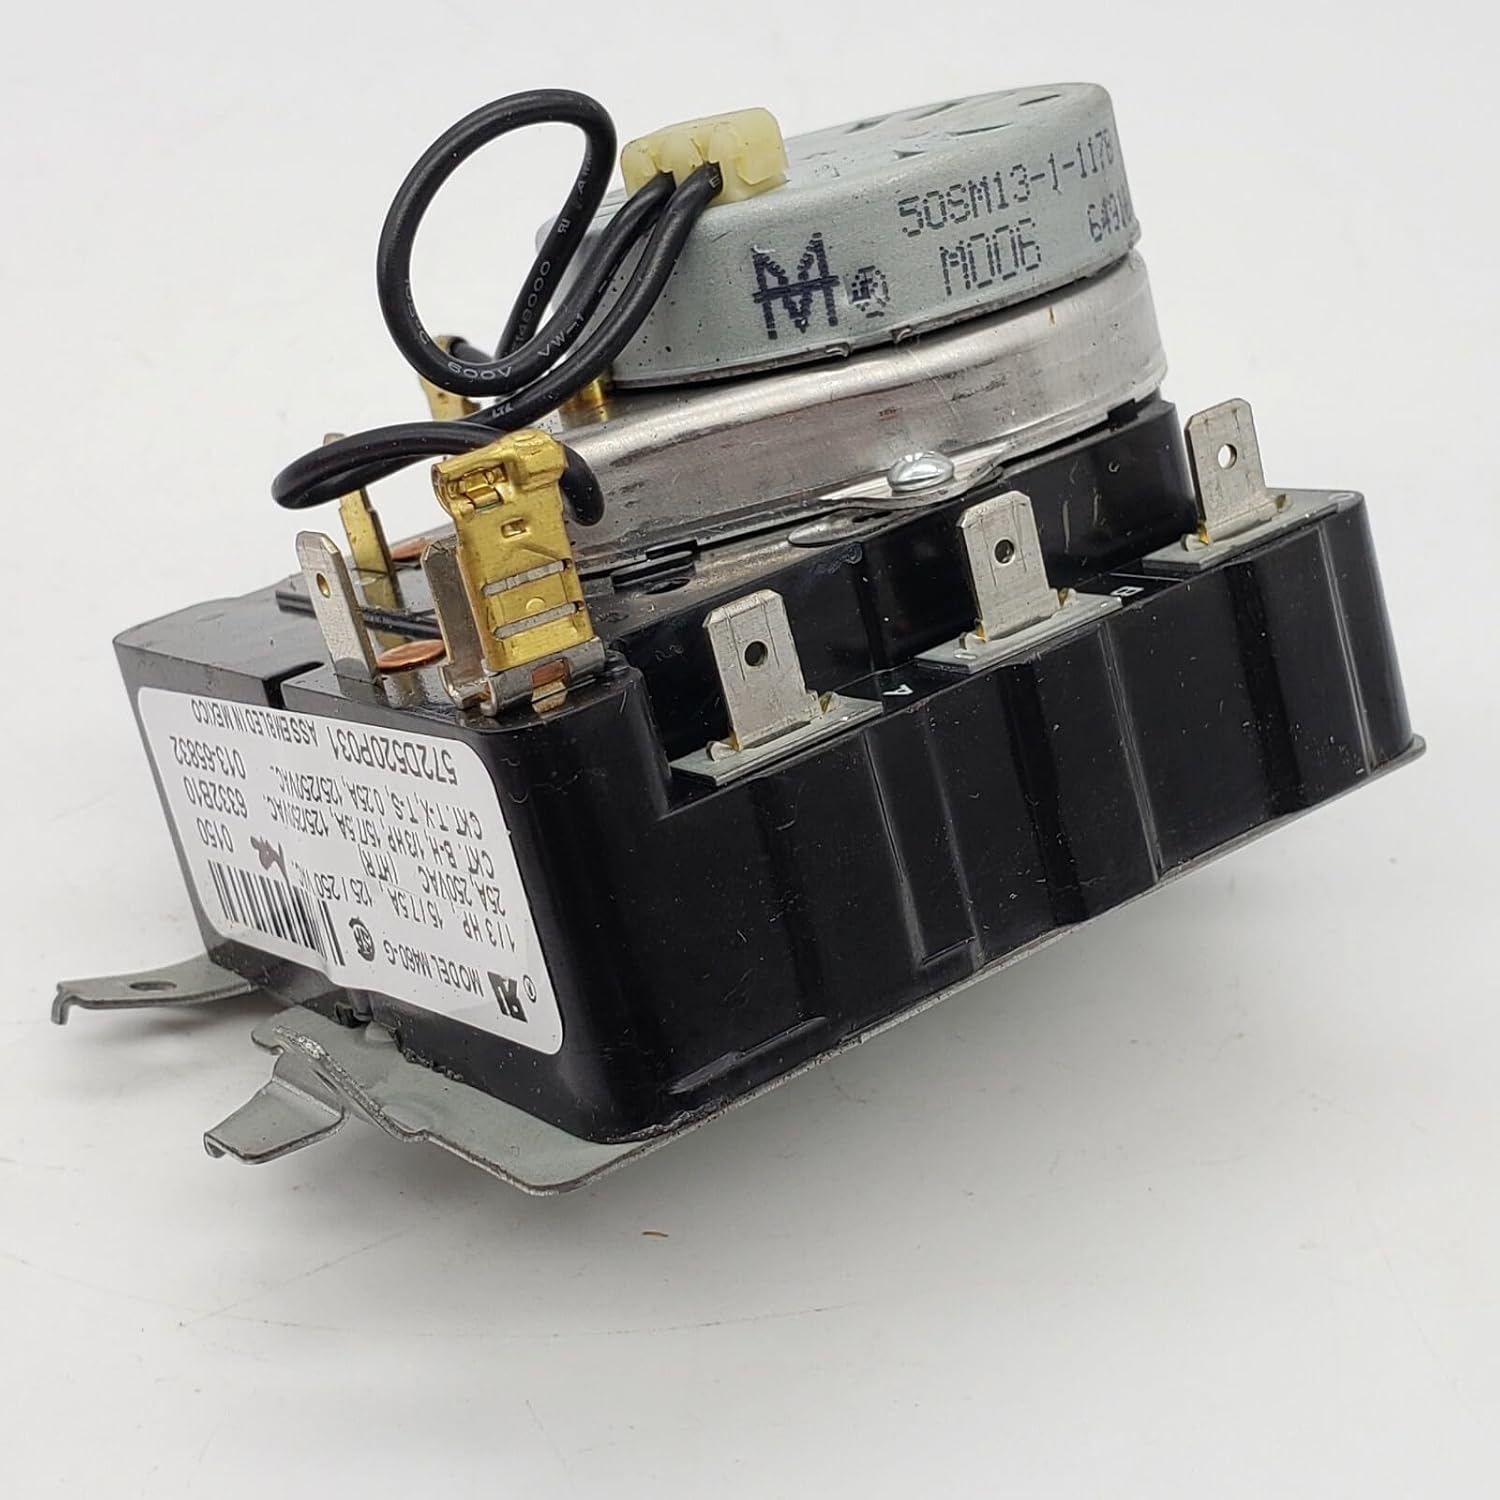
Figure 3.2.1: Front view of the replacement dryer timer 572D520P031, showing electrical terminals and motor assembly. This image illustrates the general appearance of the timer before installation.
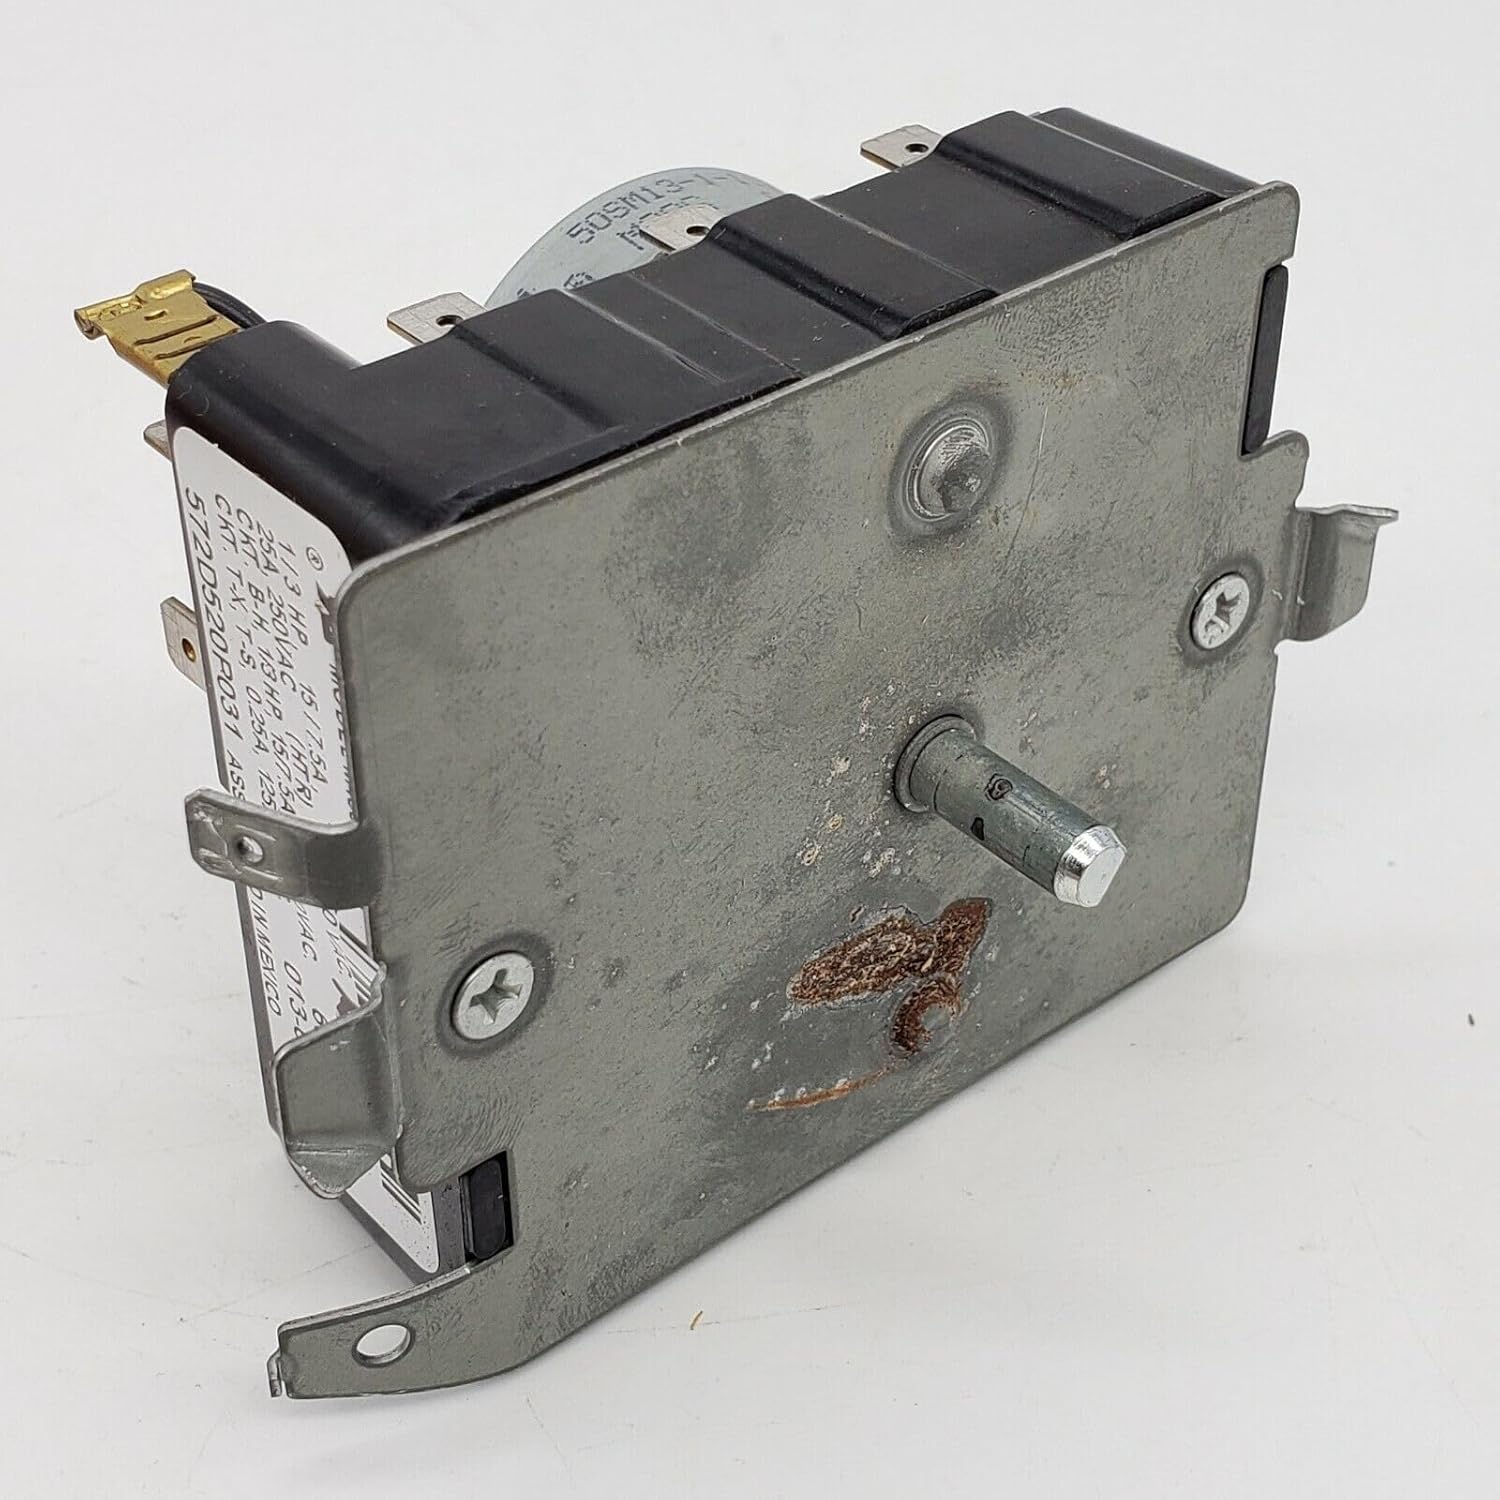
Figure 3.2.2: Side view of the dryer timer, highlighting the mounting plate and the control shaft. This perspective is useful for understanding how the timer is secured within the dryer's control panel.
4. Operating Instructions
The dryer timer controls the duration of the drying cycle and, in some cases, the heat settings. Once installed, the operation of the timer is integrated with your dryer's control panel.
- Cycle Selection: Rotate the dryer's control knob to select the desired drying cycle (e.g., Timed Dry, Permanent Press, Delicates). The timer will advance through the selected cycle.
- Start Function: After selecting a cycle, press the dryer's start button. The timer motor will begin to advance, counting down the drying time.
- Automatic Shut-off: The timer is designed to automatically shut off the dryer once the selected cycle is complete, preventing over-drying and conserving energy.
- Manual Advance: Avoid manually forcing the timer knob to advance, as this can damage the internal mechanism.
5. Maintenance
The dryer timer itself requires minimal maintenance. Regular inspection of the dryer's overall condition is recommended.
- Periodic Inspection: During other dryer maintenance (e.g., cleaning lint trap, checking vent), visually inspect the timer and its wiring for any signs of wear, corrosion, or loose connections.
- Cleaning: If the control panel area becomes dusty, gently wipe it with a dry, soft cloth. Do not use liquid cleaners directly on the timer or electrical components.
- Professional Check: If you notice any unusual behavior from the timer, such as not advancing or erratic operation, consult a qualified technician.
6. Troubleshooting
If you experience issues with your dryer after replacing the timer, consider the following common troubleshooting steps. Always ensure power is disconnected before inspecting internal components.
6.1 Common Issues
- Dryer Not Starting:
- Check if the dryer is properly plugged in and the circuit breaker is not tripped.
- Ensure the door is fully closed.
- Verify all wires to the timer are securely connected.
- The timer itself might be faulty, or another component (e.g., door switch, thermal fuse) could be preventing operation.
- Timer Not Advancing:
- This often indicates a faulty timer motor or a problem with the timer's internal mechanism.
- Ensure the dryer is actually running (heating and tumbling) when the timer is set. If not, other components may be at fault.
- Dryer Runs Continuously or Shuts Off Too Soon:
- This can point to a defective timer that is not correctly regulating the cycle duration.
- For continuous running, check for stuck contacts within the timer.
If these steps do not resolve the issue, it is advisable to contact a qualified appliance repair technician for further diagnosis and repair.
7. Specifications
Key specifications for the Generic OEM Replacement Dryer Timer 572D520P031.

Figure 7.1: Close-up view of the timer's identification label, displaying model number 572D520P031 and electrical specifications. This label is crucial for verifying part compatibility.
| Feature | Specification |
|---|---|
| Model Number | 572D520P031, WE4M321, WM1363 |
| Type | Dryer Timer |
| Compatibility | Replacement for Fisher & Paykel 572D520P031 |
| Power Source | Electric |
| Item Weight | 2 pounds |
| Product Dimensions | 1 x 1 x 1 inches (Approximate) |
| Color | Multicolored |
8. Warranty and Support
For information regarding the warranty of this replacement part, please refer to the terms and conditions provided by your retailer or the manufacturer at the time of purchase. As this is a generic OEM replacement part, warranty coverage may vary.
For technical support or assistance with installation, it is recommended to consult a certified appliance technician or contact the vendor from whom the part was purchased.