1. Introduction
This manual provides essential information for the proper installation, operation, and maintenance of your Kidde Hardwired Smoke Detector, Model 20SA10. This device is designed to provide early warning of smoke presence, enhancing the safety of your home or office environment. It features a 10-year sealed battery backup and interconnectivity with compatible alarms.

Figure 1: Kidde Hardwired Smoke Detector, Model 20SA10
2. Safety Information
Read all instructions before installation and operation. Keep this manual for future reference. This smoke detector is intended for residential and commercial use as specified by local codes and regulations. Ensure proper placement to maximize effectiveness.
2.1 Important Warnings
- Electrical Hazard: Installation requires working with 120V AC wiring. Ensure main power is turned OFF at the circuit breaker before beginning installation.
- Placement: Do not place alarms within 6 feet of appliances that produce combustion particles (e.g., furnaces, water heaters, space heaters, stoves, ovens, dryers). Refer to local codes and the user guide for specific placement guidelines.
- Testing: Test the alarm weekly to ensure proper operation.

Figure 2: Recommended Hazard Type Placement Guide

Figure 3: State Smoke Alarm Requirements Map
3. Package Contents
Verify that all items are present before beginning installation:
- Kidde Hardwired Smoke Detector (Model 20SA10)
- Mounting Hardware (screws, wire nuts)
- User Guide
4. Features
- Smoke Detection: Sounds a loud 85-decibel alarm with 3 long beeps and a flashing red LED light when smoke is detected.
- Hardwired with 10-Year Battery Backup: Operates on 120V AC wiring with a sealed 10-year lithium battery, eliminating the need for battery changes.
- Enhanced Sensing Technology: Reduces false alarms often caused by cooking.
- Self-Testing Alarm: Internal components ensure continuous operation. Regular manual testing is still recommended.
- Interconnect Capability: When one alarm sounds, all interconnected alarms will sound. Refer to the user guide for compatibility with other Kidde models.
- LED Warning Light Indicators: Provides visual status: green for normal operation, amber for operating error, and red for smoke detection.
- Test and Hush Button: Allows for easy testing of the alarm and temporary silencing of nuisance alarms.
- Modern 5-inch Design: Compact and suitable for various living spaces.

Figure 4: Modern 5-inch Design

Figure 5: Reduced Nuisance Alarms
5. Setup and Installation
5.1 Prepare for Installation
Before starting, ensure you have the necessary tools: screwdriver, wire strippers, and a voltage tester. Turn off the main power to the circuit at your home's electrical panel before proceeding.
5.2 Mounting Bracket Installation
The alarm comes with a twist-and-click mounting bracket. Secure the mounting bracket to the electrical box using the provided screws. Ensure the bracket is firmly attached to the ceiling or wall.

Figure 6: Simple Installation Process
5.3 Wiring Connections (Hardwired)
Connect the alarm's wire harness to your home's electrical wiring. Match the colors: black to black (hot), white to white (neutral), and red to red (interconnect, if applicable). Use the provided wire nuts to secure connections. Push any excess wire back into the electrical box.
5.4 Battery Activation
This model features a 10-year sealed lithium battery that activates automatically when the alarm is twisted onto the mounting bracket. A confirmation beep will sound upon successful activation.

Figure 7: Hardwired + 10-Year Battery Backup
5.5 Attaching the Alarm
Align the alarm with the mounting bracket and twist clockwise until it clicks securely into place. Restore power at the circuit breaker.
5.6 Installation Video
Video 1: Official Kidde Detector Installation Guide. This video demonstrates the step-by-step process for installing your Kidde smoke detector, including mounting and wiring connections.
6. Operating Instructions
6.1 LED Indicators
The LED light on the alarm provides visual status:
- Green LED: Indicates normal operation and AC power.
- Amber LED: Indicates an operating error or fault.
- Red LED: Flashes with 3 long beeps when smoke is detected.
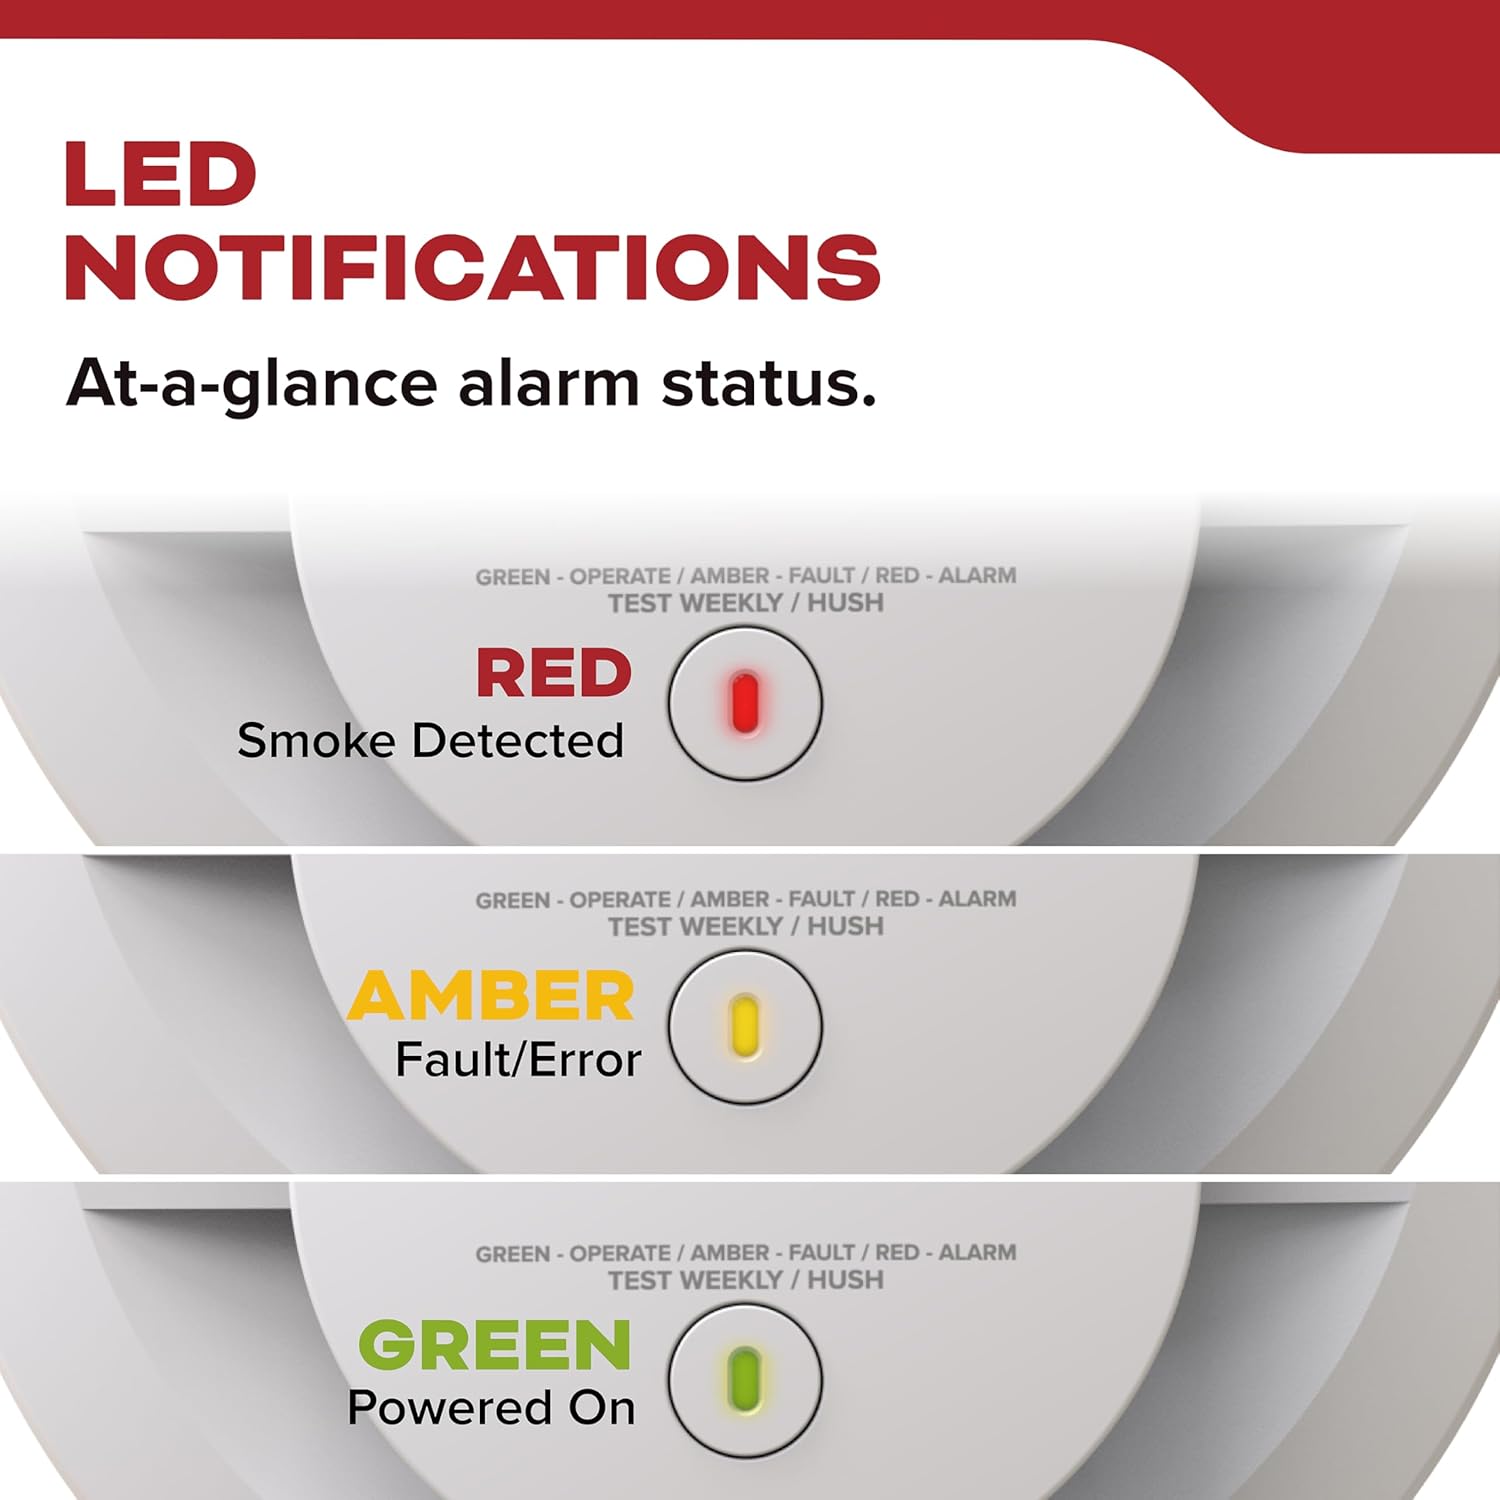
Figure 8: LED Notification States
6.2 Testing the Alarm
Press and hold the Test/Hush button on the alarm until the alarm sounds. Release the button. The alarm will sound a series of beeps, confirming its functionality. Test weekly.

Figure 9: Self-Testing Alarm
6.3 Hush Feature
In case of a nuisance alarm (e.g., from cooking smoke), press the Test/Hush button to temporarily silence the alarm for approximately 10 minutes. The alarm will automatically reset after this period.
6.4 Interconnected Alarms
If multiple compatible Kidde alarms are interconnected, when one alarm detects smoke, all connected alarms will sound, providing comprehensive coverage throughout your property.
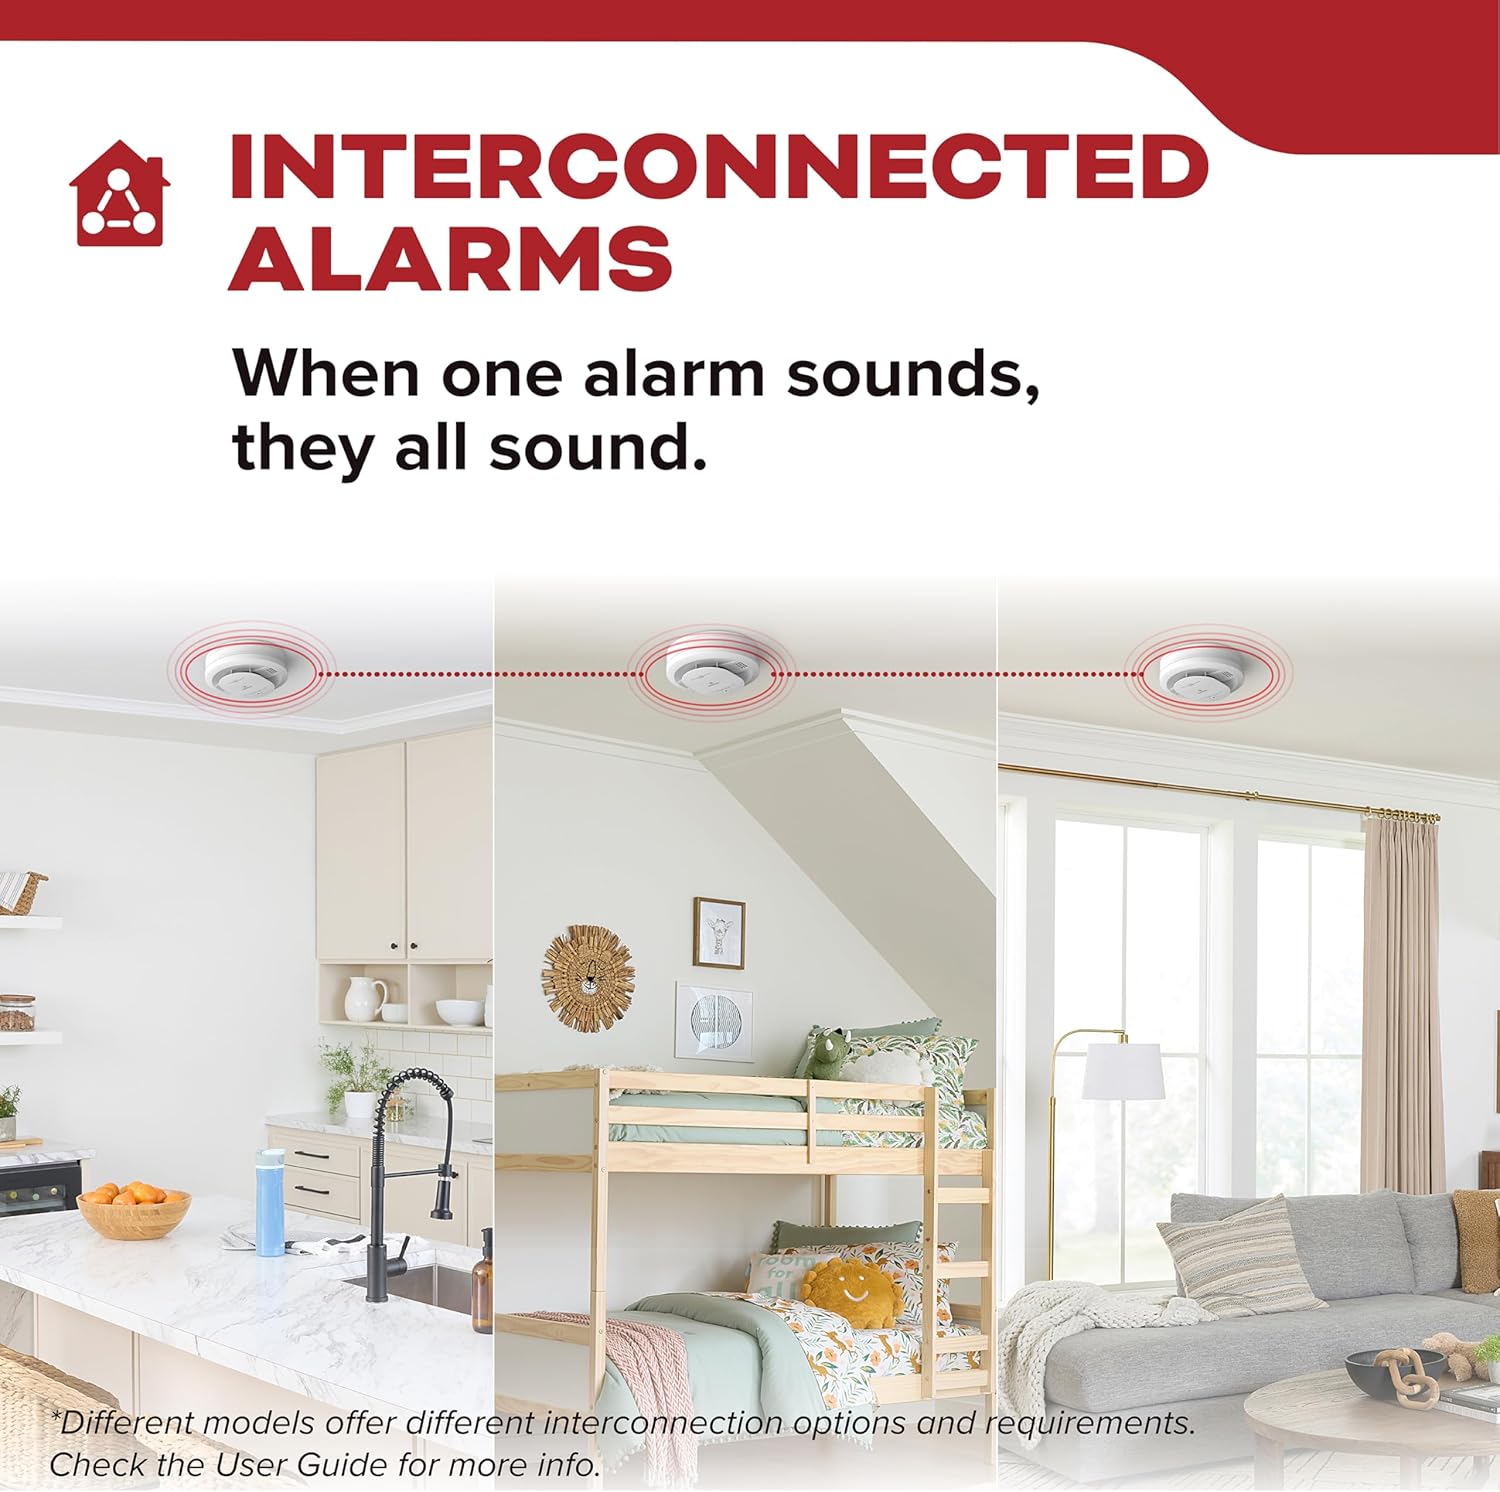
Figure 10: Interconnected Alarms
7. Maintenance
7.1 Weekly Testing
Test your smoke alarm weekly by pressing the Test/Hush button. This verifies the alarm's electronic circuitry, horn, and battery function.
7.2 Cleaning
Clean your smoke alarm at least once a month to remove dust and debris. Use a soft brush attachment on your vacuum cleaner to vacuum around the alarm's vents. Do not paint the alarm.
7.3 End of Unit Life
The alarm has a 10-year operational life. After 10 years from the installation date, the alarm should be replaced. The alarm will indicate its end-of-life by chirping twice every 60 seconds with an amber LED blink.
8. Troubleshooting
| Problem | Possible Cause | Solution |
|---|---|---|
| Alarm chirps once every 60 seconds (Amber LED blinks once). | Low battery. | This model has a sealed 10-year battery. If chirping occurs before 10 years, the unit may be faulty and needs replacement. |
| Alarm chirps twice every 60 seconds (Amber LED blinks twice). | End of unit life. | Replace the smoke alarm immediately. |
| Alarm sounds frequently without smoke. | Nuisance alarm (cooking, steam), dust/debris, high humidity. | Press the Hush button. Clean the alarm. Relocate if nuisance alarms persist due to environmental factors. |
| Alarm does not sound during test. | No power, faulty unit. | Check AC power connection. Ensure battery is activated. If problem persists, replace the unit. |
9. Specifications
| Feature | Detail |
|---|---|
| Model Number | 20SA10 |
| Power Source | 120V AC Hardwired with 10-Year Sealed Lithium Battery Backup |
| Sensor Type | Photoelectric |
| Alarm Loudness | 85 dB at 10 feet |
| Product Dimensions | 1.88"D x 5"W x 5"H |
| Item Weight | 9.4 ounces |
| Operating Humidity | Up to 95% relative humidity (RH), non-condensing |
| Upper Temperature Rating | 100 Degrees Fahrenheit |
| Certifications | UL 217 9th Edition, FCC, CSFM |
10. Warranty and Support
This Kidde smoke detector comes with a 10-year limited warranty, which begins when the alarm is powered on. If the installation date is unknown, it should be assumed that alarms should be replaced after 10 years from the manufacturing date. For service or support, please contact Kidde customer service at 1-800-880-6788 or visit their website.

Figure 11: 10-Year Limited Warranty


