
1. Introduction
Congratulations on your purchase of the Philips Walita PowerChop 1000 Food Processor. This versatile appliance is designed to simplify your food preparation tasks with its powerful 1000W motor, two speeds plus pulse function, and a range of six accessories. The unique PowerChop technology ensures superior chopping results. This manual provides essential information for safe and efficient use of your new food processor.
2. Important Safety Information
Please read this instruction manual carefully before using the appliance and save it for future reference. Failure to follow these instructions may result in electric shock, fire, or serious injury.
- Always unplug the appliance before cleaning, assembling, or disassembling parts.
- Do not immerse the motor unit in water or any other liquid. Clean with a damp cloth only.
- Keep hands and utensils away from moving blades or discs while processing food to prevent injury. Use the pusher provided.
- Ensure all parts are correctly assembled and locked before operating the appliance.
- Do not process hot liquids in the blender jar to avoid scalding. Allow hot ingredients to cool before processing.
- Never use accessories or parts from other manufacturers or those not specifically recommended by Philips Walita.
- This appliance is intended for household use only.
- Keep the appliance out of reach of children.
3. Product Components
Your Philips Walita PowerChop 1000 Food Processor comes with the following components:
- Motor Unit: The base of the appliance containing the 1000W motor and control knob.

Image: The main motor unit of the Philips Walita PowerChop 1000 Food Processor, featuring the control knob and branding.
- Processor Bowl with Lid: A 1.5-liter capacity bowl for processing various ingredients.
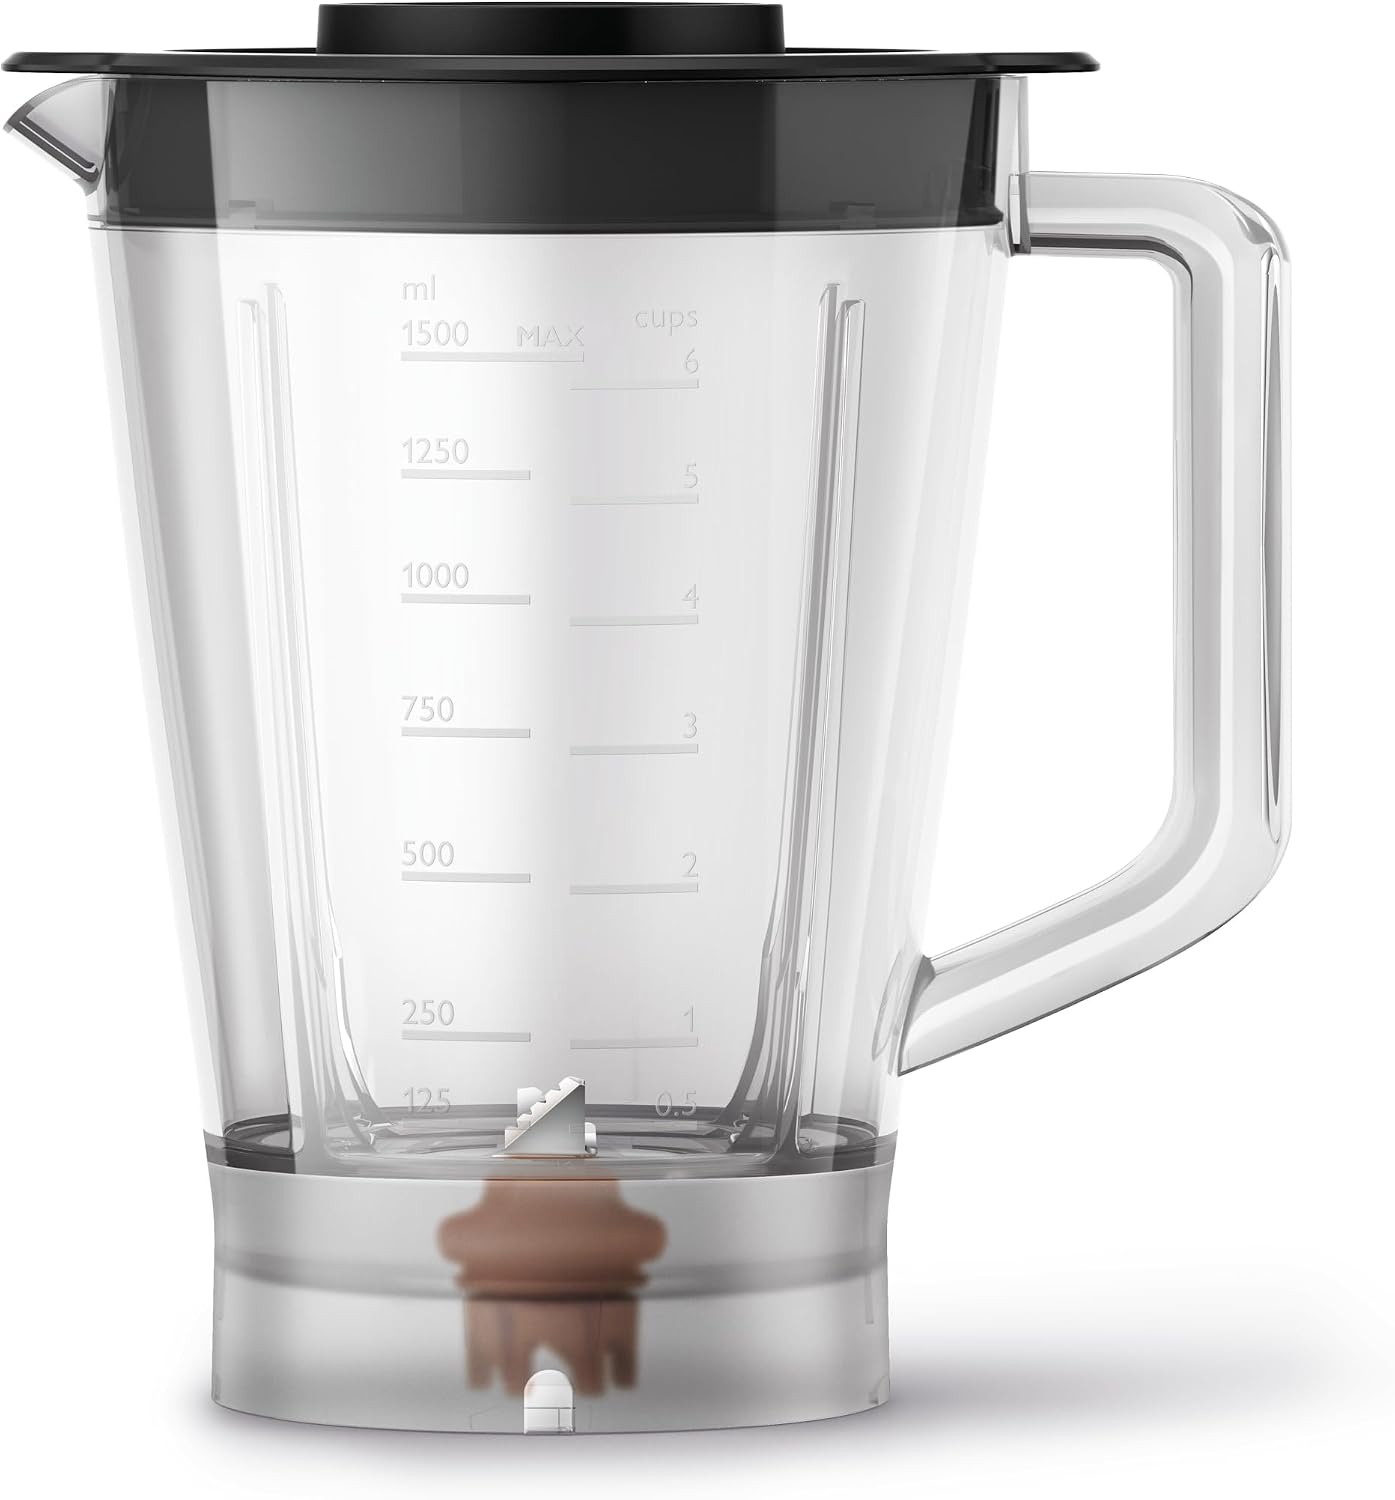
Image: The transparent processor bowl with its lid and the PowerChop blade inserted, ready for use.
- PowerChop Processing Blade: Designed for superior chopping, mincing, and pureeing.

Image: A close-up view of the Philips Walita PowerChop blade, featuring its unique design for efficient processing.
- Blender Jar (2L total, 1.5L usable capacity): For blending liquids, smoothies, and sauces.

Image: The transparent blender jar with measurement markings and its integrated blade.
- Reversible Grating and Slicing Disc: For grating and slicing vegetables, cheese, and more.

Image: The orange reversible disc for grating, showing the grating surface.

Image: The orange reversible disc for slicing, showing the slicing blade.
- Grinding Mill: For grinding coffee beans, spices, and nuts.

Image: A close-up view of the grinding mill attachment with its blade.
- Citrus Press: For extracting juice from citrus fruits.

Image: The orange citrus press attachment, showing the reamer and strainer.
- Dough Tool: For kneading dough for bread, pizza, and pastries.

Image: The orange dough tool attachment, designed for kneading.
4. Setup and Assembly
Before first use, wash all detachable parts in warm soapy water and rinse thoroughly. Ensure all parts are completely dry before assembly.
- Assemble the Processor: Place the processor bowl onto the motor unit. Turn it clockwise until it locks into place.
- Insert Accessory: Choose the desired accessory (e.g., PowerChop blade, grating disc) and place it onto the drive shaft inside the bowl.
- Attach Lid: Place the lid onto the processor bowl and turn it clockwise until it locks. The appliance will not operate if the lid is not correctly locked.
- Assemble the Blender: Place the blender jar onto the motor unit. Turn it clockwise until it locks into place. Ensure the blender lid is securely fastened.
- Color Code Function: The appliance features a color code system. Match the color of the accessory (orange) with the corresponding speed setting on the control knob for intuitive operation.
5. Operating Instructions
Always ensure the appliance is assembled correctly and plugged into a 220V power outlet before operation.
General Operation
- Speed Settings: Turn the control knob to speed 1 or 2. Speed 1 is for softer ingredients or lighter tasks, while Speed 2 is for harder ingredients or more intensive processing.
- Pulse Function: For short bursts of power or to achieve a coarse consistency, turn the control knob to the 'P' (Pulse) setting and hold it. Release to stop.
Using Specific Accessories
- PowerChop Processing Blade: Ideal for chopping vegetables, mincing meat, pureeing baby food, or making sauces. Add ingredients to the bowl, secure the lid, and select a speed.
- Blender Jar: Use for blending smoothies, soups, sauces, and crushing ice. Do not exceed the maximum fill line (1.5L usable capacity).
- Grating and Slicing Disc: Insert the disc with the desired side (grating or slicing) facing up. Use the pusher to feed ingredients through the feed tube. Do not push with excessive force.
- Grinding Mill: Attach the grinding mill to the motor unit. Add dry ingredients like coffee beans or spices. Operate at speed 2 or pulse until desired consistency is reached.
- Citrus Press: Assemble the citrus press onto the motor unit. Cut citrus fruits in half and press them onto the reamer to extract juice.
- Dough Tool: For kneading light to medium doughs. Add flour and liquids to the bowl, attach the dough tool, and operate at speed 1 or 2 until the dough forms a ball.
6. Maintenance and Cleaning
Regular cleaning ensures optimal performance and extends the life of your appliance. Always unplug the food processor before cleaning.
- Motor Unit: Wipe the motor unit with a damp cloth. Never immerse it in water or rinse it under the tap.
- Detachable Parts: All detachable parts (bowls, lids, blades, discs, etc.) are dishwasher safe or can be washed by hand in warm soapy water.
- Blades and Discs: Handle blades and discs with extreme care as they are very sharp. Use a brush for cleaning if necessary.
- Storage: The appliance features a retractable cord for compact storage. Store all accessories neatly to prevent damage.
7. Troubleshooting
If you encounter problems with your appliance, refer to the following table for common issues and solutions.
| Problem | Possible Cause | Solution |
|---|---|---|
| Appliance does not start. | Parts not assembled correctly or lid not locked. | Ensure the bowl/jar and lid are correctly assembled and locked into place. |
| Motor stops during operation. | Overload protection activated. | Unplug, remove some ingredients, and let the motor cool down for 15 minutes before restarting. |
| Ingredients not processed evenly. | Too many ingredients or ingredients are too large. | Process smaller batches or cut ingredients into smaller pieces. Use the pulse function for better control. |
| Vibration or excessive noise. | Appliance not on a stable surface or uneven load. | Place the appliance on a flat, stable surface. Distribute ingredients evenly. |
8. Specifications
| Feature | Specification |
|---|---|
| Model Number | HR7304/90 |
| Power | 1000 Watts |
| Voltage | 220 Volts |
| Processor Bowl Capacity | 1.5 Liters |
| Blender Jar Usable Capacity | 1.5 Liters (2L total) |
| Speeds | 2 speeds + Pulse function |
| Material | Plastic, SAN |
| Dimensions (L x W x H) | 22 x 19.5 x 18 cm |
| Weight | 4 kg |
| Special Features | Cord storage, Adjustable speed control, Safety lock, Manual |
9. Warranty and Support
Your Philips Walita PowerChop 1000 Food Processor comes with a 2-year global warranty from the date of purchase. Please retain your proof of purchase for warranty claims.
For technical support, service, or to purchase spare parts, please visit the official Philips Walita website or contact your local Philips Walita customer service center. Contact information can typically be found in the warranty booklet included with your product or on the brand's official website.