1. Introduction
Thank you for choosing the HAPPYGRILL Portable 2-Burner Gas Grill. This manual provides essential information for the safe assembly, operation, and maintenance of your new grill. Please read all instructions carefully before use and retain this manual for future reference.
This portable gas grill features two 10,000 BTU burners, a 119 square inch cooking area, and a built-in thermometer for precise temperature control. Its compact design with foldable legs and a portable handle makes it suitable for outdoor use, including RV trips, camping, and picnics.
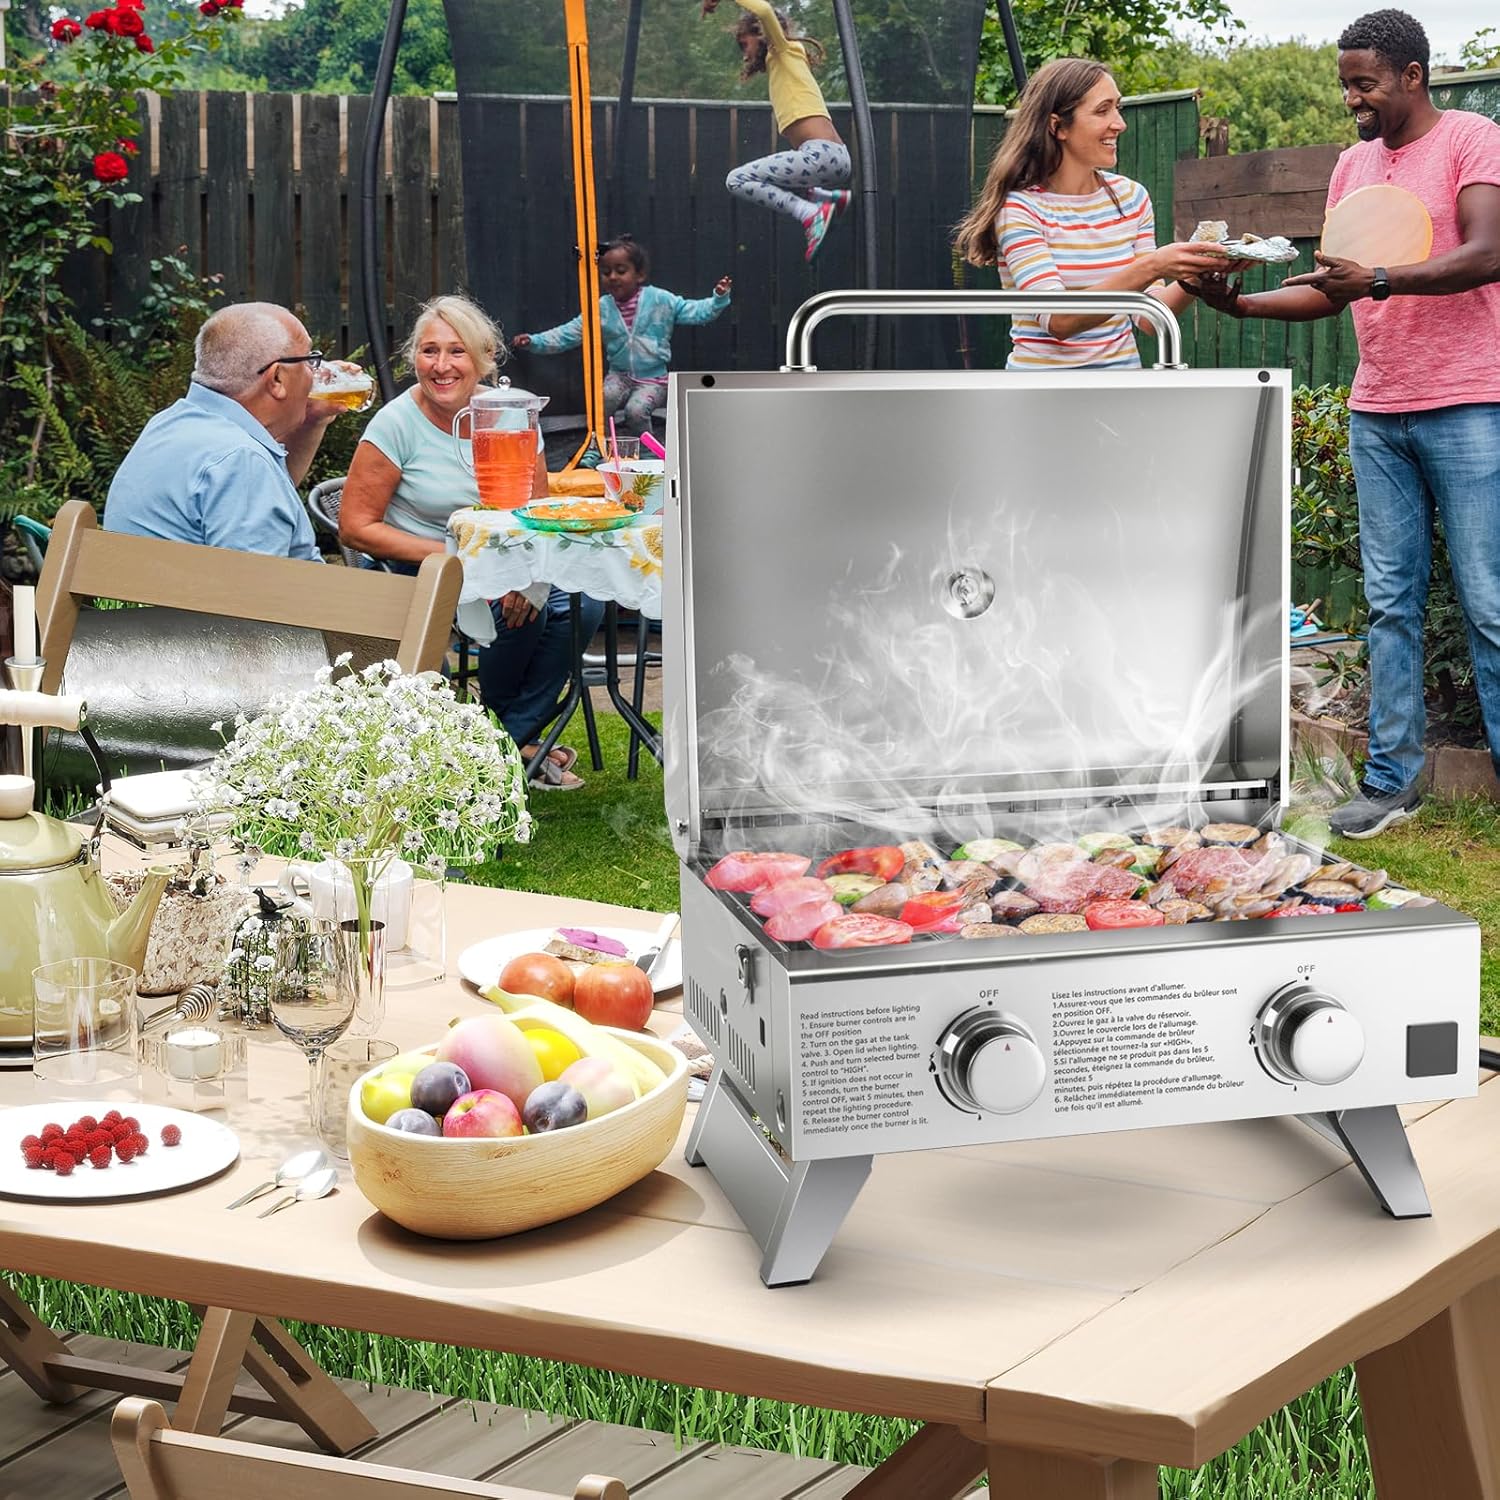
Image: The HAPPYGRILL Portable Gas Grill in an outdoor setting, demonstrating its use for cooking various foods.
2. Important Safety Information
WARNING: Failure to follow these instructions could result in fire, explosion, or burn hazard, which could cause property damage, personal injury, or death.
- For outdoor use only. Do not operate this appliance inside any building, garage, or other enclosed area.
- Do not store or use gasoline or other flammable vapors and liquids in the vicinity of this or any other appliance.
- An LP cylinder not connected for use shall not be stored in the vicinity of this or any other appliance.
- Keep children and pets away from the grill at all times.
- Always ensure the grill is on a stable, level, non-combustible surface.
- Do not leave the grill unattended while in use.
- Wear protective gloves when handling hot surfaces.
- Ensure proper ventilation during operation.
- Always check for gas leaks before each use.
3. Package Contents
Verify that all components are present before beginning assembly. If any parts are missing or damaged, do not attempt to assemble or operate the grill. Contact customer support for assistance.
- 1 x Portable Gas Grill Unit
- 1 x Grill Grate
- 2 x Flame Tamers
- 1 x Regulator Hose with Gas Connector
- 1 x Instruction Manual (this document)

Image: An exploded view of the grill components, including the main unit, grill grate, and flame tamers, along with key dimensions.
4. Assembly Instructions
Assembly is required before first use. Please follow these steps carefully. It is recommended to have a short screwdriver for certain screws.
- Unpack Components: Carefully remove all parts from the packaging. Inspect for any damage.
- Attach Legs: The grill comes with foldable legs. Unfold each leg and secure it into position. Ensure the locking mechanisms are engaged. Note: Some users have reported difficulty aligning screw holes for leg attachment. Exercise caution and patience. A short screwdriver may be helpful.
- Install Flame Tamers: Place the two flame tamers over the burners inside the grill body. Ensure they are seated correctly.
- Place Grill Grate: Position the stainless steel grill grate on top of the flame tamers.
- Connect Regulator Hose: Attach the regulator hose to the gas inlet on the side of the grill. Hand-tighten securely.

Image: Details of the foldable legs and locking latches, highlighting the grill's portability features.
5. Setup Before Use
- Position the Grill: Place the grill on a stable, level, non-combustible surface, away from any flammable materials. Ensure adequate clearance from walls or other structures.
- Connect Propane Cylinder: Connect the regulator hose to a 20 lbs propane cylinder (not included). Turn the cylinder valve clockwise until hand-tight. Do not overtighten.
- Leak Test: Before first use and after any cylinder change, perform a leak test.
- Mix a solution of equal parts liquid dish soap and water.
- Ensure all burner control knobs are in the "OFF" position.
- Turn on the propane cylinder valve slowly.
- Apply the soap solution to all gas connections and the hose.
- If bubbles appear, there is a leak. Immediately turn off the propane cylinder valve and tighten connections. Repeat the test. If leaks persist, do not use the grill and contact customer support.

Image: A detailed view of the regulator hose connecting to a propane cylinder and the grill's control knobs for ignition and flame adjustment.
6. Operating Instructions
6.1 Lighting the Grill
- Ensure the propane cylinder valve is fully open.
- Push and rotate one burner control knob to the "HIGH" position. You should hear a clicking sound as the igniter sparks.
- If the burner does not ignite within 5 seconds, turn the knob to "OFF", wait 5 minutes for gas to dissipate, and repeat the lighting procedure.
- Once the first burner is lit, you can light the second burner by pushing and rotating its control knob to "HIGH".
6.2 Temperature Control
The grill features a built-in thermometer on the lid, displaying temperatures from 0-752°F (0-400°C). Adjust the individual burner control knobs to achieve your desired cooking temperature. The lid helps with heat circulation and maintaining consistent temperatures.

Image: A close-up view of the grill's built-in thermometer and various foods, such as steaks and sausages, cooking on the grill grate.
6.3 Shutting Down the Grill
- Turn all burner control knobs to the "OFF" position.
- Turn off the propane cylinder valve by rotating it clockwise until fully closed.
- Allow the grill to cool completely before cleaning or moving.
7. Maintenance and Cleaning
Regular cleaning and maintenance will extend the life of your grill and ensure optimal performance.
- After Each Use:
- Allow the grill to cool completely.
- Remove the grill grate and clean it with a grill brush and warm soapy water. Rinse thoroughly and dry.
- Remove the grease collector tray and empty any accumulated grease. Wash with warm soapy water, rinse, and dry.
- Wipe down the stainless steel surfaces with a damp cloth and mild detergent. For stubborn stains, use a stainless steel cleaner.
- Periodically:
- Inspect the regulator hose for any cuts, abrasions, or wear. Replace if damaged.
- Check burner ports for any blockages and clean if necessary.

Image: Visual representation of the grill's side vents, flame rod, the process of cleaning the stainless steel surface, and the removable drip tray for grease collection.
7.1 Storage
When not in use, especially for extended periods, store the grill in a dry, protected area. Disconnect the propane cylinder and store it separately in a well-ventilated outdoor area. The foldable legs and locking latches allow for compact storage and easy transport.
8. Troubleshooting
| Problem | Possible Cause | Solution |
|---|---|---|
| Burner fails to ignite |
|
|
| Low flame or uneven heat |
|
|
| Gas leak detected (smell of gas) |
|
|
9. Product Specifications
| Feature | Detail |
|---|---|
| Model Number | NP11463SL |
| Brand | HAPPYGRILL |
| Fuel Type | Propane Gas |
| Total BTU Output | 20,000 BTU (2 x 10,000 BTU burners) |
| Cooking Surface Area | 119 sq. inches (18.5" x 14") |
| Material | Stainless Steel |
| Product Dimensions (Lid Open) | 20.5" x 18" x 27" (L x W x H) |
| Overall Height (Lid Closed) | 14.5" |
| Ground Clearance | 4.5" |
| Regulator Hose Length | 2 ft (64 cm) |
| Net Weight | 22 lbs (10 kg) |
| Special Features | Portable, Foldable Legs, Built-in Thermometer, Removable Grease Collector, Ignition Knobs |
10. Warranty and Customer Support
For warranty information or customer support, please refer to the warranty card included with your product or contact HAPPYGRILL directly through their official website or the retailer where the product was purchased.
When contacting support, please have your model number (NP11463SL) and purchase date available.