1. Introduction
This manual provides detailed instructions for the assembly, operation, and maintenance of your TOOLPORT 4x8m Robust Plastic Tunnel Greenhouse. Please read these instructions carefully before beginning assembly or use to ensure safe and efficient operation and to maximize the lifespan of your greenhouse.
The TOOLPORT tunnel greenhouse is designed to provide an optimal environment for plant cultivation, featuring a robust galvanized steel frame and a durable 180g/m² PE cover. Proper installation and care are essential for its stability and performance.
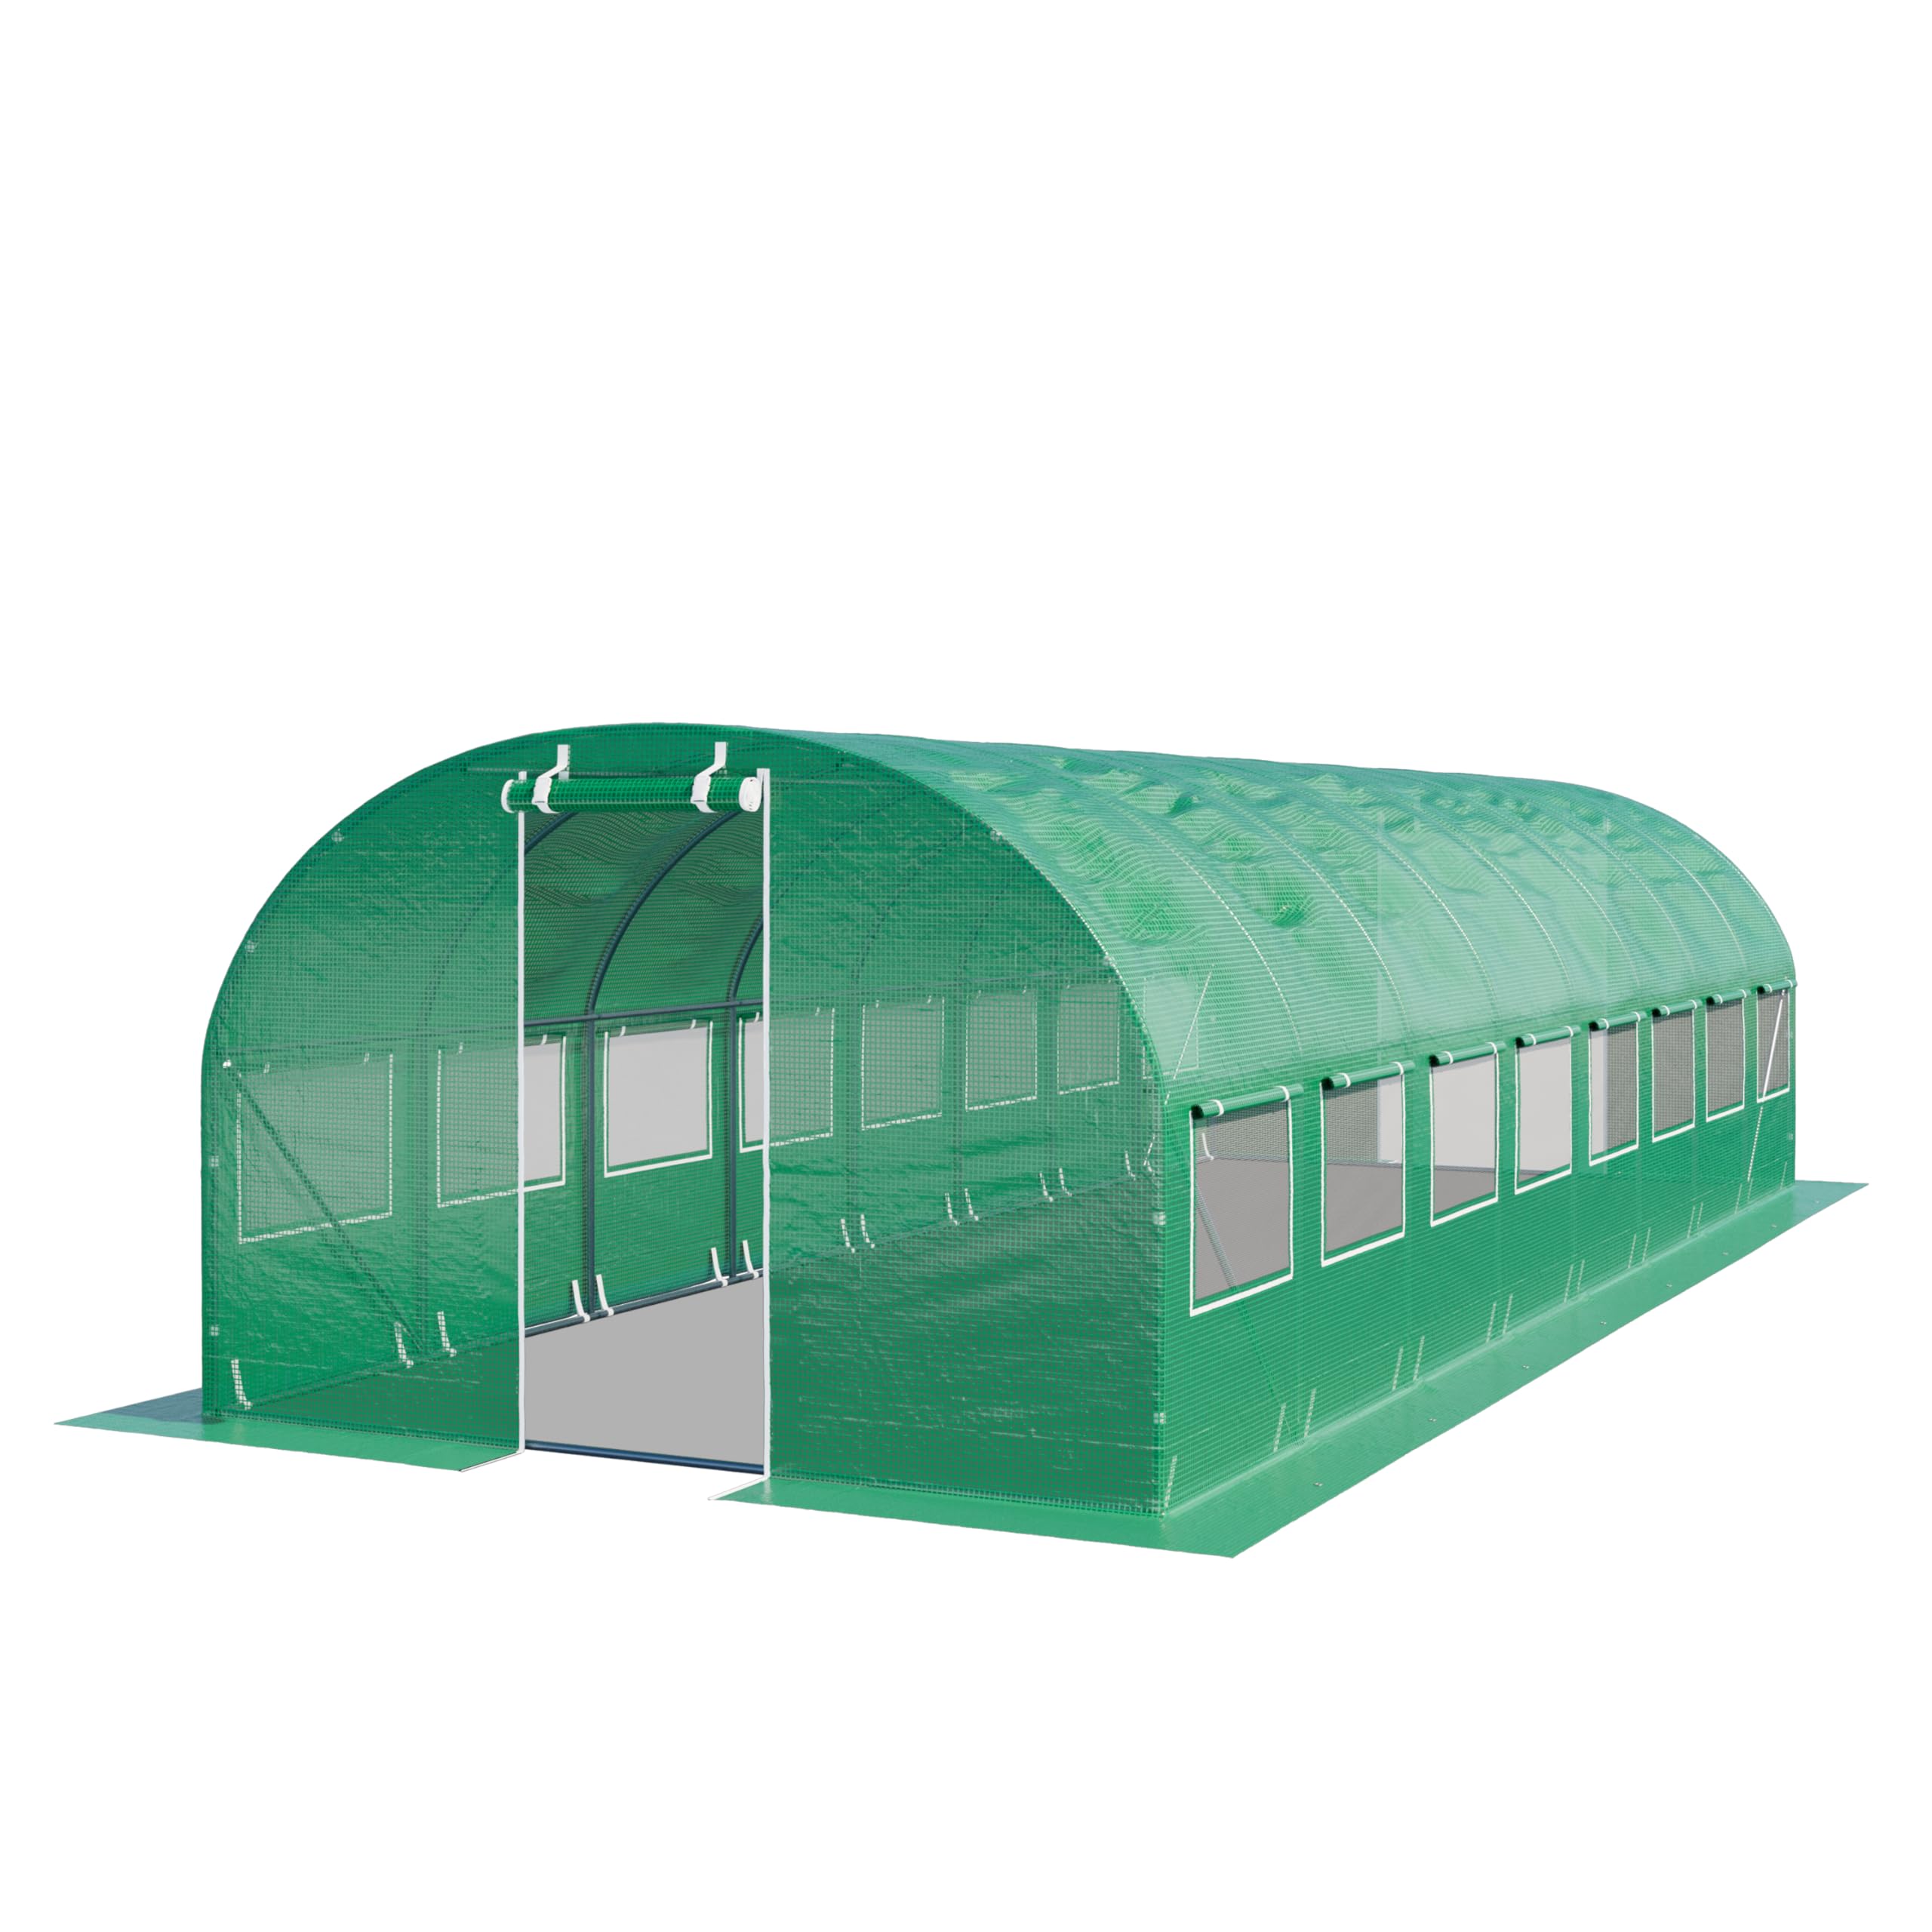
Image: The TOOLPORT 4x8m Robust Plastic Tunnel Greenhouse, green, situated in a garden.
2. Safety Instructions
- Site Selection: Choose a level, sheltered location for assembly. Avoid areas prone to strong winds or water accumulation.
- Anchoring: Securely anchor the greenhouse to the ground using the provided ground frame and screws. Additional anchoring (e.g., storm straps, heavy weights) is recommended in windy conditions.
- Assembly: Assembly should ideally be performed by two or more adults. Wear appropriate safety gear, such as gloves, to prevent cuts or pinches.
- Tools: Use appropriate tools for assembly. Do not force components together.
- Ventilation: Ensure adequate ventilation, especially during hot weather, to prevent overheating inside the greenhouse.
- Snow Load: In areas with heavy snowfall, regularly clear snow from the roof to prevent structural damage.
- Children and Pets: Keep children and pets away from the assembly area. Do not allow them to play unsupervised inside or around the greenhouse.
- Electrical Appliances: Exercise caution when using electrical appliances inside the greenhouse. Ensure all wiring is waterproof and properly installed.
3. Package Contents
Before starting assembly, verify that all parts are present and undamaged. Refer to the parts list provided in your packaging. Typical components include:
- Galvanized Steel Tubes (various lengths and bends for frame, arches, and ground frame)
- Connectors and Fasteners (screws, nuts, bolts, clips)
- 180g/m² PE Greenhouse Cover (one-piece roof and side cover)
- Door Zippers and Fasteners
- Window Flaps with Velcro fasteners
- Ground Anchoring Screws

Image: Detail of the galvanized steel tubes, which form the robust frame of the greenhouse.
4. Setup and Assembly
Follow these steps for a quick and stable assembly of your tunnel greenhouse.
4.1. Prepare the Site
- Clear the chosen area of any debris, rocks, or sharp objects.
- Ensure the ground is as level as possible to prevent structural stress.
4.2. Assemble the Ground Frame
- Lay out the ground frame tubes according to the diagram in your specific manual.
- Connect the tubes using the provided connectors and screws. Ensure all connections are secure.
- Position the assembled ground frame in your desired location.
- Secure the ground frame to the soil using the anchoring screws. This step is crucial for stability.

Image: The robust ground frame being assembled, providing a stable base for the greenhouse structure.
4.3. Construct the Main Frame
- Begin by assembling the vertical arches. The high-quality click system allows for quick assembly.
- Attach the horizontal tubes to connect the arches, forming the tunnel structure. Ensure all connections are tight and stable.
- Integrate the main frame with the secured ground frame.

Image: A close-up view of the galvanized steel frame connections, highlighting the robust construction.
4.4. Install the Greenhouse Cover
- Carefully unfold the one-piece PE cover over the assembled frame. It is recommended to have multiple people for this step to avoid tearing or snagging.
- Align the cover so that the door openings are correctly positioned at the ends.
- Secure the cover to the frame using the integrated straps or fasteners. Ensure the cover is taut but not overly stretched.
- The extra-large ground skirt should extend outwards around the base of the greenhouse. This skirt helps to drain rainwater away and provides additional wind protection. Burying or weighting down the skirt can further enhance stability.

Image: Detail of the extra-large ground skirt, designed to improve stability and water drainage.
4.5. Doors and Windows
- Ensure the door zippers operate smoothly. Lubricate if necessary.
- The windows are designed for ventilation. Secure them open or closed using the provided Velcro fasteners.

Image: A close-up of a greenhouse window, showing the mesh and roll-up cover for ventilation.
5. Operating Instructions
To create an optimal growing environment within your greenhouse:
- Ventilation: Utilize the roll-up windows and open the doors as needed to regulate temperature and humidity. Good air circulation prevents fungal diseases and excessive heat buildup.
- Temperature Control: Monitor internal temperatures, especially on sunny days. Open vents and doors to cool the interior. Consider shading options if temperatures consistently exceed desired levels.
- Watering: Water plants as required. The greenhouse environment may reduce evaporation, so adjust watering schedules accordingly.
- Pest Management: Regularly inspect plants for pests. The enclosed environment can sometimes encourage certain pests, but also protect against others.

Image: The greenhouse with its doors open, revealing plants thriving inside, demonstrating ventilation options.
6. Maintenance
- Cleaning: Clean the PE cover periodically with mild soap and water to remove dirt and algae, which can reduce light transmission. Avoid abrasive cleaners.
- Frame Inspection: Regularly check all frame connections and fasteners for tightness. Re-tighten any loose screws to maintain structural integrity.
- Cover Inspection: Inspect the PE cover for any tears or damage. Small tears can be repaired with specialized greenhouse repair tape to prevent them from enlarging.
- Zipper Care: Keep door zippers clean and lubricated to ensure smooth operation and prevent premature wear.
- Winter Preparation: In regions with heavy snow, it is advisable to remove the cover or reinforce the structure to prevent collapse. Clear snow accumulation promptly.
7. Troubleshooting
| Problem | Possible Cause | Solution |
|---|---|---|
| Greenhouse unstable in wind | Insufficient anchoring; loose frame connections; ground skirt not secured. | Ensure ground frame is securely screwed down. Check and tighten all frame connections. Bury or weight down the ground skirt. Consider additional storm straps or anchors. |
| Difficulty closing door zippers | Cover not perfectly aligned; zipper dirty or damaged; cover too taut. | Adjust cover alignment. Clean and lubricate zippers. If cover is too taut, slightly loosen some fasteners to relieve tension. |
| Water pooling on roof | Cover not taut enough; frame sagging. | Re-tension the cover. Inspect frame for any damage or bending and repair as necessary. |
| Excessive heat inside | Inadequate ventilation. | Open doors and roll up windows to increase airflow. Consider additional shading during peak sun hours. |
8. Specifications
- Brand: TOOLPORT
- Model: 4x8m Tunnel Greenhouse
- Dimensions (L x W x H): 8 x 4 x 2 meters
- Cover Material: Polyethylene (PE) 180g/m²
- Frame Material: Galvanized Alloy Steel
- Color: Green
- Number of Doors: 1 (zippered)
- Usage: Outdoor
- Country of Origin: Germany
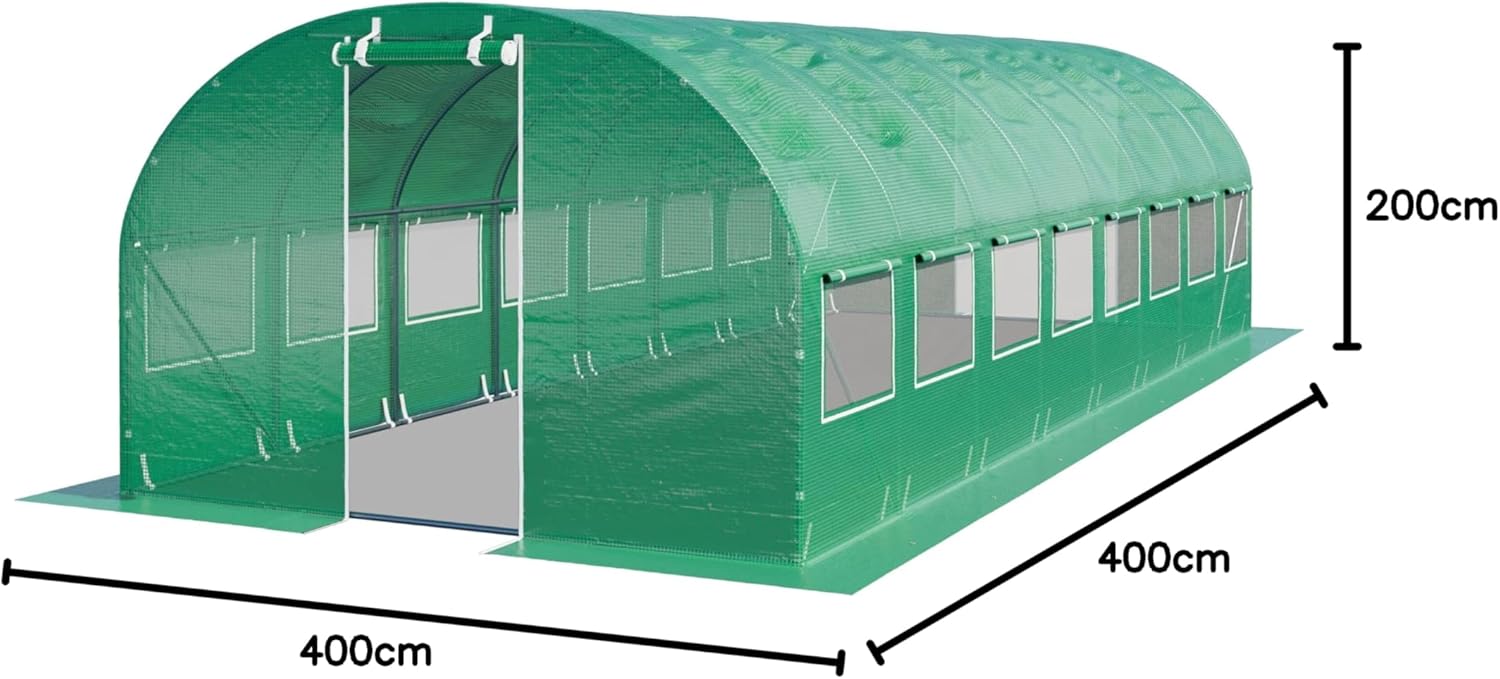
Image: A diagram illustrating the overall dimensions of the 4x8m tunnel greenhouse.
9. Warranty and Support
For specific warranty information, please refer to the documentation included with your purchase or contact TOOLPORT customer service directly. General recommendations for support include:
- Contact Manufacturer: For product-specific issues, missing parts, or warranty claims, contact TOOLPORT customer support.
- Proof of Purchase: Always retain your proof of purchase for warranty purposes.
- Online Resources: Check the TOOLPORT official website for additional resources, FAQs, or updated manuals.