
TOOLPORT 8940
TOOLPORT Robust Plastic Tunnel Greenhouse 2x3m Instruction Manual
Brand: TOOLPORT | Model: 8940
1. Introduction
This manual provides detailed instructions for the assembly, operation, and maintenance of your TOOLPORT Robust Plastic Tunnel Greenhouse. Designed for outdoor use, this 2x3 meter greenhouse offers an ideal environment for cultivating plants, protecting them from adverse weather conditions, and extending your growing season. Its robust construction and quick assembly system ensure a reliable and user-friendly experience.

Figure 1: Overview of the TOOLPORT Robust Plastic Tunnel Greenhouse (2x3m, White/Transparent). This image shows the complete greenhouse structure, highlighting its tunnel design and transparent PE cover, suitable for various garden settings.
2. Safety Information
Please read and understand all safety warnings and instructions before assembling and using the greenhouse. Failure to follow these instructions may result in injury or damage to the product.
- Site Selection: Choose a level, well-drained area for installation. Avoid locations prone to strong winds or heavy snow accumulation.
- Anchoring: Ensure the greenhouse is securely anchored to the ground using the provided ground frame and screws to prevent wind damage.
- Assembly: Assembly should ideally be performed by two or more adults. Wear appropriate safety gear, such as gloves, to prevent cuts or pinches.
- Ventilation: Ensure adequate ventilation, especially during hot weather, to prevent overheating inside the greenhouse.
- Sharp Edges: Be cautious of potential sharp edges on metal components during assembly.
- Children and Pets: Keep children and pets away from the assembly area. Do not allow them to play inside or around the greenhouse unsupervised.
- Weather Conditions: In anticipation of extreme weather (e.g., very strong winds, heavy snowfall), consider temporarily disassembling the cover or reinforcing the structure.
3. Package Contents
Before beginning assembly, verify that all components listed below are present and undamaged. If any parts are missing or damaged, please contact TOOLPORT customer support.
- Galvanized Steel Frame Tubes (various lengths and shapes, numbered)
- Connectors and Fasteners (screws, bolts, nuts)
- High-Quality PE (Polyethylene) Cover (180g/m²)
- Ground Frame Components
- Assembly Instructions Manual
4. Setup and Assembly
The TOOLPORT greenhouse features a quick assembly system. Follow these steps carefully for optimal results.
4.1 Frame Assembly
Begin by laying out all frame components. Identify the numbered tubes and connectors. Assemble the vertical arches and lateral tubes using the high-quality click system. Ensure all connections are secure.
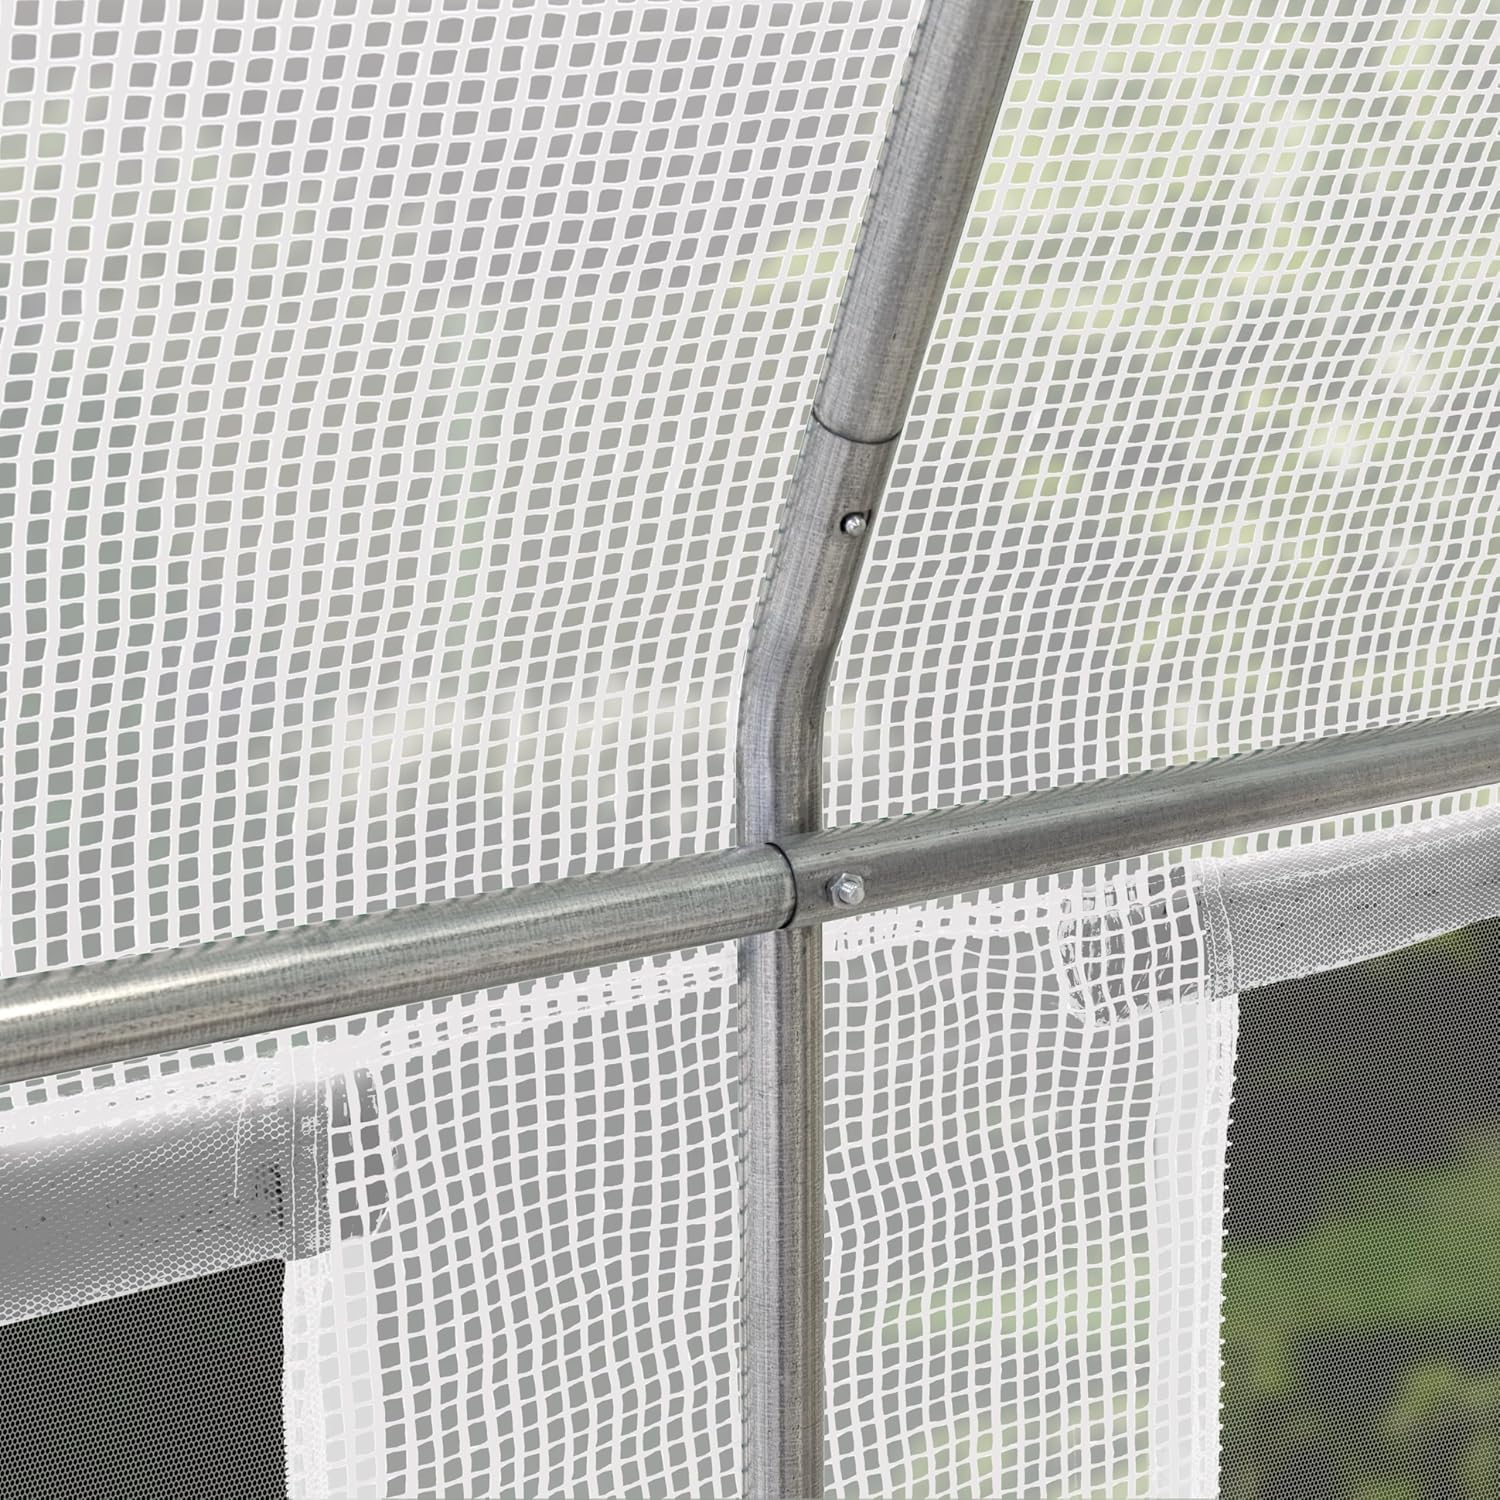
Figure 2: Detail of Frame Connection. This image illustrates the secure connection point of the galvanized steel frame tubes, crucial for the greenhouse's structural integrity.
4.2 Ground Frame Installation
Assemble the ground frame components. This frame is designed to be screwed into the ground, providing enhanced stability and firmly securing the greenhouse's feet. Position the assembled frame in your desired location and secure it using appropriate ground anchors or screws (not included, depending on ground type).

Figure 3: Interior Corner and Ground Skirt. This view shows the robust frame structure at the base and the extra-large ground skirt designed for stability and water runoff.

Figure 4: Detail of Ground Skirt. A close-up showing the continuous, extra-large ground skirt, which helps to anchor the greenhouse and direct rainwater away from the base.
4.3 Attaching the PE Cover
Carefully drape the one-piece roof and side cover over the assembled frame. Ensure the cover is centered and aligned correctly. The cover is designed to fit snugly, reinforcing the overall stability of the structure. Secure the cover to the frame using the integrated ties or fasteners.

Figure 5: Greenhouse in Garden. This image displays the fully assembled greenhouse situated in a garden, demonstrating its integration into an outdoor environment.
4.4 Door and Window Operation
The greenhouse features a zippered door for easy access. The side windows can be rolled up and secured to provide ventilation. Ensure zippers operate smoothly and are not forced.

Figure 6: Front View with Open Door. This image shows the main entrance of the greenhouse, which can be fully opened for easy access and ventilation.

Figure 7: Rolled-Up Window Detail. A close-up of a side window rolled up and secured, demonstrating the ventilation feature of the greenhouse.
5. Operating Instructions
To maximize the benefits of your greenhouse, consider the following operational guidelines:
- Ventilation: Open the zippered door and roll up the side windows as needed to regulate temperature and humidity, especially on warm days. Proper airflow prevents excessive heat buildup and reduces the risk of fungal diseases.
- Temperature Control: Monitor the internal temperature. In colder weather, keep the door and windows closed to retain heat. In warmer weather, ensure adequate ventilation to prevent overheating.
- Watering: Water plants as required, being mindful that the enclosed environment may reduce evaporation, potentially requiring less frequent watering than outdoor plants.
- Pest Management: Regularly inspect plants for pests. The enclosed environment can sometimes create conditions favorable for certain pests, so early detection is key.

Figure 8: Interior View with Plants. This image provides a perspective from inside the greenhouse, showing plants thriving in the controlled environment.
6. Maintenance
Regular maintenance will extend the lifespan of your greenhouse:
- Cleaning: Periodically clean the PE cover with mild soap and water to ensure maximum light transmission. Avoid abrasive cleaners or harsh chemicals.
- Frame Inspection: Annually inspect the galvanized steel frame for any signs of rust or damage. While the frame is protected against corrosion, prolonged exposure to moisture can affect it. Address any issues promptly.
- Cover Inspection: Check the PE cover for tears or punctures. Small damages can often be repaired with specialized repair tape.
- Zipper Maintenance: Keep zippers clean and lubricated to ensure smooth operation. Avoid forcing stuck zippers.
- Winterization: In areas with heavy snowfall, it is recommended to remove snow accumulation from the roof to prevent structural collapse. For extreme winter conditions, consider disassembling and storing the cover indoors.
7. Troubleshooting
Here are some common issues and their potential solutions:
| Problem | Possible Cause | Solution |
|---|---|---|
| Cover does not fit properly or is too tight/loose. | Incorrect frame assembly; cover not stretched evenly; temperature variations affecting material. | Re-check frame dimensions and ensure all tubes are fully inserted. Try installing the cover on a warm day to allow for material expansion. Ensure it is pulled taut and evenly distributed. |
| Zippers are difficult to operate or have torn. | Lack of lubrication; excessive force; material stress. | Apply a silicone-based lubricant to the zipper teeth. Avoid pulling zippers at an angle. Ensure the cover is not overly stressed around the zipper area. |
| Greenhouse feels unstable or wobbles. | Insufficient ground anchoring; loose frame connections. | Ensure the ground frame is securely screwed into the ground. Verify all frame connections are tight and properly clicked into place. Consider additional anchoring in windy areas. |
| Rust appearing on frame tubes. | Prolonged exposure to moisture; damage to galvanized coating. | Clean affected areas and apply a rust-inhibiting primer and paint. Ensure proper drainage around the base of the greenhouse. |
8. Specifications
| Feature | Detail |
|---|---|
| Model Number | 8940 |
| Dimensions (L x W x H) | 300 x 200 x 200 cm (3L x 2W x 2H meters) |
| Item Weight | 180 Grams |
| Frame Material | Galvanized Alloy Steel |
| Cover Material | Polyethylene (PE) 180g/m² |
| Color | White / Transparent |
| Number of Doors | 1 |
| Door Style | Zipper Closure |
| Special Feature | Quick Assembly |
| Usage | Outdoor |
| Country of Origin | Germany |
9. Warranty and Support
For warranty information or technical support, please refer to the purchase documentation or contact TOOLPORT customer service directly. Information regarding spare parts availability may vary; please inquire with customer support for specific needs.
Contact Information: Please visit the official TOOLPORT website or refer to your purchase receipt for the most up-to-date contact details for customer service and support.
Ask a question about this manual
Ask about setup, troubleshooting, compatibility, parts, safety, or missing instructions. Manuals+ will review the question and use this page’s manual context to help answer it.