Introduction
This multi-functional blonbar bedside lamp integrates several features into one compact device: an alarm clock, desk lamp, wireless charger, and wake-up light. It also offers 10 soothing natural sounds for countdowns and sleep aid. Designed for convenience and efficiency, this manual provides detailed instructions for setup, operation, and maintenance to ensure optimal performance.
Setup
Assembly
The blonbar lamp comes in two main parts: the lamp body with the clock display and the wireless charging base. To assemble, align the connector on the lamp body with the slot on the wireless charging pad. Insert the connector firmly until you hear a 'clicking' sound, indicating a successful installation. Ensure the main body and wireless charging pad are perfectly aligned with no deviation of 1-2mm for proper wireless charging functionality.

Figure 1: Visual guide for aligning and inserting the lamp body into the charging base. Proper alignment is crucial for functionality.

Figure 2: The fully assembled blonbar lamp, ready for use on a bedside table.
Initial Power-On
After assembly, plug the provided adapter into the DC 12V port located at the back of the lamp's base. Connect the adapter to a power outlet. The digital clock display will illuminate, indicating successful power-on.
Video 1: Product Operation Video. This video demonstrates the assembly process and initial power-on steps for the blonbar lamp.
Operating Instructions
Screen Brightness Adjustment
To adjust the brightness of the digital clock display, short press the SNOOZE button. The display has 4 levels of brightness: High, Medium, Low, and Off. Cycle through these levels by repeatedly pressing the button until your desired brightness is achieved. If the minimum brightness is still too bright, you can turn the display off completely.

Figure 3: Illustration of the digital clock display brightness levels, from off to level 3 (brightest).
12/24 Hour System Switch
To switch between 12-hour (AM/PM) and 24-hour time formats, short press the CLOCK button. The AM/PM indicator light will change accordingly.
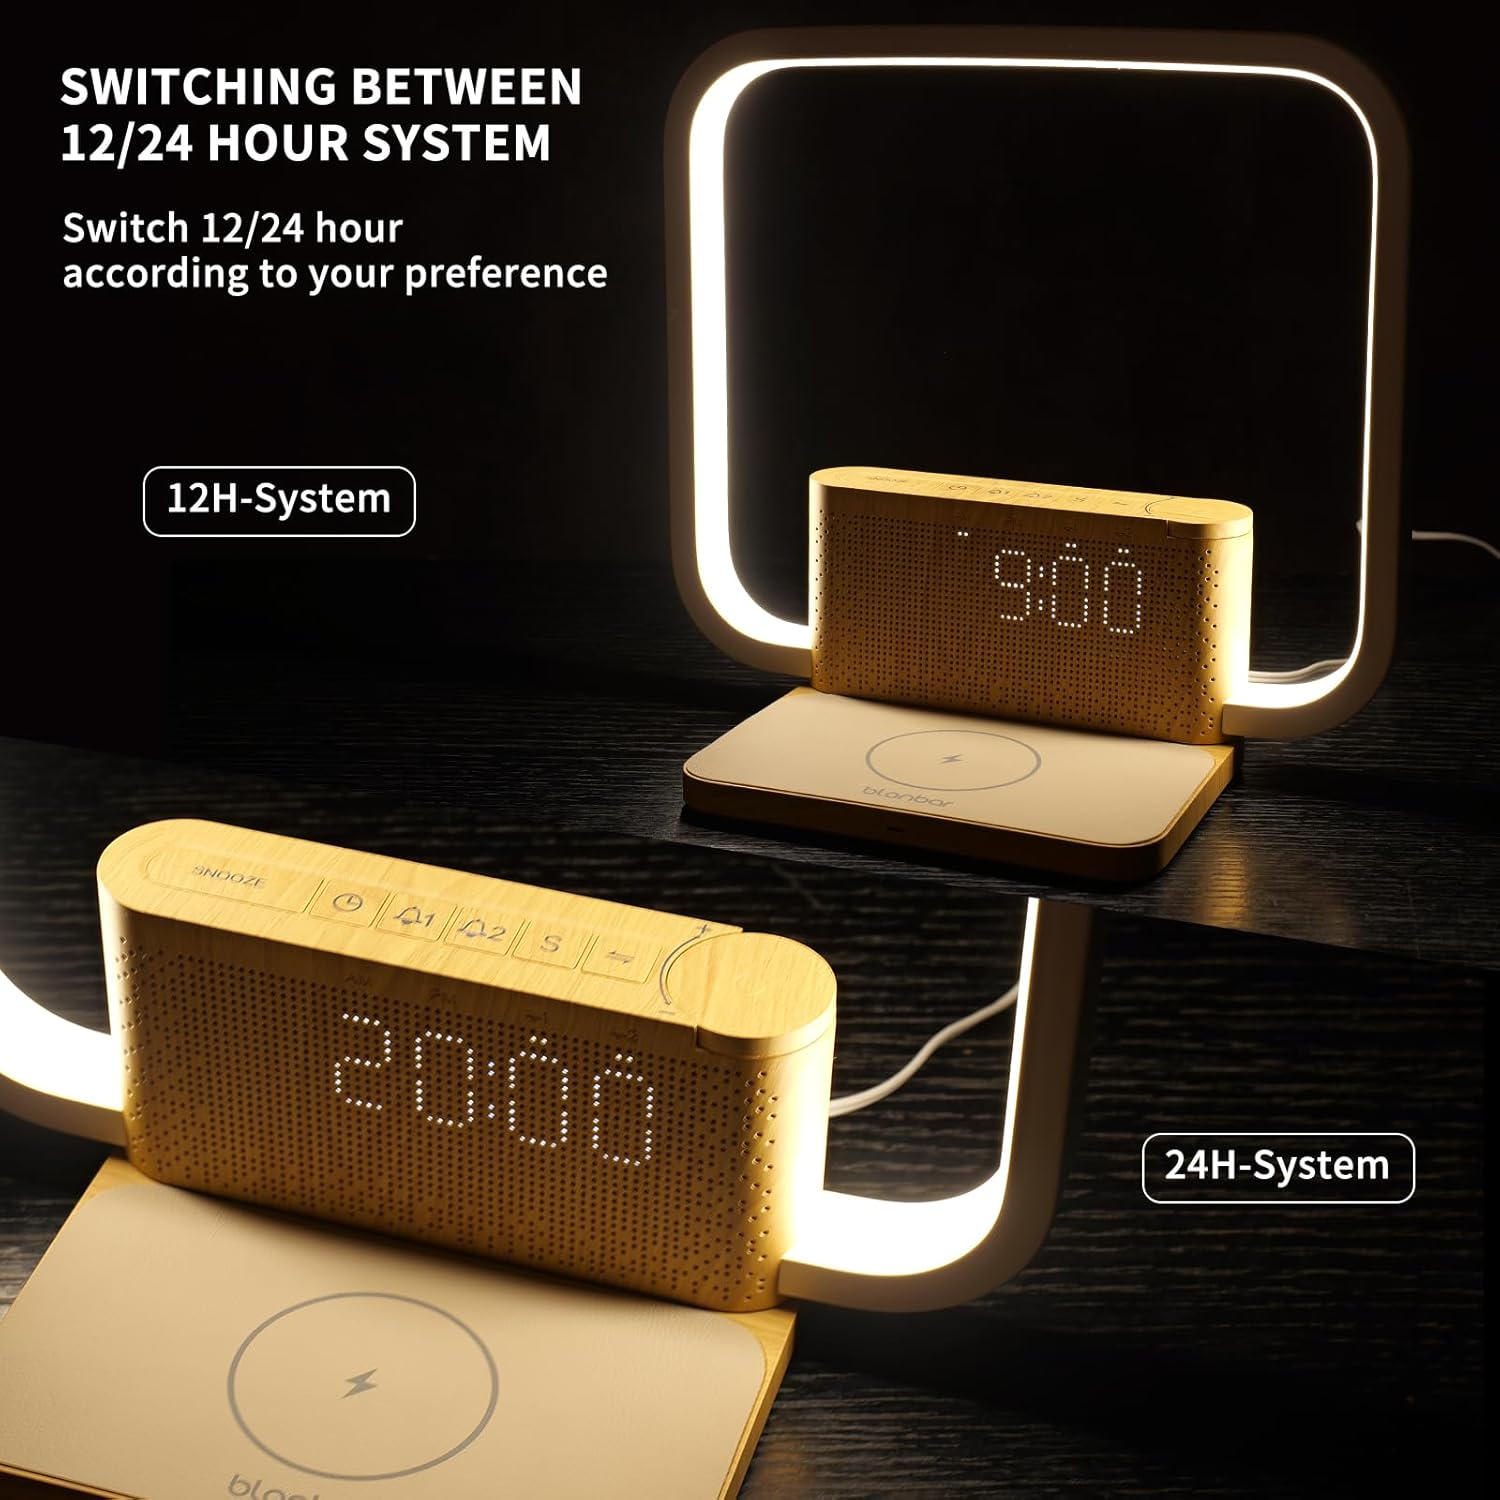
Figure 4: The clock display showing both 12H-System (AM/PM) and 24H-System time formats.
Clock Setting
To set the time, long press the CLOCK button. The