Introduction
This manual provides detailed instructions for the installation, setup, operation, and maintenance of your Veise VE06-L Smart Lock. Please read this manual thoroughly before installation and use to ensure proper function and safety.
What's in the Box
Verify that all components are present before beginning installation.

Image: The main product image displays the complete smart lock system, including the exterior keypad assembly, interior thumb-turn assembly, latch, strike plate, various screws, two IC cards, and two mechanical keys. This visual guide helps confirm all parts are included.
- Exterior Assembly
- Interior Assembly
- Latch & Latch Screws
- Strike & Strike Screws
- IC Cards (2)
- Backup Keys (2)
- Mounting Plate & Screws
- Reset Tool
- Drive-in Collar
- Handleset
- Handle Lever
- Latch & Strike Screws (for handleset)
- Handle Lever & Handleset Screws
Installation
Important Note: During installation, it is recommended to leave the door open or ajar. Do not close the door before the batteries are inserted.
Part 1: Install Deadbolt
Step 1: Measure the Dimensions
Before installation, confirm your door's dimensions match the lock's requirements.

Image: This diagram illustrates critical door measurements such as hole diameter (1-1/2" or 2-1/8"), backset (2-3/8" or 2-3/4"), and the minimum 1" depth for the latch hole in the door frame. Ensure your door meets these specifications for proper fit.
Ensure the hole in the door frame is drilled a minimum of 1" (25mm) deep.
Step 2: Install the Latch and Strike
Install the latch into the door edge. For a 2-3/4" (70mm) backset, extend the latch as shown in the video. Secure the strike plate to the door frame.
Step 3: Installation Steps
Follow these steps carefully for deadbolt installation:
- Keep the torque blade horizontally. Align it with the hole on the latch and go through.
- Route the cable below the latch.
- If the diameter of the hole is 1-1/2" (38mm), please remove the spacer.
- Install the Mounting Plate.
- Determine if the door is right-handed or left-handed. Adjust the thumb turn direction accordingly (vertical for right-handed, horizontal for left-handed). Move the slide switch to "R" or "L" as appropriate.
- Insert the cable connector to the socket. Push it in firmly until it's fully attached. Ensure the power cord is properly plugged in.
- Align the Axle with the hole in the latch.
- Insert 4 AA Alkaline batteries and put on the battery cover.
Reset The Lock
After installation, reset the lock using the provided reset tool.
Test the Lock
Verify the lock's functionality by testing the keypad and thumb turn.
Video: This official Veise installation video for the VE06-L Smart Lock provides a visual step-by-step guide for the entire installation process, including measuring, installing the latch and strike, connecting components, setting door handedness, inserting batteries, and testing the lock.
Part 2: Install Handleset and Handle Lever
Follow these steps for handleset and handle lever installation:
- Measure the dimensions for the handleset.
- Install the Latch and Strike for the handleset.
- Install the Handleset. The base of the spindle must be rotated to align with the hole.
- Install the Handle Lever.
- Install the Spacer.
Setup and Configuration
User-Friendly App & Web Portal
The Veise VE06-L Smart Lock can be controlled via a user-friendly mobile application and a web portal. These platforms allow for efficient management of lock functionalities.

Image: This image depicts a user interacting with the Veise smart lock management system on both a laptop and a smartphone, highlighting the convenience of controlling the lock via its dedicated app and web portal.
Access Management
- Manage up to 250+ multiple user codes and 1000+ fobs (2 cards included).
- Remotely generate and share various code types: one-time, permanent, timed, recurring, and custom codes.
- Erase codes as needed.
- Ideal for houses, apartments, offices, and hotels.
Real-time Access Logs
View real-time access logs through the app or web portal to monitor who enters and exits.
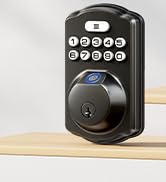
Image: A smartphone screen displaying a list of access logs, indicating successful unlocks and locks by various users, along with timestamps. This feature allows for monitoring of door activity.
Door Handedness
The lock is compatible with most US standard left-handed and right-handed doors. Ensure the thumb turn direction is correctly set during installation.
Image: This image visually distinguishes between left-handed and right-handed door configurations, showing how the smart lock should be oriented for each type to ensure correct operation.
Operating Instructions
Multiple Access Methods
Your Veise VE06-L Smart Lock offers various convenient ways to access your property:
- App Control: Unlock and manage your lock directly from the mobile application.
- Keypad Entry: Use custom codes on the electronic digital touchscreen keypad.
- IC Cards: Tap the included IC cards for quick entry.
- eKey Sharing: Share temporary or permanent eKeys with guests or service providers.
- Mechanical Key: Use the traditional mechanical key as a backup.
- Thumb Turn: Manually lock or unlock from the interior.
- Apple Watch Compatibility: Control your lock directly from your Apple Watch.

Image: This visual highlights the diverse keyless entry methods available for the Veise smart lock, including control via a smartphone app, keypad passcodes, fob cards, traditional mechanical keys, and even an Apple Watch.
Auto-Lock and One-Touch Locking
- Auto-Lock: Configure the lock to automatically lock after a set period (5-900 seconds).
- One-Touch Locking: Simply press "#" on the keypad for 2 seconds to activate instant locking.
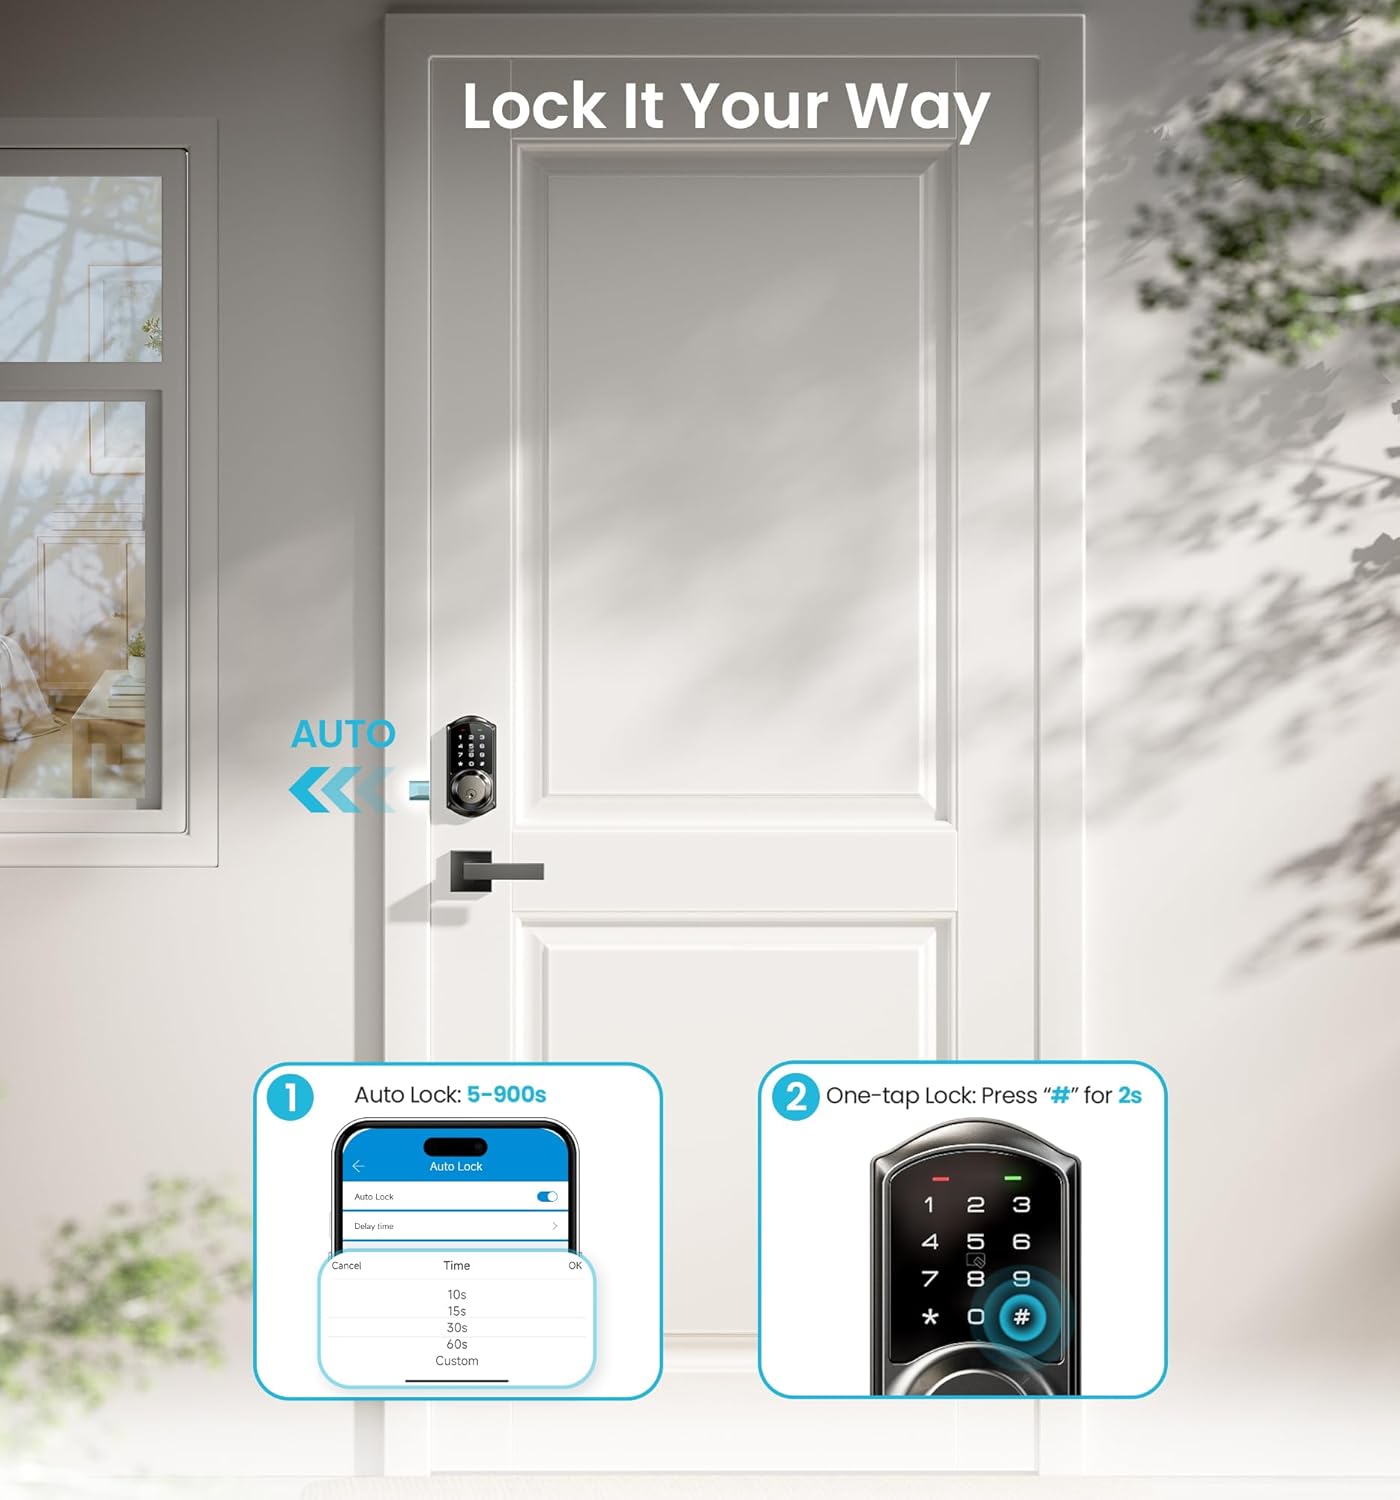
Image: This image demonstrates the auto-lock function, which can be set for various durations (5-900 seconds), and the one-tap locking feature, activated by pressing the '#' button on the keypad for two seconds.
Remote Control (G2 WiFi Gateway Required)
For remote control features, the Veise G2 WiFi Gateway (sold separately) is required. When paired, it enables:
- Real-time access logs viewing.
- Voice control with Alexa and Google Assistant.
- Monitoring battery level.
- Checking electronic door lock status from anywhere.
Image: This image illustrates the Veise G2 WiFi Gateway, emphasizing its role in enabling smart home integration with devices like Amazon Alexa and Google Home, allowing for voice control and remote management of the lock.
Security Features
The Veise VE06-L Smart Lock incorporates several security features to protect your home:
- Privacy Mode: Disables external keypad entry for enhanced privacy.
- Silent Mode: Mutes keypad sounds for quiet operation.
- Low Battery Alert: Provides timely notifications when batteries are low.
- Passage Mode: Keeps the door unlocked for continuous access during specific periods.
- Wrong Entry PIN Code Limit: Locks the keypad after multiple incorrect attempts.
- Anti-Peeping: Allows you to enter random digits before or after your actual code to prevent others from guessing your PIN.
Image: This diagram visually explains two key security features: the anti-cracking mechanism, which temporarily locks the keypad after five incorrect code entries, and the anti-peeping function, allowing users to input extra random digits before or after their actual password for added security.
IP54 weatherproof rating ensures durability against environmental elements.
Certified to ANSI Grade 3 for reliability and security.

Image: A detailed view of the smart lock's internal structure, emphasizing its robust construction and testing for durability, including resistance to impact, main board intensity, and waterproofing.
Maintenance
Battery Replacement
The lock requires 4 AA Alkaline batteries. Replace them when the low battery alert is triggered to ensure continuous operation.
Cleaning
Clean the exterior of the lock with a soft, damp cloth. Avoid abrasive cleaners or solvents that could damage the finish or electronic components.
Weather Protection
While the lock is IP54 weatherproof, prolonged exposure to extreme conditions should be minimized. Ensure the battery compartment is securely closed to prevent moisture ingress.
Troubleshooting
If you encounter issues with your Veise VE06-L Smart Lock, refer to the following common problems and solutions:
| Problem | Possible Cause | Solution |
|---|---|---|
| Keypad unresponsive | Low batteries; incorrect installation of power cord. | Replace batteries; ensure power cord is firmly plugged in. |
| Lock not responding to app | Bluetooth/WiFi disconnected; G2 Gateway offline (if applicable). | Check Bluetooth connection; verify G2 Gateway status and internet connection. |
| Auto-lock not working | Auto-lock feature disabled or incorrectly configured. | Check auto-lock settings in the app and adjust the delay time. |
| Lock makes unusual noises | Misalignment during installation; internal mechanism issue. | Recheck installation alignment; contact customer support if noise persists. |
Specifications
Detailed technical specifications for the Veise VE06-L Smart Lock:
- Brand: Veise
- Model Name: VE06-L
- Lock Type: Keypad
- Material: Aluminum, Zinc
- Color: Matte Black
- Style: Modern
- Item Dimensions (L x W x H): 12.59 x 7.08 x 3.93 inches
- Item Weight: 5.02 pounds
- Connectivity Protocol: Bluetooth, WiFi (Veise G2 WiFi Gateway Required)
- Controller Type: APP+IC Card+Passcode+Keys
- Power Source: 4 AA Alkaline batteries (not included)
- Special Features: APP Control & Ekeys, 250+ Passwords & 1000+fobs, Auto-Lock, Easy Installation & Compatible with Apple Watch, Keyless Entry Door Lock with 2 Handle Set, One-Touch Lock, Work with Alexa and Google (G2 Gateway Required)
- Weather Resistance: IP54 Weatherproof
- Security Standard: ANSI Grade 3 Certified
Warranty and Support
Veise offers at least a 1-year warranty for the VE06-L Smart Lock.
For lifetime online phone support, contact Veise customer service from Monday to Friday, 9 AM to 5 PM PDT. 24/7 after-sales email service is also available.
For further assistance or inquiries, please visit the official Veise store or contact their support team directly.
Visit the Veise Store