Introduction
Thank you for choosing the Arktronic 21.5-inch FHD Touchscreen Digital Picture Frame. This manual provides detailed instructions for setting up, operating, and maintaining your new digital frame. Please read this manual thoroughly before use to ensure optimal performance and longevity of your device.
Package Contents
Please check the box for the following items:
- Arktronic 21.5-inch Digital Picture Frame
- Remote Control (AAA batteries not included)
- Power Adapter with US Plug (Power cord 70.87 inches)
- Stand
- Screws & Wall Anchors for wall mounting
- User Manual & Quick Start Guide

Image: Illustration of the Arktronic 21.5-inch Digital Picture Frame and its included accessories.
Product Overview
Key Features:
- 21.5-inch FHD IPS Touch Screen: 1920x1080 resolution for high-quality image display from wide viewing angles.
- 32GB Internal Storage: Stores up to 80,000 photos.
- Wi-Fi Connectivity: Share photos and videos via the VPhoto app and email.
- Remote Control: For convenient operation.
- Wall-Mountable Design: Supports two-way wall mounting (vertical or horizontal).
- Multi-functionality: Includes light sensor, sleep mode, background music, image zoom, adjustable brightness, slideshow modes, and caption display.
- Expanded Storage: Supports Micro SD card (up to 64GB) and USB drives.
- Supported Formats:
- Image: JPG, GIF, BMP, PNG
- Video: MPEG1, MPEG2, MPEG4, Xvid, AVI, M-JPEG, H.264.MOV, VOB, MKV, DIVX4, DIVX5
Component Identification:
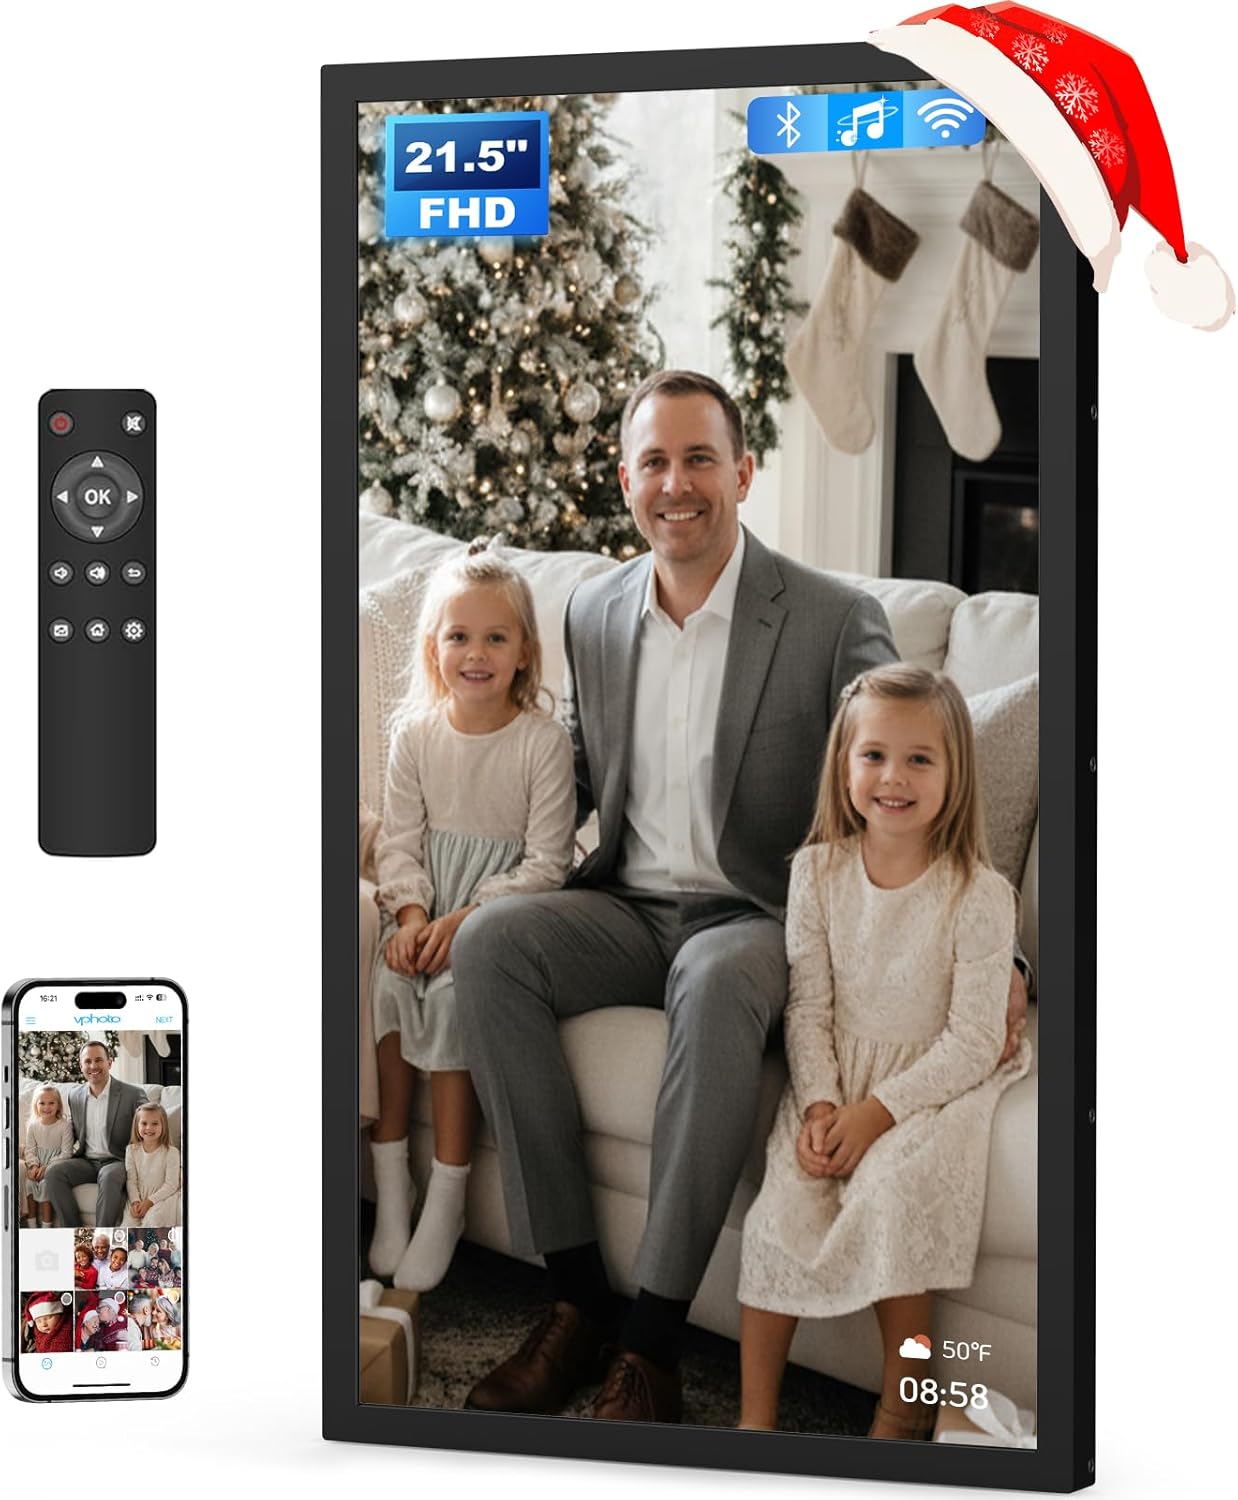
Image: The Arktronic 21.5-inch Digital Picture Frame, showcasing its large screen, remote control, and smartphone app integration.

Image: Detailed diagram of the frame's rear panel, highlighting the power button, vertical/horizontal mounting holes, USB 2.0, Type-C, Micro SD, DC IN ports, and speakers.
Setup
1. Powering On and Initial Setup:
- Connect the power adapter to the DC IN port on the back of the frame and plug it into a power outlet.
- The frame will automatically power on. Follow the on-screen instructions for initial language and region settings.

Image: The digital picture frame mounted on a wall, illustrating its slim profile and the power cable connection for instant use.
2. Wi-Fi Connection:
- From the main menu, navigate to Settings.
- Select Wi-Fi and choose your network from the list.
- Enter your Wi-Fi password using the on-screen keyboard or remote control.
- Once connected, the Wi-Fi icon will appear on the screen.
3. App Installation (VPhoto App):
To share photos and videos remotely, download the VPhoto app on your smartphone or tablet.
- Search for "VPhoto" in the Apple App Store (for iOS devices) or Google Play Store (for Android devices).
- Install the app and follow the in-app instructions to create an account and pair it with your digital frame. You will need the frame's unique code, which can be found in the frame's settings under "My Frame".

Image: Visual guide for downloading the VPhoto app from App Store or Google Play, setting up the frame, and connecting to share content.
Operating Instructions
Adding Photos and Videos:
- Via VPhoto App: Open the VPhoto app on your smartphone, select the photos or videos you wish to share, and send them directly to your connected frame.
- Via Email: You can send photos and videos to the unique email address associated with your frame (found in the frame's settings).
- Via USB/Micro SD Card: Insert a USB drive or Micro SD card (up to 64GB) into the designated ports on the back of the frame. Navigate to the "Files" or "Storage" section on the frame to import content.

Image: Illustrates how users can stay connected by sharing photos and videos from their phone to the digital frame, regardless of location.
Using the Remote Control:
The included remote control allows for easy navigation and adjustment of settings. Ensure AAA batteries are inserted correctly.
- Navigation Buttons: Use the arrow keys to move through menus and select options. The "OK" button confirms selections.
- Volume Control: Adjust audio volume for videos or background music.
- Settings Button: Access the main settings menu.
- Home Button: Return to the main interface.
- Picture/Album Button: Quickly access your photo albums.

Image: A user enjoying music streamed via Bluetooth from their smartphone to the digital picture frame, highlighting its audio capabilities.
Touchscreen Gestures:
The frame features a responsive touchscreen for intuitive interaction.
- Tap: Select items or open applications.
- Swipe: Navigate through photos, menus, or adjust sliders.
- Pinch-to-Zoom: Zoom in or out on photos.

Image: A hand demonstrating interaction with the frame's touchscreen, displaying a user-friendly interface with various functions.
Settings and Customization:
Access the Settings menu to customize your frame's behavior:
- Album Settings: Manage photo display order, slideshow intervals (e.g., 5 minutes), and transition effects.
- Light Sensor: Enable or disable automatic brightness adjustment based on ambient light.
- Brightness: Manually adjust screen brightness.
- Volume Adjustment: Control the overall sound output.
- Touch Sounds: Turn on or off audible feedback for touchscreen interactions.
- Language: Select your preferred language.
- Sleep Mode: Schedule times for the frame to automatically turn off or enter a low-power state.
- Captions: Enable or disable captions displayed at the bottom of photos.

Image: The frame's settings menu, showing options for light sensor, brightness, and volume adjustment.
Maintenance
- Cleaning: Use a soft, dry cloth to clean the screen and frame. Avoid abrasive cleaners or sprays directly on the screen.
- Software Updates: Periodically check for software updates in the settings menu to ensure optimal performance and new features.
- Storage Management: Regularly review and delete unwanted photos or videos to free up internal storage.
Troubleshooting
| Problem | Possible Cause | Solution |
|---|---|---|
| Frame does not power on. | Power adapter not connected or faulty. | Ensure the power adapter is securely connected to the frame and a working power outlet. |
| Cannot connect to Wi-Fi. | Incorrect password, out of range, or network issue. | Verify Wi-Fi password. Ensure the frame is within range of your router. Restart your router and the frame. |
| Photos/Videos not appearing. | Incorrect file format, storage full, or transfer error. | Check file formats (JPG, PNG, MP4, etc.). Ensure sufficient storage. Re-attempt transfer via app, email, USB, or SD card. |
| Remote control not working. | Batteries low/missing, or remote not paired. | Replace AAA batteries. Ensure no obstructions between remote and frame. |
| Screen is unresponsive. | Temporary software glitch. | Restart the frame by unplugging and re-plugging the power adapter. |
If issues persist, consider performing a Factory Data Reset from the settings menu. Note that this will erase all user data and settings, requiring an internet connection to re-establish user accounts.
Specifications
- Screen Size: 21.5 Inches
- Resolution: 1920x1080 (FHD IPS)
- Internal Storage: 32GB
- External Storage: Supports Micro SD card (up to 64GB), USB drives
- Connectivity: Wi-Fi (2.4 & 5 GHz), Bluetooth
- Supported Image Formats: JPG, GIF, BMP, PNG
- Supported Video Formats: MPEG1, MPEG2, MPEG4, Xvid, AVI, M-JPEG, H.264.MOV, VOB, MKV, DIVX4, DIVX5
- Product Dimensions: 20 x 12 x 0.99 inches
- Item Weight: 7.98 pounds
- Model Number: 215
- Manufacturer: Arktronic
Warranty and Support
Arktronic offers a 30-day money-back commitment and a 1-year worry-free warranty for this product. For technical assistance or warranty claims, please contact Arktronic customer service through their official website or the contact information provided in your purchase documentation.
Visit the Arktronic Store for more information and support resources.