MYMULIKE FHQ-MG-12
MYMULIKE Egg Incubator User Manual
Model: FHQ-MG-12
1. Introduction
This manual provides detailed instructions for the safe and effective operation of your MYMULIKE Egg Incubator, Model FHQ-MG-12. This device is designed for hatching various poultry eggs, including chicken, duck, goose, pigeon, quail, and parrot eggs, by maintaining optimal temperature and humidity conditions with automatic egg turning.
Please read this manual thoroughly before initial use to ensure proper setup, operation, and maintenance, which are crucial for successful hatching results.
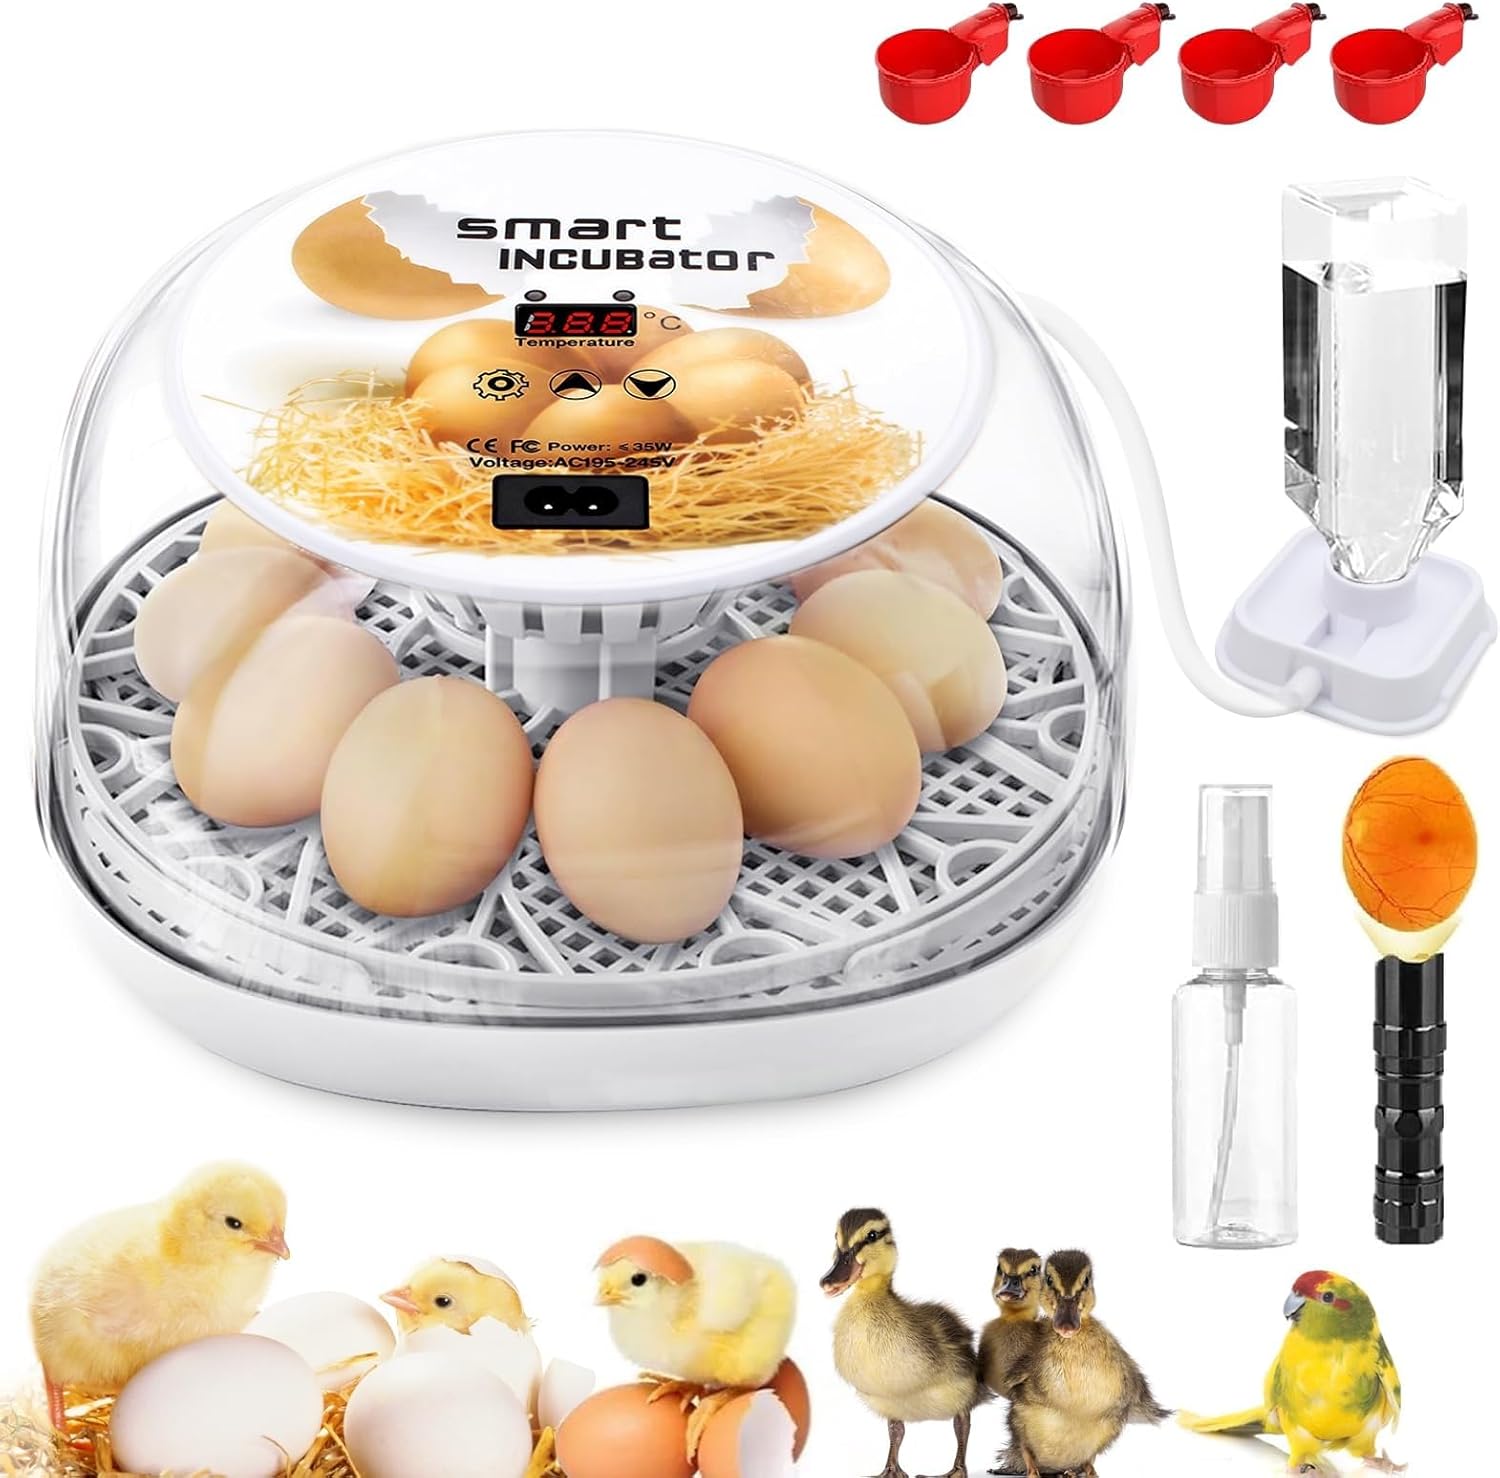
Image 1: MYMULIKE Egg Incubator with included accessories (water bottle, spray bottle, egg candler).
2. Product Features
- Adjustable Temperature Control: The incubator features a precise temperature control system with a built-in fan for consistent air circulation. An automatic alarm activates if the temperature deviates from the set range.
- Stable Humidity System: Equipped with an independent water bottle for automatic water replenishment, minimizing the need to open the incubator and preventing humidity fluctuations.
- Automatic Egg Turning: Eggs are automatically turned every 2 hours to ensure even heating. The turning mechanism pauses 4 days before hatching to prepare for the hatch.
- Integrated Egg Candler Light: A visual egg candler light on top allows for convenient observation of egg development and condition throughout the 21-day incubation process.
- Transparent 360° View: A clear lid provides an unobstructed view of the incubation process.
- Versatile Capacity: Capable of hatching approximately 12 chicken or duck eggs, or 24 quail/parrot eggs, suitable for various settings including farms, homes, laboratories, and classrooms.

Image 2: Visual representation of the incubator's capacity for various egg types.

Image 3: Close-up of the industrial-grade temperature sensor and the built-in air circulation system for even temperature and humidity distribution.
3. Setup Instructions
Follow these steps to set up your incubator:
- Add Water: Fill tank A as needed. For chicken eggs, add water to tank A for days 1-18. If ambient humidity is low, also add water to tank B. For days 19-21, add water to both tanks A and B simultaneously.
- Grid Placement: Place the grid securely inside the incubator base.
- Egg Tray Placement: Position the egg tray on top of the grid.
- Close Top Cover: Ensure the top cover is properly closed and secured.
- Turn on Power (Preheat): Connect the power cord. Turn on the incubator and allow it to preheat for at least 1 hour to stabilize temperature and humidity.
- Fertilized Eggs Placement: Once the temperature and humidity inside the machine are stable, carefully place the fertilized eggs onto the egg tray.
- Incubation Period: Monitor the incubation process according to the recommended parameters for your specific egg type.
- Hatching Period: Approximately 4 days before the expected hatch date, remove the egg tray to provide adequate space for hatching.

Image 4: Illustrated guide for initial setup steps: adding water, placing the grid, positioning the egg tray, and closing the top cover.

Image 5: Illustrated guide for operational steps: powering on, placing fertilized eggs, monitoring incubation, and preparing for hatching.
4. Operating Instructions
Control Panel Functions

Image 6: Detailed view of the control panel, indicating the Heating Indicator, Setting Indicator, Degrees Celsius, Settings button, Up button, Down button, Power port, and Temperature Display.
- Temperature Settings: Press the Settings key once, then use the Up or Down keys to adjust the desired temperature.
- Egg Candling: Long press the Settings key to activate the LED egg candler. Long press again to turn it off.
- Egg Turning Test: Long press the Down key to initiate an egg-turning test.
- Restore Factory Settings: Long press the Up and Down keys simultaneously.
Automatic Egg Turning
The incubator automatically rotates eggs every 2 hours. This ensures uniform heat distribution, mimicking natural incubation. On day 19, the automatic turning will cease. It is recommended to remove the red egg turner tray on day 19 to provide ample space for chicks to hatch.

Image 7: Illustration of the 360° automatic egg rotation and the recommended timeline for removing the egg tray before hatching.
5. Egg Selection and Incubation Parameters
Choosing Fertilized Eggs
- Fertilized eggs must be fresh, ideally laid within 4-7 days.
- Do not refrigerate or wash eggs, as this can significantly reduce the hatch rate.
- Place eggs with the large end facing up and allow them to rest for 12 hours before incubation.
Incubation and Hatching Parameters for Various Poultry
| Name of Birds | Days | Incubation Period | Hatching Period | Hatching Egg Weight | ||
|---|---|---|---|---|---|---|
| Temperature ±0.5°C | Humidity% | Temperature ±0.5°C | Humidity% | |||
| Chicken | 21 | 38 | 55-70 | 37.5 | 66-85 | 50-60 |
| Duck | 28 | 37.8 | 60-75 | 37.3 | 65-85 | 80-100 |
| Goose | 30 | 38.5 | 55-70 | 37.8 | 65-85 | 30-40 |
| Pigeon/Quail | 18 | 37.6 | 65-80 | 37.1 | 65-85 | 80-100 |
| Turkey | 28 | 37.7 | 60-75 | 37.1 | 65-85 | 75-80 |
Note: These parameters are general guidelines. Specific requirements may vary based on egg source and environmental conditions.

Image 8: Information on selecting fertilized eggs and a visual chart illustrating chicken embryo development over 21 days.
6. Precautions During Incubation
- Water Management: Add water to the machine every 1-2 days. The frequency depends on the ambient environment and the amount of water inside the machine.
- Environmental Temperature: If the ambient temperature falls below 20°C (68°F), place the incubator in an insulated foam box or similar enclosure for better warmth retention.
- Avoid Frequent Opening: Do not open the lid frequently during incubation, as this can cause the unbroken eggshell to dry out and become difficult to break for hatching chicks.
- Egg Development Checks (Candling):
- 1st Test (Day 4-6): Primarily check for fertilization. Remove infertile eggs, scattered yellow eggs, and dead eggs.
- 2nd Test (Day 11-12): Check for embryo development. A well-developed embryo will show blood vessels inside, and the air chamber will be large and clearly demarcated.
- 3rd Test (Day 16-17): Light from the pointed side should reveal a well-developed embryo that fills most of the egg, with no light in most places. If it is a dead egg, the blood vessels will be blurred, and parts near the air chamber will not be clear.
- Hatching Period (Day 19-21): Once cracks appear on the eggshell, increase the humidity to ensure the eggshell remains soft enough for the chick to break through. Decrease the temperature to 37-37.5°C (98-99°F).
7. Troubleshooting
If you encounter issues during egg candling, refer to the following common problems:
- Small Cracks: Eggs with small cracks cannot continue to hatch. Remove them to prevent affecting other normal fertilized eggs and decreasing the overall hatch rate.
- Moving Air Bubbles: Indicates an issue with the egg.
- Unfertilized Eggs: These eggs will not develop.
- Dead Embryos: Embryos that have ceased development.
Important Considerations:
- Dim room lighting for easier observation during candling.
- Avoid excessive vibration or rotation during candling, as this may cause embryo death due to stress.
- If the room temperature is lower than the incubator temperature, complete the candling operation as quickly as possible.
- Opening the incubator to check fertilized eggs will temporarily lower the temperature and humidity. The machine will alarm, but this can be stopped by pressing any button. The temperature will gradually return to the preset value once the cover is closed.

Image 9: Visual examples of common issues identified during egg candling (small cracks, moving air bubbles, unfertilized eggs, dead embryos) and a diagram for cleaning the incubator.
8. Cleaning and Storage
Proper cleaning and storage are essential for the longevity of your incubator:
- Cleaning After Hatching: Clean and air-dry the machine promptly after use to prevent internal moisture from damaging electronic components.
- Disinfecting: Disconnect the incubator before cleaning. Wipe the surface of the top cover with a wet cloth and disinfectant. Ensure all electrical components remain dry during the cleaning process.
- Do Not Immerse: Do not immerse any electrical components in water.
- Control Panel: The control panel is not washable; wipe it clean with a rag.
- Storage: Store the incubator in a clean, dry place away from direct sunlight and extreme temperatures.
9. Specifications
- Model Number: FHQ-MG-12
- Brand: MYMULIKE
- Color: White
- Material: Acrylonitrile Butadiene Styrene (ABS)
- Product Dimensions: 13"L x 13"W x 5.99"H
- Capacity: 12 Liters
- Item Weight: 3.5 pounds
- Is Electric: Yes
- Manufacture Year: 2025
10. Support
For further assistance or inquiries, please refer to the manufacturer's official support channels. Specific warranty information is not provided in this manual; please consult your purchase documentation or the MYMULIKE website for details.
Related Documents - FHQ-MG-12
 |
12 Egg Incubator User Manual: Comprehensive Guide to Hatching Poultry This user manual provides detailed instructions for operating and maintaining the 12 Egg Incubator. It covers setup, operation steps, incubation parameters for various poultry, troubleshooting common issues, and cleaning procedures to ensure successful hatching. |
 |
HT-12 Incubator Controller Operating Manual Comprehensive operating manual for the HT-12 Incubator Controller. Includes setup instructions, incubation modes, parameter settings, and wiring diagrams for optimal egg incubation. |
 |
IMP 12 Egg Incubator User's Manual User's manual for the IMP 12 Egg Incubator (SKU#2293825) from Tractor Supply Company, providing instructions on setup, operation, temperature and humidity control, and hatching. |
 |
HIBEST 12 Egg Incubator User Manual - Model HIBEST-13-M12H Comprehensive user manual for the HIBEST 12 Egg Incubator (Model HIBEST-13-M12H). Learn about product structure, package contents, controller functions, setup, incubation tips, egg development checks, and cleaning/storage instructions. |
 |
HT-12 Incubator Controller Operating Manual Comprehensive operating manual for the HT-12 Incubator Controller, detailing features, control panel functions, display areas, automatic and custom incubation settings, parameter tables, wiring diagrams, and operational guidance. |
 |
Rooster Farms Automatic Egg Incubator Instruction Manual This instruction manual provides detailed guidance on operating and assembling the Rooster Farms Automatic Egg Incubator, including setup, temperature and humidity control, and maintenance for optimal hatching results. |
Ask a question about this manual
Ask about setup, troubleshooting, compatibility, parts, safety, or missing instructions. Manuals+ will review the question and use this page’s manual context to help answer it.