1. Introduction
This manual provides essential information for the safe and correct installation, operation, and maintenance of the 801805 Drain Line Heater. This component is a genuine Original Equipment Manufacturer (OEM) replacement part designed for True brand beverage refrigerators and similar appliances. Its primary function is to prevent the drain line from freezing, ensuring proper drainage and efficient operation of the refrigeration unit.
Please read this manual thoroughly before attempting any installation or service. Retain this manual for future reference.
2. Safety Information
WARNING: Electrical shock hazard. Failure to follow these instructions can result in serious injury or death.
- Always disconnect power to the appliance before installing, servicing, or removing this part. Unplug the appliance from its power source.
- Wear appropriate personal protective equipment, including work gloves, to protect your hands from sharp edges or hot surfaces.
- Installation should only be performed by a qualified technician or a person with adequate electrical and appliance repair knowledge.
- Ensure all electrical connections are secure and comply with local electrical codes.
- Do not modify the heater or its wiring. Use only as intended.
3. Compatibility
The 801805 Drain Line Heater is a direct replacement part. Before purchasing and installing, verify that this part is compatible with your specific appliance model. Refer to your appliance's service manual or the manufacturer's specifications to confirm the correct part number. Compatibility cannot be assumed based on visual appearance alone.
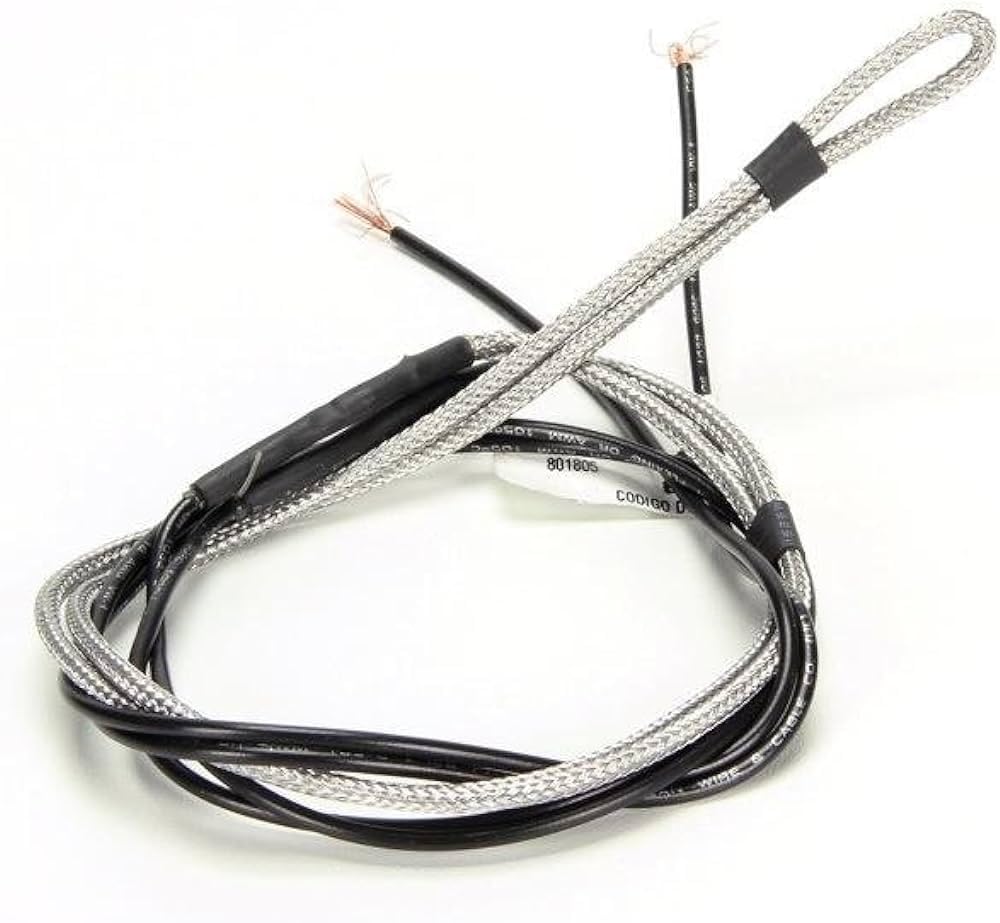
Image 1: The 801805 Drain Line Heater. This image shows the heating element with its attached wiring leads, designed to fit into the drain tube of compatible refrigeration units.
4. Setup and Installation
Follow these general steps for installation. Specific procedures may vary depending on your appliance model. Always consult your appliance's service manual for detailed instructions.
- Disconnect Power: Unplug the appliance from the electrical outlet to prevent electric shock.
- Access Drain Line: Locate and access the drain line and the existing heater (if any) within the appliance. This may require removing panels or components.
- Remove Old Heater: Carefully disconnect the wiring from the old drain line heater and remove it from the drain tube. Note the routing of the wires and the position of the heater for correct reinstallation.
- Install New Heater: Insert the new 801805 Drain Line Heater into the drain tube. Ensure it is properly seated and positioned to effectively heat the entire length of the drain line prone to freezing.
- Connect Wiring: Connect the new heater's leads to the appliance's electrical system. Ensure connections are secure and insulated as per original specifications.
- Secure Components: Reinstall any panels or components that were removed to access the drain line. Ensure no wires are pinched or exposed.
- Restore Power: Plug the appliance back into the electrical outlet.
- Test Operation: Monitor the appliance to ensure the drain line heater is functioning correctly and preventing ice buildup in the drain.
5. Operating Instructions
The 801805 Drain Line Heater operates automatically. Once installed and power is supplied to the appliance, the heater will activate as needed to maintain a temperature above freezing within the drain line. There are no user-adjustable controls for this component.
6. Maintenance
The 801805 Drain Line Heater requires minimal maintenance. Periodic inspection (e.g., annually or during other appliance servicing) is recommended to ensure:
- The heater is securely in place within the drain tube.
- Wiring connections are intact and free from corrosion or damage.
- There is no visible ice buildup in the drain line, indicating proper heater function.
If any issues are observed, disconnect power and investigate or contact a qualified technician.
7. Troubleshooting
If you experience issues related to the drain line freezing or improper drainage after installing the 801805 Drain Line Heater, consider the following:
- No Power: Ensure the appliance is plugged in and receiving power. Check circuit breakers or fuses.
- Incorrect Installation: Verify that the heater is correctly installed in the drain line and all electrical connections are secure.
- Heater Failure: If the heater is receiving power but not generating heat, it may be faulty and require replacement. This typically requires testing with a multimeter by a qualified technician.
- Drain Line Obstruction: Even with a functioning heater, a physical obstruction in the drain line (e.g., debris, food particles) can prevent proper drainage. Clear any blockages.
For complex issues, it is recommended to consult a professional appliance repair technician.
8. Specifications
| Part Number | 801805 |
| Voltage | 115V |
| Wattage | 10W |
| Product Dimensions | 8.15 x 3.65 x 1.8 inches (approximate packaging dimensions) |
| Included Components | 801805 Drain Line Heater |
9. Warranty and Support
This product is subject to the seller's return policy. For specific warranty details or support inquiries, please refer to the documentation provided at the time of purchase or contact the retailer directly. As an OEM replacement part, its warranty may be tied to the original appliance manufacturer's terms or the seller's policy.
