CuisinAid 01
CuisinAid 6ft x 300ft Heavy Duty Weed Barrier Landscape Fabric User Manual
Model: 01
Introduction to Your Weed Barrier Fabric
The CuisinAid 6ft x 300ft Heavy Duty Weed Barrier Landscape Fabric is engineered to provide superior weed control and soil preservation for various gardening and landscaping projects. Made from professional-grade 3.2oz polypropylene material, this fabric is designed for durability, high strength, and excellent permeability, allowing water and nutrients to reach the soil while blocking unwanted weed growth.

Image: A roll of CuisinAid heavy-duty weed barrier fabric, black with green stripes, unrolled slightly on a vibrant green lawn, demonstrating its large size and texture.
This manual provides detailed instructions for the proper setup, application, and maintenance of your weed barrier fabric to ensure optimal performance and longevity.
Setup and Preparation
Proper preparation of the area is crucial for the effective performance of the weed barrier fabric.
1. Site Preparation
- Clear the Area: Remove all existing weeds, grass, rocks, and debris from the installation site. Ensure the ground is as level and smooth as possible.
- Rake and Smooth: Rake the soil to create an even surface. This prevents punctures and ensures the fabric lays flat.
- Soil Compaction (Optional): For high-traffic areas, light compaction of the soil can provide a more stable base.

Image: A close-up of a rake smoothing out soil, illustrating the preparation step before laying the fabric.
2. Unrolling and Cutting the Fabric
- Measure and Cut: Unroll the fabric over the prepared area, ensuring it covers the desired space. Use sharp scissors or a utility knife to cut the fabric to size. Remember to leave extra material for overlapping if multiple pieces are needed.
- Overlap Edges: When laying multiple pieces, overlap the edges by at least 6-12 inches (15-30 cm) to prevent weeds from growing through the seams.
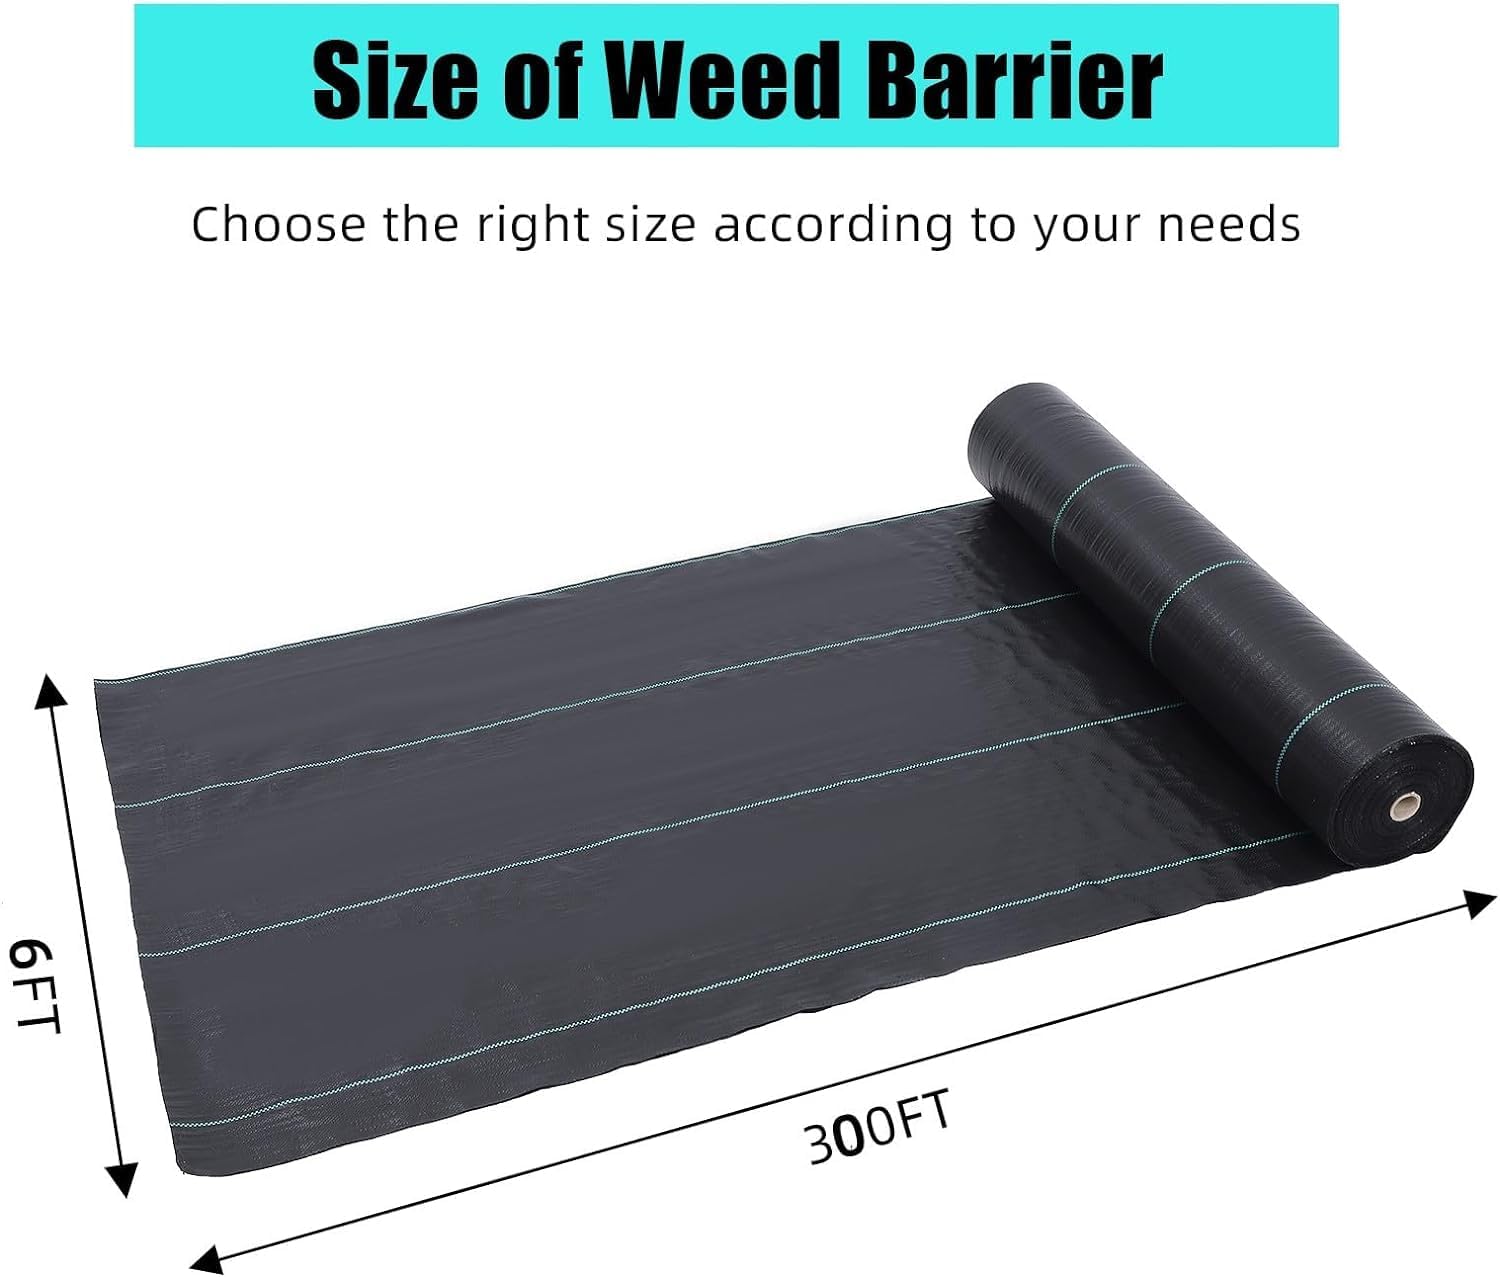
Image: The weed barrier fabric unrolled, with dimensions indicating its 6ft width and 300ft length, highlighting the product's size.

Image: Hands holding scissors, cutting a piece of the black weed barrier fabric, demonstrating how easily it can be cut to size.
Operating and Application
The CuisinAid weed barrier fabric is designed for ease of use and effective weed suppression across various applications.
1. Securing the Fabric
- Use Landscape Staples/Pins: Secure the fabric to the ground using landscape staples or pins, typically spaced every 2-3 feet (60-90 cm) along the edges and seams. For windy areas, closer spacing may be necessary.
- Around Plants: If installing around existing plants, cut an 'X' or circular opening in the fabric large enough for the plant stem, then lay the fabric around it.

Image: A hand pressing a U-shaped landscape pin into the ground to secure the weed barrier fabric, demonstrating the fastening method.
2. Covering the Fabric
- Apply Top Layer: For best results and longevity, cover the weed barrier fabric with a layer of mulch, gravel, decorative stones, or soil. This protects the fabric from UV degradation and provides an aesthetic finish.

Image: A wheelbarrow tipping gravel onto the black weed barrier fabric, illustrating the final step of covering the fabric.
3. Benefits of Use
- Effective Weed Control: Prevents weed growth by blocking sunlight, reducing the need for herbicides and manual weeding.
- Soil Moisture Retention: Helps retain soil humidity by reducing water evaporation, leading to less frequent watering.
- Air and Water Permeability: Allows air and water to pass through, promoting healthy soil and plant root development.
- Erosion Control: Stabilizes soil, making it suitable for erosion control in various landscaping and construction projects.
- Versatile Applications: Ideal for courtyards, garden paths, vegetable patches, greenhouses, gravel roads, and more.
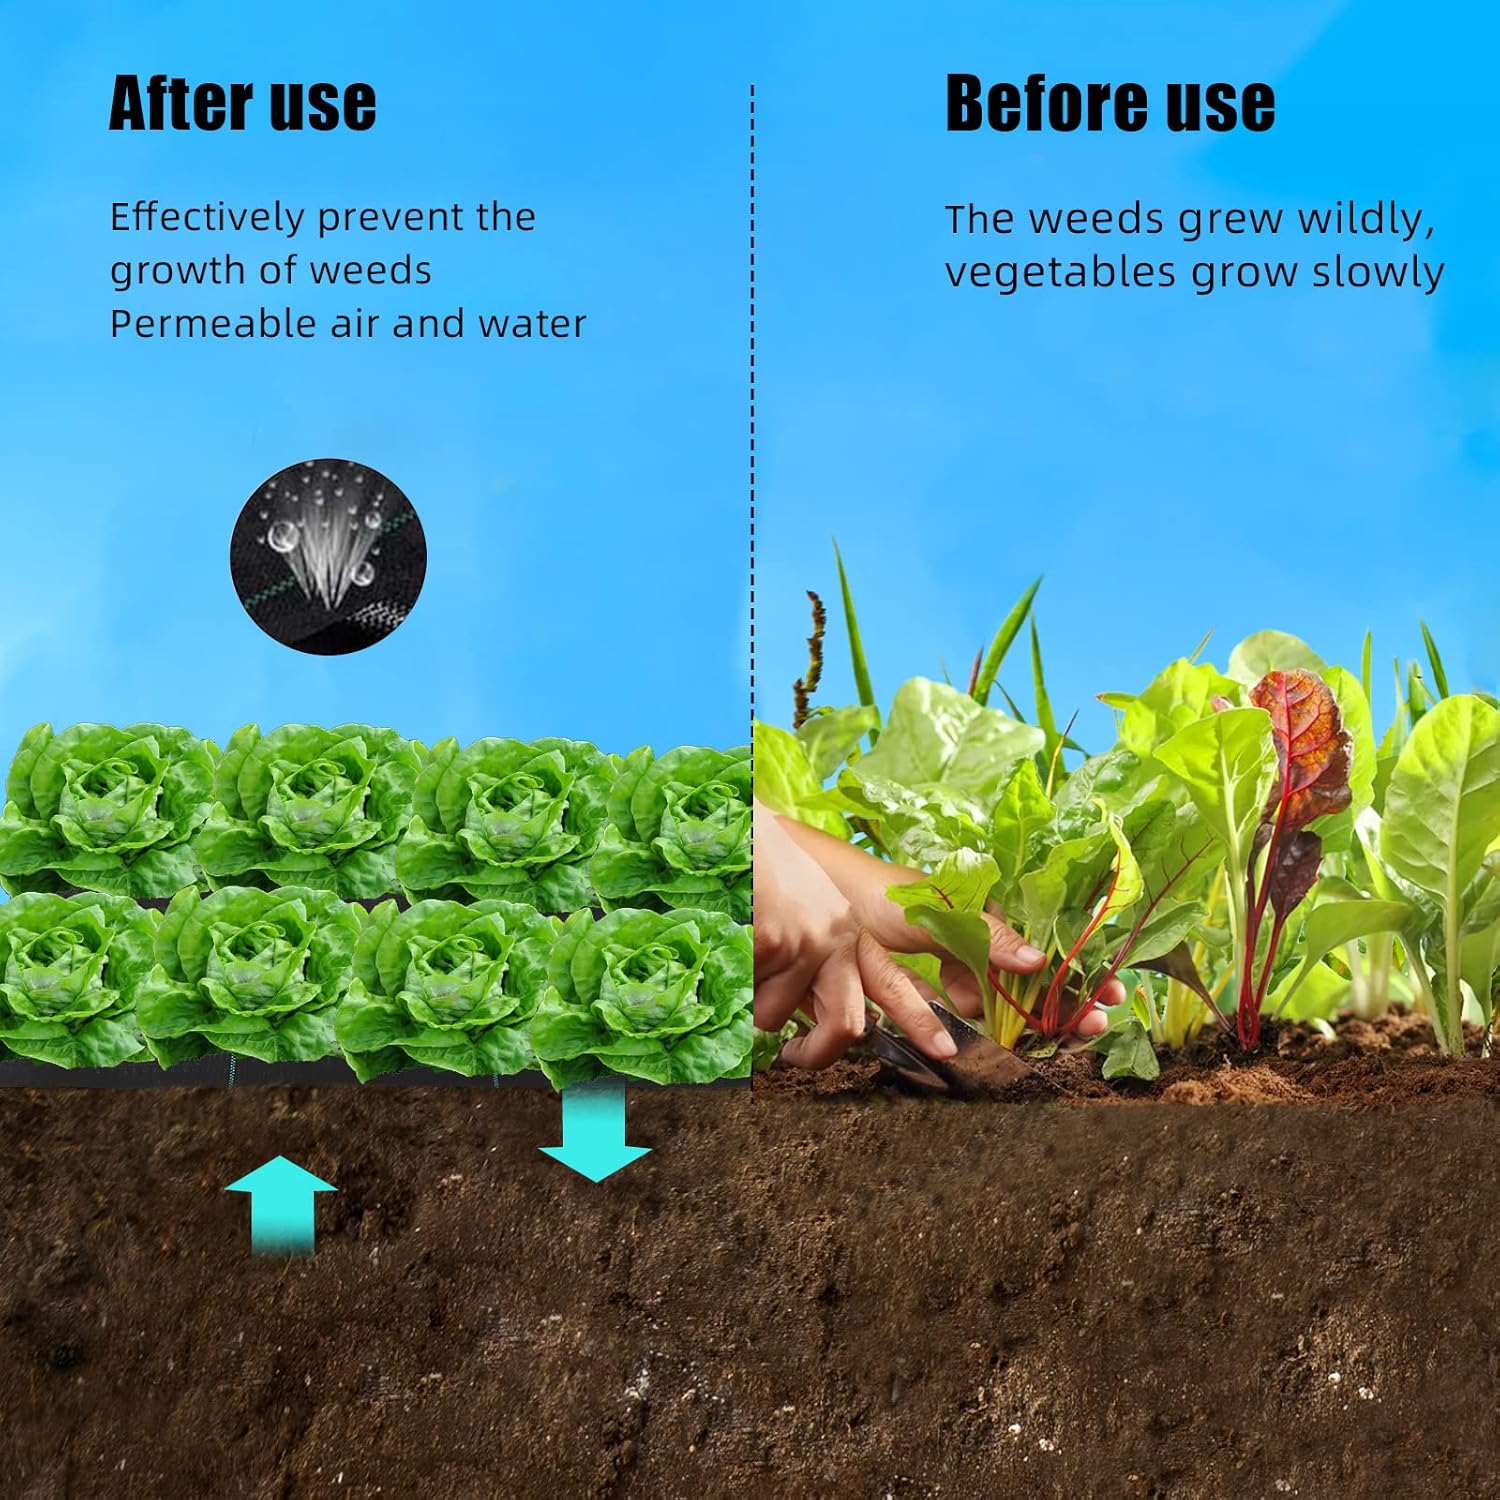
Image: A split image showing "Before use" with wild weeds and "After use" with healthy plants growing through the weed barrier, demonstrating its effectiveness.
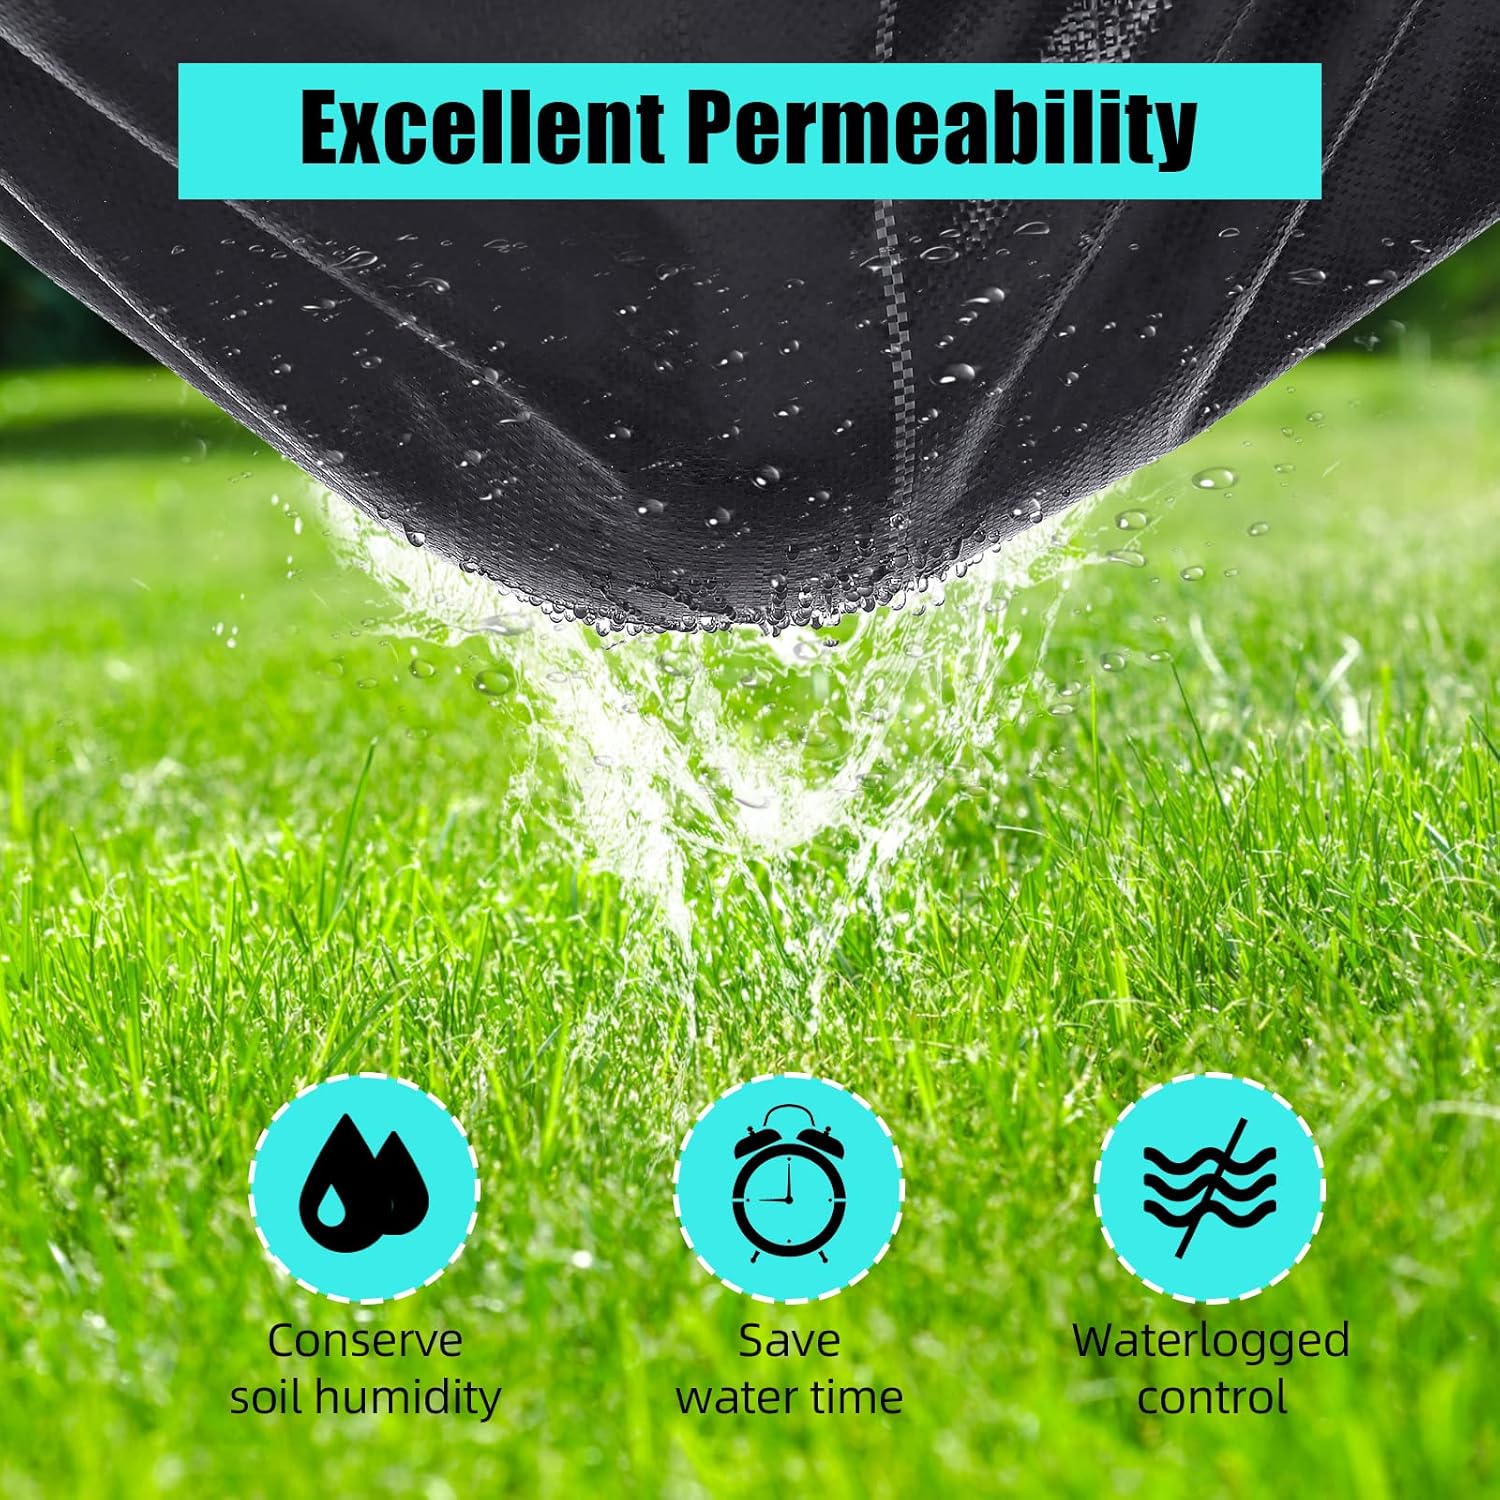
Image: Water beading on the fabric surface and dripping through, with icons representing conservation of soil humidity, saving water time, and waterlogged control, highlighting its permeability.

Image: A collage of five different scenes showing the weed barrier fabric used in various settings: a courtyard, a garden path, a vegetable patch, a greenhouse, and a gravel road, illustrating its diverse utility.
Maintenance
While the CuisinAid weed barrier fabric is designed for durability, proper maintenance can extend its lifespan and effectiveness.
- Regular Inspection: Periodically check the fabric for any exposed areas, tears, or shifting. Address these promptly to prevent weed growth.
- Maintain Top Layer: Ensure the top layer of mulch, gravel, or soil remains adequate. Replenish as needed to protect the fabric from UV exposure, which can degrade the material over time.
- Clean Debris: Remove any accumulated leaves, dirt, or debris from the surface of the top layer to maintain proper drainage and prevent weed seeds from germinating on top of the fabric.
- Repair Tears: Small tears can be repaired using strong, weather-resistant tape or by patching with an additional piece of weed barrier fabric secured with staples.
Troubleshooting
Here are some common issues and their potential solutions:
| Problem | Possible Cause | Solution |
|---|---|---|
| Weeds growing through the fabric. |
|
|
| Fabric shifting or bunching. |
|
|
| Water pooling on top of the fabric. |
|
|
Product Specifications
| Feature | Detail |
|---|---|
| Product Dimensions | 6ft x 300ft (approx. 20 x 5 x 5 inches when rolled) |
| Material Weight | 3.2 oz/sq yd (Premium Grade) |
| Item Weight | 27.4 pounds |
| Material | Professional Grade Polypropylene |
| Color | Black |
| UV Protection | Yes (when covered) |
| Permeability | Excellent (allows water and air) |
| Manufacturer | CuisinAid |
| Model Number | 01 |
Warranty and Support
CuisinAid is committed to providing high-quality products. While specific warranty details are not provided in this manual, please refer to your purchase documentation or the product listing on the retailer's website for information regarding warranty coverage and return policies.
For any questions, concerns, or support needs regarding your CuisinAid Weed Barrier Landscape Fabric, please contact CuisinAid customer service through the retailer's platform or the official CuisinAid website. Please have your purchase details and model number (01) ready when contacting support.
Ask a question about this manual
Ask about setup, troubleshooting, compatibility, parts, safety, or missing instructions. Manuals+ will review the question and use this page’s manual context to help answer it.