1. Introduction
The Prestacycle Pro Presta Head is an auto-locking bicycle tire pump head designed for use with Presta valves, including tubeless and high-performance systems. This device eliminates the need for manual clamping, twisting, or threading, providing a secure connection and protecting valve stems and cores. It features an instant, no-loss release mechanism and a durable 90-degree steel body for improved access and longevity.
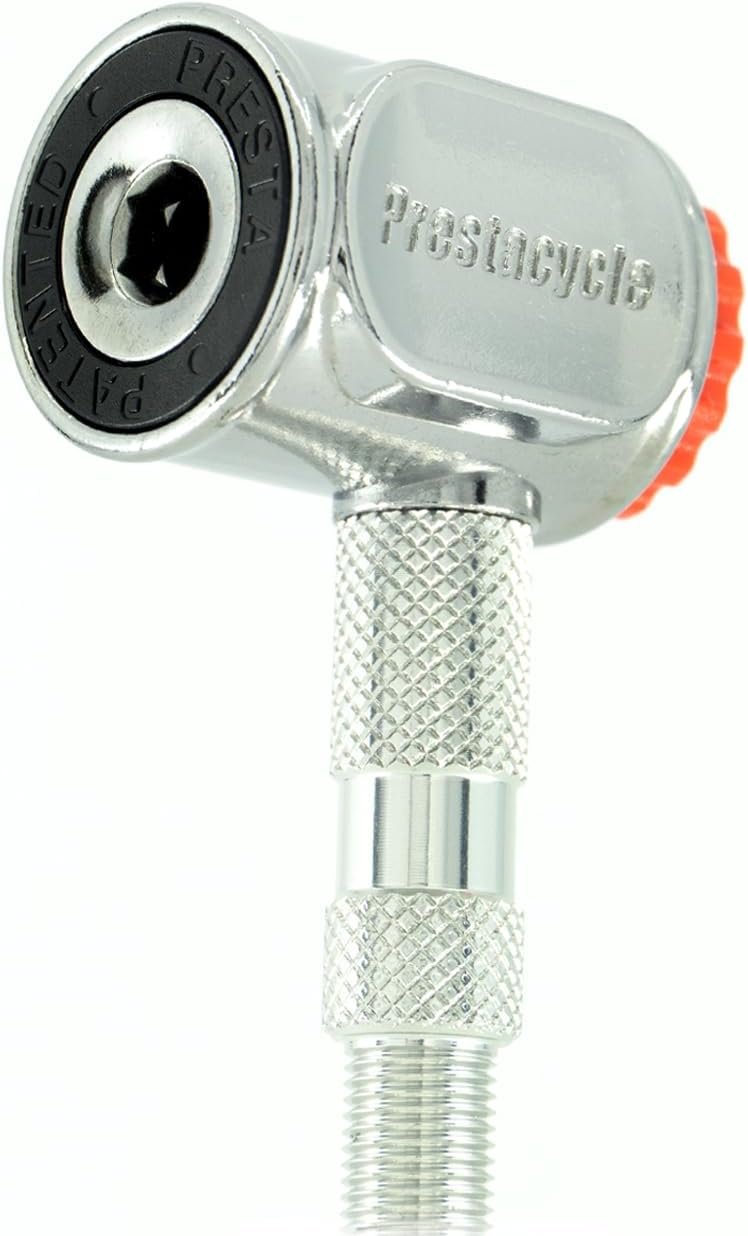
Image 1.1: The Prestacycle Pro Presta Head, a 90-degree steel design for bicycle tire inflation.
2. Setup and Installation
The Pro Presta Head is designed for compatibility with most premium floor pumps and Prestacycle's own Prestaflator Pro tools. It features a standard Schrader-threaded connection for easy attachment.
- Prepare Your Pump: Ensure your existing floor pump or inflation tool has a standard Schrader-threaded connection.
- Attach the Pro Presta Head: Screw the threaded end of the Pro Presta Head onto the Schrader-threaded connection of your pump hose. Tighten securely by hand to prevent air leaks.
- Verify Connection: Once attached, ensure the head is firmly seated and does not wobble.

Image 2.1: The Pro Presta Head connected to a pump hose, ready for use.
3. Operating Instructions
The Pro Presta Head features an auto-lock mechanism for quick and secure valve connection and a soft-disconnect button for precise pressure release.
- Prepare the Valve: Unscrew the dust cap from your Presta valve. If your valve has a threaded core, unscrew it slightly to allow airflow.
- Connect to Valve: Firmly push the Pro Presta Head straight onto the Presta valve stem. The head will automatically lock onto the valve without requiring any twisting or clamping. You should feel a secure connection.
- Inflate Tire: Operate your pump as usual to inflate the tire to the desired pressure. The auto-lock mechanism ensures a stable connection during inflation.
- Disconnect: To release the head, press the oversized red button located on the side of the head. This initiates a soft, no-loss disconnect, preventing air loss and protecting the valve.
- Secure Valve: After disconnecting, if your Presta valve has a threaded core, tighten it back down and replace the dust cap.
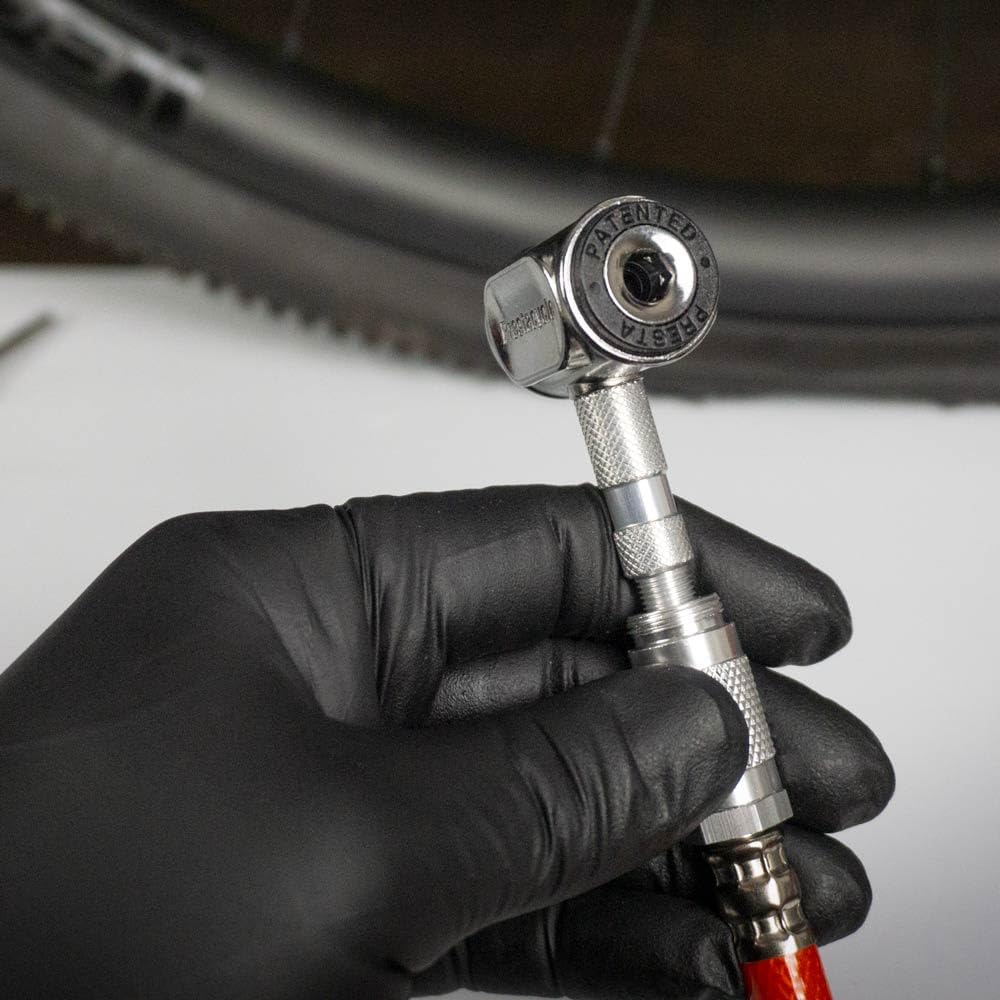
Image 3.1: Demonstrating the auto-lock connection of the Pro Presta Head to a Presta valve.
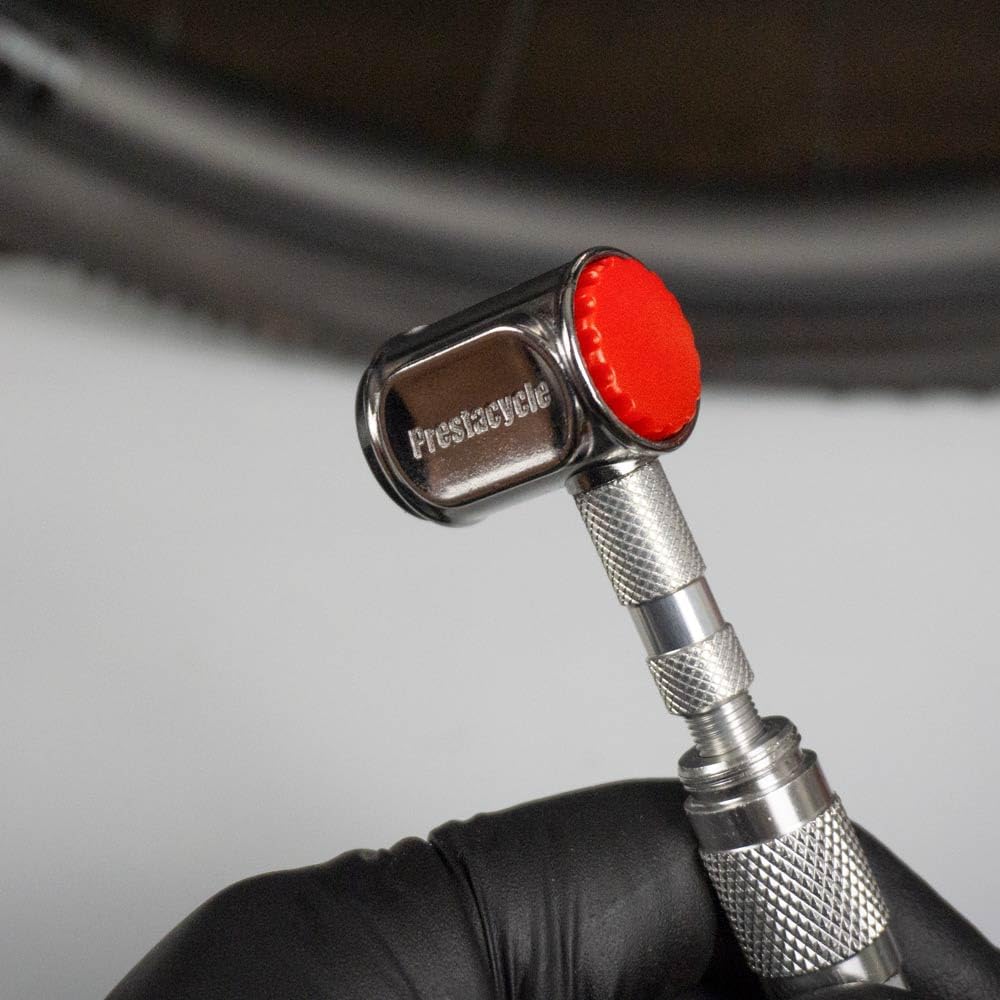
Image 3.2: Pressing the red button for instant, no-loss release from the valve.
4. Maintenance
The Prestacycle Pro Presta Head is constructed from durable steel for longevity. Minimal maintenance is required to ensure optimal performance.
- Cleaning: Wipe the head with a clean, dry cloth after use to remove any dirt or debris. Avoid using harsh chemicals or abrasive materials.
- Storage: Store the Pro Presta Head in a dry environment, away from extreme temperatures and direct sunlight.
- Seal Inspection: Periodically inspect the internal seals for any signs of wear or damage. While designed for durability, seals can degrade over time with heavy use. If you notice air leakage during connection, the internal seals may need inspection or replacement.
5. Troubleshooting
| Problem | Possible Cause | Solution |
|---|---|---|
| Air leaks when connected to valve. |
|
|
| Difficulty attaching head to pump hose. |
|
|
| Red release button is stiff or unresponsive. |
|
|
6. Specifications
- Model: Pro Presta Head
- Brand: Prestacycle
- Material: Steel
- Color: Silver
- Design: 90-degree angle
- Valve Compatibility: Presta valves (including tubeless)
- Pump Compatibility: Standard Schrader-threaded connections (e.g., Prestacycle Prestaflator Pro, most premium floor pumps)
- Dimensions (Item Package): 3.5 x 1.38 x 0.98 inches
- Weight (Package): 0.04 Kilograms
7. Warranty and Support
The Prestacycle Pro Presta Head comes with a 1-year warranty from the date of purchase. This warranty covers manufacturing defects under normal use.
For warranty claims, technical support, or any inquiries regarding your Pro Presta Head, please contact Prestacycle customer service. Refer to the official Prestacycle website or your purchase documentation for current contact information.