1. Introduction
This manual provides essential instructions for the safe and effective operation, maintenance, and troubleshooting of your VEVOR Digital Torque Wrench, Model 12250FTLB. Please read this manual thoroughly before use and retain it for future reference.
1.1 Package Contents
- 1 x VEVOR Digital Torque Wrench (1/2-Inch Drive)
- 1 x 1/2-Inch to 1/4-Inch Drive Adapter
- 1 x 1/2-Inch to 3/8-Inch Drive Adapter
- 1 x Calibration Certificate
- 1 x User Manual
- 1 x Storage Case
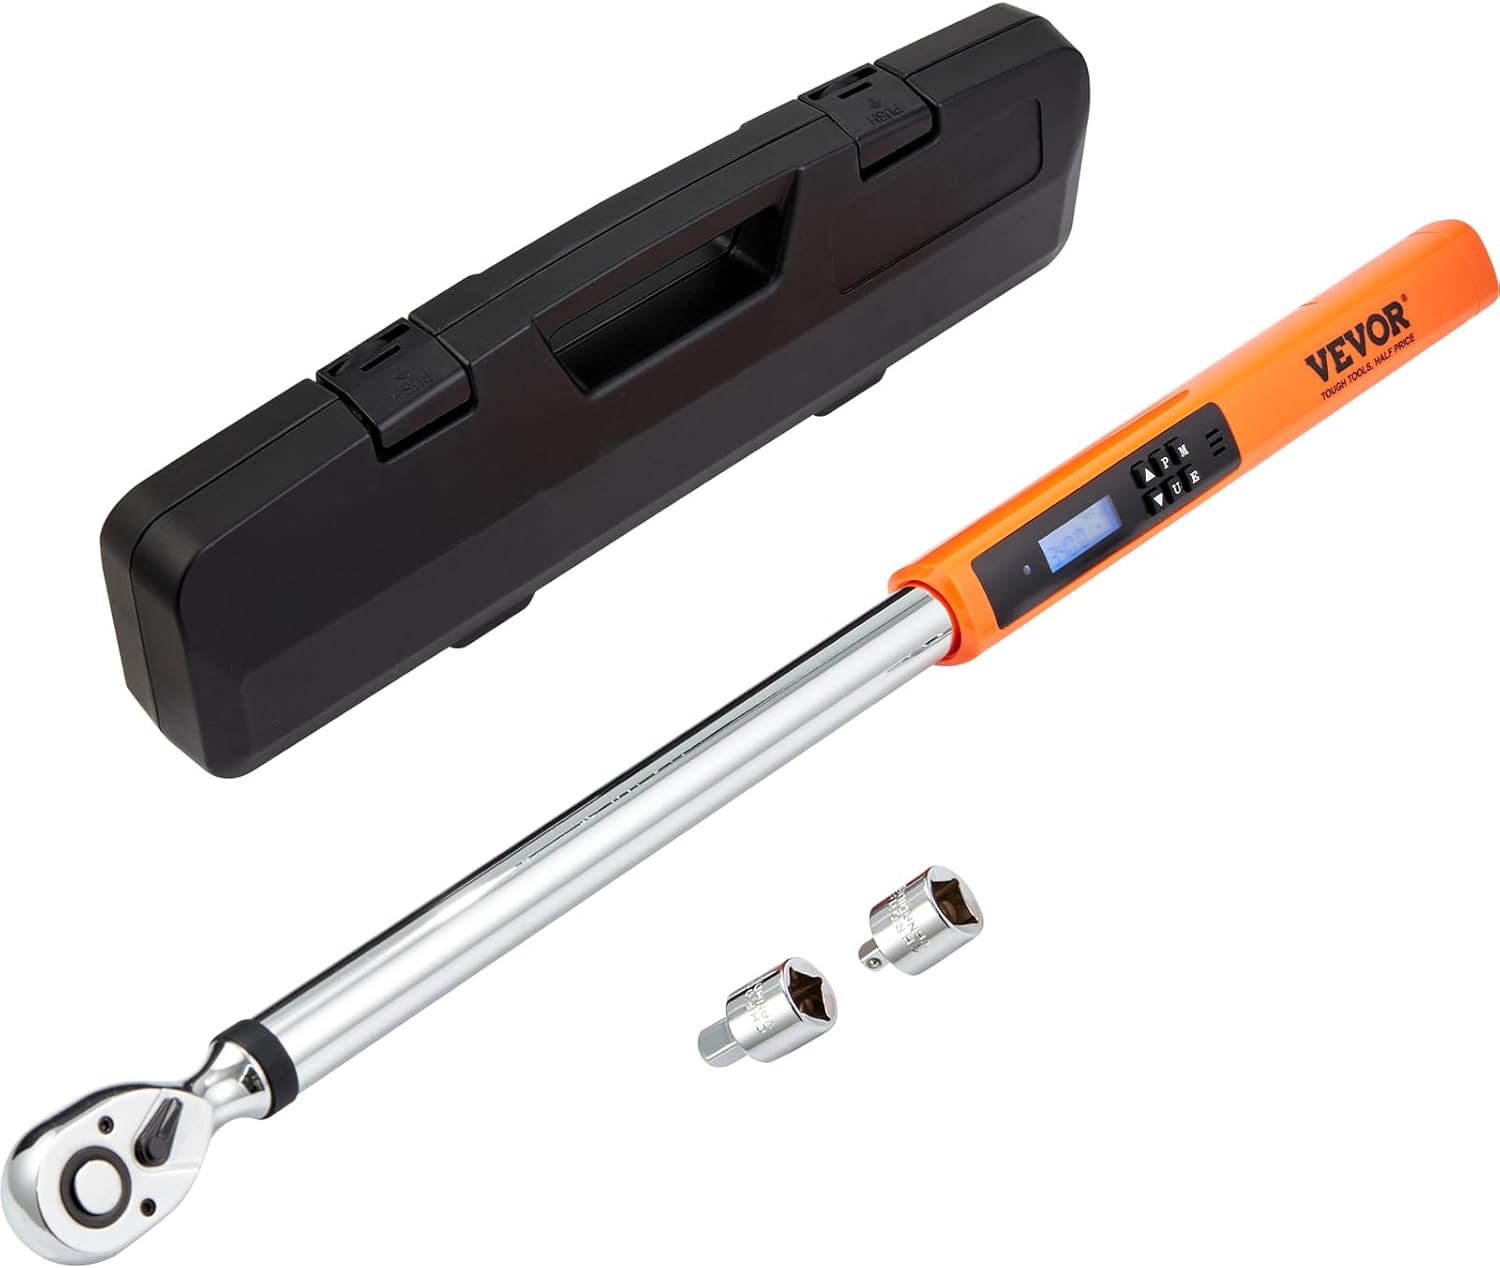
Image 1.1: The VEVOR Digital Torque Wrench, including its protective storage case and drive adapters.
2. Safety Instructions
Always observe the following safety precautions to prevent injury or damage to the tool and workpiece:
- Read and understand all instructions before operating the torque wrench.
- Wear appropriate personal protective equipment, such as safety glasses.
- Do not exceed the maximum torque capacity of the wrench (250 ft.lb / 340 N.m).
- Ensure the correct socket or adapter is securely attached to the drive head.
- Apply force smoothly and steadily to the handle. Avoid sudden jerking motions.
- Do not use the torque wrench as a breaker bar or for loosening fasteners.
- Keep the tool clean and free from oil, grease, or other contaminants that could affect grip.
- Store the torque wrench in its protective case when not in use to prevent damage.
- Do not attempt to disassemble or modify the wrench. Refer all servicing to qualified personnel.
3. Product Features
- High Accuracy: Pre-calibrated to ±2% accuracy for precise torque application.
- Multiple Measurement Modes: Supports kg-m, Nm, in-lb, and ft-lb units.
- Clear Digital Display: High-definition LED screen with backlight for readability in various lighting conditions.
- Track and Peak Modes:
- Track Mode: Displays real-time torque values as force is applied.
- Peak Mode: Records and displays the maximum torque value achieved during an application.
- Audible and Visual Reminders: A buzzer and LED notification activate upon reaching the preset torque value.
- Durable Construction: Made from Chrome Vanadium Alloy Steel with a chrome-plated finish for rust and corrosion resistance.
- Reversible Ratchet Head: Allows for both clockwise and counterclockwise tightening.
- Quick Release Drive: Facilitates easy attachment and detachment of sockets and adapters.

Image 3.1: The wrench is pre-calibrated to ±2% accuracy and includes a calibration certificate.

Image 3.2: Illustration of the durable Chrome Vanadium Alloy Steel construction and heat treatment process.

Image 3.3: The LED display provides clear readability of torque values and settings.
4. Setup
4.1 Initial Inspection
Upon receiving your VEVOR Digital Torque Wrench, inspect the package contents against the list in Section 1.1. Ensure there is no visible damage to the wrench or accessories. If any items are missing or damaged, contact customer support.
4.2 Attaching Adapters and Sockets
- Select the appropriate drive adapter (1/4-inch or 3/8-inch) if your socket is not 1/2-inch.
- Press the quick-release button on the drive head of the torque wrench.
- Insert the adapter or socket onto the drive head until it clicks securely into place.
- Ensure the adapter/socket is firmly seated before use.

Image 4.1: The torque wrench comes with 1/4-inch and 3/8-inch drive adapters for versatility.

Image 4.2: The quick-release mechanism allows for easy one-hand operation to attach or detach sockets.
5. Operating Instructions
5.1 Power On/Off
Press and hold the power button (usually marked with ON/OFF or a power symbol) to turn the wrench on or off. The LED display will illuminate.
5.2 Unit Selection
Press the "U" button to cycle through the available measurement units: N.m (Newton-meters), ft.lb (foot-pounds), in.lb (inch-pounds), and kg-m (kilogram-meters).
5.3 Setting Target Torque
- Press the "P" button to enter Preset mode.
- Use the Up (▲) and Down (▼) buttons to adjust the target torque value.
- Once the desired torque is set, the wrench is ready for use.
5.4 Applying Torque
- Attach the appropriate socket to the wrench.
- Place the socket onto the fastener.
- Apply smooth, steady force to the wrench handle in the desired direction (clockwise or counterclockwise).
- As you approach the preset torque, the LED display will show the increasing value.
- When the preset torque is reached, the wrench will emit an audible beep and the LED indicator will flash. Stop applying force immediately.

Image 5.1: The reversible switch on the ratchet head allows for easy selection of tightening direction.

Image 5.2: Demonstrating the application of torque to a fastener, ensuring proper tightening.
6. Measurement Modes
The VEVOR Digital Torque Wrench offers three distinct measurement modes:
6.1 Track Mode (T)
In Track mode, the display shows the real-time torque value being applied. This mode is useful for monitoring torque as it is being applied, allowing for a balanced and controlled force application.
6.2 Peak Mode (P)
Peak mode captures and holds the maximum torque value reached during a tightening operation. This allows you to review the highest torque applied after the operation is complete.
6.3 Preset Mode (M)
Preset mode allows you to set a target torque value. When this value is reached, the wrench provides an audible beep and visual LED notification, preventing over-tightening and potential damage to fasteners or components.

Image 6.1: Visual representation of the three measurement modes: Track, Peak, and Preset Memory.
7. Maintenance
- Cleaning: Wipe the wrench clean with a soft, dry cloth after each use. Do not use abrasive cleaners or solvents.
- Storage: Store the torque wrench in its original protective case in a dry, clean environment, away from direct sunlight and extreme temperatures.
- Calibration: Digital torque wrenches require periodic calibration to maintain accuracy. Refer to the included calibration certificate for recommended intervals. Contact VEVOR customer support for calibration services.
- Battery: The device is electric. If it uses internal rechargeable batteries, ensure it is charged as per manufacturer guidelines. If it uses disposable batteries (though specifications state "No" for batteries required), replace them as needed.
8. Troubleshooting
| Problem | Possible Cause | Solution |
|---|---|---|
| Wrench does not power on. | Low or depleted internal battery. | Charge the wrench using the provided charging cable (if applicable). If no charging port is visible, contact customer support. |
| Inaccurate torque readings. | Wrench is out of calibration; improper technique. | Have the wrench recalibrated. Ensure smooth, steady force application. |
| Buzzer/LED not activating at target torque. | Target torque not set; malfunction. | Verify the target torque is correctly set in Preset mode. If issue persists, contact support. |
| Display is dim or unreadable. | Low internal battery; extreme temperature. | Charge the wrench. Operate within recommended temperature ranges. |
For issues not listed above, or if solutions do not resolve the problem, please contact VEVOR customer support.
9. Specifications
| Specification | Value |
|---|---|
| Model Number | 12250FTLB |
| Drive Size | 1/2 inch |
| Torque Range | 25-250 ft.lb / 34-340 N.m |
| Accuracy | ±2% (Clockwise) |
| Measurement Units | N.m, ft.lb, in.lb, kg-m |
| Ratchet Teeth | 72 |
| Material | Chrome Vanadium Steel, Plastic |
| Finish | Chrome-plated |
| Item Length | 25.6 Inches (65 cm) |
| Item Weight | 6.17 pounds (2.8 kg) |
| Operation Mode | Electric |
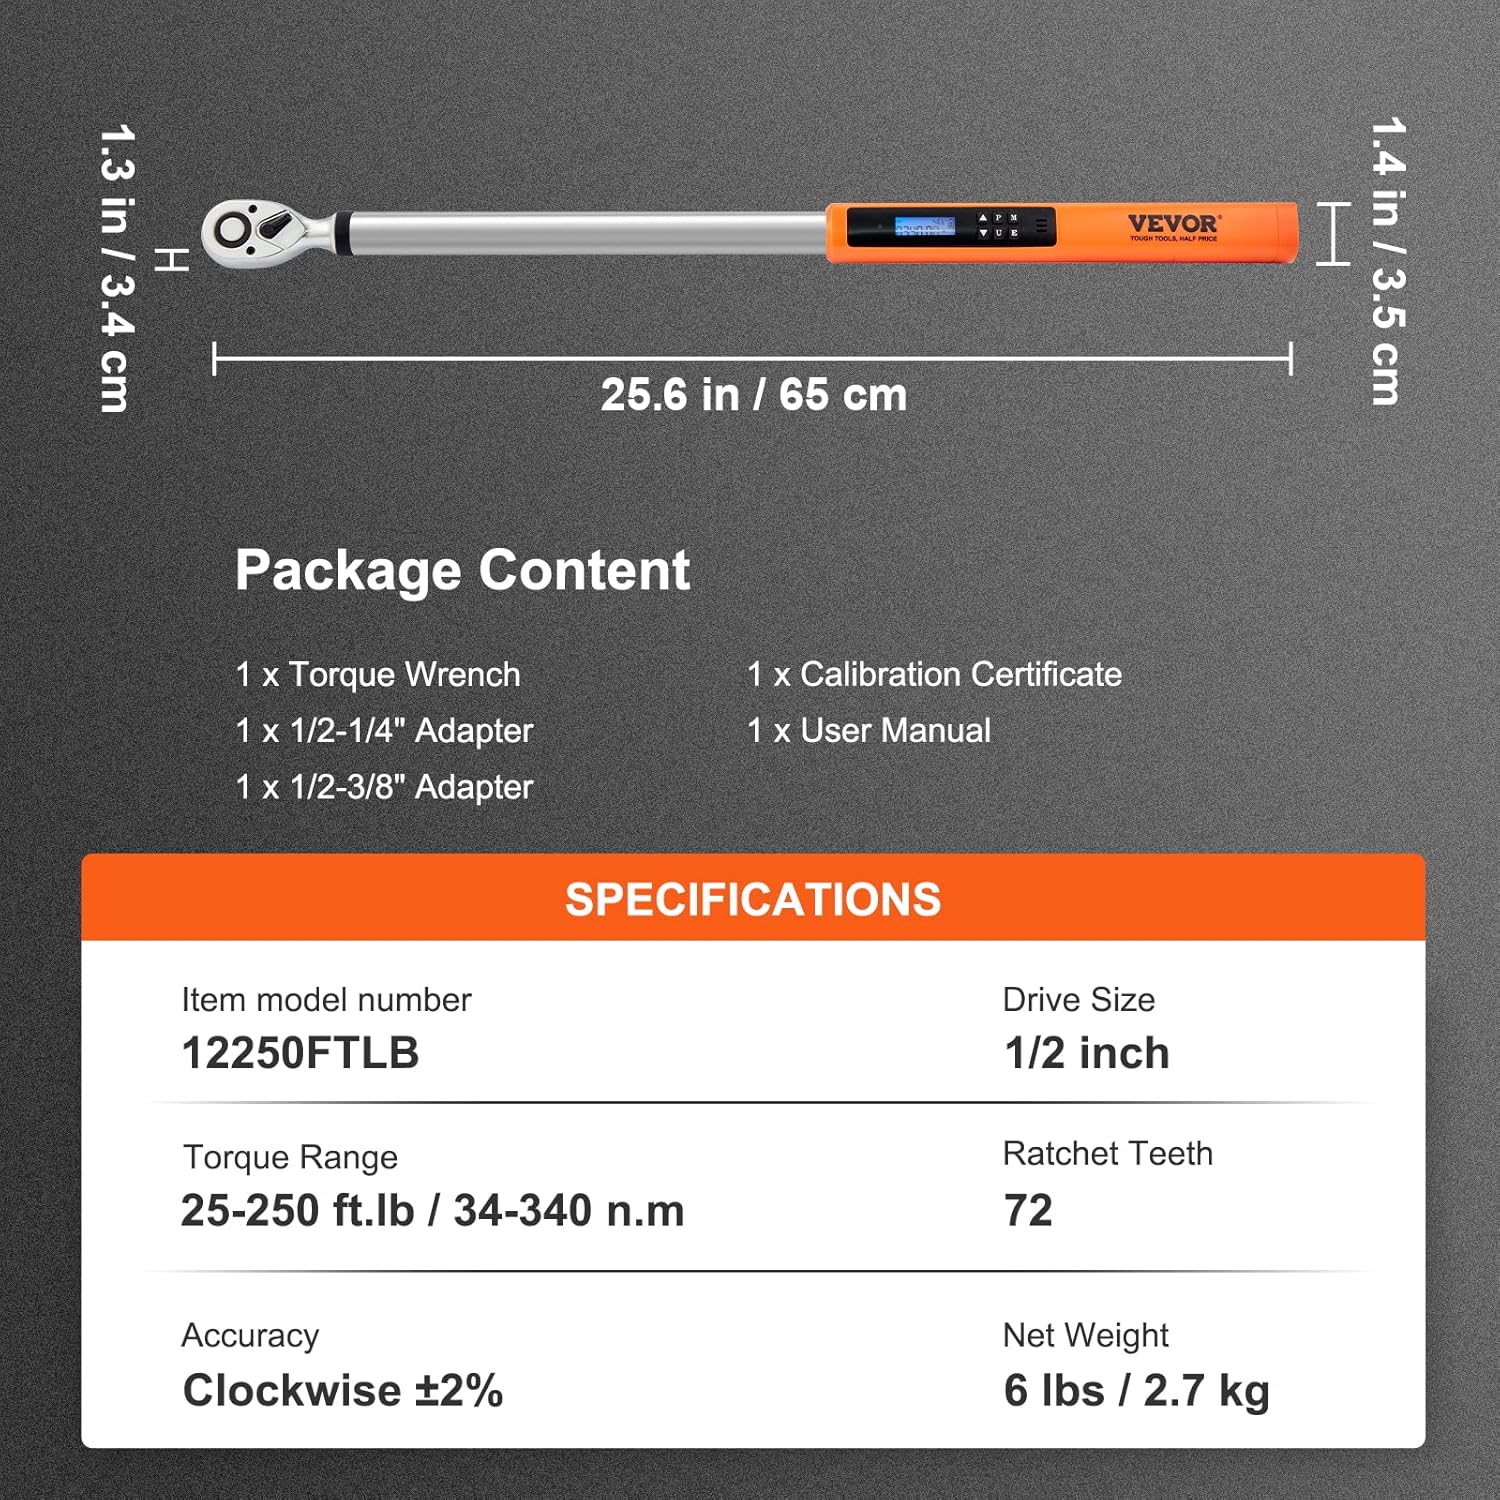
Image 9.1: Detailed specifications and package contents for the VEVOR Digital Torque Wrench.
10. Warranty and Support
For warranty information, technical support, or service inquiries, please contact VEVOR customer support directly. Refer to the contact information provided with your product packaging or visit the official VEVOR website.
Please have your model number (12250FTLB) and purchase date available when contacting support.