1. Introduction
This manual provides essential information for the safe and efficient operation of your new AEG LFR8504L6Q washing machine. Please read these instructions carefully before installation and use, and keep them for future reference. This appliance features PowerCare technology, ProSteam, PreciseWash, an Inverter motor, automatic dosing, and WiFi connectivity, designed for optimal laundry care.
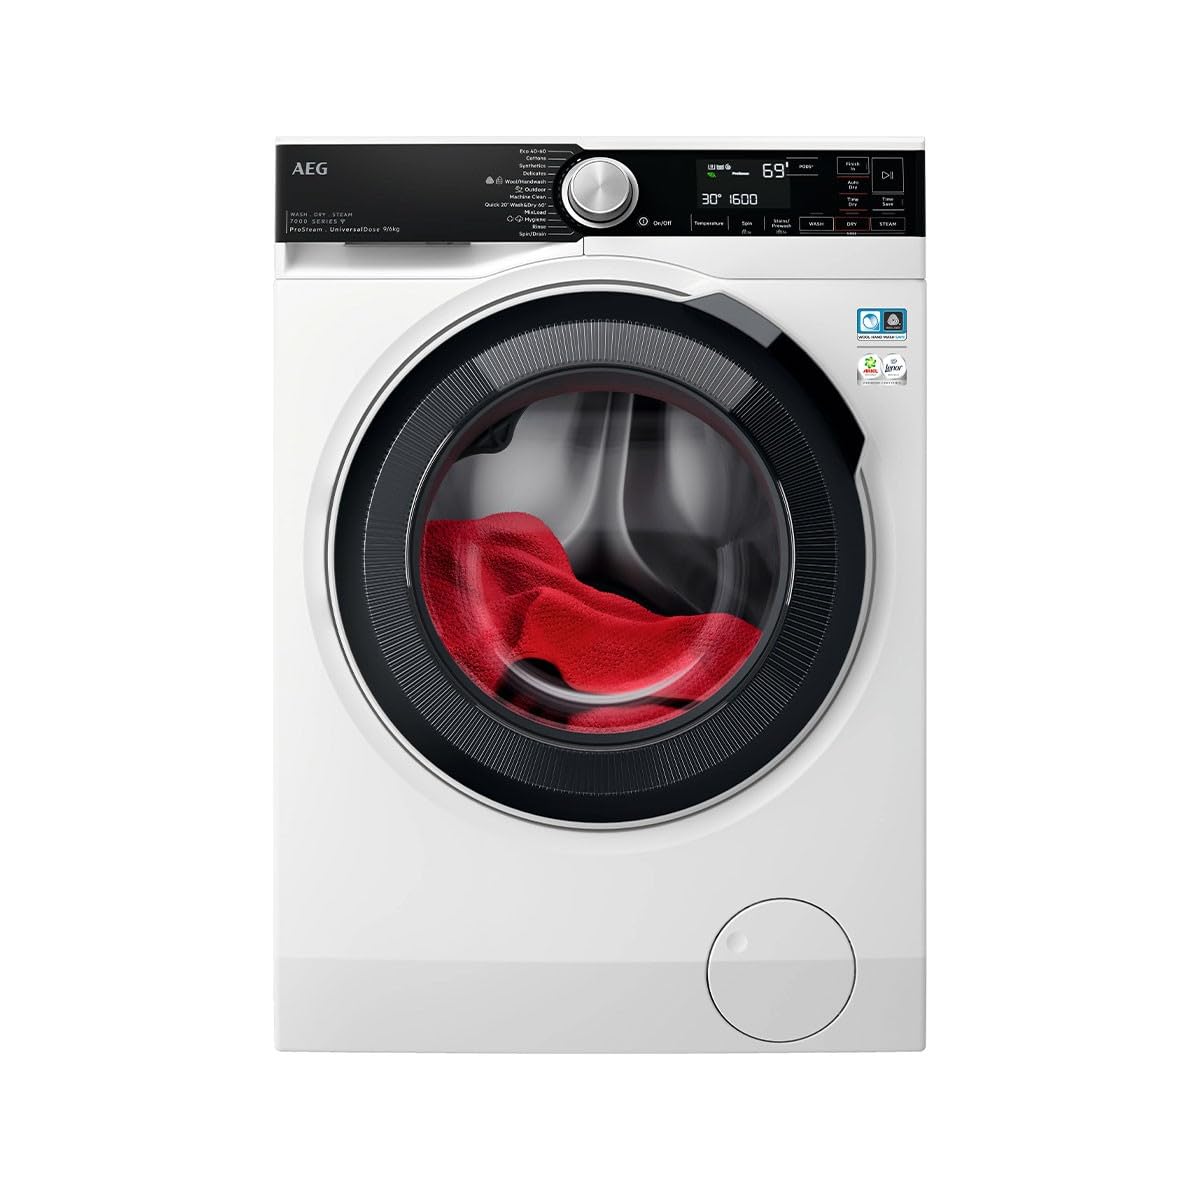
Figure 1: Front view of the AEG LFR8504L6Q washing machine, showcasing its black control panel and door.
2. Safety Information
For your safety and to ensure correct use, read this manual carefully before installing and first using the appliance. Always keep these instructions with the appliance, even if you move or sell it.
- Electrical Safety: Ensure the appliance is connected to a properly grounded outlet. Do not use extension cords or multiple socket adapters.
- Water Safety: Connect water inlet hoses securely to prevent leaks. Do not use old hoses.
- Child Safety: Keep children and pets away from the appliance during operation.
- General Safety: Do not attempt to repair the appliance yourself. Contact authorized service personnel.
3. Setup and Installation
3.1 Unpacking
Remove all packaging materials and transport bolts before using the appliance. Keep packaging materials out of reach of children.
3.2 Location
Install the washing machine on a firm, level floor. Avoid direct sunlight and extreme temperatures. Ensure adequate ventilation around the appliance.
3.3 Water Connection
Connect the water inlet hose to a cold water tap with a 3/4" thread. Ensure connections are tight to prevent leaks.
3.4 Drainage Connection
The drain hose can be placed in a sink or connected to a standpipe. Ensure the hose is not kinked and is at the correct height (60-100 cm from the floor).
3.5 Electrical Connection
Plug the appliance into a grounded power outlet. The power supply must match the voltage and frequency specified on the rating plate.
3.6 Leveling
Adjust the appliance's feet to ensure it is perfectly level. This prevents excessive vibration and noise during operation.

Figure 2: Illustration of adjusting the washing machine's leveling feet.
4. Operating Instructions
4.1 Control Panel Overview
The control panel features a program selector dial, a display, and various touch buttons for options like temperature, spin speed, and special functions. Refer to the diagram below for specific button functions.

Figure 3: Detailed view of the washing machine's control panel with program dial and touch buttons.
4.2 Loading Laundry
Open the door and load laundry into the drum. Do not overload the machine; ensure there is enough space for clothes to move freely. The maximum capacity is 11 kg.
4.3 Adding Detergent and Softener
This model features automatic dosing. Pour liquid detergent and fabric softener into the designated compartments in the dispenser drawer. The machine will automatically dispense the correct amount based on the load and program selected. For manual dosing, refer to the dispenser drawer markings.
4.4 Selecting a Program
Turn the program selector dial to choose the desired wash program. The display will show the default settings for that program.
4.5 Adjusting Settings
Use the touch buttons to adjust settings such as temperature, spin speed (up to 1400 rpm), and to activate special functions:
- PowerCare: Ensures thorough cleaning even at low temperatures by pre-mixing detergent and water.
- ProSteam: Reduces wrinkles and refreshes clothes using steam.
- PreciseWash: Optimizes water and energy consumption based on load size.
- WiFi: Connect the appliance to your home network for remote control and monitoring via the AEG app.
4.6 Starting and Pausing a Cycle
Press the Start/Pause button to begin the wash cycle. Press it again to pause the cycle if needed.
4.7 End of Cycle
The appliance will signal the end of the cycle. The door will unlock after a short delay. Remove laundry promptly.
5. Maintenance
5.1 Cleaning the Exterior
Wipe the exterior surfaces with a soft, damp cloth. Do not use abrasive cleaners or solvents.
5.2 Cleaning the Detergent Dispenser
Regularly remove and clean the detergent dispenser drawer under running water to prevent residue buildup.
5.3 Cleaning the Drum
Run a maintenance wash cycle (e.g., a hot wash with no laundry and a descaling agent) periodically to clean the drum and internal components.
5.4 Cleaning the Drain Filter
Locate the drain filter at the bottom front of the appliance. Open the cover, drain any residual water, and carefully remove and clean the filter. Reinstall securely.

Figure 4: Diagram showing how to access and clean the drain filter.
6. Troubleshooting
Before contacting service, refer to the following table for common issues and their solutions.
| Problem | Possible Cause | Solution |
|---|---|---|
| Appliance does not start | Power cord not plugged in; door not closed properly; program not selected. | Check power connection; ensure door is fully closed; select a program and press Start. |
| Water not filling | Water tap closed; inlet hose kinked; water pressure too low. | Open water tap; straighten hose; check water supply. |
| Excessive vibration/noise | Appliance not level; transport bolts not removed; uneven load. | Adjust leveling feet; remove transport bolts; redistribute laundry. |
| Water not draining | Drain hose kinked or blocked; drain filter clogged. | Check and clear drain hose; clean drain filter. |
7. Specifications
- Model: LFR8504L6Q
- Brand: AEG
- Capacity: 11 kg
- Maximum Spin Speed: 1400 RPM
- Dimensions (Depth x Width x Height): 10f. x 10an. x 10al. millimeters (Note: These dimensions appear to be placeholder values from the source data and may not reflect actual product dimensions. Please refer to the product label for accurate measurements.)
- Weight: 60 Kilograms
- Material: Steel
- Control Interface: Buttons
- Loading Type: Front Load
- Key Technologies: PowerCare, ProSteam, PreciseWash, Inverter Motor, Automatic Dosing, WiFi
8. Warranty and Support
This AEG LFR8504L6Q washing machine comes with a three-year manufacturer's warranty. For warranty claims, technical support, or service requests, please contact your retailer or the official AEG customer service in your region. Keep your purchase receipt as proof of purchase.
For further assistance, visit the official AEG website or consult the contact information provided with your appliance documentation.