Introduction
This manual provides comprehensive instructions for the Northpoint Automatic Electrical Timer, Model NP-TS-IP44-D. This device is designed to automatically control the power supply to your lighting and electrical appliances, offering convenience, energy savings, and enhanced security. Please read this manual thoroughly before installation and operation to ensure proper use and to prevent damage.
Safety Information
- Read all instructions carefully before using the timer.
- This timer is rated for outdoor use (IP44), but ensure the socket and appliance connection are protected from direct water exposure.
- Do not exceed the maximum load rating specified for the timer.
- Do not immerse the timer in water or other liquids.
- Do not open or attempt to repair the timer. Refer servicing to qualified personnel.
- Keep out of reach of children.
- Ensure the timer is securely plugged into a grounded outlet.
Product Overview
The Northpoint Automatic Electrical Timer is a mechanical timer designed for simple and reliable operation. It features a 24-hour dial with segments for setting ON/OFF periods.

Image: Front view of the Northpoint Automatic Electrical Timer, showing the 24-hour dial and the protective clear cover. The timer has a robust black casing.
Key components include:
- 24-Hour Dial: Displays the time and allows setting of ON/OFF periods.
- Timing Pins: Small segments around the dial that are pushed down to activate the timer (ON) or left up to deactivate (OFF).
- Manual Override Switch: (If applicable, typically a small switch on the side or front) Allows the user to bypass the timer settings and keep the power ON or OFF continuously.
- Power Plug: For connecting the timer to a wall outlet.
- Appliance Socket: For connecting the electrical appliance to be controlled.
Specifications
| Brand | Northpoint |
| Model Number | NP-TS-IP44-D |
| Dimensions (D x W x H) | 8 x 7.5 x 15 centimeters (approx.) |
| Color | Black (Outdoor) |
| ASIN | B0CWHCN8RW |
| Manufacturer | Northpoint |
| Availability Date | February 26, 2024 |
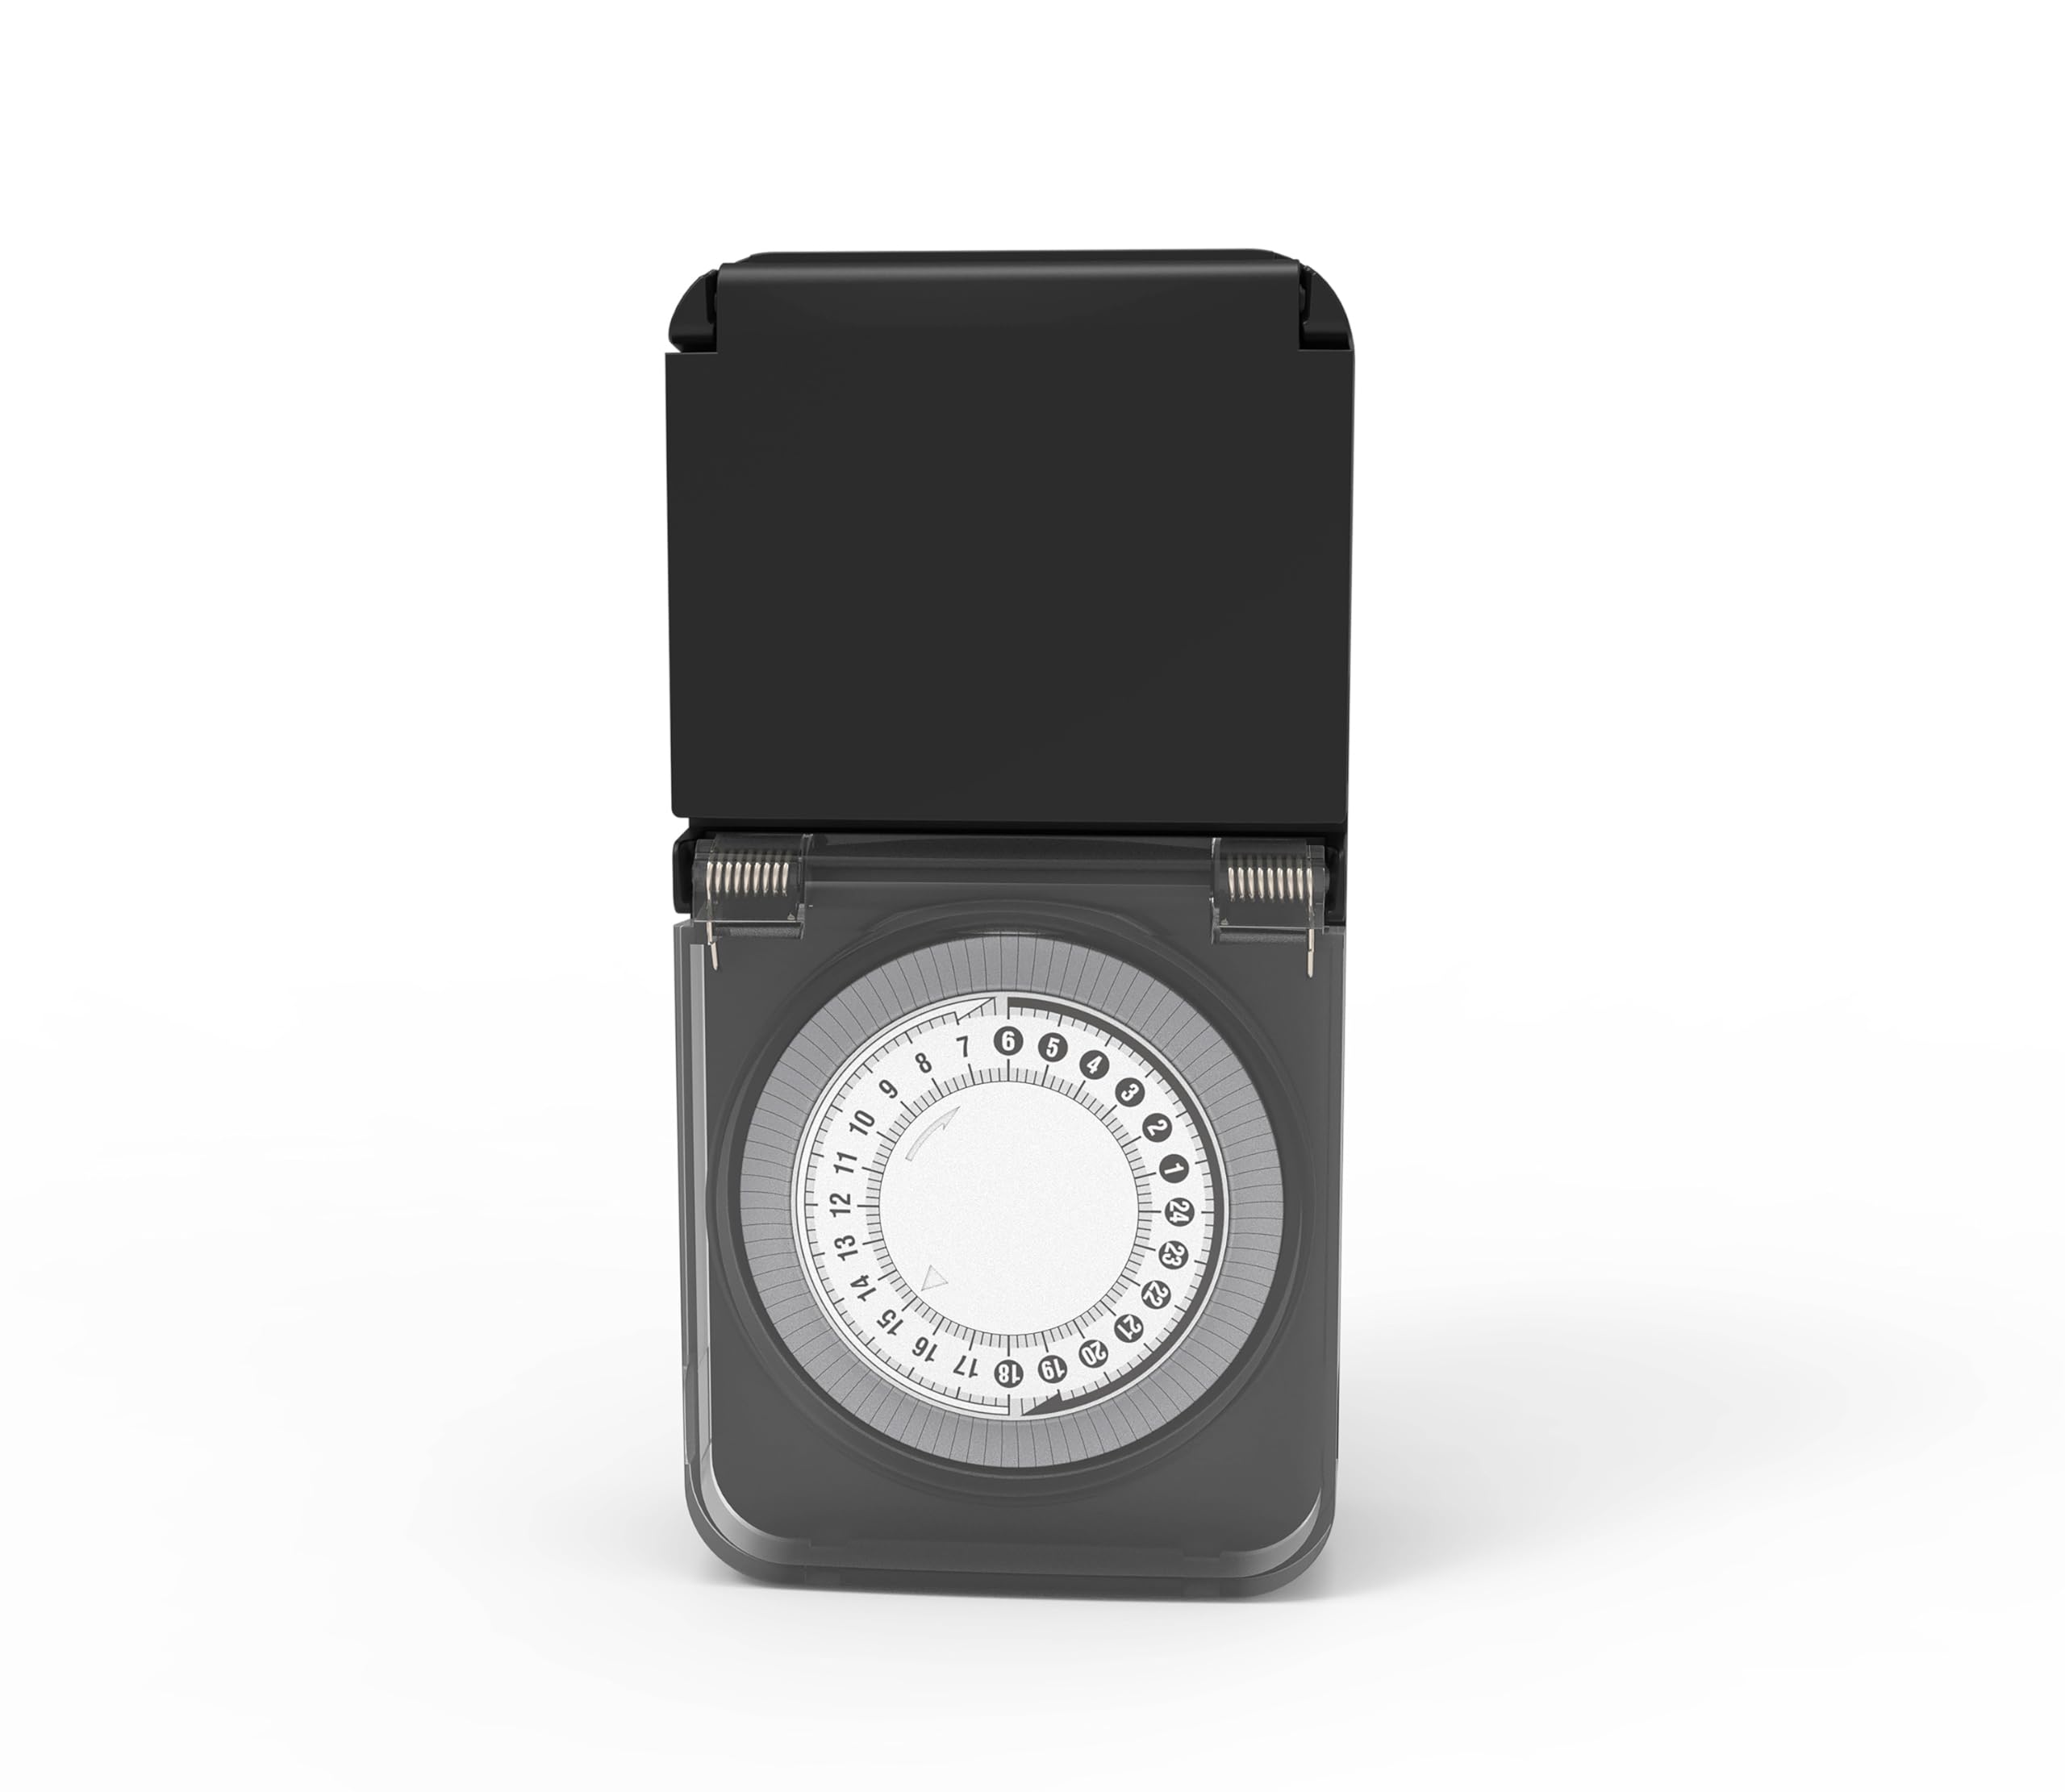
Image: Side view of the Northpoint Automatic Electrical Timer, illustrating its approximate dimensions: 7.5 cm width, 15 cm height, and 4 cm depth.
Setup
Follow these steps to set up your Northpoint Automatic Electrical Timer:
- Set Current Time: Rotate the 24-hour dial clockwise until the current time aligns with the arrow or marker on the timer's face. The dial is marked in hours (e.g., 0-23 or 1-24).
- Set ON/OFF Periods: The dial is surrounded by small segments (pins). Each segment typically represents a specific time interval (e.g., 15 or 30 minutes). Push down the segments corresponding to the time periods you want the connected appliance to be ON. Leave the segments up for the periods you want the appliance to be OFF.
- Connect Appliance: Plug the electrical appliance you wish to control into the socket on the timer.
- Plug in Timer: Insert the timer's plug into a suitable grounded wall outlet.

Image: The Northpoint Automatic Electrical Timer plugged into a wall outlet, with an appliance cable connected to its output socket. The protective cover is open, showing the dial.
Operating Instructions
Once set up, the timer will automatically activate and deactivate the connected appliance according to your programmed schedule. The internal clock will continuously advance, cycling through the 24-hour period.
- Automatic Operation: The appliance will turn ON when the dial reaches a pushed-down segment and turn OFF when it reaches an up segment.
- Manual Override: Some models may include a manual override switch (often labeled ON/TIMER/OFF or similar). If present, you can use this switch to temporarily bypass the timer settings and keep the appliance continuously ON or OFF, or return to timer mode. Consult your specific model for this feature.
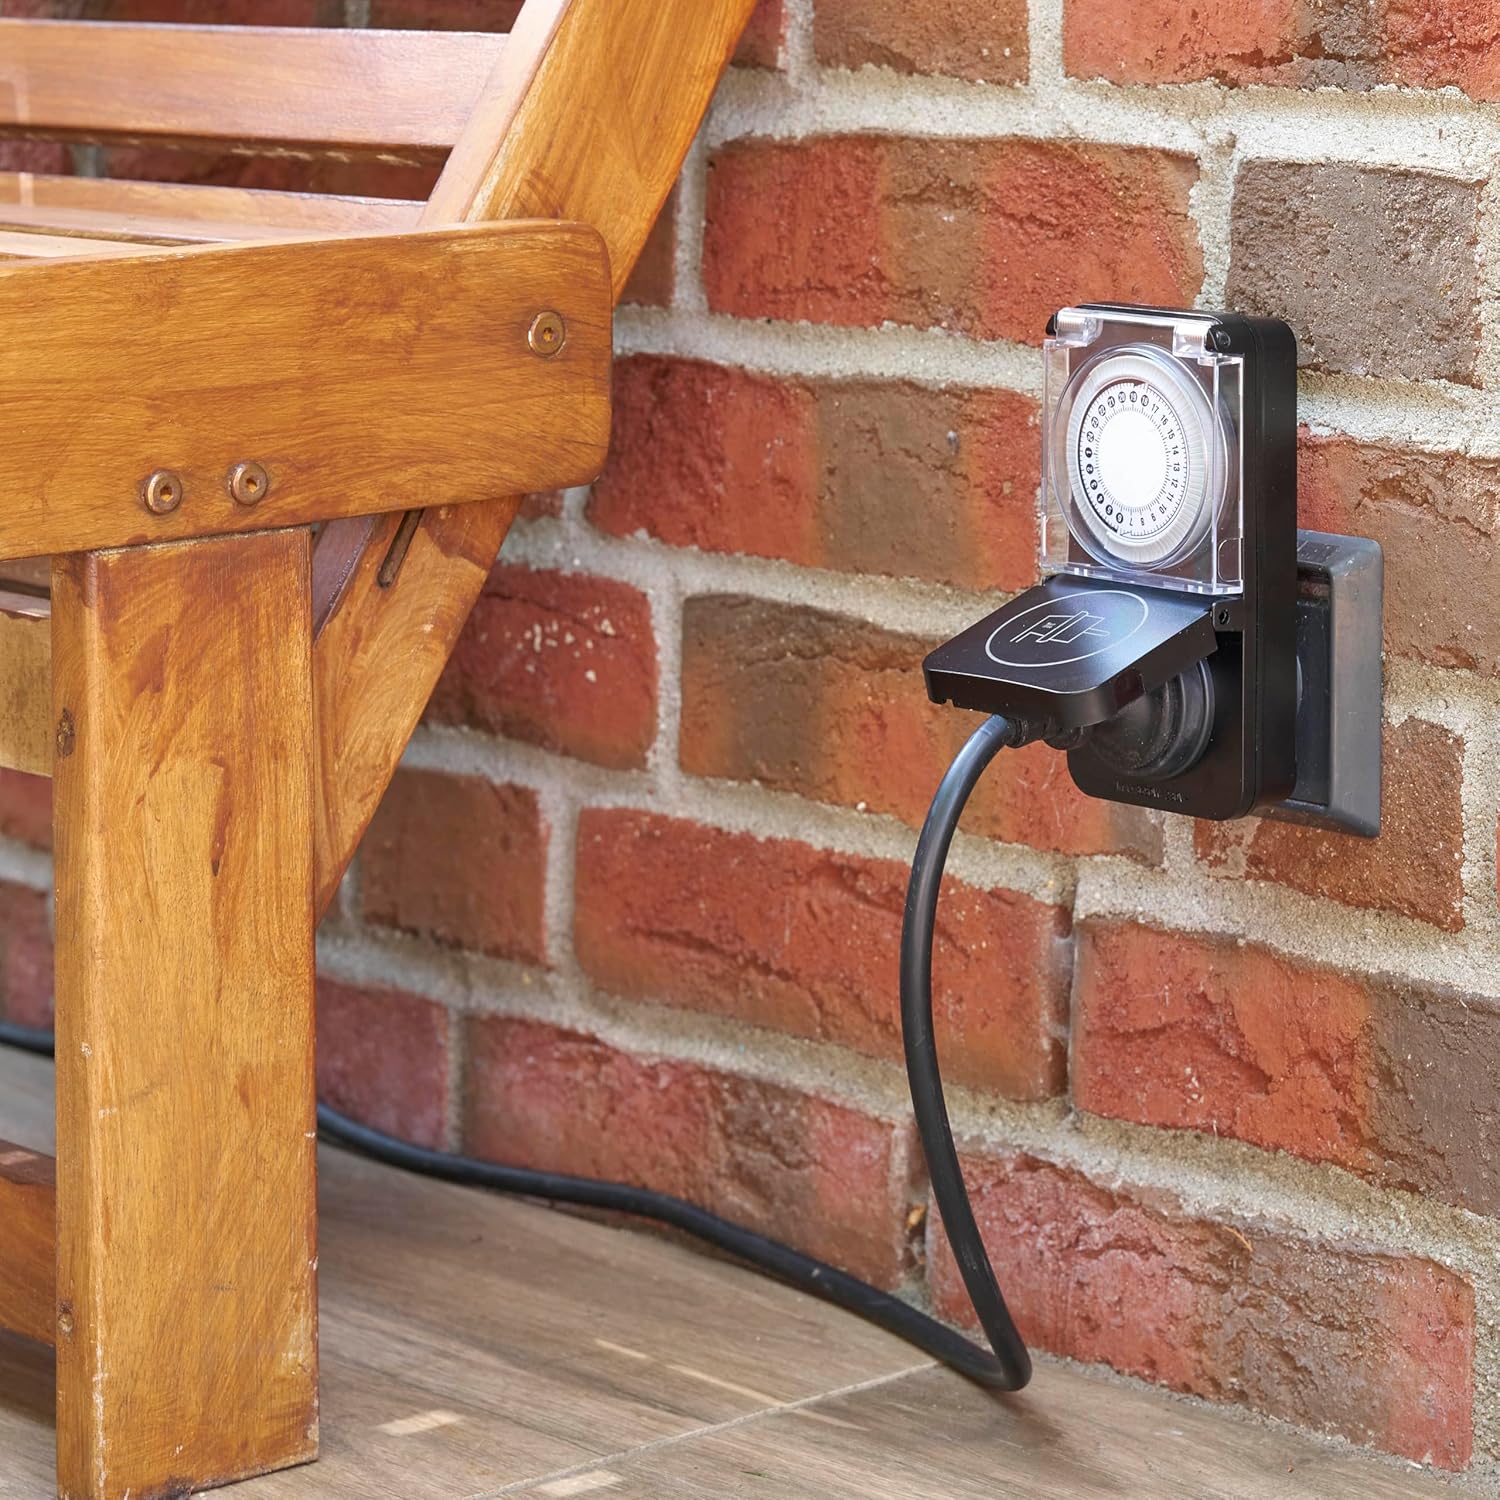
Image: The Northpoint Automatic Electrical Timer installed outdoors, plugged into an exterior wall socket near a wooden bench, demonstrating its suitability for outdoor applications.
Maintenance
The Northpoint Automatic Electrical Timer requires minimal maintenance:
- Cleaning: Disconnect the timer from the power outlet before cleaning. Wipe the exterior with a soft, damp cloth. Do not use abrasive cleaners or solvents.
- Storage: When not in use, store the timer in a cool, dry place, away from direct sunlight and extreme temperatures.
- Inspection: Periodically inspect the timer and its power cord for any signs of damage. If damage is found, discontinue use and replace the unit.
Troubleshooting
If you encounter issues with your Northpoint Automatic Electrical Timer, refer to the following common problems and solutions:
- Appliance not turning ON/OFF at set times:
- Ensure the current time is correctly set on the dial.
- Verify that the ON/OFF pins are correctly pushed down or left up for the desired periods.
- Check if the appliance itself is working and properly plugged into the timer.
- If there is a manual override switch, ensure it is set to 'TIMER' mode.
- Timer not receiving power:
- Ensure the timer is securely plugged into a live wall outlet.
- Check the wall outlet by plugging in another working appliance.
- Check your household circuit breaker or fuse box.
- Timer making unusual noises:
- A slight humming sound is normal for mechanical timers. If the noise is loud or unusual, discontinue use and contact support.
Warranty and Support
Northpoint products are manufactured to high-quality standards. This product is covered by a limited warranty against defects in materials and workmanship. For specific warranty terms and conditions, please refer to the documentation included with your purchase or contact Northpoint customer support.
For technical assistance or further inquiries, please visit the official Northpoint website or contact their customer service department. Please have your model number (NP-TS-IP44-D) and purchase information ready when contacting support.


