1. Introduction
Thank you for choosing the McbeAn Multifunctional Sewing Machine. This manual provides essential information for the safe and efficient operation of your new sewing machine. Please read these instructions carefully before use and retain them for future reference.
Safety Instructions
- Always unplug the machine from the electrical outlet when cleaning, making adjustments, or when the machine is not in use.
- Keep fingers away from all moving parts, especially around the needle area.
- Use only the accessories recommended by the manufacturer.
- Do not operate the machine if it has a damaged cord or plug, or if it is not working properly.
- Keep the machine dry. Do not operate in wet or damp conditions.
2. Product Overview and Parts Identification
Familiarize yourself with the components of your sewing machine before operation.
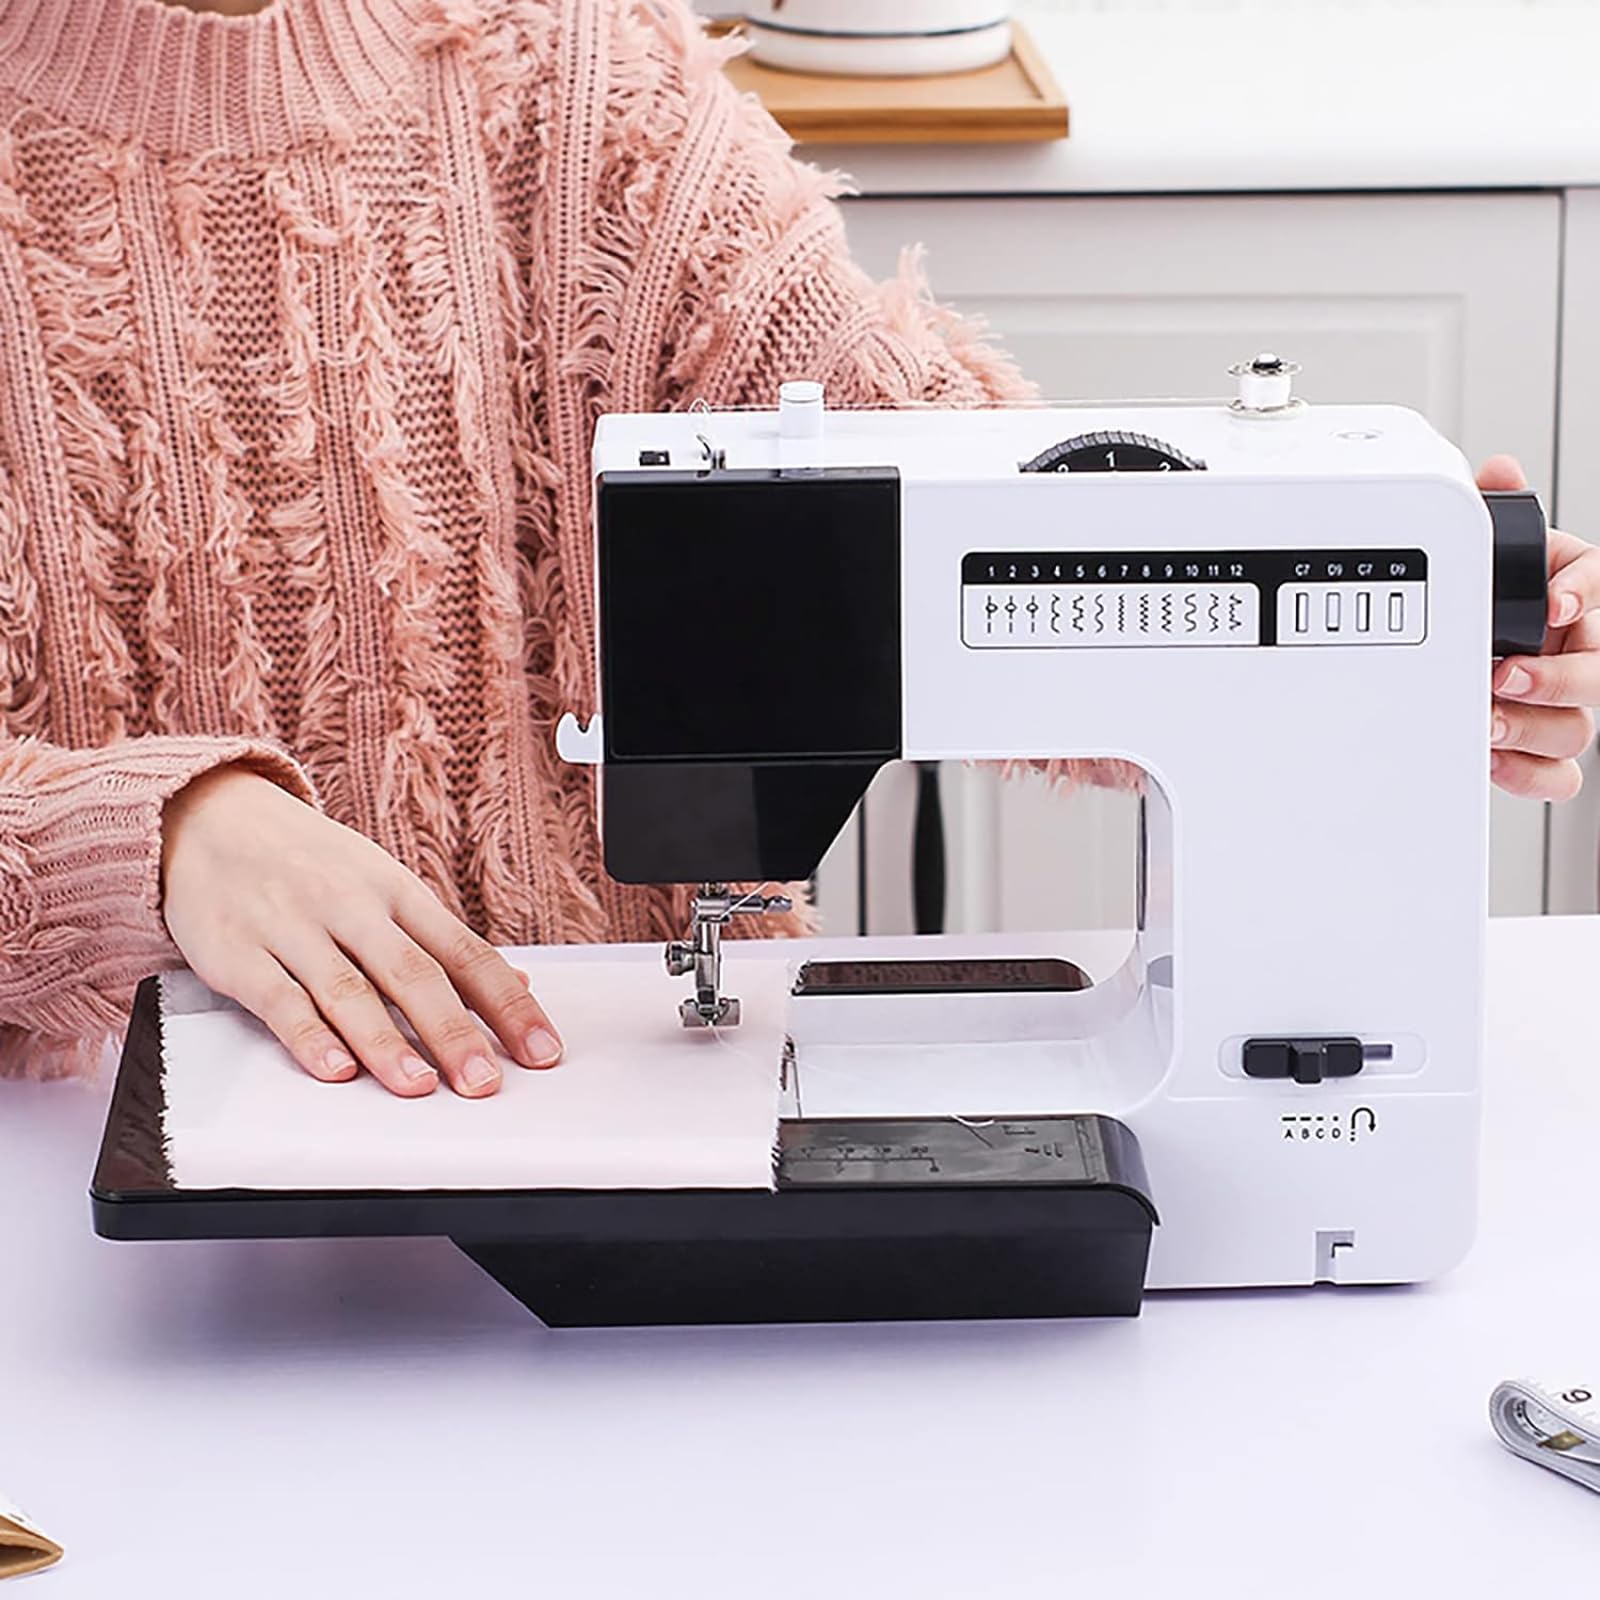
Figure 2.1: Main components of the sewing machine.
- Stitch Selection Button: Used to choose from the 38 available stitch patterns.
- Thread Tension Adjustment Button: Controls the tightness of the upper thread.
- Take-up Rod: Guides the upper thread during sewing.
- Thread Cutter: Conveniently cuts threads after sewing.
- Illumination (Night Light): Provides light to the sewing area for improved visibility.
- Presser Foot Switch Screw: Adjusts or secures the presser foot.
- Lock Core Cover: Protects the bobbin area.
- Scale: Measurement guide on the extension table.
- Hand Wheel: Manually raises and lowers the needle.
- Backstitch Button: Engages reverse sewing to reinforce stitches.
3. Specifications
| Product Name | McbeAn Multifunctional Sewing Machine |
| Model Number | B0CWH74V9S |
| Maximum Sewing Thickness | 2.5 MM |
| Electric Power | 100-240V~50/60Hz |
| Main Material | ABS + Wire |
| Built-in Stitches | 38 |
| Key Functions | Horizontal hook structure, Overlock function, Double needle mode, Lighting function, Fast bobbin winding, Upper thread tension adjustment, Four-step buttonhole lock, One-button reverse sewing, Double-row cloth feeding and pressing sewing function |
4. Setup
4.1 Power Connection
- Ensure the machine's power switch is in the 'OFF' position.
- Connect the power adapter to the machine's power input jack.
- Plug the power adapter into a suitable electrical outlet (100-240V~50/60Hz).
4.2 Extension Table Installation
The machine features a dual-mode design, allowing use with or without the extension table.
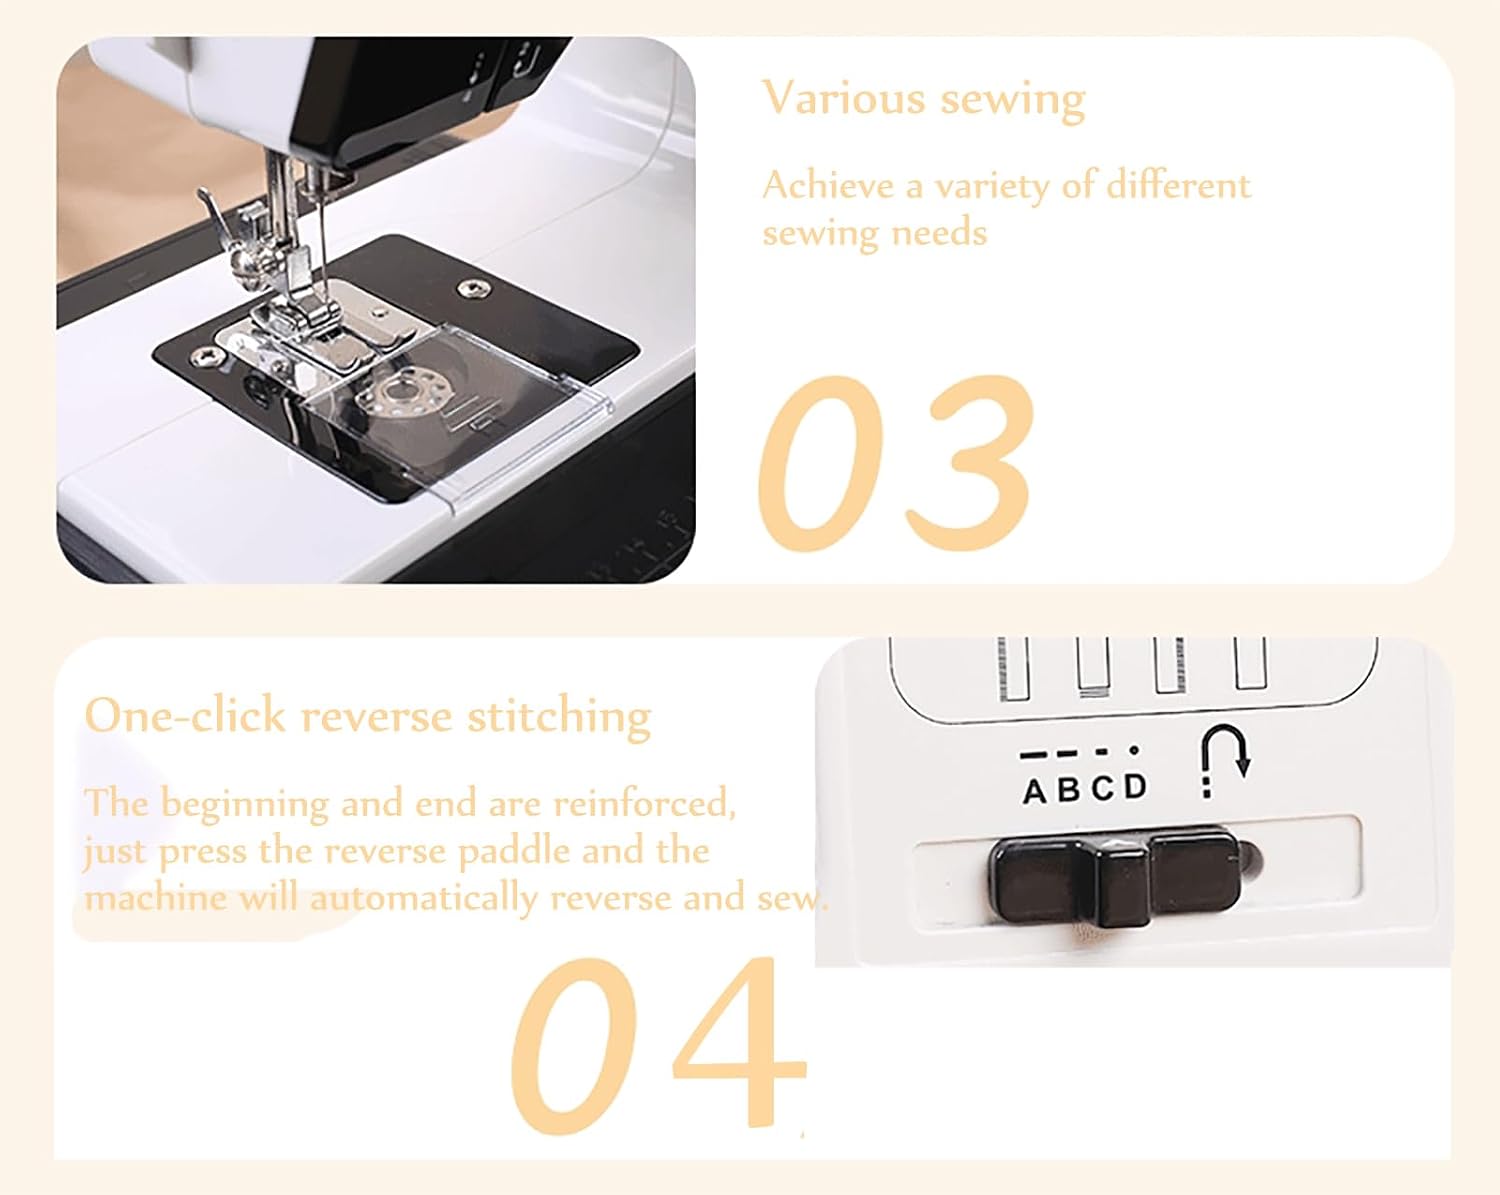
Figure 4.1: Sewing machine with the extension table in place.
- Slide the extension table onto the free arm of the sewing machine until it clicks securely into place.
- To remove, gently pull the extension table away from the machine.
4.3 Bobbin Winding
The machine features a fast bobbin winding function.
- Place an empty bobbin onto the bobbin winder spindle.
- Guide the thread from the spool pin through the tension disc for bobbin winding.
- Wrap the thread a few times around the bobbin.
- Push the bobbin winder spindle to the right.
- Start the machine; the bobbin will wind automatically. Stop when full.
- Cut the thread and push the bobbin winder spindle back to the left.
4.4 Threading the Machine
Proper threading is crucial for good stitch quality. The machine has an advanced threading function.
- Raise the presser foot and the needle to its highest position using the hand wheel.
- Place a spool of thread on the spool pin.
- Guide the thread through the upper thread guides and tension adjustment mechanism.
- Pass the thread through the take-up rod.
- Thread the needle from front to back. For the advanced threading function, press the lever to push the thread into the needle eye.
- Insert the wound bobbin into the bobbin case under the needle plate, ensuring the thread unwinds in the correct direction.
- Close the lock core cover.
5. Operation
5.1 Stitch Selection
Your machine offers 38 built-in stitch patterns for various sewing needs.

Figure 5.1: Available stitch patterns.
- Turn the Stitch Selection Button to choose your desired stitch pattern.
- Refer to the stitch chart on the machine or in Figure 5.1 for available options.
5.2 Basic Sewing
- Place the fabric under the presser foot.
- Lower the presser foot.
- Turn on the machine and gently press the foot pedal or speed control button to start sewing.
- Guide the fabric gently; do not pull or push forcefully.
5.3 Reverse Sewing
Use the one-button reverse sewing function to reinforce stitches at the beginning and end of a seam.

Figure 5.2: Reverse stitch button.
- While sewing, press and hold the Backstitch Button. The machine will sew in reverse.
- Release the button to resume forward sewing.
5.4 Sewing Thick Fabrics
This machine is designed to handle 7-10 layers of thick fabrics such as denim, cotton, and linen.

Figure 5.3: Demonstrating sewing through thick fabric layers.
- Ensure you are using an appropriate needle for thick fabrics.
- Adjust the thread tension if necessary to achieve balanced stitches.
- Sew at a moderate speed.
5.5 Dual Needle Mode
The machine supports dual needle mode for parallel stitching.
- Install a twin needle (not included) into the needle clamp.
- Thread both needles separately, ensuring proper tension for each thread.
- Select a suitable stitch pattern that supports twin needle sewing (e.g., straight stitch).
5.6 Night Light Function
The built-in LED light illuminates the sewing area, reducing eye strain and improving visibility in low-light conditions.

Figure 5.4: Night light in operation.
- The light typically activates when the machine is powered on.
- No separate switch is usually required for the night light.
5.7 Thread Tension Adjustment
Adjust the thread tension to achieve balanced stitches. Incorrect tension can lead to loose or puckered seams.
- Turn the Thread Tension Adjustment Button (refer to Figure 2.1).
- Increase the number for tighter upper thread tension.
- Decrease the number for looser upper thread tension.
- Test on a scrap piece of fabric to find the optimal setting for your material and thread.
5.8 Four-Step Buttonhole Lock
The machine features a four-step buttonhole function for creating professional buttonholes.
- Attach the buttonhole foot (if included or purchased separately).
- Select the appropriate buttonhole stitch pattern (A, B, C, D as indicated on the machine).
- Follow the steps A, B, C, D in sequence, sewing each side of the buttonhole.
- Carefully cut open the buttonhole using a seam ripper.
6. Maintenance
Regular maintenance ensures the longevity and optimal performance of your sewing machine.
6.1 Cleaning
- Always unplug the machine before cleaning.
- Use a soft brush to remove lint and dust from the bobbin area and feed dogs.
- Wipe the exterior of the machine with a soft, dry cloth. Do not use liquid cleaners or harsh chemicals.
6.2 Needle Replacement
- Ensure the machine is unplugged.
- Loosen the needle clamp screw.
- Remove the old needle and insert a new needle with the flat side facing the back of the machine.
- Push the needle up as far as it will go and tighten the needle clamp screw securely.
7. Troubleshooting
Refer to this section for solutions to common issues.
| Problem | Possible Cause | Solution |
|---|---|---|
| Skipped stitches | Incorrect needle, bent needle, improper threading | Replace needle, re-thread machine, ensure correct needle type for fabric |
| Thread breakage | Incorrect tension, poor quality thread, burr on needle plate, improper threading | Adjust tension, use quality thread, check for burrs, re-thread machine |
| Fabric puckering | Too much thread tension, incorrect stitch length | Reduce upper thread tension, adjust stitch length |
| Machine not starting | Not plugged in, power switch off, foot pedal not connected | Check power connection, ensure switch is ON, connect foot pedal securely |
8. Warranty and Support
For warranty information or technical support, please refer to the documentation included with your purchase or contact the retailer. Keep your proof of purchase for warranty claims.