1. Introduction
The EPOMAKER TH40 is a compact 40% layout mechanical keyboard designed for efficiency and portability. It features tri-mode connectivity (Bluetooth, 2.4GHz wireless, and USB-C), VIA programmability, hot-swappable switches, and dynamic RGB lighting. This manual provides detailed instructions for setting up, operating, and maintaining your keyboard.

Image: The EPOMAKER TH40 keyboard showcasing its compact design and RGB backlighting.
2. What's in the Box
Verify that all items are present in the package:
- EPOMAKER TH40 Mechanical Keyboard
- Keycap Puller
- USB Cable (USB-C to USB-A)
- User Manual (this document)
3. Product Overview
The EPOMAKER TH40 features an ultra-compact 40% layout, optimizing desk space while retaining essential functionality through programmable layers. Its gasket-mount design and pre-lubed switches contribute to a comfortable and satisfying typing experience.

Image: Overview of EPOMAKER TH40 key features including hot-swappable, VIA programming, south-facing RGB, N-Key Rollover, split spacebar, and tri-mode wireless.

Image: The keyboard held in hand, emphasizing its portable 40% layout and light weight of 0.44kg.

Image: Diagram showing the ultra-compact dimensions of the keyboard: 19cm length, 7cm width, and 2cm height.
4. Setup
4.1. Connectivity Modes
The TH40 supports three connection modes: USB-C wired, 2.4GHz wireless, and Bluetooth. Use the switch located on the top edge of the keyboard to select your desired mode.

Image: The connectivity switch and USB-C port located on the side of the keyboard.
4.1.1. USB-C Wired Connection
- Connect the provided USB-C cable to the keyboard's USB-C port.
- Connect the other end of the cable to your computer's USB port.
- Ensure the mode switch on the keyboard is set to 'USB'.
- The keyboard will be automatically recognized by your system.
4.1.2. 2.4GHz Wireless Connection
- Locate the 2.4GHz USB receiver (dongle) included in the package.
- Plug the USB receiver into an available USB port on your computer.
- Set the mode switch on the keyboard to '2.4G'.
- The keyboard should connect automatically.
Video: Demonstration of the EPOMAKER TH40's portable design and wireless connectivity options.
4.1.3. Bluetooth Connection
- Set the mode switch on the keyboard to 'BT'.
- Press and hold FN + A, FN + S, or FN + D for 3-5 seconds to enter pairing mode for Bluetooth device 1, 2, or 3 respectively. The indicator light will flash rapidly.
- On your device (computer, tablet, smartphone), open Bluetooth settings and search for 'EPOMAKER TH40'.
- Select the keyboard to pair. The indicator light will stop flashing once connected.
- To switch between paired Bluetooth devices, press FN + A, FN + S, or FN + D briefly.

Image: Visual representation of the keyboard's tri-mode wireless capabilities, connecting to laptops, smartphones, and tablets via USB-C, 2.4GHz, and Bluetooth.
4.2. Indicator Lights
The keyboard features indicator lights for various statuses:
- Caps Lock Indicator: Lights up when Caps Lock is active.
- Win Lock Indicator: Lights up when the Windows key is locked.
- Connectivity Indicator: Flashes during Bluetooth pairing and indicates connection status.

Image: Close-up of the indicator lights on the keyboard for Caps Lock, Win Lock, and connectivity status.
5. Operating Instructions
5.1. VIA Programmability
The EPOMAKER TH40 is fully programmable using VIA software, allowing you to customize key assignments, macros, and lighting effects across multiple layers. This is crucial for adapting the 40% layout to your specific workflow.
- Download the appropriate JSON file for your TH40 (USB or 2.4G) from the EPOMAKER website.
- Access the VIA configurator online (usevia.app) or download the desktop application.
- Load the JSON definition file into VIA.
- Connect your keyboard via USB-C or 2.4GHz wireless.
- Use the VIA interface to remap keys, create macros, and adjust lighting. Changes are applied in real-time.
Video: A guide on how to use the VIA software for customizing the EPOMAKER TH40 keyboard.

Image: Screenshot of the VIA software interface, demonstrating the layout and customization options for the TH40.
5.2. Key Functions and Layers
The TH40 utilizes a split spacebar with an FN key in the center, allowing for efficient access to multiple layers of key functions without extensive finger travel. There are four switchable layers, three of which are programmable via VIA.

Image: The innovative split spacebar design with the FN key positioned between the two spacebar segments, enhancing ergonomic typing.
5.3. RGB Lighting Control
The keyboard features dynamic RGB backlighting with south-facing LEDs. You can control various aspects of the lighting directly from the keyboard:
- FN + Enter: Toggle RGB backlight On/Off.
- FN + Z: Cycle through different RGB lighting effects.
- FN + N/H: Adjust brightness (N for decrease, H for increase).
- FN + B/M: Adjust hue (B for decrease, M for increase).

Image: Diagram illustrating the FN key combinations for controlling RGB backlight brightness, color, and effects.
5.4. Battery Check
To check the current battery level, press FN + Left Spacebar. The RGB lighting will indicate the battery status.

Image: Illustration of pressing FN + Left Spacebar to check the keyboard's battery level.
5.5. N-Key Rollover (NKRO)
The TH40 supports full N-Key Rollover, ensuring that every keystroke is registered accurately, even when multiple keys are pressed simultaneously. This feature is beneficial for fast typists and gamers.

Image: Visual highlighting of the N-Key Rollover and anti-ghosting capabilities for accurate and fast typing.
5.6. Mac & Windows Compatibility
To switch between Windows and Mac layouts, press FN + Right Shift.

Image: Iconographic representation of switching between Mac and Windows operating system compatibility using FN + Right Shift.
6. Maintenance
6.1. Cleaning
Regularly clean your keyboard to ensure optimal performance. Use a soft brush or compressed air to remove dust and debris from between the keycaps. For stubborn dirt, gently wipe the keycaps with a damp cloth.
6.2. Hot-Swappable Switches
The TH40 features hot-swappable sockets, allowing you to change switches without soldering. Use the provided switch puller to carefully remove switches. Ensure replacement switches are compatible (3-pin or 5-pin).
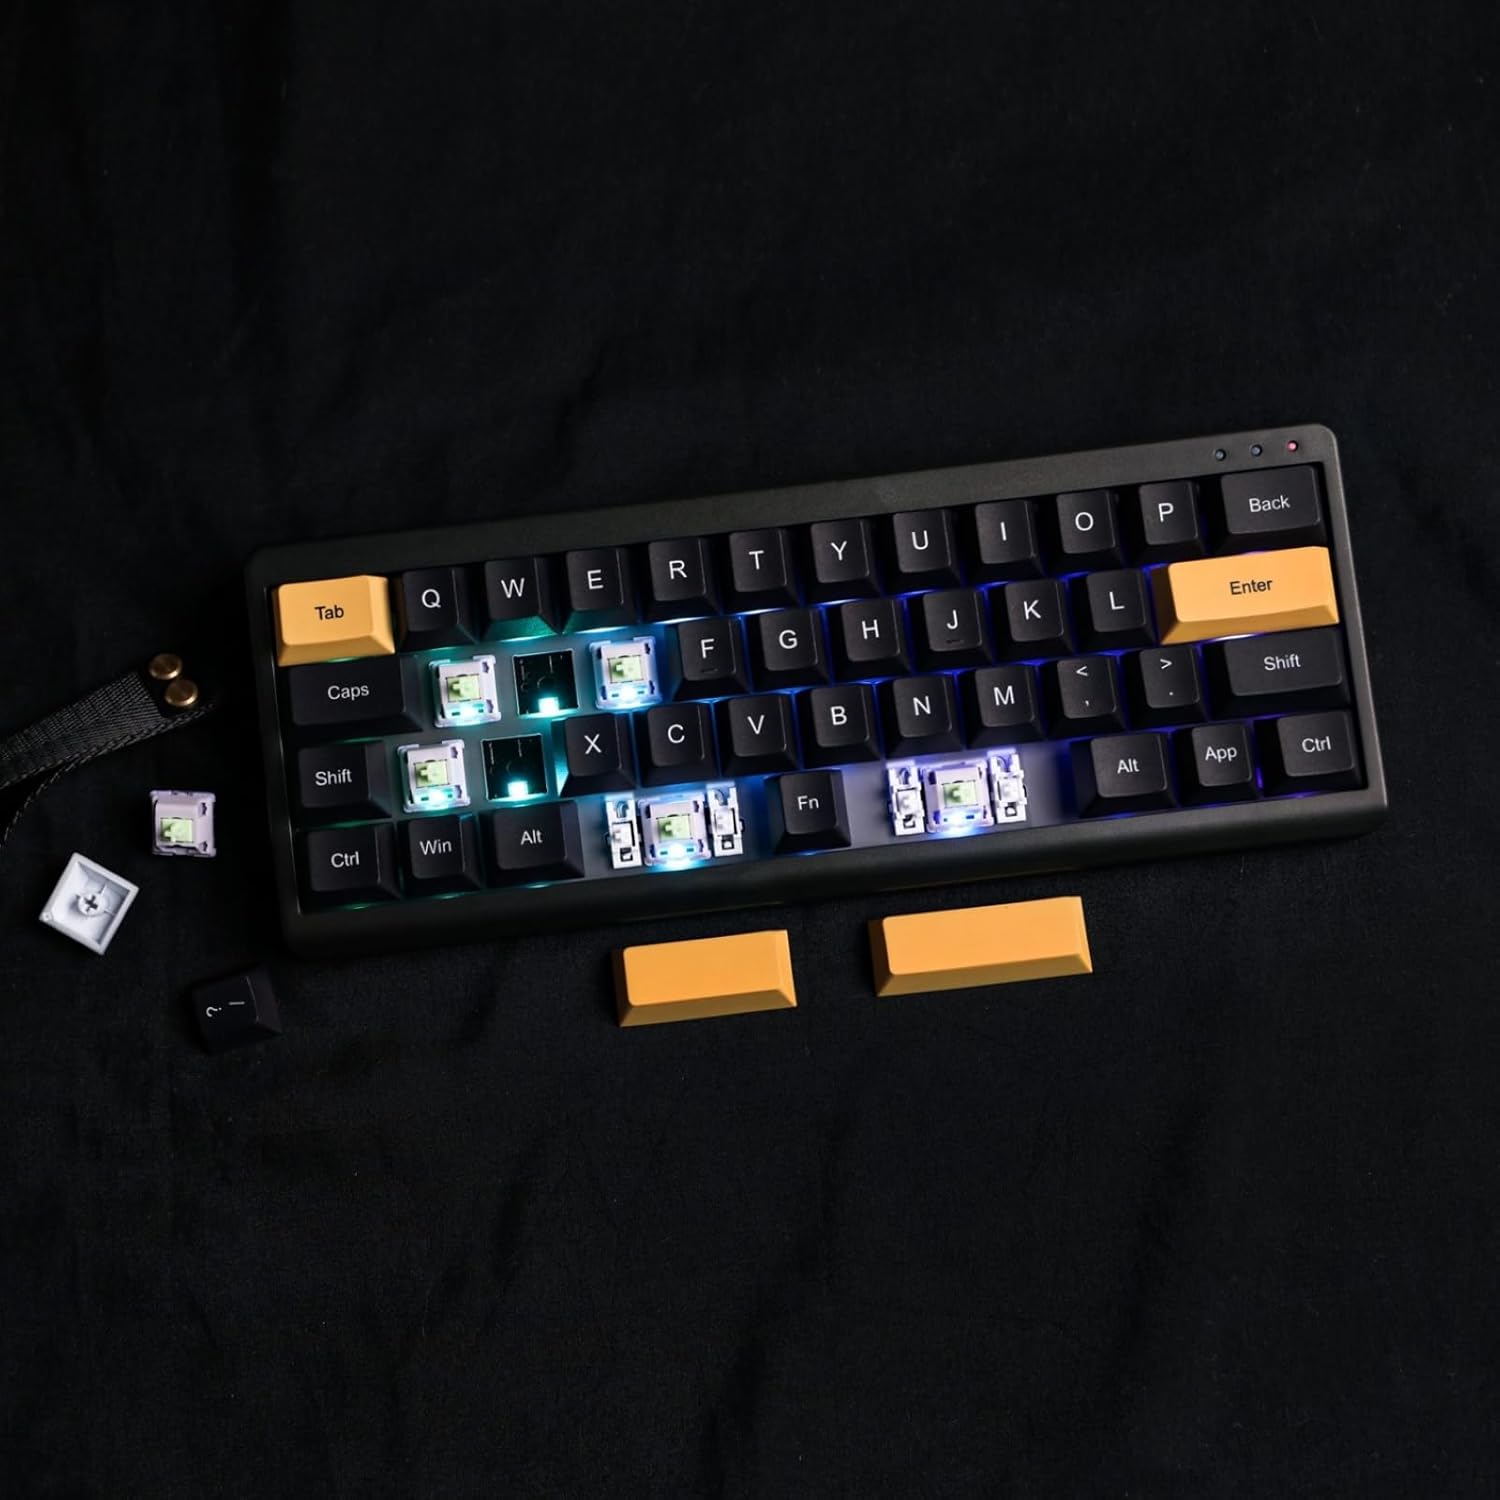
Image: Demonstration of removing a switch from the keyboard using a switch puller, highlighting the hot-swappable feature.

Image: Close-up view of the keyboard's south-facing LEDs and pre-lubed switches, indicating the quality of components and ease of customization.
7. Troubleshooting
- Keyboard not connecting: Ensure the mode switch is set correctly (USB, 2.4G, or BT). For wireless modes, check battery level and ensure the receiver is properly plugged in or Bluetooth is paired.
- Keys not responding: Check if the keyboard is properly connected. If using VIA, ensure the correct layer is active and key assignments are as expected.
- RGB lighting issues: Use FN key combinations to cycle effects, adjust brightness, and hue. If issues persist, check VIA software settings.
- VIA software not detecting keyboard: Ensure the keyboard is connected via USB-C and the correct JSON file is loaded in VIA.
8. Specifications
| Feature | Detail |
|---|---|
| Model Number | TH40 |
| Layout | 40% (44 Keys) |
| Connectivity | Bluetooth (5.0), 2.4GHz Wireless, USB-C Wired |
| Switch Type | Hot-swappable (3-pin/5-pin) |
| Backlighting | RGB (South-facing LEDs) |
| Programmability | VIA Software |
| Battery Capacity | 3000 mAh Lithium Ion |
| Dimensions (L x W x H) | 10.16 x 3.82 x 1.38 inches (25.8 x 9.7 x 3.5 cm) |
| Item Weight | 1.76 pounds (0.8 kg) |
| Compatible Devices | Laptop, PC, Smartphone, Tablet |
9. Warranty and Support
For warranty information, technical support, or further assistance, please visit the official EPOMAKER website or contact their customer service. Keep your purchase receipt for warranty claims.