1. Introduction
The WholeFire Magnetic Rechargeable Flashlight is a versatile lighting tool designed for various applications. It features an XHP50 main LED, a COB side light with white and red/white flashing modes, an adjustable focus, and a 360-degree rotatable head. Its magnetic base allows for hands-free operation, making it suitable for work, maintenance, and general illumination. This manual provides essential information for the safe and effective use of your flashlight.

Image 1.1: Overview of the WholeFire Magnetic Rechargeable Flashlight and included accessories.
2. Package Contents
Please verify that all items listed below are present in your package:
- 1x WholeFire Magnetic Rechargeable Flashlight
- 1x USB Type-C Charging Cable
- 1x Charger (Power Adapter)
- 1x User Manual
3. Product Features
- 360° Illumination: Features a flexible design allowing it to bend, telescope zoom, and rotate 360 degrees for versatile lighting.
- Dual Light Source: Equipped with an XHP50 main light and a COB side light offering P50 strong light, COB white light, and alternating COB red/white flash modes.
- Strong Magnetic Base: The magnetic base securely attaches to metal surfaces, providing hands-free operation and enabling retrieval of metal objects.
- Long and Flexible Adjustment: Extends up to 42cm with a 360-degree rotating tube for precise light positioning and access to confined spaces.
- Durable Construction: Crafted from military-grade aluminum alloy, ensuring weatherproof, shockproof, and IPX4 waterproof performance.
- USB Rechargeable: Convenient Type-C USB charging with an indicator light that flashes blue during charging and remains solid blue when fully charged.

Image 3.1: Illustration of the COB side light and the strong magnetic base.
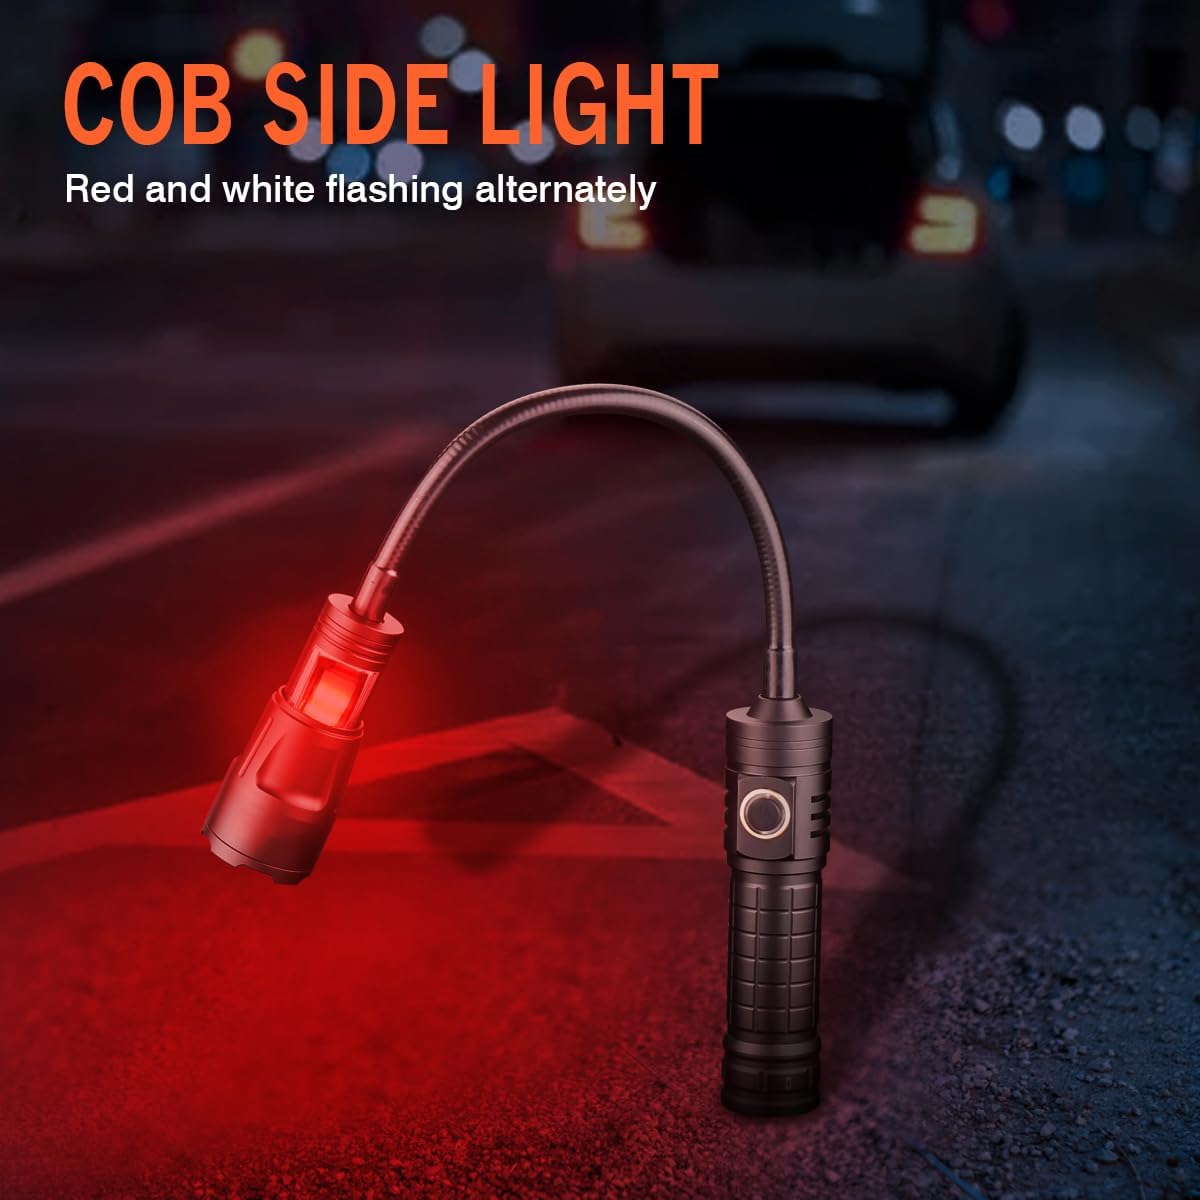
Image 3.2: The COB side light in red/white flashing mode.
4. Setup
4.1 Initial Charge
- Locate the Type-C charging port on the flashlight.
- Connect the provided USB Type-C cable to the flashlight and the other end to the charger.
- Plug the charger into a standard power outlet.
- The indicator light will flash blue during charging. It will display full brightness (solid blue) when the battery is fully charged.
- Disconnect the charger once charging is complete.
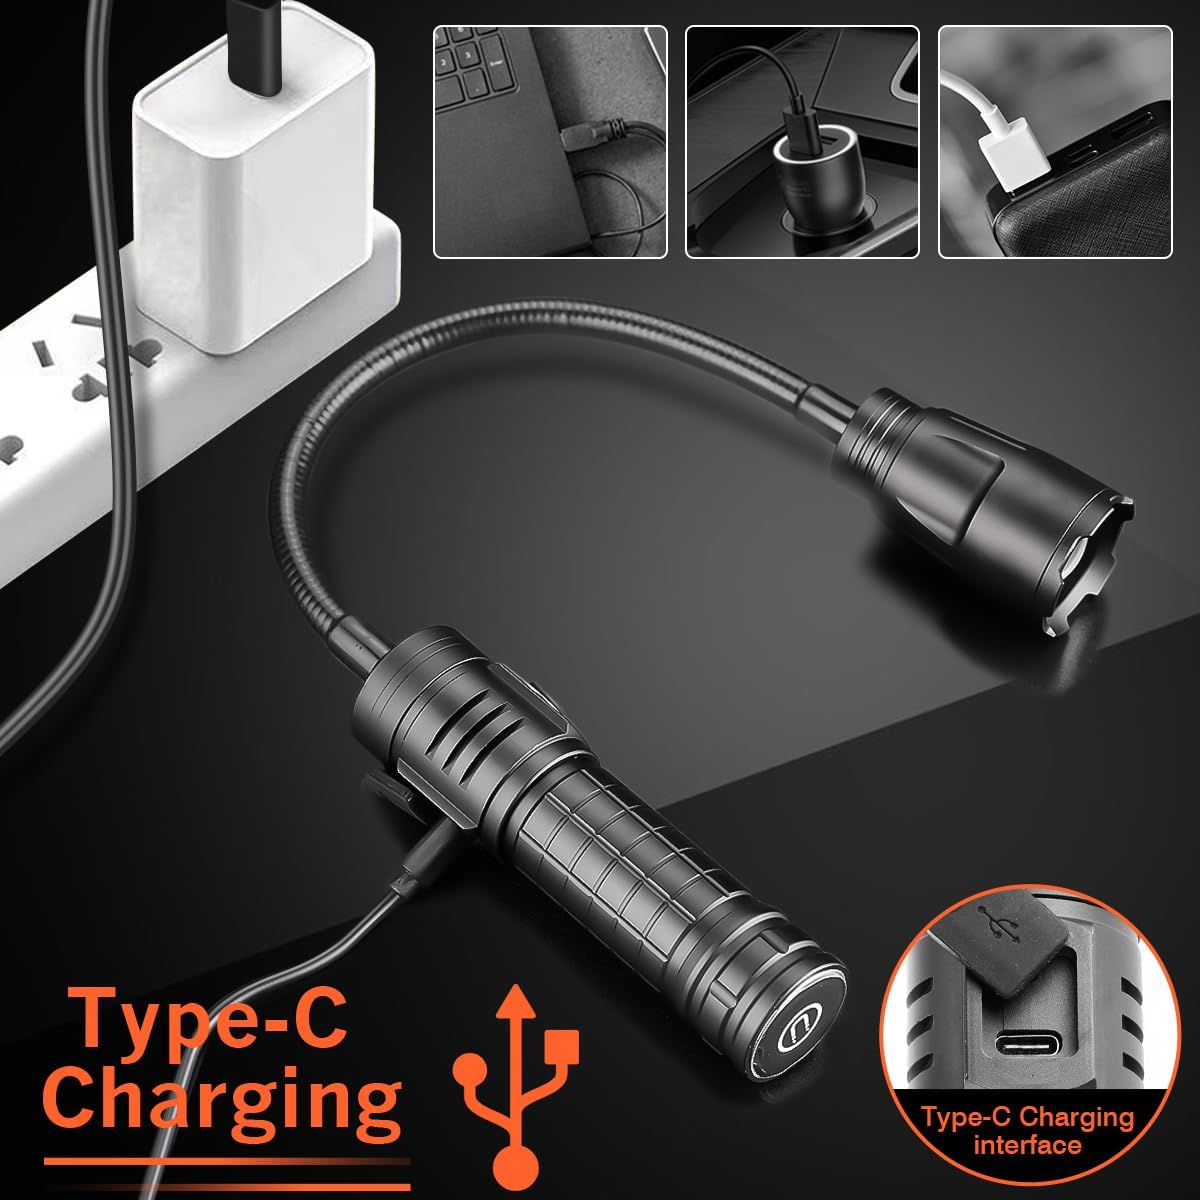
Image 4.1: Connecting the Type-C charging cable to the flashlight.
4.2 Battery Installation (If applicable)
The flashlight typically comes with the battery pre-installed. If you need to replace or access the battery:
- Unscrew the tail cap of the flashlight.
- Insert the compatible battery (e.g., 18650 or 26650, depending on model variant) with the positive (+) terminal facing towards the head of the flashlight.
- Securely screw the tail cap back on.
5. Operating Instructions
5.1 Power On/Off and Mode Selection
The flashlight is operated via a single push switch located on the body.
- Press once: Activates the P50 strong light mode (main LED).
- Press twice: Switches to COB white light mode (side light).
- Press three times: Switches to alternating COB red/white flashing mode (side light).
- Press four times: Turns the flashlight off.
- To turn off the flashlight from any mode, press and hold the switch for approximately 2 seconds.

Image 5.1: Available light modes.
5.2 Adjustable Focus (Telescopic Zoom)
To adjust the beam focus of the main XHP50 LED, gently pull or push the head of the flashlight. This telescopic action allows you to switch between a wide floodlight and a focused spotlight.
5.3 360° Rotatable Head and Flexible Hose
The flashlight features a flexible hose and a 360-degree rotatable head. This allows you to bend and position the light precisely where needed, making it ideal for illuminating tight or awkward spaces.
5.4 Magnetic Base Functionality
The strong magnetic base allows the flashlight to be securely attached to any ferrous metal surface. This provides convenient hands-free lighting for tasks such as automotive repair, electrical work, or camping. The magnet can also be used to retrieve small metal objects from hard-to-reach areas.
Image 5.2: Flashlight demonstrating magnetic attachment for hands-free use.
6. Maintenance
6.1 Cleaning
Wipe the flashlight body with a soft, damp cloth. Do not use abrasive cleaners or solvents, as these may damage the finish or internal components.
6.2 Charging
To maintain optimal battery life, charge the flashlight regularly, especially if it has not been used for an extended period. Avoid completely draining the battery before recharging.
6.3 Storage
Store the flashlight in a cool, dry place away from direct sunlight and extreme temperatures. If storing for a long duration, ensure the battery is partially charged (around 50%) to prevent deep discharge.
6.4 Water Resistance
The flashlight is rated IPX4 water-resistant, meaning it is protected against splashing water from any direction. It is not designed for submersion in water. Ensure the charging port cover is securely closed when not charging to maintain water resistance.

Image 6.1: The flashlight's IPX4 water resistance feature.
7. Troubleshooting
- Flashlight does not turn on:
- Ensure the battery is charged.
- Check if the battery is inserted correctly with the correct polarity.
- Verify the tail cap is fully tightened.
- Light is dim or flickers:
- The battery may be low. Recharge the flashlight.
- Ensure connections are clean and secure.
- Flashlight does not charge:
- Check the USB cable and charger for damage.
- Ensure the Type-C cable is fully inserted into the port.
- Try a different USB port or power adapter.
8. Specifications
| Feature | Specification |
|---|---|
| Model Number | WF1136 |
| Light Source | XHP50 LED (Main), COB LED (Side) |
| Material | Aluminum Alloy |
| Dimensions (Total Length) | 42 cm (17.3 inches extended) |
| Lamp Holder Size | 6.3 x 3.6 cm |
| Weight | 289 g |
| Switch Type | Push Switch |
| Charging Method | Type-C USB |
| Zoom Mode | Telescopic Zoom |
| Waterproof Grade | IPX4 |
| Special Features | Adjustable Focus, Adjustable Light Modes, High Power, Rechargeable, Weatherproof, 360° Rotatable Head, Magnetic Base |

Image 8.1: Product dimensions and key components.

Image 8.2: Detailed view of flashlight components and power display indicator.
9. Warranty and Support
For warranty information or technical support, please refer to the documentation included with your purchase or contact the seller directly. Keep your proof of purchase for any warranty claims.