Introduction
Thank you for choosing the Joaxswe Large Record Player Table. This versatile furniture piece is designed to enhance your music listening experience with dedicated storage for vinyl records, a convenient charging station, and integrated LED lighting. This manual provides essential information for assembly, operation, maintenance, and troubleshooting to ensure optimal use of your product.

The Joaxswe Large Record Player Table, showcasing its design and functionality with a record player and vinyl records.
Setup and Assembly
Before beginning assembly, ensure all components are present and undamaged. Refer to the included Assembly Guide and use the provided Installation Tool. Assembly typically requires two people for ease and safety.
Included Components:
- Assembly Guide
- Installation Tool
- All necessary hardware (screws, dowels, etc.)
- Wood panels for construction
Assembly Steps Overview:
- Attach the side panels to the base using the provided hardware.
- Insert the internal dividers for vinyl record storage.
- Secure the middle shelf.
- Attach the top panel, ensuring the charging station is correctly aligned.
- Install the LED light strip in the designated area.
- Connect the power cord for the charging station and LED lights.
Video demonstrating the assembly process for the Joaxswe Record Player Table, showing step-by-step construction.
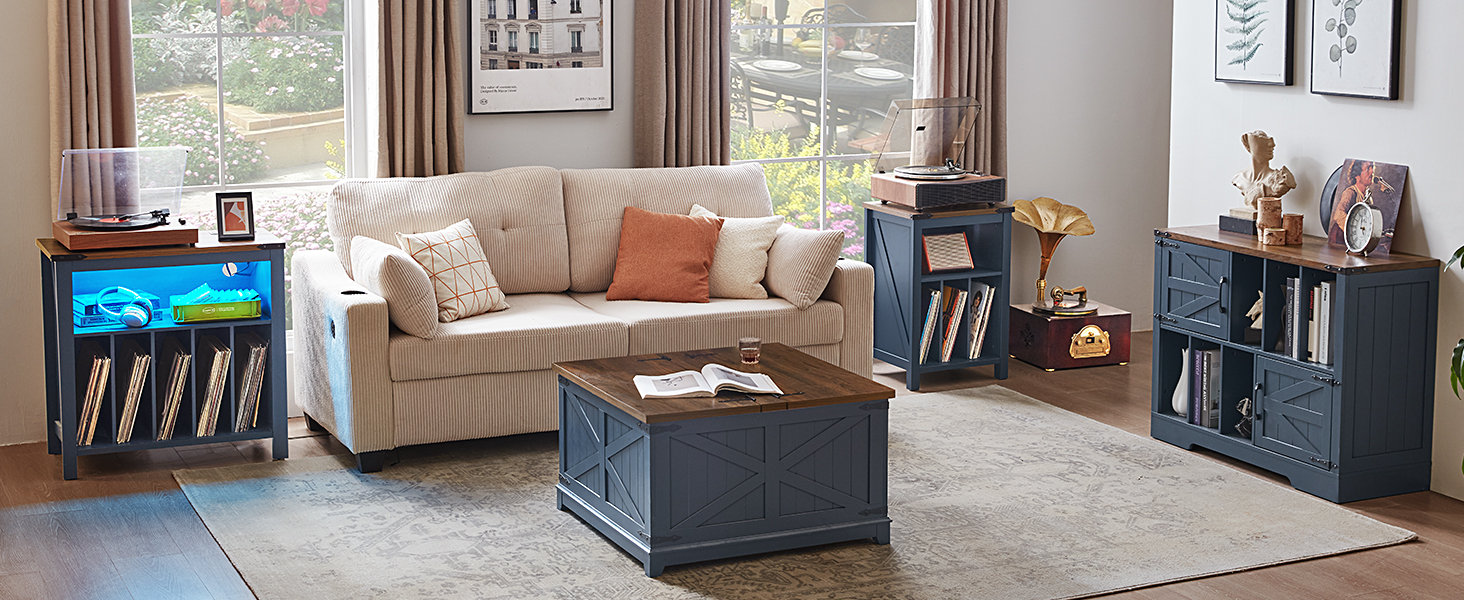
Diagram illustrating the various parts of the record player table before assembly.
Operating Instructions
LED Lights:
The integrated LED lights feature 20 color variations and 19 dynamic modes. Use the included remote control to adjust colors, brightness, and lighting effects. The LED strip is pre-installed in the middle shelf compartment.
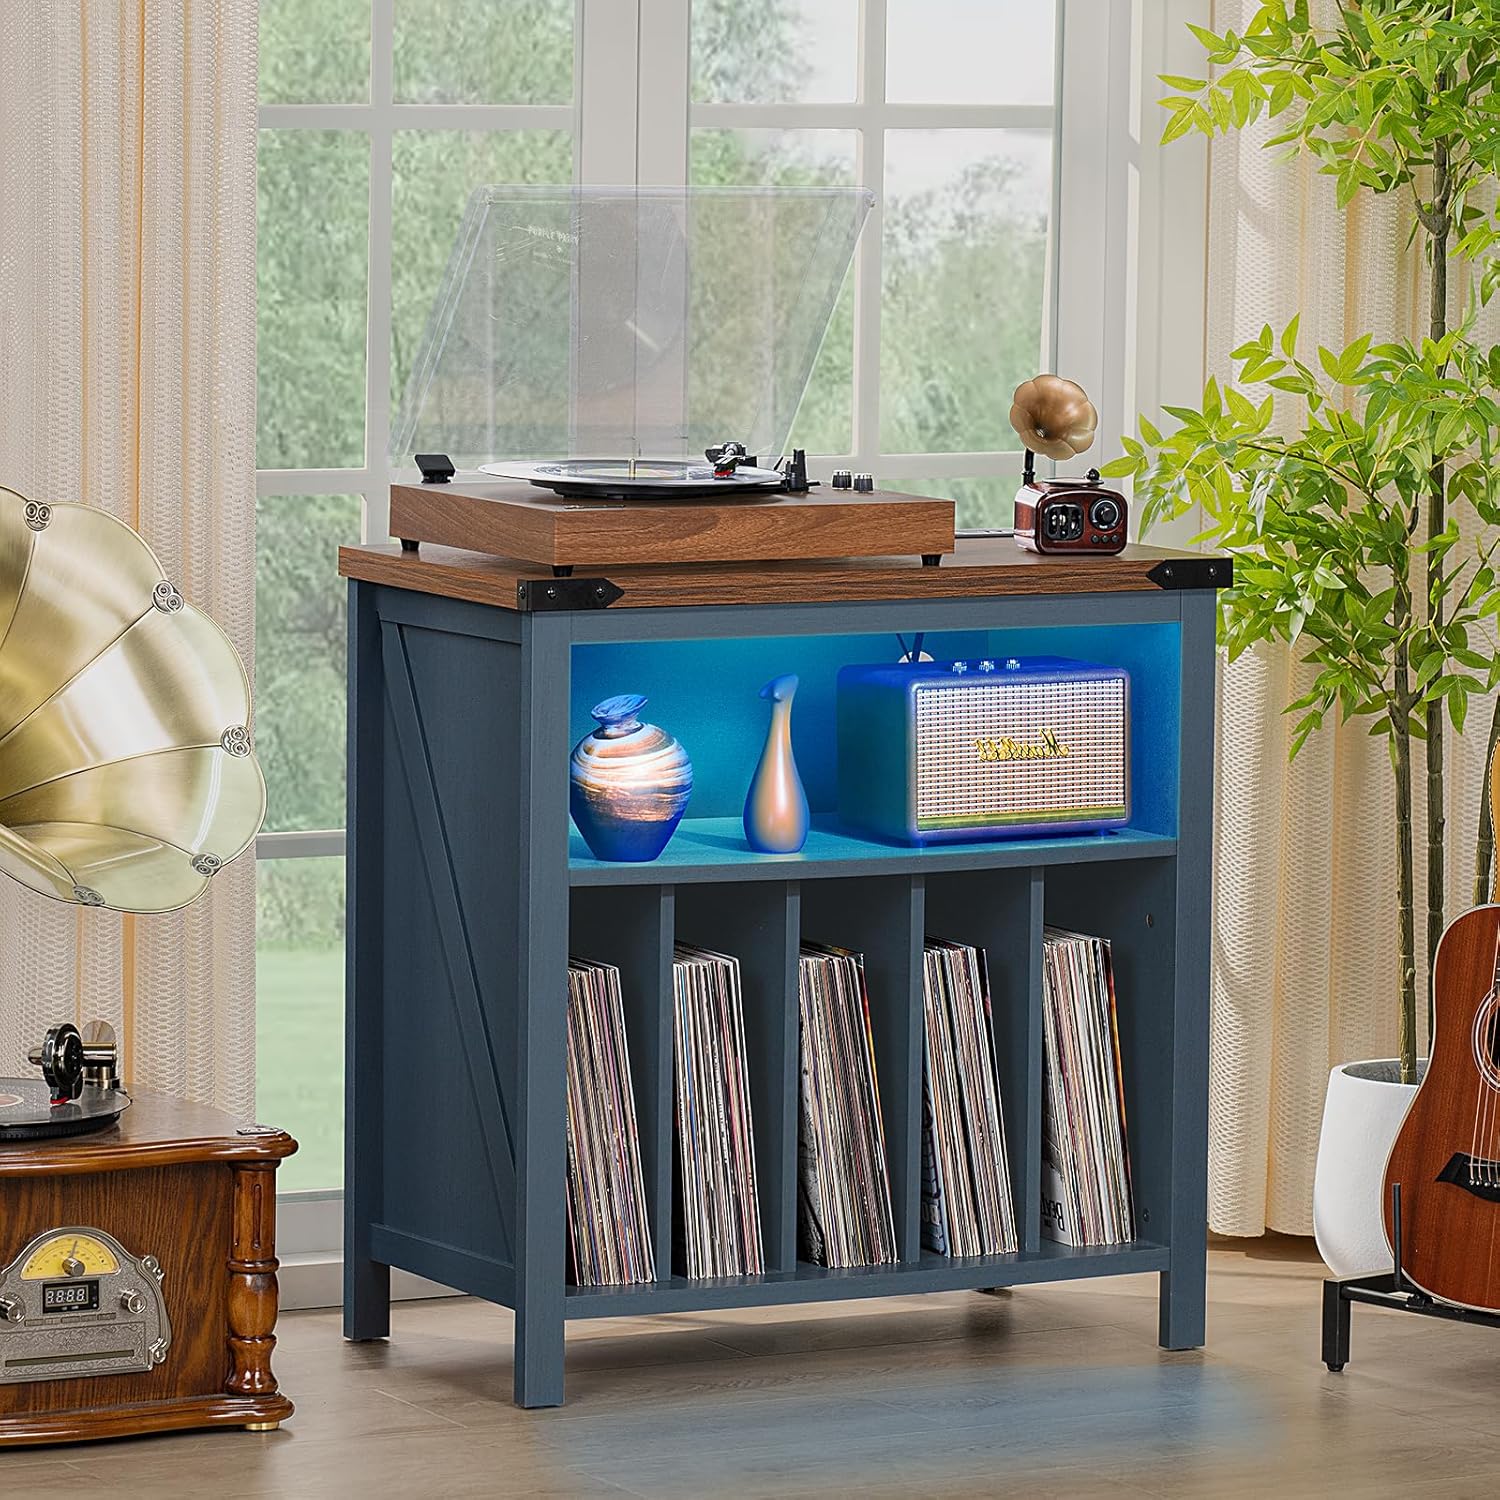
The record player table with its LED lights set to a blue hue, creating an ambient display.
Video showcasing the LED lights and charging station features of the record player stand, including remote control operation.
Charging Station:
The top surface of the table includes a built-in charging station with 2 USB ports (5V/2A) and 2 standard AC outlets (125V/12A). This allows for convenient charging of your record player, smartphone, tablet, or other compatible devices.

Detailed view of the charging station, highlighting the AC outlets and USB ports for device connectivity.
Maintenance
Cleaning:
Wipe surfaces with a soft, damp cloth. Avoid harsh chemicals or abrasive cleaners, as these can damage the wood finish. For spills, clean immediately to prevent staining.
General Care:
- Periodically check all screws and connections to ensure they remain tight.
- Avoid placing hot items directly on the wood surface; use coasters or protective pads.
- Keep the unit away from direct sunlight and excessive moisture to prevent warping or fading.
- Ensure proper ventilation around any electronic devices placed on or in the unit.
Troubleshooting
| Problem | Possible Cause | Solution |
|---|---|---|
| LED lights not working | Loose connection, remote battery dead, LED strip damaged. | Check all power connections. Replace remote control battery. If issues persist, contact customer support. |
| Charging station not providing power | Unit not plugged in, power strip issue, device incompatibility. | Ensure the main power cord is securely plugged into a working wall outlet. Test with another device. Contact customer support if the issue continues. |
| Table feels unstable | Loose screws, uneven floor. | Tighten all assembly screws. Place the table on a level surface or use furniture pads to stabilize. |
Specifications
- Product Dimensions: 29.92"L x 15.75"W x 30.31"H
- Item Weight: 40.8 pounds
- Material: Wood
- Color: Blue
- Special Features: LED Lights, Charging Station (2 USB ports, 2 AC outlets), Iron Corner Guards
- Power Source: Corded Electric
- Storage Capacity: Holds up to 230 albums
- Included Components: Assembly Guide, Installation Tool

Detailed dimensions of the record player table for planning placement.
Warranty and Support
For any questions, missing parts, or issues not covered in this manual, please contact Joaxswe customer support. Refer to your purchase documentation for specific warranty details and contact information. Keep your proof of purchase for warranty claims.