Introduction
This user manual provides comprehensive instructions for the safe and effective operation, setup, and maintenance of your VEVOR Powder Coating System. This system is designed for applying electrostatic powder coatings to various materials, offering a durable and environmentally friendly finish. Please read this manual thoroughly before initial use to ensure proper functionality and safety.
Safety Information
Important Safety Precautions:
- Do not exceed the maximum pressure limit of 90 psi (6.2 bar).
- The air pressure relief valve is set at 60 psi (4.0 bar) for safety.
- Always ensure proper grounding of the workpiece and the system to prevent electrostatic discharge hazards.
- Wear appropriate personal protective equipment (PPE), including gloves, eye protection, and a respirator, when operating the system.
- Operate in a well-ventilated area to avoid inhalation of powder particles.
- Keep the work area clean and free of flammable materials.
- Disconnect power before performing any maintenance or cleaning.
Product Overview
The VEVOR Powder Coating System provides a robust solution for applying durable electrostatic coatings. Key features include:
- Strong Electrostatic Adhesion: Features a 50KV electrostatic output for superior coating adhesion, offering enhanced durability compared to liquid coatings.
- Dual Switches: Equipped with both a foot pedal and a button switch for convenient and ergonomic operation, reducing the need for bending.
- 5-Speed Voltage Adjustment: Allows precise voltage control (30/35/40/45/50KV) to optimize coating for different workpiece types and applications, ensuring uniform and environmentally friendly results.
- Multiple Powder Bottles and Nozzles: Includes two powder bottles and various nozzles, enabling quick color changes without extensive cleaning and improving work efficiency.
- Easy Portability: Designed with a carrying handle for effortless transport, making it suitable for various work environments such as auto repair shops, shipyards, home DIY projects, and gardens.
Included Components
- Powder Coating Machine
- Nozzles (various sizes)
- Powder Bottles (2x)
- Fuse
- Sealing Ring
- Filter
- User Manual (this document)
- Precision Pressure Gauge
- Four Removable Castors (if applicable to the specific model variant)

Figure 1: Main components of the VEVOR Powder Coating System, showing the control unit, spray gun, two powder bottles, a filter, and a foot switch.
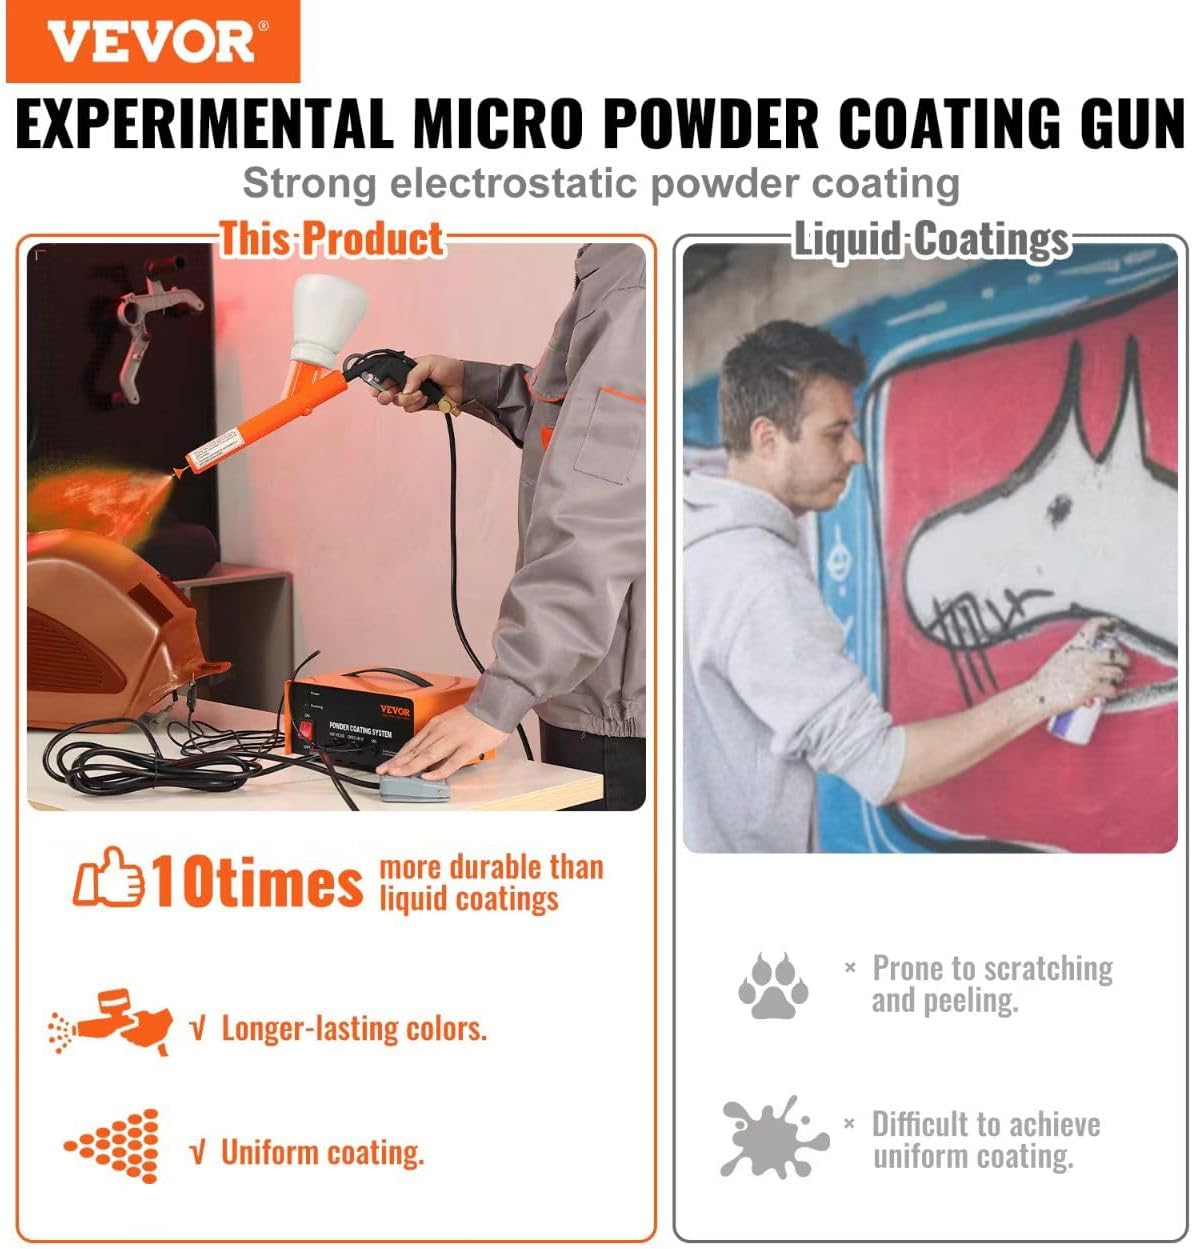
Figure 2: Illustrates the superior durability and uniform coating achieved with the VEVOR Powder Coating System compared to traditional liquid coatings.

Figure 3: Detailed view of the 5-level voltage adjustment knob (30-50KV) on the control unit, allowing precise control for various applications like parts, furniture, automotive shells, fences, and exterior walls.
Setup
- Unpack Components: Carefully remove all items from the packaging and verify against the included components list.
- Position the System: Place the powder coating machine on a stable, level surface in a well-ventilated area.
- Connect Grounding: Ensure the workpiece to be coated is properly grounded. Connect the system's ground wire to a reliable ground point. This is crucial for effective electrostatic adhesion and safety.
- Prepare Powder Bottles: Fill the powder bottles with your desired coating powder. The system includes two bottles for easy color switching. Securely attach a nozzle to the spray gun.
- Attach Powder Bottle to Gun: Screw the filled powder bottle onto the bottom of the spray gun.
- Connect Air Supply: Connect a compressed air line (not exceeding 90 psi) to the air inlet on the spray gun. The internal pressure relief valve is set at 60 psi.
- Power Connection: Plug the power cord into a grounded electrical outlet.

Figure 4: Demonstrates the dual switch operation, featuring both a foot pedal and a button switch on the control unit for convenient activation.

Figure 5: Shows the two included powder bottles and different sized nozzles, designed for easy color changes and versatile application.
Operating Instructions
- Power On: Flip the main power switch on the control unit to the "ON" position. The "Power" indicator light should illuminate.
- Adjust Voltage: Use the voltage adjustment knob to select the appropriate KV setting (30-50KV) for your workpiece and powder type. Start with a lower setting and increase as needed for optimal coverage.
- Test Spray: Before coating your workpiece, perform a test spray on a scrap piece of metal to ensure proper powder flow and coverage.
- Apply Powder:
- Hold the spray gun approximately 6-10 inches from the workpiece.
- Activate the powder flow using either the trigger on the gun or the foot pedal.
- Apply the powder in smooth, even passes, overlapping each pass slightly to ensure uniform coverage.
- For complex shapes or hard-to-reach areas, adjust your angle and distance as necessary.
- Inspect Coating: After application, visually inspect the workpiece for complete and even powder coverage. If necessary, apply additional coats.
- Curing: Once coated, transfer the workpiece to a curing oven. Follow the powder manufacturer's instructions for curing temperature and time.
- Power Off: After use, turn the main power switch to "OFF" and disconnect the power cord.

Figure 6: An operator applying powder coating to a wheel, demonstrating the system in action.
Maintenance
Regular maintenance ensures the longevity and optimal performance of your powder coating system.
- Cleaning Powder Bottles: After each use or when changing colors, empty and thoroughly clean the powder bottles to prevent contamination and clogging. The 1.4mm thick PC material bottles are designed for easy cleaning.
- Nozzle Cleaning: Clean the nozzles regularly to ensure consistent powder flow. Use compressed air to clear any blockages.
- Filter Maintenance: Periodically check and clean or replace the air filter to maintain proper air pressure and prevent contaminants from entering the system.
- General Cleaning: Wipe down the exterior of the control unit and spray gun with a dry cloth to remove any powder residue. Do not use liquid cleaners on electrical components.
- Storage: Store the system in a dry, clean environment when not in use.

Figure 7: Illustrates the ease of cleaning the powder bottles, which helps reduce color contamination.
Troubleshooting
| Problem | Possible Cause | Solution |
|---|---|---|
| No powder flow or inconsistent flow | Clogged nozzle; insufficient air pressure; empty powder bottle; clumping powder. | Clean nozzle; check air compressor and connections; refill powder bottle; agitate powder or replace if clumpy. |
| Poor powder adhesion | Improper grounding of workpiece; incorrect voltage setting; workpiece not clean. | Ensure workpiece is properly grounded; adjust voltage setting; thoroughly clean and degrease workpiece before coating. |
| System not powering on | Power cord not connected; tripped circuit breaker; blown fuse. | Check power connection; reset circuit breaker; inspect and replace fuse if necessary. |
| Uneven coating | Inconsistent spray technique; incorrect voltage; air pressure too high/low. | Practice consistent spray passes; adjust voltage; verify air pressure is within recommended range (10-30 PSI). |
Specifications
| Specification | Value |
|---|---|
| Brand | VEVOR |
| Model Number | 150-9000 |
| Electrostatic Output | 50KV (adjustable 30-50KV) |
| Tank Volume | 2.2 Gallons (per bottle) |
| Material | Metal (main unit), Plastic (gun, bottles) |
| Item Weight | 6.61 pounds (approx.) |
| Product Dimensions | 11.81 x 11.81 x 7.87 inches (approx.) |
| Maximum Pressure | 60 PSI (internal relief valve setting) |
| Recommended Uses | Painting, DIY, Commercial Production |
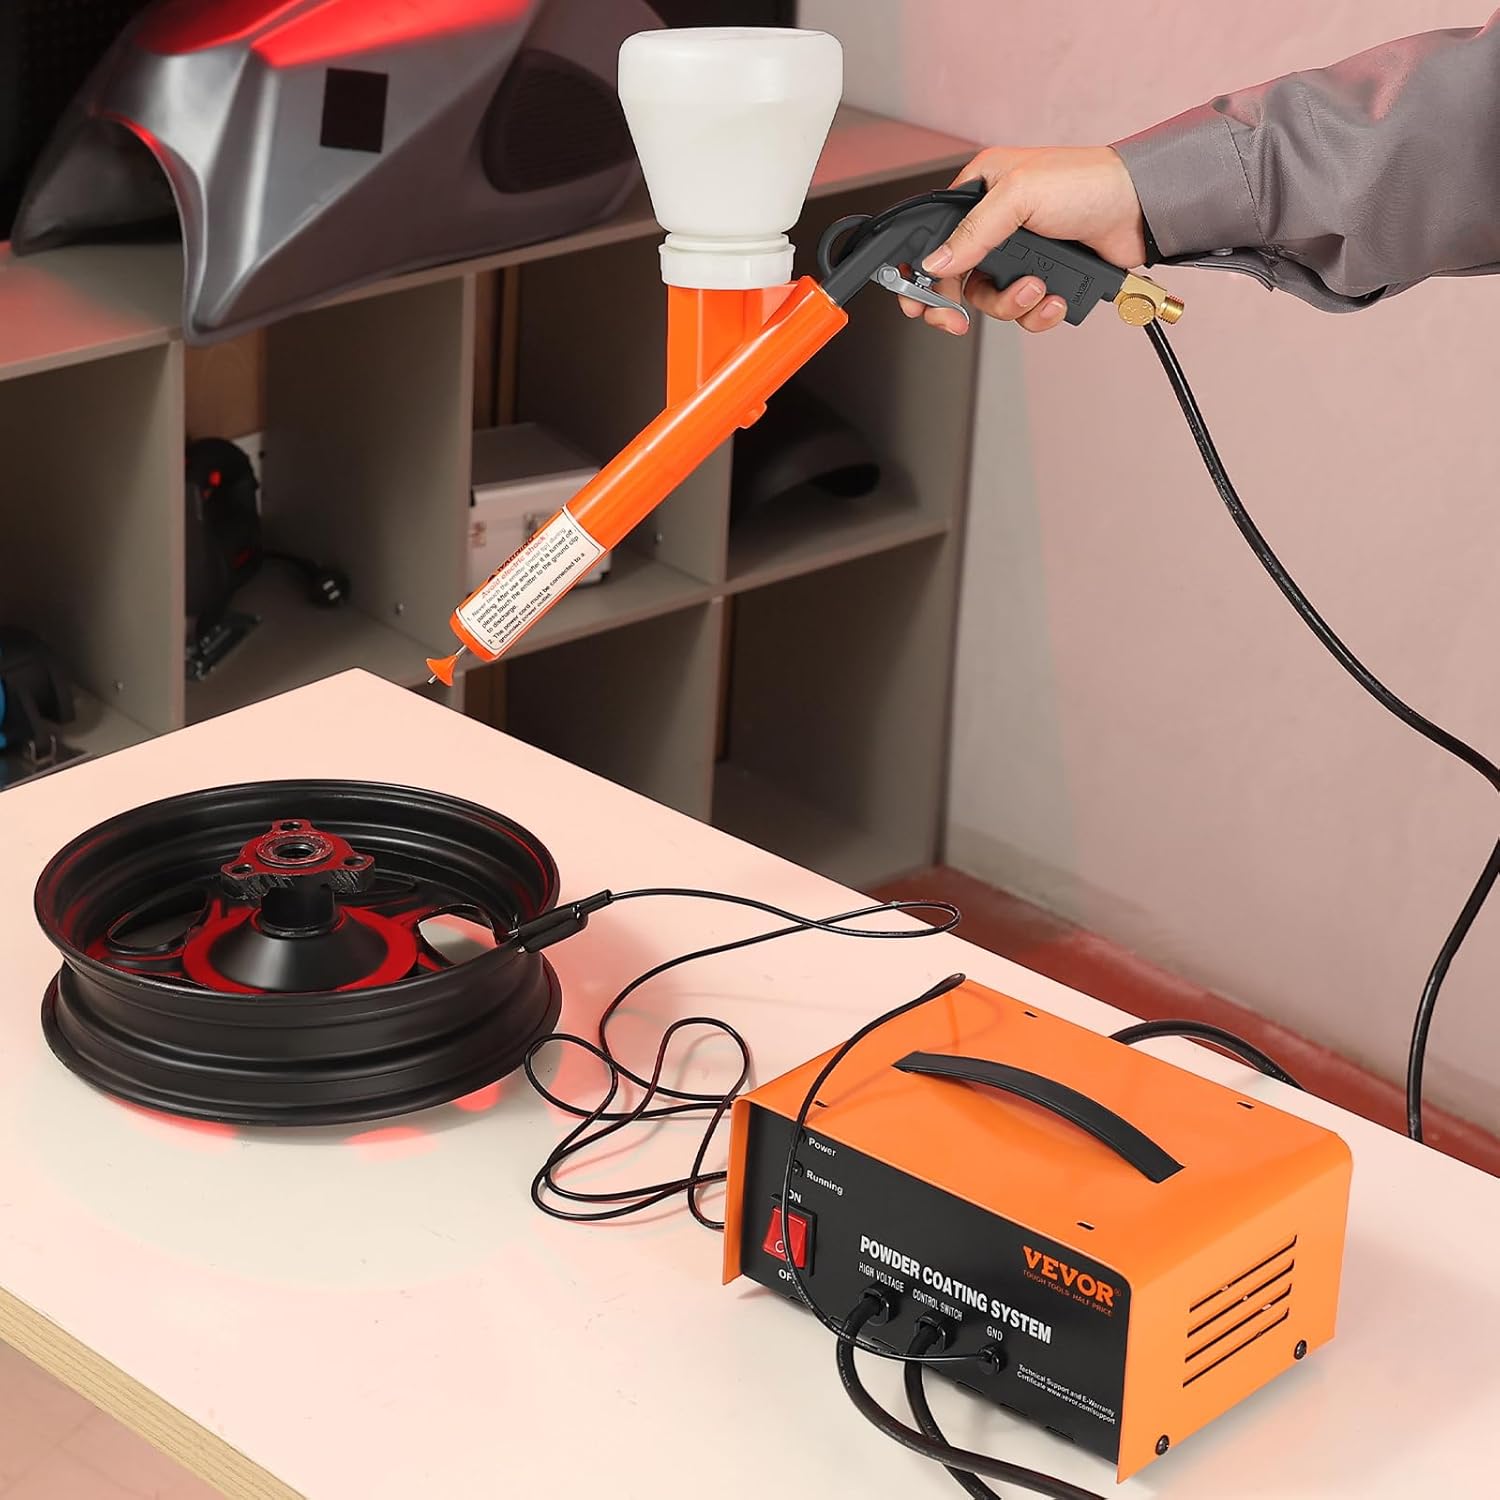
Figure 8: Technical specifications and dimensions of the VEVOR Powder Coating System, including item model number, operating air pressure, maximum output current, powder output rate, material, product weight, net weight, and product dimensions.
Warranty and Support
For warranty information, technical support, or service inquiries, please refer to the official VEVOR website or contact VEVOR customer service directly. Keep your purchase receipt and product model number (150-9000) handy for faster assistance.
Official VEVOR Store: Visit the VEVOR Store on Amazon