Introduction
Thank you for choosing the AZDOME M550 Pro 3 Channel Dash Cam. This manual provides detailed instructions for the installation, operation, and maintenance of your device. Please read this manual carefully before using the product to ensure proper functionality and safety. Keep this manual for future reference.
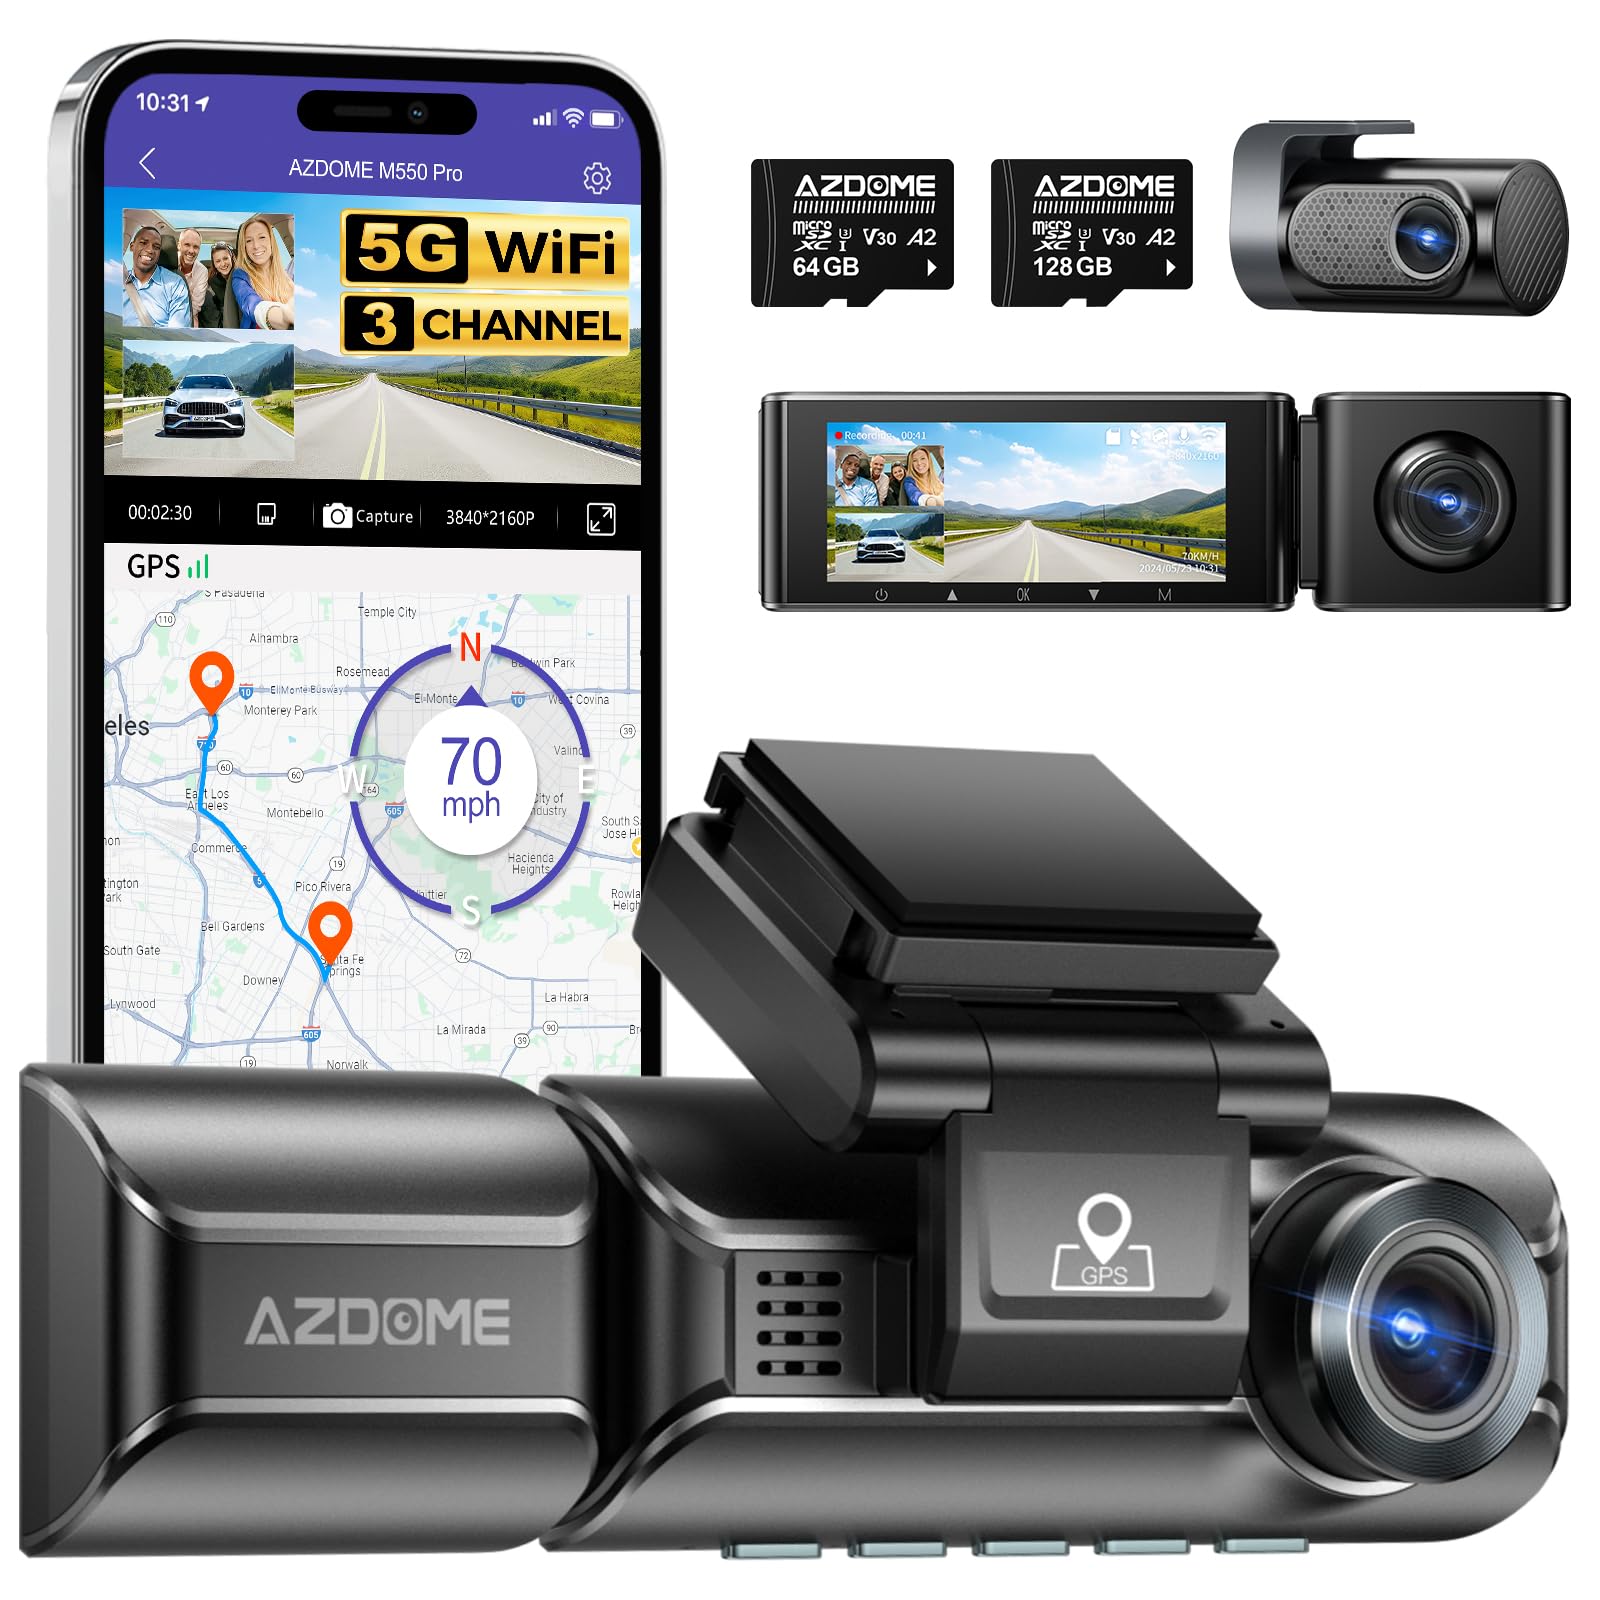
Image: The AZDOME M550 Pro dash cam, showing the main unit, interior camera, rear camera, and a smartphone displaying the companion app interface with GPS and video playback.
Package Contents
Please check the package contents upon unboxing. If any items are missing or damaged, contact customer support.
- AZDOME M550 Pro Dash Cam (Main Unit)
- Interior Camera
- Rear Camera
- AZDOME 128GB TF Card (Memory Card)
- Power Cable (Car Charger)
- Mounting Bracket
- User Manual

Image: A close-up of the AZDOME 128GB MicroSD TF Card, included with the dash cam.
Product Overview
The AZDOME M550 Pro is a 3-channel dash cam system designed to record video from the front, interior, and rear of your vehicle. It features a 3.19-inch IPS screen, built-in 5.8G WiFi, GPS, and various parking monitoring modes.
Main Unit (Front Camera)
- Front Lens: Records the road ahead in up to 4K resolution.
- Display Screen: 3.19-inch IPS screen for live view and playback.
- Control Buttons: For menu navigation and settings.
- GPS Module: Integrated for location and speed data.
- MicroSD Card Slot: For memory card insertion.
Interior Camera
- Records the vehicle's interior in 1080P.
- Equipped with 6 IR LEDs for enhanced night vision inside the cabin.
- Removable (Type-C Port) for flexible installation.
Rear Camera
- Records the rear view of the vehicle in 1080P.
- Connects to the main unit via a dedicated cable.
Setup
1. Inserting the MicroSD Card
- Ensure the dash cam is powered off.
- Locate the MicroSD card slot on the main unit.
- Insert the 128GB TF card with the gold contacts facing the back of the dash cam until it clicks into place.
- To remove, gently push the card in until it springs out.
2. Mounting the Dash Cam
- Clean the windshield area where you intend to mount the dash cam.
- Attach the mounting bracket to the dash cam.
- Secure the dash cam with the bracket to the windshield, ensuring a clear view of the road. Adjust the lens angle as needed.
3. Connecting Power
- Connect the car charger to the dash cam's power input port.
- Plug the other end of the car charger into your vehicle's cigarette lighter socket.
- Route the power cable neatly along the windshield and dashboard to avoid obstructing your view.
4. Installing the Interior and Rear Cameras
- Connect the interior camera to its dedicated port on the main unit. Mount it to capture the cabin view.
- Connect the rear camera to its dedicated port on the main unit. Mount it on the rear windshield, ensuring a clear view. Route the cable discreetly.
5. Initial Power On and Settings
- Once powered, the dash cam will automatically turn on and begin recording.
- Access the menu to set the correct date and time.
- It is recommended to format the MicroSD card within the dash cam's settings before first use and periodically thereafter to ensure optimal performance.
Operating Instructions
1. 3 Channel Recording
The M550 Pro supports simultaneous recording from three cameras: front, interior, and rear. You can configure recording resolutions:
- Front Only: 4K (3840x2160P)
- Front and Rear: 4K + 1080P
- Front and Interior: 2K (2560x1440P) + 1080P
- Front, Interior, and Rear: 2K + 1080P + 1080P
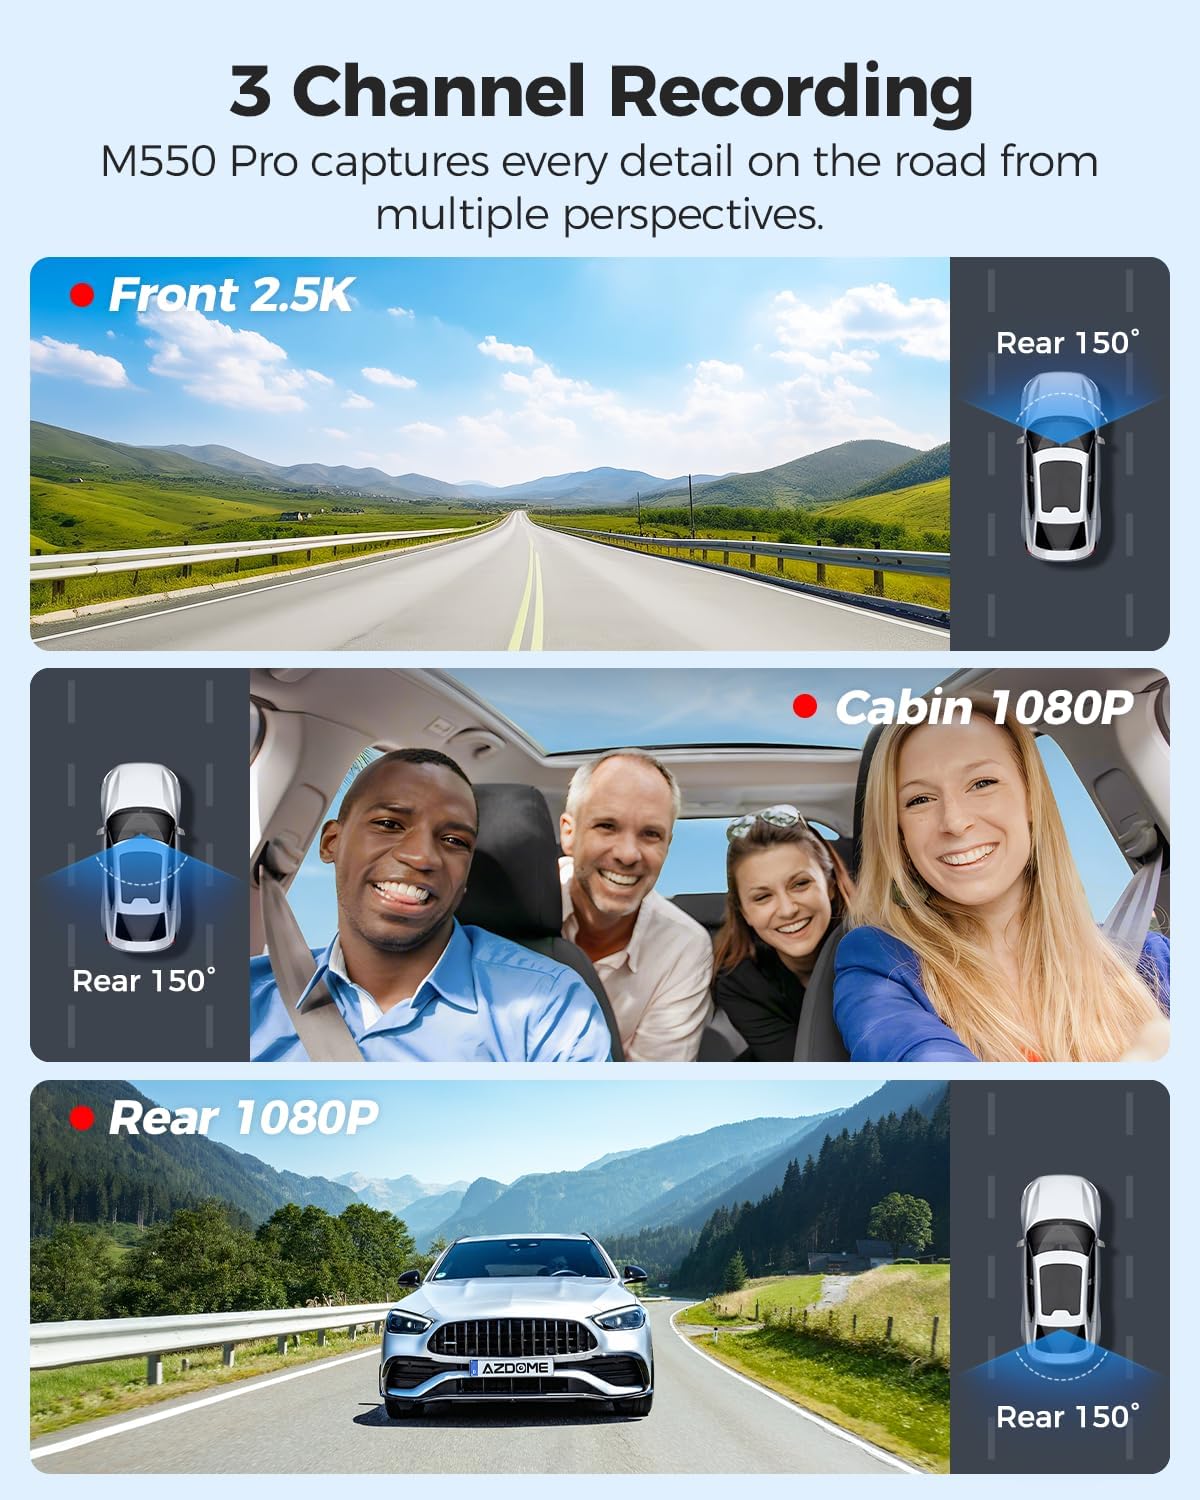
Image: Visual representation of the 3-channel recording capability, showing views from the front (2.5K), cabin (1080P), and rear (1080P) cameras.
2. Loop Recording
The dash cam records video in continuous loops. When the memory card is full, the oldest unlocked files are automatically overwritten by new recordings. This ensures continuous recording without manual intervention.
3. G-Sensor (Collision Detection)
The built-in G-sensor detects sudden impacts or collisions. When triggered, it automatically locks the current video segment, preventing it from being overwritten by loop recording. The sensitivity of the G-sensor can be adjusted in the settings.
4. 24-Hour Parking Monitor
The M550 Pro offers two modes for 24-hour parking monitoring. A 3-lead hardwire kit (not included, ASIN: B096G6FKZP) is required for this feature.
- Collision Detection Parking Mode: The G-sensor detects impacts and automatically records and locks video segments.
- Time-Lapse Parking Mode: The dash cam records continuously at a low frame rate (e.g., 1 FPS) for 24 hours, compressing long periods into short videos.

Image: Illustration of the 24-hour parking mode, detailing collision detection and time-lapse recording options, with a car parked under a protective shield icon.
5. Built-in 5.8G WiFi and App Usage
The dash cam features built-in 5.8G WiFi for faster data transfer. Download the AZDOME app on your smartphone to connect to the dash cam.
- Download the AZDOME app from the Google Play Store or Apple App Store.
- Enable WiFi on your dash cam and smartphone.
- Connect your smartphone to the dash cam's WiFi network (SSID and password displayed on the dash cam screen).
- Use the app for live view, video playback, downloading recorded files, and adjusting settings. 5.8GHz WiFi allows for downloading 800MB video within 10 seconds.
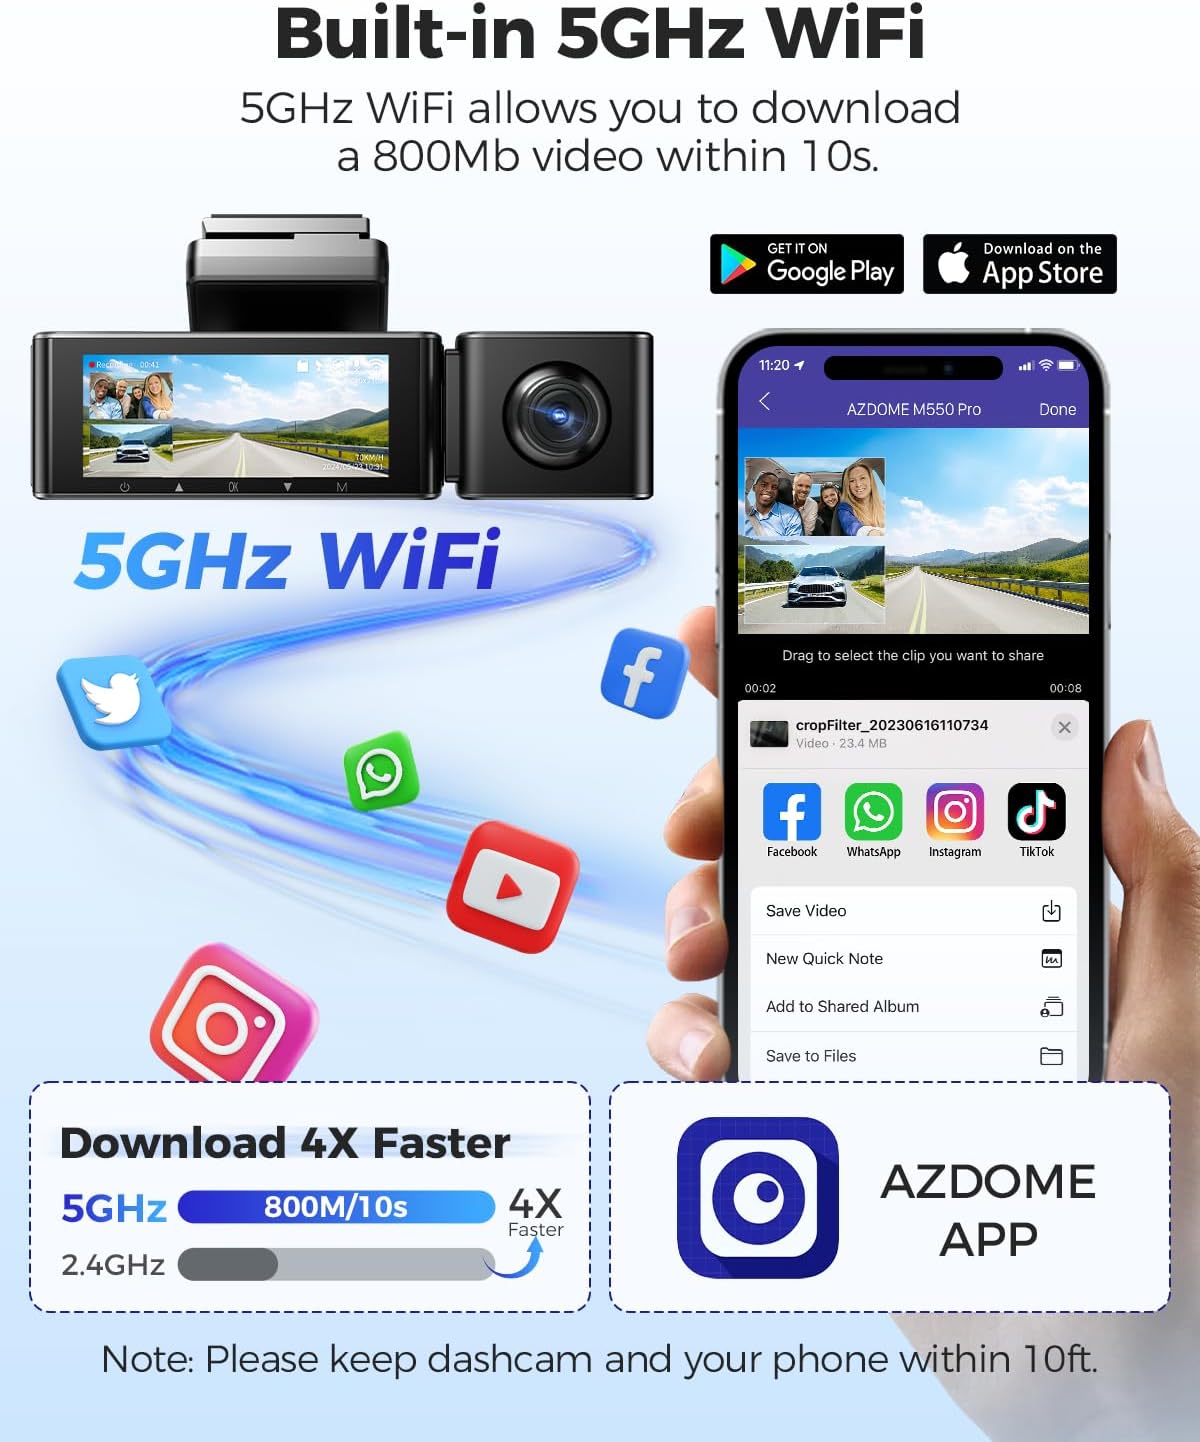
Image: Diagram showing the dash cam connecting to a smartphone via 5GHz WiFi, highlighting faster download speeds for videos through the AZDOME app.
6. Built-in GPS Functionality
The integrated GPS module records your driving route, speed, latitude, and longitude data. This information can be viewed using the AZDOME GPS Player software on a computer.
- Download the AZDOME GPS Player software from the official AZDOME website.
- Transfer recorded video files to your computer.
- Open the video files with the AZDOME GPS Player to view synchronized video, map, and driving data.

Image: A laptop screen displaying the AZDOME GPS Player, showing video playback alongside a map with the driving route, speed, and location details.
7. Night Vision
The interior camera is equipped with 6 IR LEDs and a Starvis Sensor to provide clear recordings in low-light conditions inside the vehicle. The front camera also features a 6-glass lens and F=1.8 aperture for improved low-light performance.
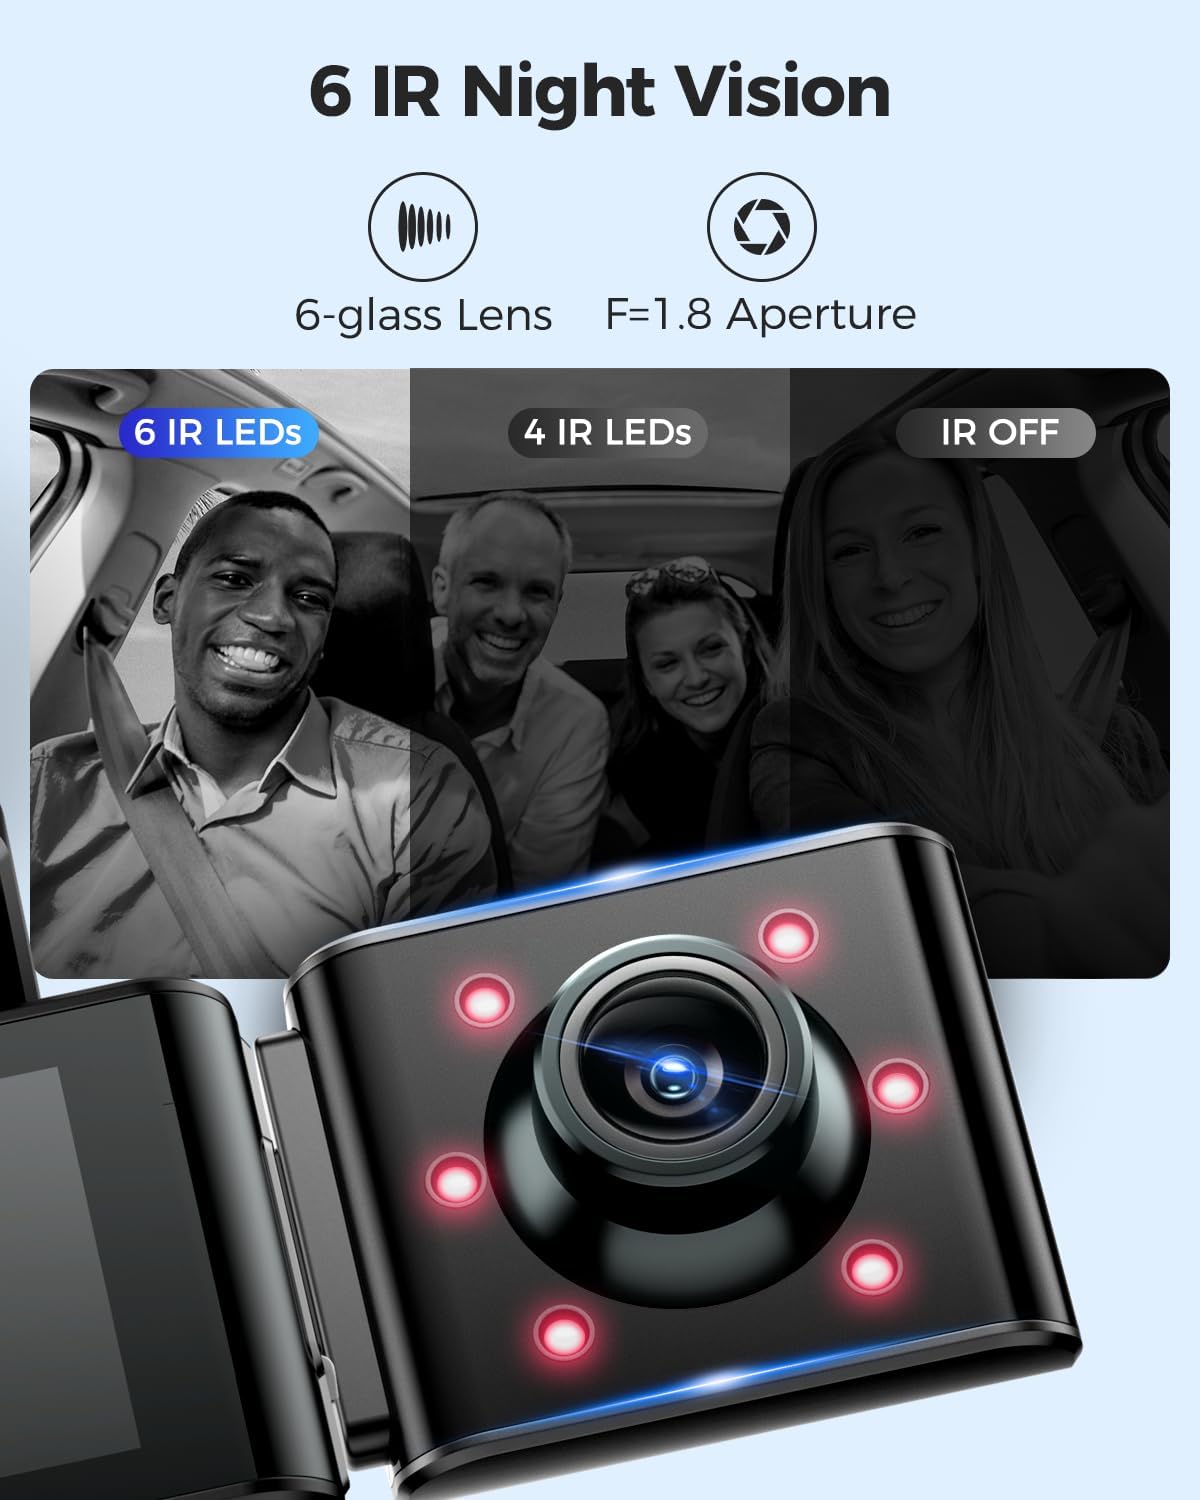
Image: A visual comparison demonstrating the effectiveness of 6 IR LEDs for night vision in the interior camera, showing clearer images compared to 4 IR LEDs or IR off.
Maintenance
1. Memory Card Care
- Regularly format the MicroSD card (at least once a month) through the dash cam's settings to prevent data corruption and ensure optimal recording performance.
- Use high-quality, high-endurance MicroSD cards (Class 10 or U3 recommended) for reliable operation.
- Avoid removing or inserting the MicroSD card while the dash cam is powered on to prevent damage to the card or device.
2. Cleaning the Device
- Use a soft, dry cloth to clean the dash cam's body and screen.
- For camera lenses, use a lens cleaning cloth and specialized lens cleaning solution to avoid scratches and ensure clear video quality.
- Do not use abrasive cleaners or solvents, as they may damage the device.
Troubleshooting
- Dash Cam does not power on: Check the power connection. Ensure the car charger is properly plugged into both the dash cam and the vehicle's power outlet. Test the power outlet with another device.
- Dash Cam stops recording: Ensure the MicroSD card is inserted correctly and has sufficient free space. Format the card. If the issue persists, try a different MicroSD card.
- Video files are corrupted or unplayable: Format the MicroSD card. Ensure the card is a high-quality, high-endurance type.
- WiFi connection issues: Ensure the dash cam's WiFi is enabled. Keep your smartphone within 10 feet of the dash cam for optimal connection. Restart both the dash cam and your phone.
- GPS not working: Ensure the dash cam has a clear view of the sky. GPS signal acquisition may take a few minutes, especially after initial setup or in areas with poor signal.
- Parking Monitor not working: Ensure the 3-lead hardwire kit is correctly installed and connected. Check parking monitor settings in the menu.
Specifications
Below are the key specifications for the AZDOME M550 Pro Dash Cam:
| Feature | Specification |
|---|---|
| Model | M550 Pro |
| Display Size | 3.19" IPS Screen |
| Video Resolution (Max) | Front: 4K (3840x2160P) |
| 3-Channel Resolution | 2K(F)+1080P(I)+1080P(R) |
| Connectivity Technology | 5.8G Wi-Fi |
| Special Feature | Parking Monitor (Collision Detection, Time-lapse) |
| Built-in GPS | Yes |
| Interior Camera | Removable (Type-C Port), 6 IR LEDs, Starvis Sensor |
| Field Of View | 170 Degrees (Front) |
| Control Method | App |
| Flash Memory Type | TF (MicroSD) |
| Included Components | Memory Card (128GB) |

Image: A detailed comparison table highlighting features and specifications of the M550 Pro against other AZDOME models, including display size, video resolution, WiFi, and parking modes.
Warranty and Support
Warranty Information
AZDOME products typically come with a standard manufacturer's warranty. Please refer to the warranty card included in your package or visit the official AZDOME website for specific warranty terms and conditions. Keep your proof of purchase for warranty claims.
Customer Support
For technical assistance, troubleshooting, or any questions regarding your AZDOME M550 Pro Dash Cam, please contact AZDOME customer support. Contact information can usually be found on the official AZDOME website or on the warranty card.