
1. Introduction
The Rittenhouse Premium Power Pack 2500A is a versatile portable power solution designed to jump-start 12V vehicles and charge a variety of electronic devices. This device features a high-capacity battery, multiple charging ports, and an integrated LED flashlight for emergency situations. Please read this manual thoroughly before operating the device to ensure safe and efficient use.
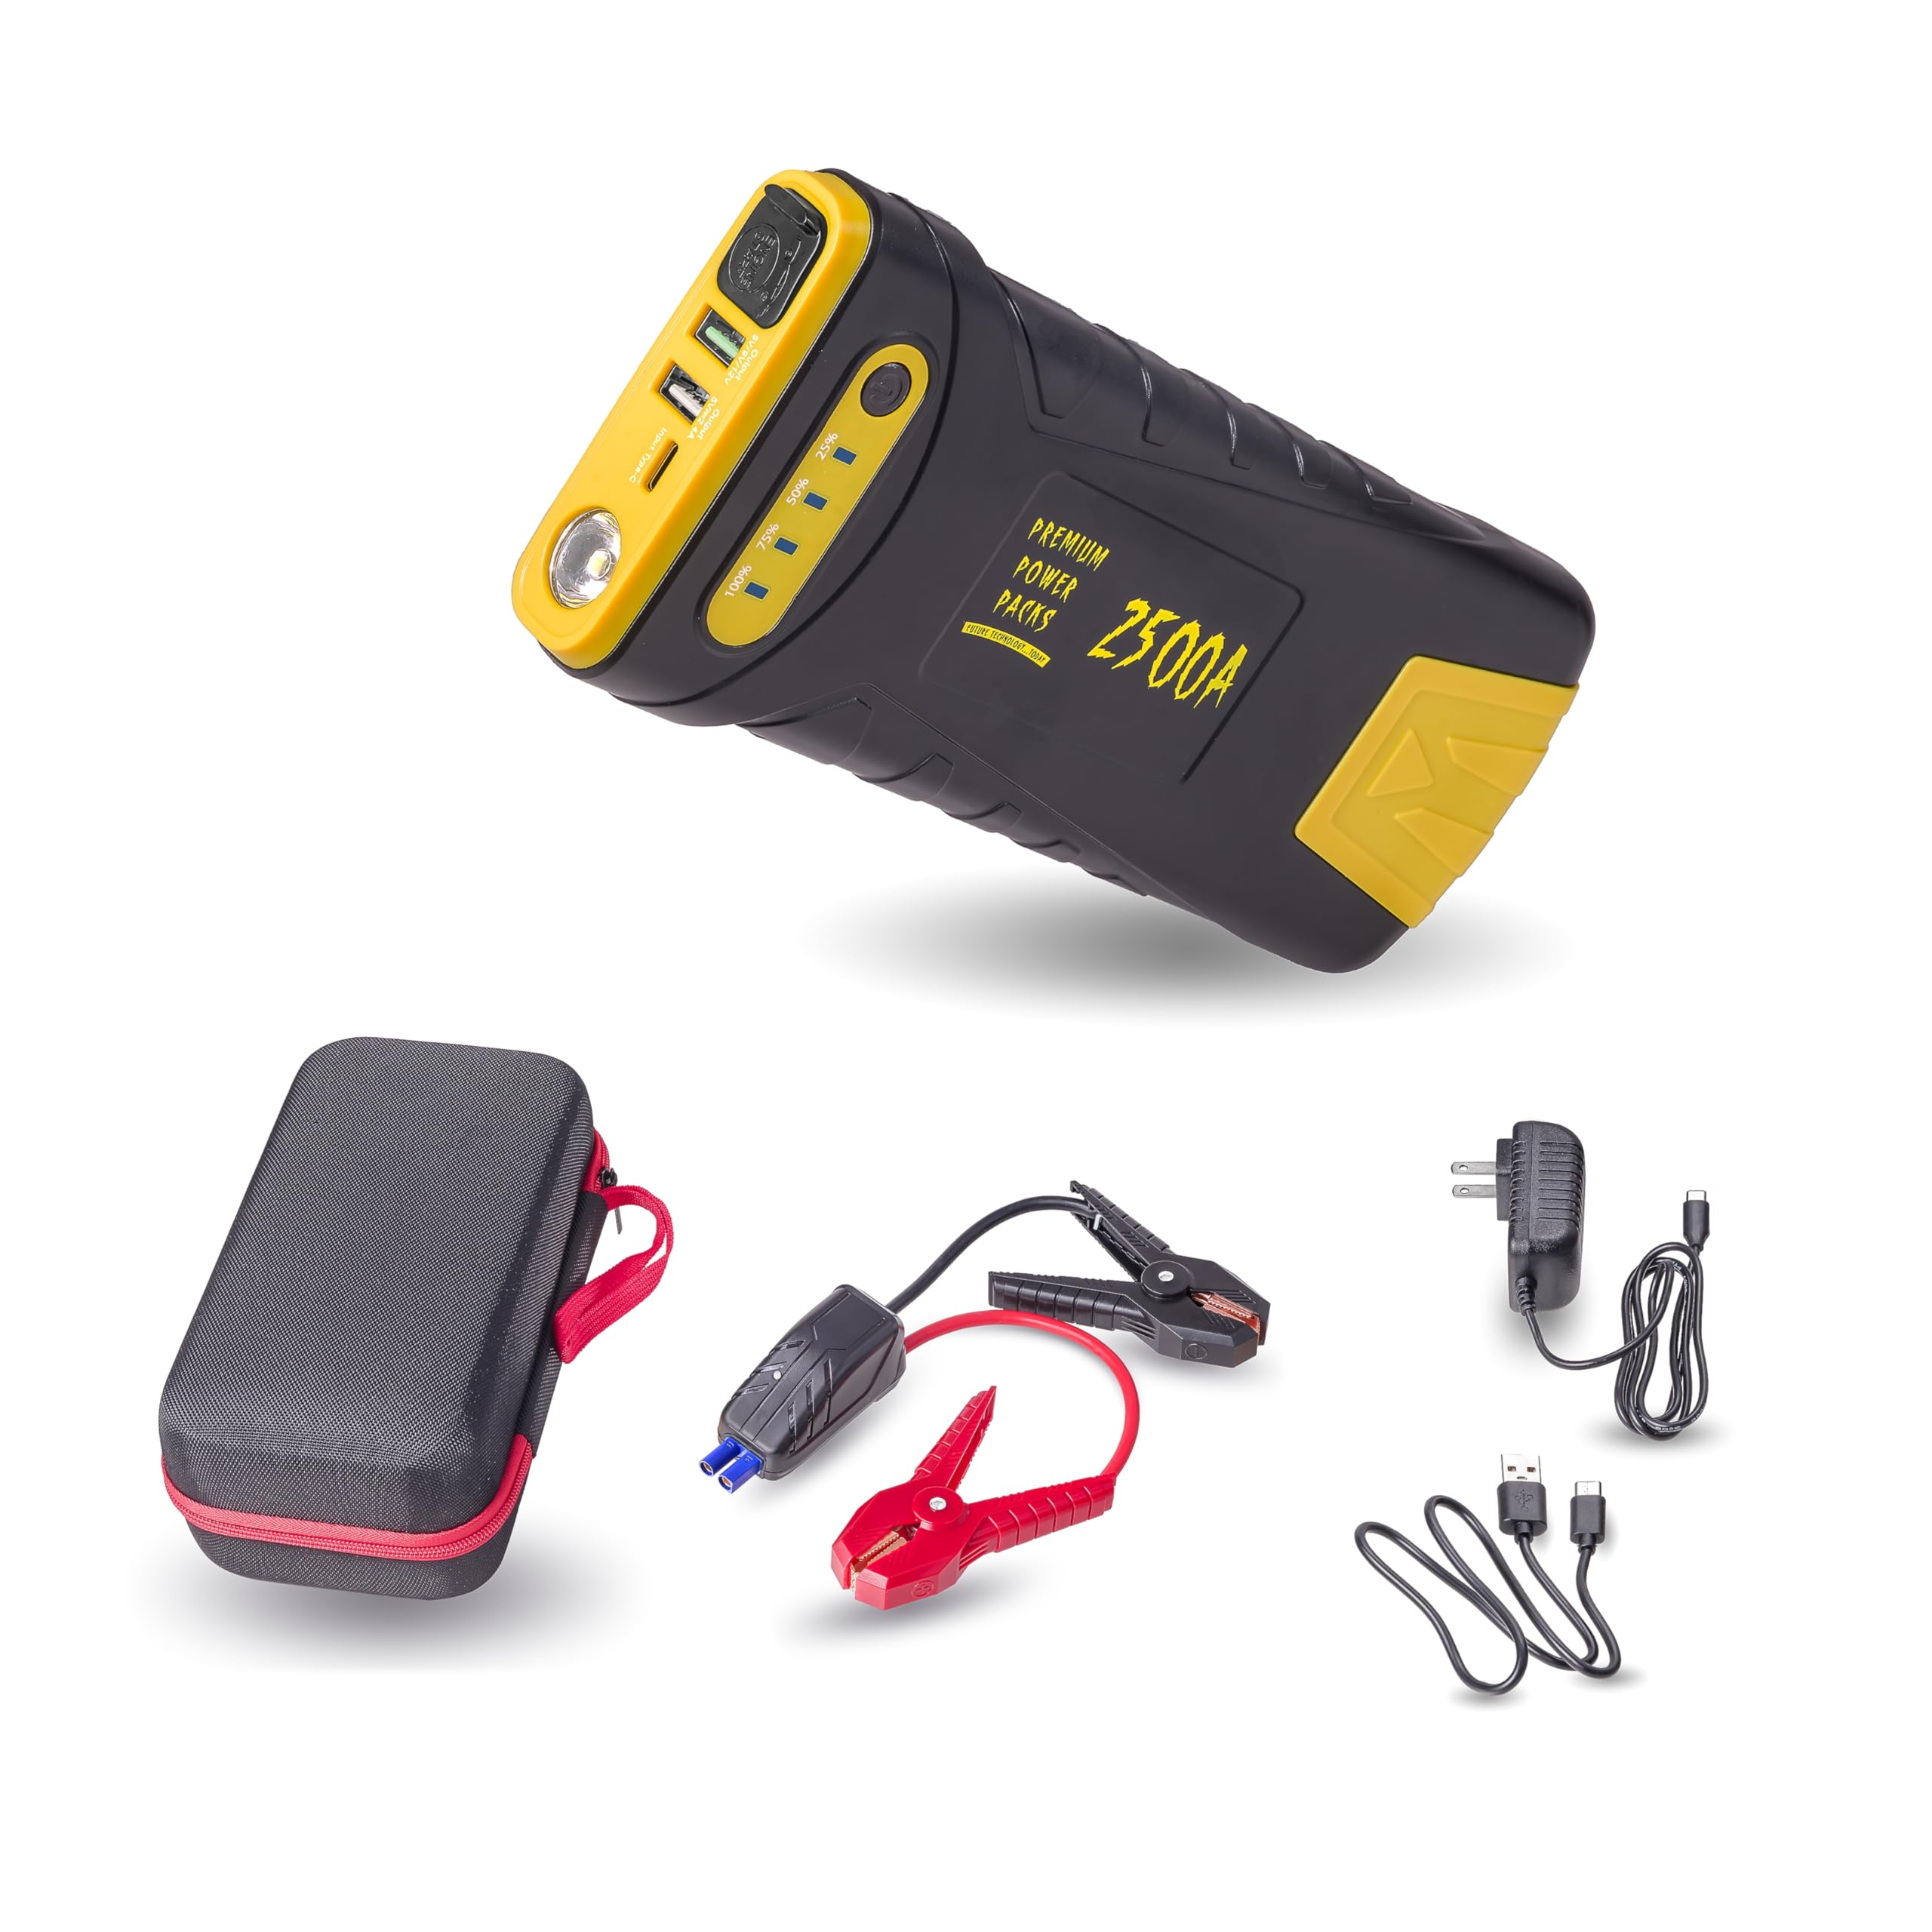
Image 1.1: The Rittenhouse Premium Power Pack 2500A, a portable jump starter and power bank.
2. Important Safety Information
- Do not expose the device to extreme temperatures, direct sunlight, or moisture.
- Do not disassemble, modify, or attempt to repair the unit. Refer all servicing to qualified personnel.
- Keep out of reach of children.
- Ensure proper ventilation during use and charging.
- Always connect the jumper cables correctly (positive to positive, negative to negative) to avoid sparks or damage.
- Remove the jump starter from the vehicle battery immediately after the vehicle starts.
- Avoid short-circuiting the jumper clamps.
- This product contains chemicals known to the State of California to cause cancer and birth defects or other reproductive harm (Proposition 65 warning).
3. Package Contents
Verify that all items are present in the package:
- Rittenhouse Premium Power Pack 2500A
- Smart Jumper Cables
- Wall Charger (AC Adapter)
- USB Charging Cable (USB-A to Micro-USB)
- Zippered Carrying Case

Image 3.1: Zippered carrying case for the power pack and accessories.

Image 3.2: Smart jumper cables with red and black clamps.
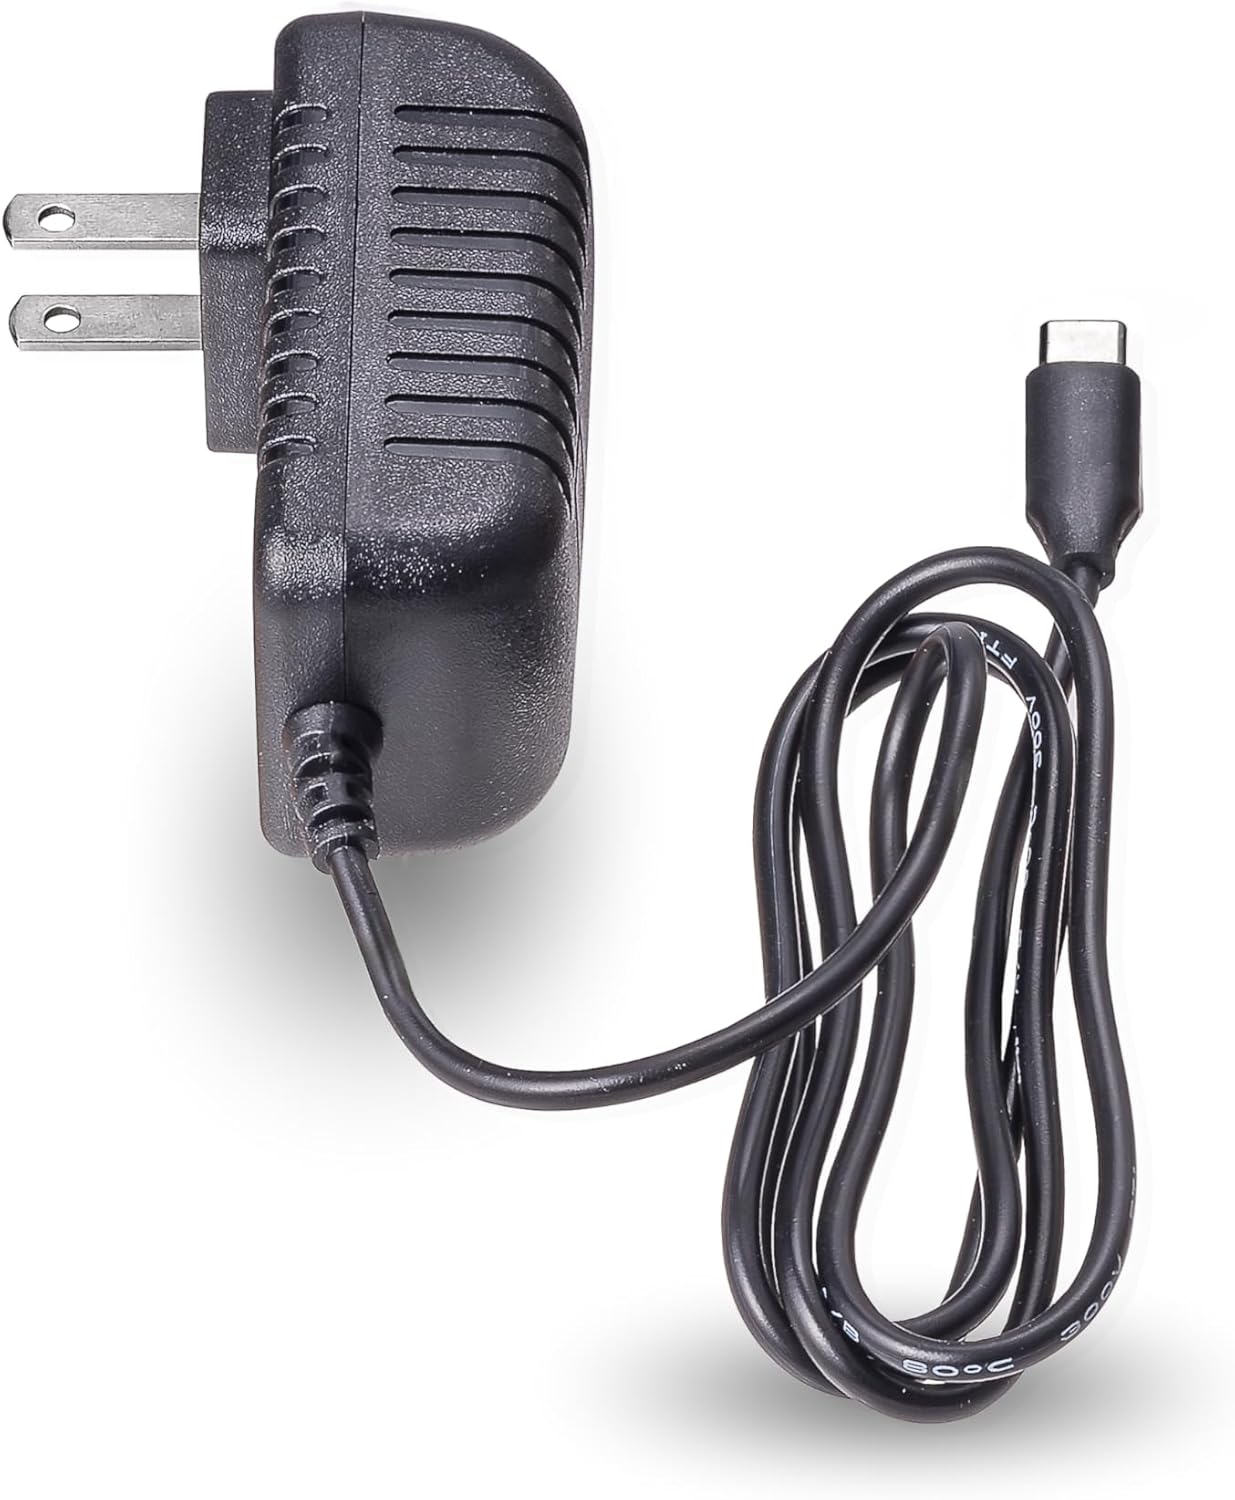
Image 3.3: Wall charger (AC adapter) for recharging the power pack.

Image 3.4: USB charging cable (USB-A to Micro-USB) for charging compatible devices.
4. Product Features
- Battery Capacity: 24,000 mAh (88.8 Wh)
- Starting Current: 1250A
- Peak Current: 2500A
- Output Ports: 2 x USB charging ports, 2 x DC power ports
- Integrated LED Flashlight: Ultra bright for illumination and emergency signaling.
- Compact and Portable Design: Fits easily in a glove box.

Image 4.1: Top view of the power pack showing USB ports, DC ports, and battery indicator lights.
5. Initial Setup and Charging the Power Pack
5.1 Initial Charge
Before first use, fully charge the Rittenhouse Premium Power Pack. Connect the provided wall charger to the power pack's input port and plug it into a standard AC outlet. The battery indicator lights will illuminate to show the charging progress. All lights will be solid when fully charged.
5.2 Checking Battery Level
Press the power button briefly to check the current battery level. The indicator lights will show the remaining charge (e.g., 25%, 50%, 75%, 100%). For optimal performance, ensure the power pack is at least 75% charged before attempting to jump-start a vehicle.
6. Operating Instructions
6.1 Jump Starting a Vehicle
- Ensure the power pack is sufficiently charged (at least 75%).
- Turn off the vehicle's ignition and all accessories.
- Connect the red (+) clamp of the smart jumper cables to the positive (+) terminal of the vehicle's battery.
- Connect the black (-) clamp of the smart jumper cables to the negative (-) terminal of the vehicle's battery or a solid, unpainted metal part of the vehicle's chassis.
- Plug the smart jumper cable connector into the jump start port on the power pack. Ensure a secure connection.
- Start the vehicle's engine. If it does not start immediately, wait 30 seconds and try again. Do not crank for more than 3 seconds per attempt.
- Once the vehicle starts, immediately disconnect the smart jumper cable connector from the power pack.
- Then, disconnect the black (-) clamp from the vehicle, followed by the red (+) clamp.
Important: Do not leave the power pack connected to the vehicle battery after the engine has started. The smart jumper cables include safety features to prevent reverse polarity and short circuits.
6.2 Charging Electronic Devices
The power pack features two USB charging ports and two DC power ports for charging various electronics.
- Connect your device's USB charging cable to one of the USB output ports on the power pack.
- For devices requiring DC power, use the appropriate DC cable (not included) and connect it to one of the DC output ports.
- The power pack will automatically begin charging your device.
6.3 Using the LED Flashlight
The integrated LED flashlight has multiple modes for different situations.
- To turn on/off: Press and hold the flashlight button for 3 seconds.
- To cycle modes: Once on, short press the flashlight button to switch between Constant On, SOS, and Strobe modes.

Image 6.1: The power pack with its LED flashlight illuminated.
7. Maintenance and Storage
- Recharge the power pack every 3-6 months, even if not in use, to maintain battery health.
- Store the device in a cool, dry place, away from direct sunlight and extreme temperatures.
- Clean the exterior with a soft, damp cloth. Do not use harsh chemicals or abrasives.
- Keep the ports free of dust and debris.
8. Troubleshooting
| Problem | Possible Cause | Solution |
|---|---|---|
| Power pack does not turn on. | Battery is completely discharged. | Charge the power pack using the provided wall charger. |
| Vehicle does not jump start. | Low power pack charge; incorrect cable connection; severely discharged vehicle battery. | Ensure power pack is at least 75% charged. Verify correct positive/negative connections. Wait 30 seconds between attempts. If vehicle battery is completely dead, it may require professional assistance. |
| Electronic device not charging. | Power pack is off; cable is faulty; device is incompatible. | Ensure power pack is on. Try a different charging cable. Check device compatibility with USB/DC output. |
| Flashlight not working. | Power pack is off; battery is low. | Ensure power pack is on. Charge the power pack. |
9. Specifications
| Model | 2500A |
| Battery Capacity | 24,000 mAh (88.8 Wh) |
| Starting Current | 1250A |
| Peak Current | 2500A |
| Voltage | 12 Volts |
| Output Ports | 2 x USB, 2 x DC |
| Product Dimensions | 8 x 4 x 5 inches (20.3 x 10.2 x 12.7 cm) |
| Operating Temperature | -4°F to 140°F (-20°C to 60°C) |
10. Warranty and Support
For warranty information or technical support, please refer to the contact details provided with your purchase or visit the official Rittenhouse website. Keep your proof of purchase for warranty claims.