1. Introduction
This manual provides detailed instructions for the installation, operation, and maintenance of your Active Pixel A9 Triple Lens WiFi Outdoor Security Camera. Please read this manual thoroughly before using the product to ensure proper function and safety. This camera is designed for outdoor surveillance, offering a wide field of view, advanced detection features, and robust weather resistance.
2. Package Contents
Verify that all items are present in your package:
- 1x Active Pixel A9 Camera
- 1x Mounting Stand
- 1x Power Adapter
- 1x User Manual (this document)
- 1x Screw Kit for installation
3. Product Features Overview
The Active Pixel A9 camera offers a range of features for comprehensive outdoor security:
- Triple Lens Ultra-Wide 4MP Clarity: Three lenses provide a dramatically wider area coverage with sharper details and expanded angle monitoring.
- Full-Color Night Vision: Equipped with 8 high-power LEDs for clear, full-color video even in complete darkness.
- 360° PTZ Surveillance: Remotely pan, tilt, and zoom the camera to monitor every corner without blind spots.
- Smart Motion Tracking & Human Detection: AI-powered detection identifies human movement accurately and automatically tracks moving subjects.
- WiFi Enabled with Two-Way Audio: Stable 2.4GHz WiFi connectivity with a built-in microphone and speaker for remote communication.
- Waterproof Outdoor Build (IP66): Designed to withstand rain, dust, heat, and harsh outdoor conditions.
- Dual Storage Options: Supports local SD card storage (up to 128GB) and secure cloud backup.
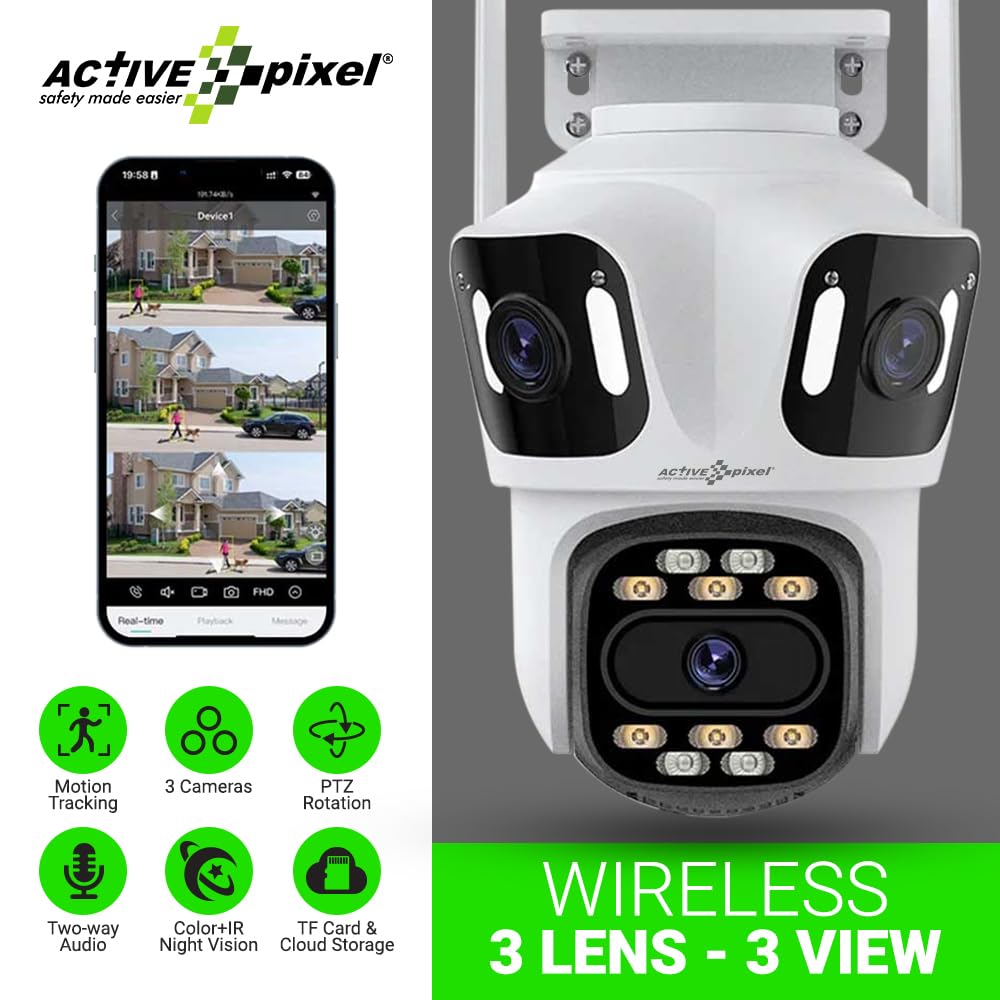
Figure 3.1: Active Pixel A9 Camera highlighting key features and mobile app view.

Figure 3.2: Illustration of the 3-Lens, 3-Screen panoramic viewing capability.

Figure 3.3: The camera's weatherproof design ensures durability in various conditions.
4. Setup Instructions
4.1 Physical Installation
- Choose a Location: Select an outdoor location that provides the desired viewing angle and is within range of your WiFi network. Ensure the camera is mounted securely and has access to a power outlet.
- Mount the Camera: Use the provided screw kit to securely attach the mounting stand to a wall or ceiling. Attach the camera to the stand. Refer to the camera dimensions for proper placement.
- Connect Power: Plug the power adapter into the camera and then into a suitable power outlet. The camera will power on and initiate its startup sequence.

Figure 4.1: Camera dimensions for installation planning.
4.2 App Download and Account Creation
- Download the App: Search for the recommended mobile application (e.g., "ICSEE" or as specified in the camera packaging) on your smartphone's app store (Google Play Store or Apple App Store).
- Create Account: Open the app and follow the on-screen instructions to register a new account.
4.3 Camera Pairing
The camera supports both wireless (WiFi) and wired connections:
- Wireless Connection:
- Ensure your phone is connected to a 2.4GHz WiFi network.
- In the app, select "Add Device" and choose the wireless connection option.
- Follow the app's prompts to connect the camera to your WiFi network. This usually involves scanning a QR code displayed on your phone with the camera or entering WiFi credentials.
- Wired Connection (Optional):
- Connect an Ethernet cable from your router to the camera's LAN port.
- In the app, select "Add Device" and choose the wired connection option. The camera should be automatically detected.

Figure 4.2: Connection methods for the Active Pixel A9 camera.
5. Operating Instructions
5.1 Live View and Multi-Screen Monitoring
Once connected, open the app to view live footage from your camera. The triple-lens design allows for multi-screen viewing within the app, providing a comprehensive panoramic perspective.
Figure 5.1: Multi-screen live view from the triple-lens camera.
5.2 PTZ Control
Use the directional controls within the app to remotely pan (horizontal rotation), tilt (vertical rotation), and zoom the camera to adjust your viewing area. This allows for dynamic monitoring of your surroundings.
5.3 Two-Way Audio
Tap the microphone icon in the app to speak through the camera's speaker, and listen to audio from the camera's microphone. This feature enables real-time communication with visitors or deterrence of intruders.
5.4 Night Vision Modes
The camera automatically switches to night vision in low-light conditions. The 8 high-power LEDs provide full-color night vision, ensuring clear visibility after dark.
5.5 Motion Detection and Tracking
Enable motion detection in the app settings. The camera will send alerts to your phone when motion is detected. With human detection enabled, the camera can distinguish human shapes from other movements, reducing false alarms. The smart tracking feature will automatically follow detected human subjects.

Figure 5.2: Human detection and automatic tracking in action.
5.6 Recording and Playback
The camera supports two recording methods:
- SD Card Storage: Insert a Micro SD card (up to 128GB, not included) into the designated slot on the camera. Recordings will be saved locally.
- Cloud Storage: Subscribe to the cloud storage service through the app for secure off-site backup of your recordings.
Access recorded footage via the playback function in the mobile app.

Figure 5.3: Dual storage options: TF card and cloud.
6. Maintenance
6.1 Cleaning the Camera
Periodically clean the camera lens and housing with a soft, damp cloth. Do not use harsh chemicals or abrasive cleaners, as these can damage the lens or finish. Ensure the camera is powered off before cleaning.
6.2 Firmware Updates
Check the mobile app regularly for available firmware updates. Keeping your camera's firmware up-to-date ensures optimal performance, security, and access to new features. Follow the in-app instructions for firmware updates.
6.3 SD Card Management
If using an SD card, it is recommended to format it periodically through the camera's settings in the app to maintain optimal recording performance. Replace the SD card if it shows signs of corruption or failure.
7. Troubleshooting
- Camera not connecting to WiFi:
- Ensure your WiFi network is 2.4GHz. The camera does not support 5GHz networks.
- Check WiFi signal strength at the camera's location.
- Verify the WiFi password entered in the app is correct.
- Restart your router and the camera.
- Poor image quality:
- Clean the camera lens.
- Ensure adequate lighting, especially for night vision.
- Check your internet connection speed.
- Motion detection not working or too many false alarms:
- Adjust motion detection sensitivity in the app.
- Ensure human detection is enabled if you wish to filter out non-human movements.
- Define specific detection zones to exclude areas with constant, irrelevant movement (e.g., busy roads).
- Two-way audio issues:
- Check microphone and speaker permissions for the app on your phone.
- Ensure volume levels are adjusted correctly on both the app and your phone.
- Verify network stability.
8. Specifications
| Feature | Detail |
|---|---|
| Brand | Active Pixel |
| Model Name | WIFI Triple LENS |
| Model Number | A9 |
| Recommended Uses | Outdoor Security |
| Usage Environment | Outdoor |
| Connectivity Technology | Wireless (Wi-Fi 2.4GHz) |
| Special Features | Triple Lens, Full-Color Night Vision, 360° PTZ, Motion Tracking, Human Detection, Two-Way Audio |
| Mounting Type | Protruding |
| Video Capture Resolution | 1536P |
| Video Capture Format | 4MP |
| Power Source | Adapter (No Batteries Required) |
| Item Dimensions (L x W x H) | 15 x 10 x 8 Centimeters |
| Item Weight | 400 Grams |
| Package Contents | 1x Camera, 1x Stand, 1x Adapter, 1x Manual, 1x Screw Kit |
9. Warranty and Support
9.1 Warranty Information
This product may be eligible for an extended warranty. For details on warranty coverage and terms, please refer to any warranty cards included in your package or contact customer support. An optional 1-Year Extended Warranty by Onsitego may be available for purchase.
9.2 Customer Support
For technical assistance, troubleshooting, or any product-related inquiries, please contact Active Pixel customer care:
- Phone: 9321367328
- Manufacturer/Importer: Glorious Digital Solution Pvt Ltd, Mumbai, India.