1. Introduction
This manual provides detailed instructions for the proper setup, operation, and maintenance of your Opqpq ODM301 Pro Digital Biological Microscope. This device is designed for observing microscopic specimens with up to 1200X magnification, featuring a 7-inch IPS screen for enhanced viewing and sharing.
Key features include:
- 7-inch IPS Screen for clear display and sharing.
- WiFi connectivity for real-time viewing and file management via app.
- Three metal achromatic lenses offering up to 1200X magnification.
- 8MP photo and 1080P video capture capabilities.
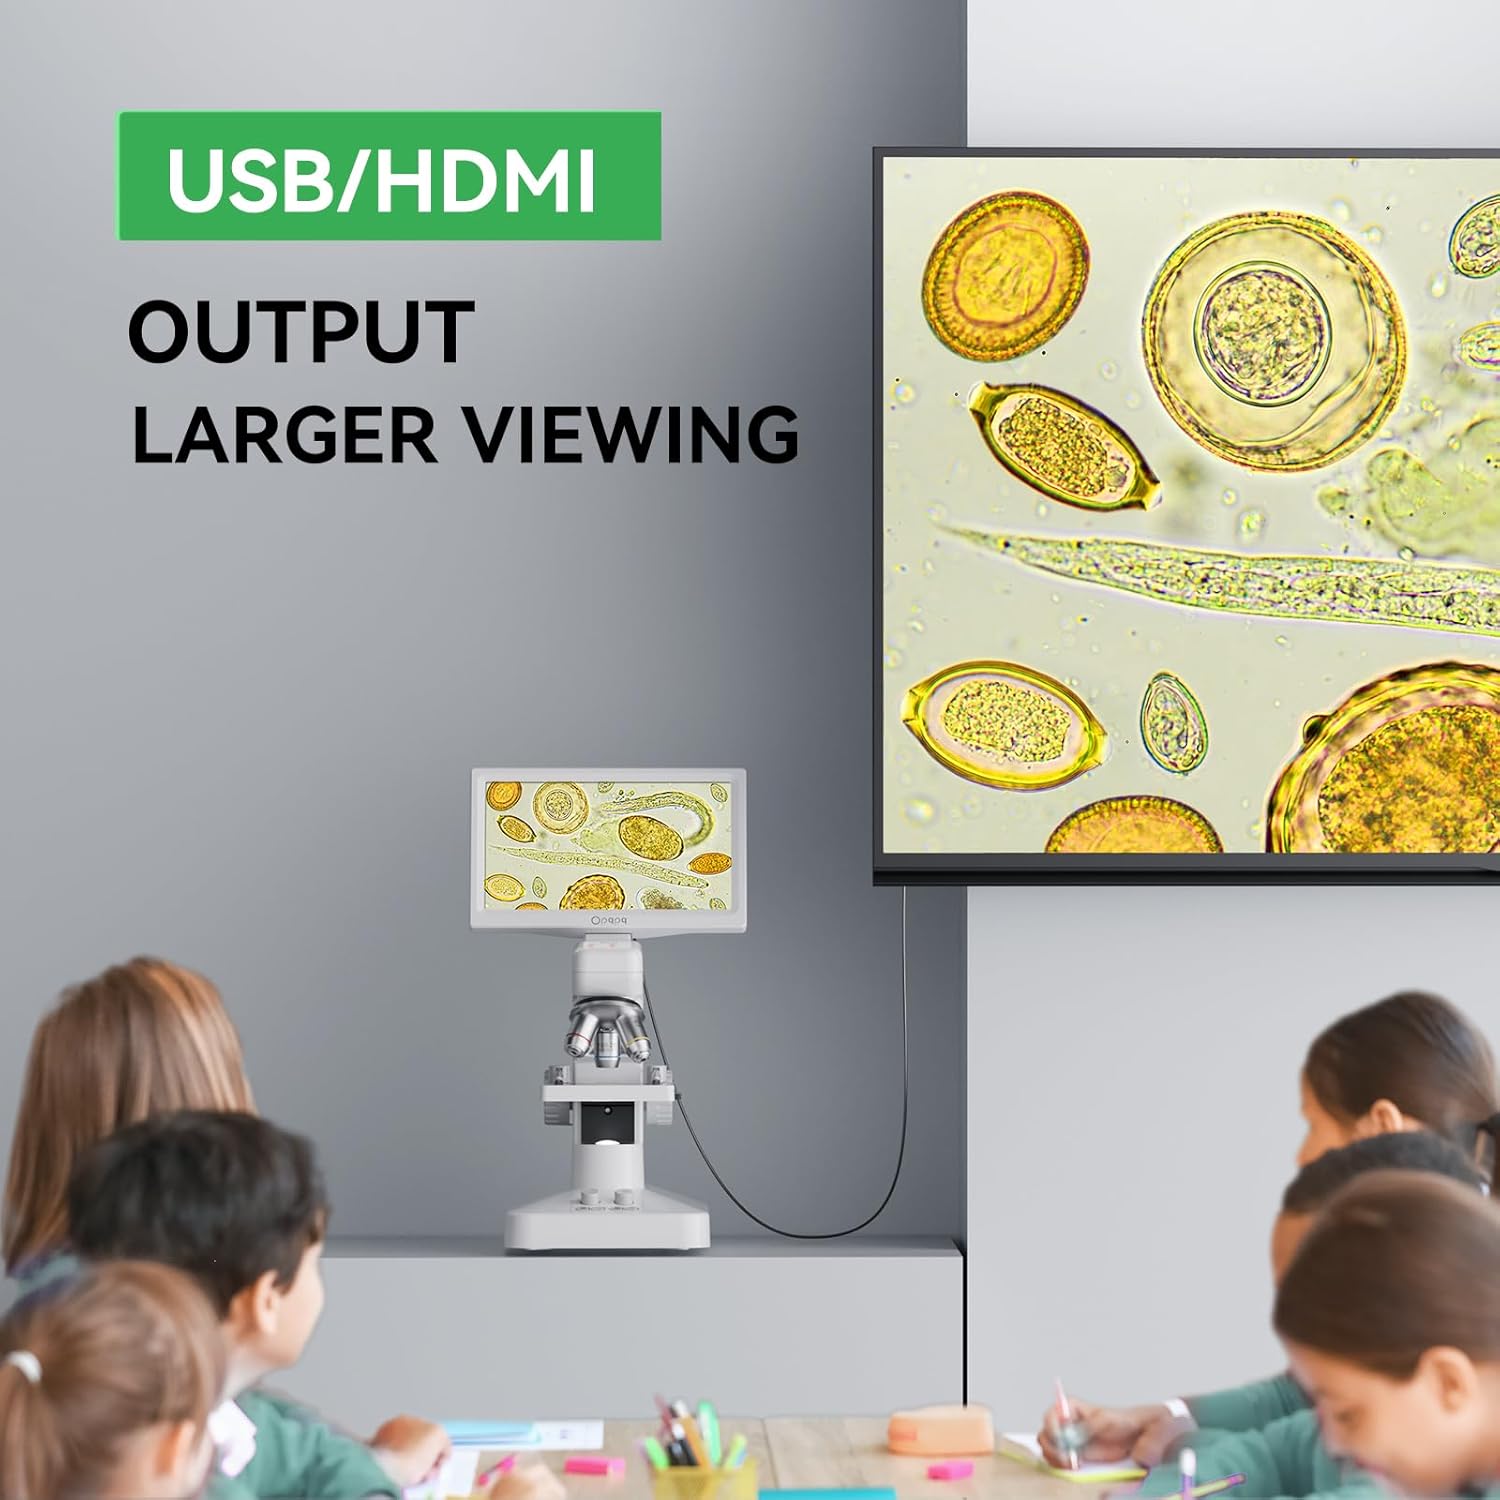
- USB/HDMI output for larger display on external monitors.
- Dual LED lighting system (top and bottom) with adjustable brightness.
- Integrated measurement scale for precise observations.
- 2000mAh rechargeable battery for portable use (up to 3 hours).
2. What's in the Box
Verify that all components are present upon unboxing:
- 1 X Opqpq ODM301 Pro LCD Digital Microscope
- 1 X Power Cable
- 1 X HDMI Cable
- 1 X Power Adapter
- 1 X Carrying Case
- 5 X Blank Slides
- 5 X Prepared Slides

3. Setup
3.1 Powering On
Connect the microscope to the power adapter using the provided power cable. The device can also operate on its internal 2000mAh rechargeable battery for up to 3 hours of portable use. Ensure the battery is charged for cordless operation.
3.2 Initial Configuration
Upon first power-on, you may need to configure basic settings such as language, date/time, and display preferences. Navigate through the on-screen menu using the control buttons located below the display.
3.3 Attaching a Sample Slide
- Gently place a prepared or blank slide onto the mechanical stage.
- Secure the slide using the stage clips.
- Use the stage adjustment knobs to center the area of interest under the objective lens.
4. Operating Instructions
4.1 Adjusting Magnification
The microscope features a revolving nosepiece with three metal achromatic objective lenses (e.g., 4X, 10X, 40X) to achieve various magnification levels up to 1200X. Rotate the nosepiece to select the desired objective lens. Always start with the lowest magnification for initial viewing.
4.2 Focusing
Use the coarse and fine focus knobs located on the side of the microscope to bring your specimen into sharp focus on the 7-inch IPS screen. The coarse adjustment knob is for large movements, while the fine adjustment knob allows for precise focusing.
4.3 Illumination Control
The ODM301 Pro is equipped with a dual LED lighting system:
- Bottom Light: Illuminates transparent specimens from below. Adjust its brightness using the control dial.
- Top Light: Illuminates opaque objects from above. Adjust its brightness as needed.
Proper illumination is crucial for clear observation. Experiment with both light sources and brightness levels to achieve optimal viewing for different specimen types.

4.4 Image and Video Capture
The microscope can capture 8MP photos and 1080P videos. Files are saved to an inserted SD card. Use the dedicated buttons on the device or the remote control (if applicable) to initiate recording or take photos.
4.5 Connectivity Options
- WiFi & App: Connect your smartphone or tablet (Android/iOS) via WiFi to view, zoom, and capture images/videos in real-time. Files can be saved to both your device and the SD card.
- USB/HDMI Output: Connect the microscope to a PC (Windows/Mac OS compatible) or projector using the provided USB or HDMI cables for a larger viewing experience. This is plug-and-play, requiring no additional software.
4.6 Using the Measurement Scale
The integrated measurement scale allows for precise size determination of observed specimens. Refer to the on-screen display for scale readings, which adjust with magnification changes.

4.7 Observing Specific Specimens
The 1200X magnification and high-resolution camera allow for detailed observation of various biological samples:
- Microorganisms: Observe detailed motions of paramecium or other waterborne organisms.
- Cells: Visualize blood cells, semen cells, and plant epidermal cells with clarity.
5. Maintenance
5.1 Cleaning
Regularly clean the optical components (lenses, eyepieces, screen) with a soft, lint-free cloth and a specialized lens cleaning solution. Avoid using abrasive materials or harsh chemicals. Keep the microscope covered when not in use to prevent dust accumulation.
5.2 Storage
Store the microscope in its provided carrying case in a dry, dust-free environment. Ensure all components are securely fastened before transport.
6. Troubleshooting
- No image on screen: Ensure the power cable is securely connected or the battery is charged. Check that the objective lens is correctly rotated into position and the illumination is turned on and adjusted.
- Blurry image: Adjust the coarse and fine focus knobs carefully. Ensure the specimen is properly placed and flat on the stage. Clean the objective and eyepiece lenses if smudges are visible.
- External display issues (USB/HDMI): Verify that the cables are securely connected to both the microscope and the external device. Ensure the external device is set to the correct input source.
- Missing SD card: If the device was advertised with an SD card and it's missing, contact customer support. Without an SD card, photo and video capture functionality may be limited or unavailable.
7. Specifications
| Feature | Detail |
|---|---|
| Model Name | ODM301 Pro |
| Brand | Opqpq |
| Magnification Maximum | 1200 x |
| Screen Size | 7'' IPS Display |
| Photo Resolution | 8MP |
| Video Resolution | 1080P |
| Light Source Type | Dual LED (Top & Bottom) |
| Battery | 2000mAh Lithium Ion (up to 3 hours use) |
| Connectivity | WiFi, USB, HDMI |
| Compatible Devices | Smartphone (Android/iOS), PC (Windows/Mac OS), Projectors |
| Material | 7'' IPS Display + ABS Stand, Holder |
| Item Weight | 4.59 pounds |
| Package Dimensions | 12 x 10 x 8.25 inches |
8. Warranty and Support
Warranty information for the Opqpq ODM301 Pro microscope is not explicitly detailed in the provided product data. For specific warranty terms, technical support, or service inquiries, please refer to the contact information provided in your product packaging or visit the official Opqpq website.