
1. Introduction
This manual provides essential information for the proper installation, operation, and maintenance of your JQKJCAM Sewer Camera Head. Please read these instructions thoroughly before use to ensure optimal performance and longevity of the product. This camera head is designed as a replacement accessory for compatible JQKJCAM sewer inspection camera systems.
2. Package Contents
Verify that all items listed below are present in your package:
- 1x 23mm Camera Head
- 1x Protective Cover
- 1x Screwdriver
- 1x Guide Wheel
3. Features
- High Definition Imaging: Equipped with a 1200TVL HD lens for clear and detailed inspection.
- Waterproof Design: Professional IP68 waterproof technology ensures reliable operation in wet environments.
- Adjustable Illumination: Features 12 built-in white LED lights, adjustable to illuminate dark pipes, sewers, and ducts.
- Durable Construction: The camera head body is constructed from 304 stainless steel for enhanced durability.
- Flexible Navigation: The 0.9-inch (23mm) snake sewer drain camera head is bendable, allowing it to navigate direct pipes and 90-degree elbows smoothly.
- Pipe Diameter Compatibility: Suitable for inspecting pipes 25mm or larger.
- Protective Accessories: Includes a protective cover and guide wheel for enhanced camera head protection and smoother movement within pipes.

Image: JQKJCAM Sewer Camera Head featuring 1200TVL HD lens, IP68 waterproof rating, and 12 adjustable LED lights. The camera head has a 0.9-inch diameter and is shown with a protective case, pulley, and flexible spring for navigating pipes.
4. Compatibility
This 23mm sewer camera head is specifically designed for use with JQKJCAM sewer inspection camera systems. It is compatible with models 9622A, 9604A, WP70A, WP90A, 9600A, 9616A, and 9603A. It is not compatible with 1080p cameras for SP09A, 512HZ, or self-leveling pipe sewer camera systems.
Important: If your sewer drain camera is not from JQKJCAM, please contact the manufacturer to verify compatibility before purchasing.

Image: Visual guide illustrating the correct thread type (labeled '2') for compatibility with the JQKJCAM sewer camera head, compared to an incompatible thread type (labeled '1').
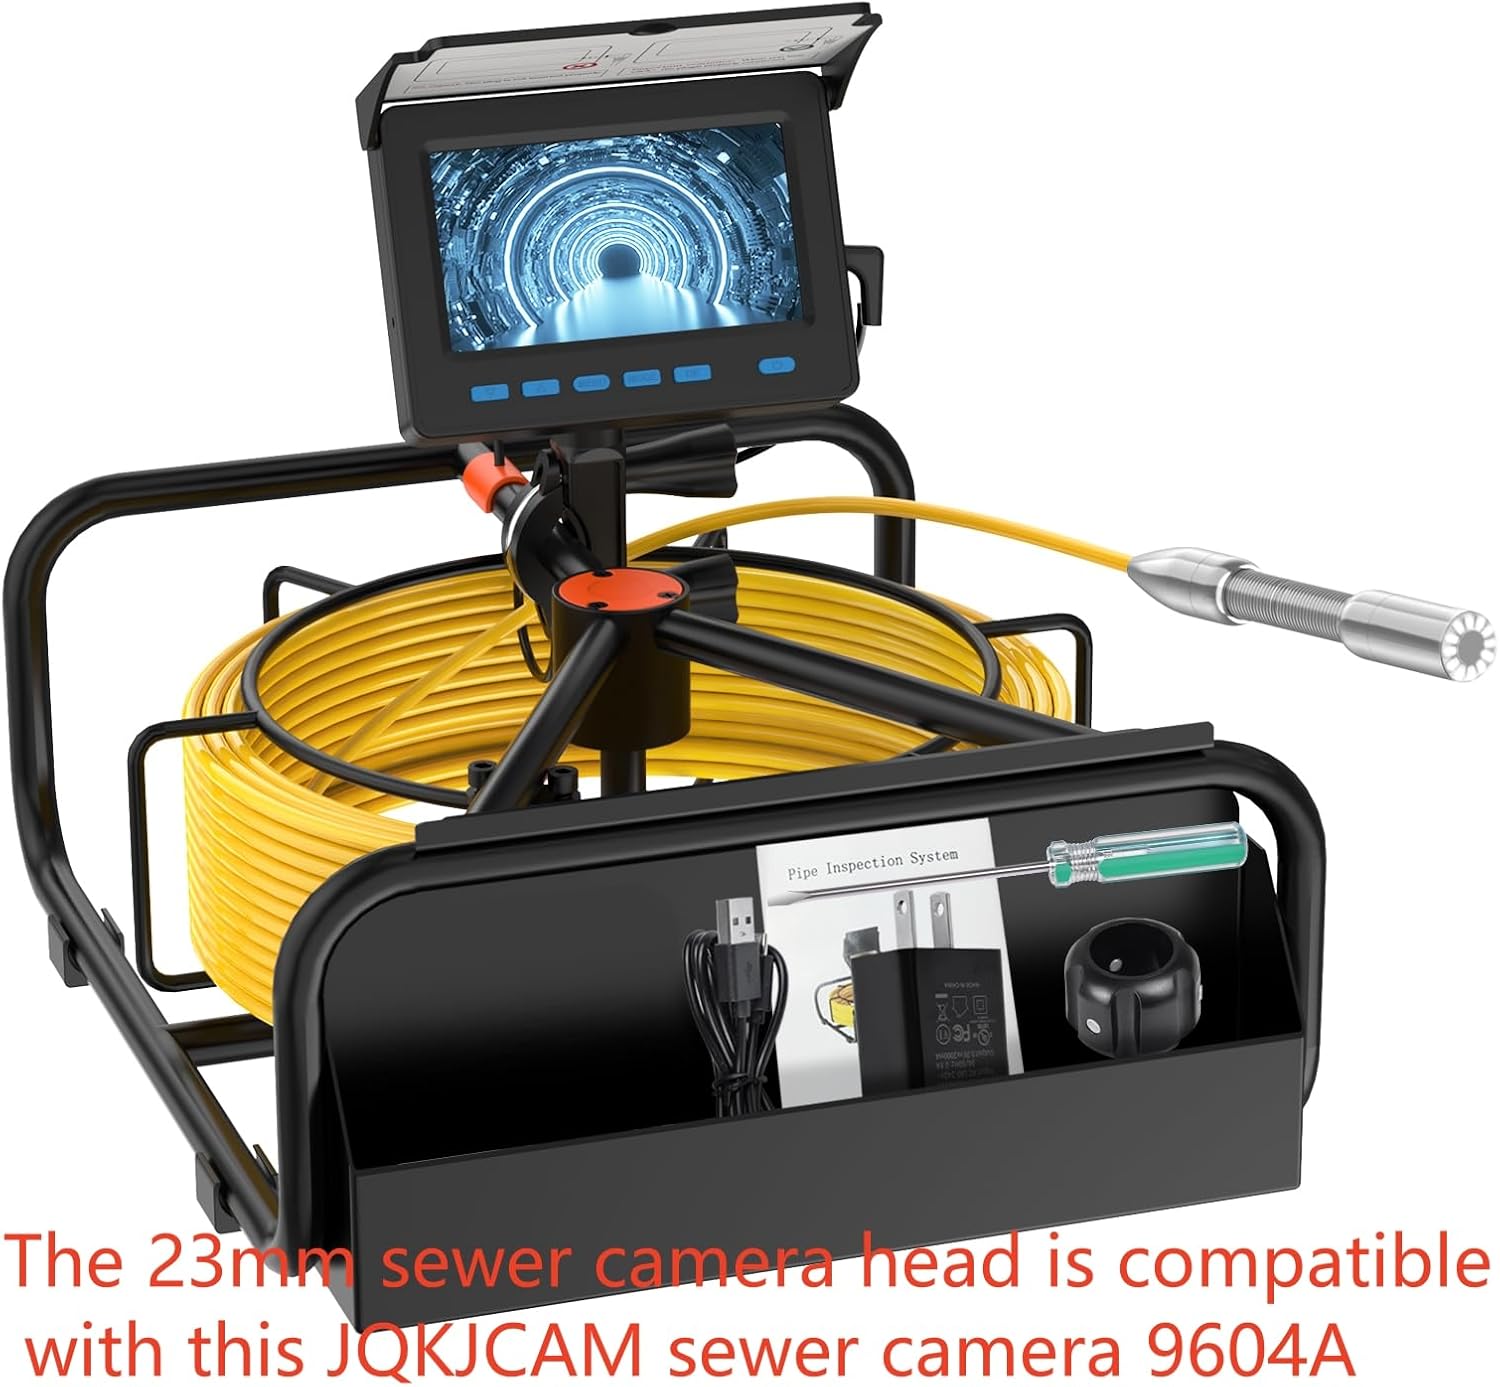
Image: The 23mm sewer camera head shown connected to a JQKJCAM sewer camera system model 9604A, demonstrating compatibility.

Image: The 23mm sewer camera head shown connected to a JQKJCAM sewer camera system model 9616A, demonstrating compatibility.

Image: The 23mm sewer camera head shown connected to a JQKJCAM sewer camera system model 9622A, demonstrating compatibility.

Image: The 23mm sewer camera head shown connected to a JQKJCAM sewer camera system model 9600A, demonstrating compatibility.

Image: The 23mm sewer camera head shown connected to a JQKJCAM sewer camera system model WP90A, demonstrating compatibility.
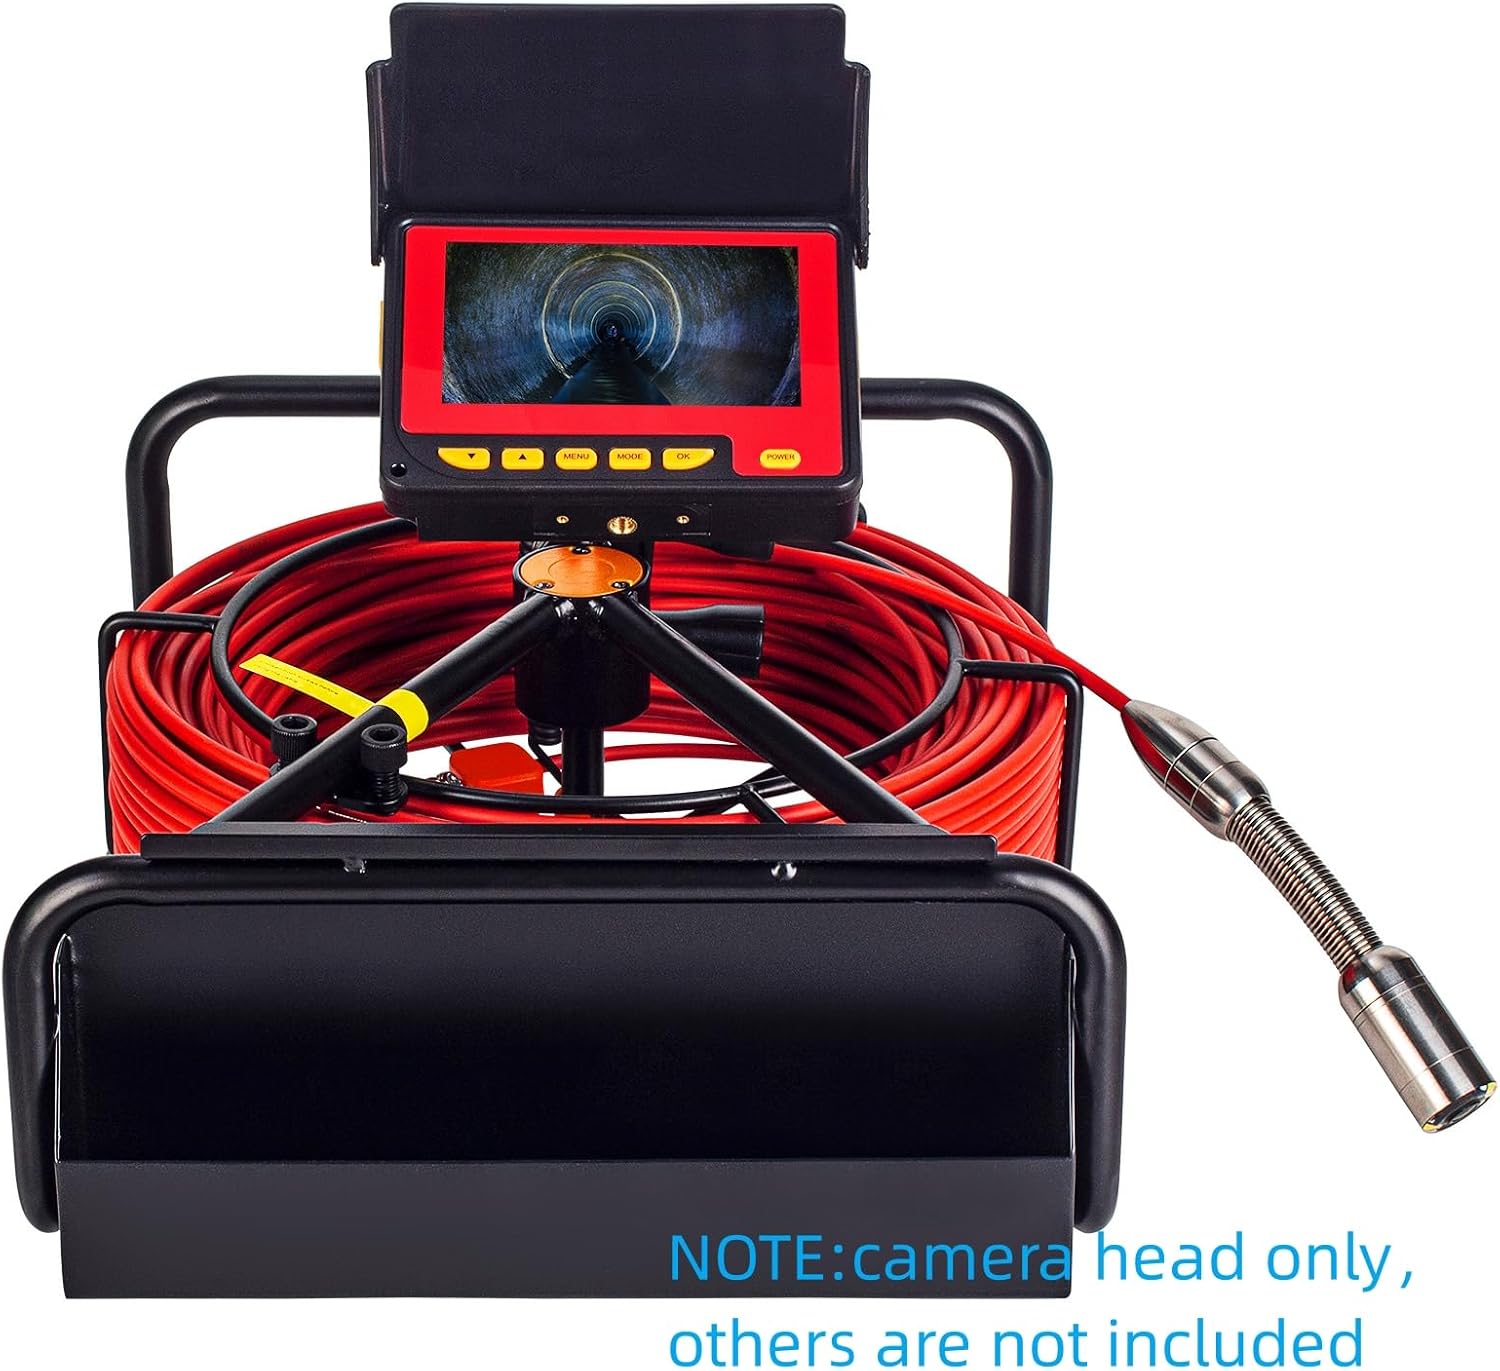
Image: The JQKJCAM sewer camera head displayed as a standalone component, emphasizing that other parts of the inspection system are not included with this accessory.
5. Setup
Follow these steps to prepare your sewer camera head for operation:
- Connect Camera Head: Carefully align the threads of the 23mm camera head with the flexible spring cable of your compatible JQKJCAM inspection system. Screw it on securely to ensure a waterproof seal and stable connection.
- Attach Protective Cover (Optional): For added protection or when navigating wider pipes, slide the protective cover over the camera head.
- Install Guide Wheel (Optional): If inspecting larger diameter pipes or requiring smoother navigation, attach the guide wheel to the camera head using the provided screwdriver. Ensure it is firmly secured.
- Insert TF Card: If your main inspection system supports recording, ensure a TF card is properly inserted into the designated slot on the monitor unit.
- Power On: Connect the power supply to your main inspection system and press the power button to turn on the monitor.
Video: This video demonstrates the setup process for a JQKJCAM sewer inspection camera system, including connecting the camera head, inserting a TF card, and powering on the monitor. It also shows the attachment of the guide wheel and protective cover.
6. Operating Instructions
Once the camera head is connected and the system is powered on, follow these steps for inspection:
- Adjust Lights: Use the control buttons on your main monitor unit to adjust the brightness of the 12 LED lights on the camera head. Increase brightness for darker environments and decrease for brighter areas to avoid glare.
- Insert Camera: Carefully feed the camera head into the pipe or area to be inspected. The flexible spring allows for navigation through bends. Avoid forcing the camera through tight turns less than 90 degrees to prevent damage.
- Monitor Feed: Observe the live video feed on the monitor. Use the system's controls to adjust camera angle or zoom if available.
- Record/Capture: If your system supports it, press the appropriate buttons on the monitor to start/stop video recording or capture still images.
- Retrieve Camera: Once the inspection is complete, carefully retract the camera cable from the pipe.
7. Maintenance
Proper maintenance ensures the longevity and performance of your camera head:
- Cleaning: After each use, clean the camera head and cable with a soft, damp cloth. For stubborn debris, use a mild detergent. Ensure all components are dry before storage.
- Inspection: Regularly inspect the camera head for any signs of wear, damage, or corrosion. Check the integrity of the waterproof seals.
- Storage: Store the camera head and accessories in a clean, dry place, away from extreme temperatures and direct sunlight.
- O-Rings: Periodically check the O-rings for cracks or damage. Replace them if necessary to maintain the waterproof integrity.
8. Troubleshooting
If you encounter issues, refer to the following common problems and solutions:
| Problem | Possible Cause | Solution |
|---|---|---|
| No image on monitor | Loose connection, power issue, incompatible system. | Ensure camera head is securely connected. Check power supply to the main unit. Verify compatibility with your JQKJCAM system model. |
| Poor image quality | Insufficient lighting, dirty lens, water ingress. | Adjust LED brightness. Clean the camera lens. Check for water inside the camera head (if applicable, discontinue use and contact support). |
| Camera head stuck in pipe | Sharp bend, obstruction. | Gently pull back the cable. Do not force it. If using, ensure the guide wheel is appropriate for the pipe size. Avoid bends less than 90 degrees. |
| Water leakage into camera head | Improper sealing, damaged O-rings. | Ensure the camera head is tightly screwed onto the cable. Inspect and replace O-rings if damaged. |
9. Specifications
| Feature | Specification |
|---|---|
| Camera Resolution | 1200TVL |
| Viewing Angle | 110° |
| Lights | 12pcs White LED (Adjustable) |
| Camera Diameter | 23mm (0.9 inches) |
| Waterproof Rating | IP68 |
| Material | 304 Stainless Steel (Camera Body) |
| Manufacturer | ShenzhenJiejing |
| Item Weight | 0.66 Pounds (approx. 299.37 g) |
| Color | Silver |
10. Warranty and Support
For warranty information, technical support, or service inquiries, please refer to the documentation provided with your complete JQKJCAM sewer inspection camera system or contact JQKJCAM customer service directly. Keep your purchase receipt as proof of purchase.