1. Introduction
This manual provides essential information for the safe and efficient operation of your RCA VRS40FQ1 40-inch VIDAA Full HD Smart TV. Please read it thoroughly before using the television and keep it for future reference.
The RCA VRS40FQ1 features a 40-inch Full HD display, offering clear and detailed images. It is equipped with the VIDAA operating system, providing direct access to popular streaming applications like Netflix and YouTube. The TV supports DVB-T2 (terrestrial), DVB-C (cable), and DVB-S2 (satellite) reception, and includes multiple connectivity options such as HDMI, USB, Wi-Fi, and Ethernet.
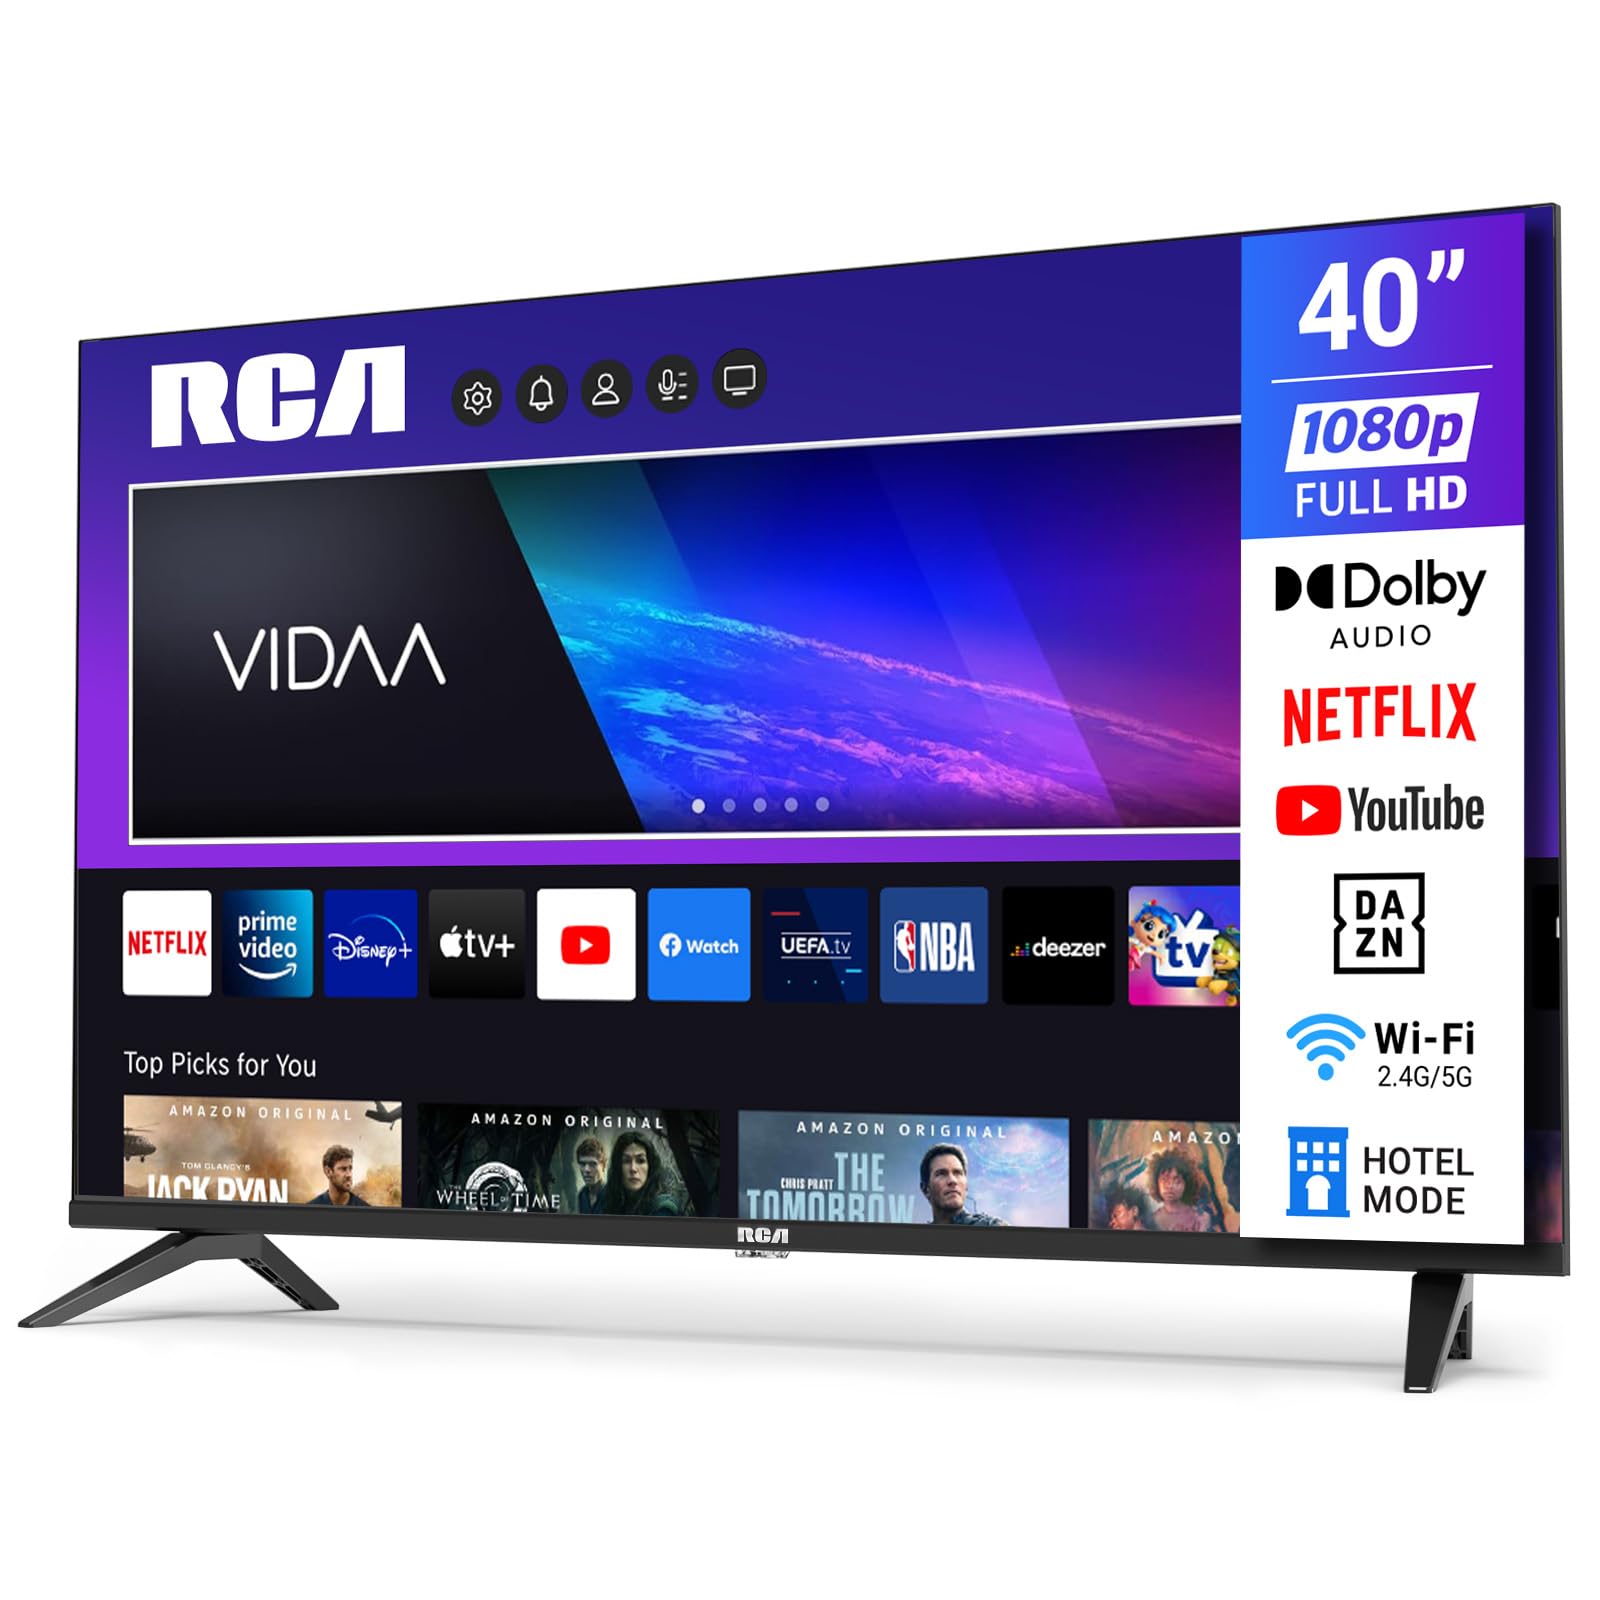
Figure 1.1: Front view of the RCA VRS40FQ1 40-inch Smart TV. This image displays the television with its slim bezels and stand, highlighting its modern design suitable for various living spaces.
2. What's in the Box
Carefully unpack your television and ensure all items are present. If any items are missing or damaged, contact your retailer.
- RCA VRS40FQ1 Television Unit
- 2 x TV Stands (Left, Right)
- Remote Control
- 2 x AAA Batteries
- User Manual (this document)

Figure 2.1: Diagram showing all components included in the RCA VRS40FQ1 packaging. This includes the TV, stands, remote, batteries, and user manual.
3. Setup
3.1 Stand Installation
To install the TV stands:
- Place the TV face down on a soft, flat surface to prevent screen damage.
- Identify the left and right stands.
- Align each stand with the corresponding slots on the bottom of the TV.
- Secure the stands using the provided screws. Do not overtighten.

Figure 3.1: Step-by-step illustration for attaching the TV stands to the RCA VRS40FQ1. This image shows the correct orientation and screw placement for secure stand assembly.
3.2 Wall Mounting (Optional)
The TV supports VESA 100 x 100 mm wall mounts. For wall mounting, remove the stands and follow the instructions provided with your wall mount bracket. Ensure the wall mount is suitable for the TV's weight (approximately 5 kg without stand).

Figure 3.2: Rear view of the RCA VRS40FQ1 highlighting the VESA 100x100mm mounting holes. This diagram assists users in locating the correct points for wall bracket attachment.
3.3 Initial Power On and First-Time Setup
- Connect the power cord to the TV and then to a power outlet.
- Press the power button on the remote control or on the TV.
- Follow the on-screen instructions to select your language, country, and perform initial channel scanning.
3.4 Network Connection
To access Smart TV features, connect your TV to the internet.
- Wi-Fi: Navigate to the TV's settings menu, select "Network," then "Wi-Fi." Choose your network from the list and enter the password.
- Ethernet: Connect an Ethernet cable from your router to the RJ45 port on the back of the TV. The TV will automatically detect the wired connection.

Figure 3.3: Close-up of the RCA VRS40FQ1's rear panel, illustrating the location of the Ethernet (RJ45) port, HDMI ports, and USB ports for network and device connectivity.
4. Operating Instructions
4.1 Remote Control Functions
The remote control allows you to navigate the TV's features. Insert the two AAA batteries into the remote control, ensuring correct polarity.

Figure 4.1: Layout of the RCA VRS40FQ1 remote control, indicating the function of each button, including power, volume, channel, navigation, and dedicated app buttons.
- Power Button: Turns the TV on or off.
- Volume +/-: Adjusts the volume level.
- Channel +/-: Changes TV channels.
- Navigation Buttons (Up/Down/Left/Right) & OK: Used to navigate menus and confirm selections.
- Home Button: Accesses the VIDAA Smart TV home screen.
- App Buttons: Direct access to applications like Netflix, YouTube, etc.
4.2 Smart TV Features (VIDAA OS)
Your TV runs on the VIDAA operating system, providing a user-friendly interface for accessing various applications and streaming services.
- Press the Home button on your remote to access the Smart TV interface.
- Use the navigation buttons to browse through available applications such as Netflix, YouTube, Disney+, Prime Video, and HBB TV.
- Select an application and press OK to launch it.
4.3 Input Sources
To switch between different input sources (e.g., HDMI devices, USB media):
- Press the Source button on your remote control.
- A list of available inputs (HDMI 1, HDMI 2, HDMI 3, AV, USB, TV Tuner) will appear.
- Use the navigation buttons to select your desired input and press OK.
The TV features 3 HDMI ports and 2 USB ports for connecting external devices.
4.4 Tuner Setup (DVB-T2/C/S2)
The integrated triple tuner supports terrestrial (DVB-T2), cable (DVB-C), and satellite (DVB-S/S2) reception.
- Connect your antenna or satellite dish cable to the appropriate RF input on the TV.
- Go to the TV's settings menu, select "Channel" or "Tuner Setup."
- Choose your reception type (Antenna, Cable, or Satellite) and initiate an automatic channel scan.
5. Maintenance
5.1 Cleaning the TV
- Always unplug the TV from the power outlet before cleaning.
- Use a soft, dry cloth to wipe the screen and cabinet.
- For stubborn marks, lightly dampen the cloth with water or a mild, non-abrasive screen cleaner. Never spray cleaner directly onto the screen.
- Avoid using alcohol, benzene, thinners, or other volatile substances, as they may damage the TV.
5.2 Software Updates
Periodically check for software updates to ensure optimal performance and access to the latest features. Updates can usually be found in the TV's settings menu under "System" or "About." If an update is available, follow the on-screen instructions to install it. Do not power off the TV during an update.
6. Troubleshooting
If you encounter issues with your TV, refer to the following common solutions:
| Problem | Possible Solution |
|---|---|
| No power | Check if the power cord is securely connected to the TV and the power outlet. Ensure the outlet is active. Try pressing the power button on the TV itself. |
| No picture, but sound is present | Ensure the correct input source is selected. Check cable connections to external devices. |
| No sound, but picture is present | Check the volume level and ensure the TV is not muted. Verify audio cable connections for external devices. |
| Remote control not working | Replace the batteries. Ensure there are no obstructions between the remote and the TV's IR sensor. |
| Cannot connect to Wi-Fi | Ensure your router is on and within range. Re-enter the Wi-Fi password carefully. Try restarting your router and the TV. |
| Smart TV apps not loading | Check your internet connection. Try restarting the TV. Some apps may require updates. |
If the problem persists after trying these solutions, please contact customer support.
7. Specifications
| Feature | Detail |
|---|---|
| Model Number | VRS40FQ1 |
| Screen Size | 40 inches (100 cm) |
| Display Technology | LED, Direct LED Backlight |
| Resolution | 1920 x 1080 (Full HD) |
| Refresh Rate | 60 Hz |
| Aspect Ratio | 16:9 |
| Operating System | VIDAA |
| Connectivity Technology | Wi-Fi, Ethernet, HDMI, USB, RF |
| HDMI Ports | 3 |
| USB Ports | 2 |
| Tuner Type | DVB-T2/T, DVB-C, DVB-S/S2 |
| Audio Format | Dolby Audio |
| VESA Mount Standard | 100 x 100 mm |
| Dimensions (D x W x H) | 9.6 x 95.1 x 57 cm (without stand) |
| Weight (without stand) | 5 kg |
| Power Voltage | 220 V AC 50 Hz |
| Included Components | TV, 2 stands, remote control, 2 AAA batteries, user manual |
| Special Feature | Dynamic Contrast Enhancement |
| Internet Applications | Netflix, YouTube, Disney+, Prime Video, HBB TV, etc. |
8. Warranty and Support
Your RCA VRS40FQ1 television comes with a two-year warranty from the date of purchase. This warranty covers manufacturing defects and ensures reliable operation under normal use. Please retain your proof of purchase for warranty claims.
For technical support, troubleshooting assistance beyond this manual, or warranty service, please contact your retailer or the manufacturer's customer service. Contact information can typically be found on the manufacturer's website or on the product packaging.
Information regarding the availability of spare parts is not provided at this time.