Introduction
This manual provides essential information for setting up, operating, and maintaining your CyberPowerPC Gamer Xtreme VR Gaming PC. This high-performance desktop is designed to handle system-intensive tasks, including high-definition video playback and gaming, offering a smooth multimedia experience.

Figure 1: CyberPowerPC Gamer Xtreme VR Gaming PC with included keyboard and mouse.
What's in the Box
Upon unpacking, please verify that all the following components are included:
- CyberPowerPC Gamer Xtreme VR Gaming Desktop
- Gaming Keyboard
- Gaming Mouse
- Power Cable
- Documentation (this manual, warranty information)
Setup Guide
1. Unpacking and Placement
Carefully remove the PC and all accessories from the packaging. Place the desktop on a stable, flat surface with adequate ventilation. Ensure there is enough space around the PC for airflow, especially around the front, rear, and top vents.
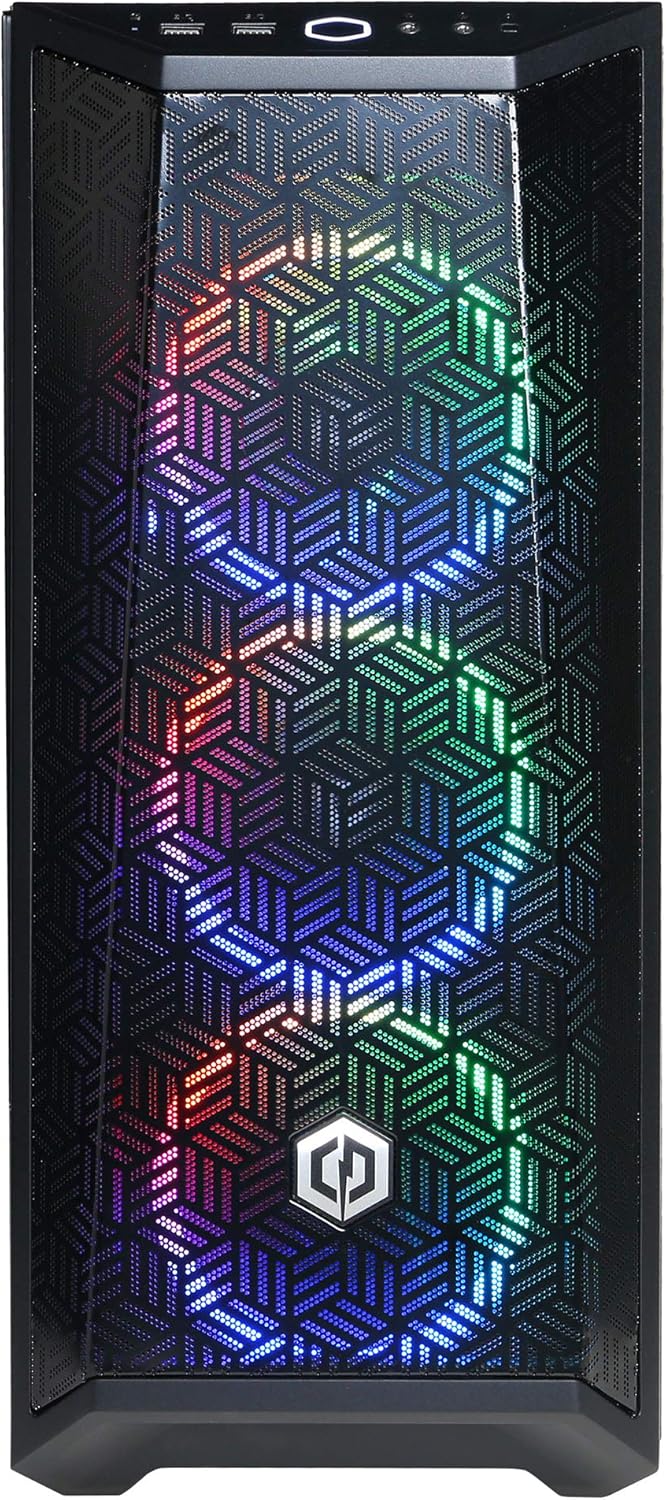
Figure 2: Front view of the PC tower, highlighting the mesh panel for airflow.

Figure 3: The NR640 Gaming Case features high-airflow mesh and a tempered glass side panel.
2. Connecting Peripherals
- Monitor: Connect your monitor to the graphics card's display outputs (HDMI or DisplayPort) located at the rear of the PC. Ensure it is connected to the dedicated graphics card (NVIDIA GeForce RTX 4060), not the motherboard's integrated graphics ports.
- Keyboard and Mouse: Connect the included keyboard and mouse to any available USB ports on the rear or front of the PC.
- Audio: Connect speakers or headphones to the audio output jacks on the rear or front of the PC.
- Network: For wired internet, connect an Ethernet cable from your router/modem to the LAN port on the rear of the PC. For wireless internet, the PC is WiFi 5 ready.

Figure 4: Front I/O panel with USB 3.0 ports, headphone, and microphone jacks for easy access.
3. Power Connection
Connect the power cable to the power supply unit (PSU) input at the rear of the PC, then plug the other end into a grounded electrical outlet or surge protector.
Operating Instructions
1. First Boot
Press the power button located on the top of the PC. The system will power on, and you should see the CyberPowerPC logo or Windows loading screen on your monitor.
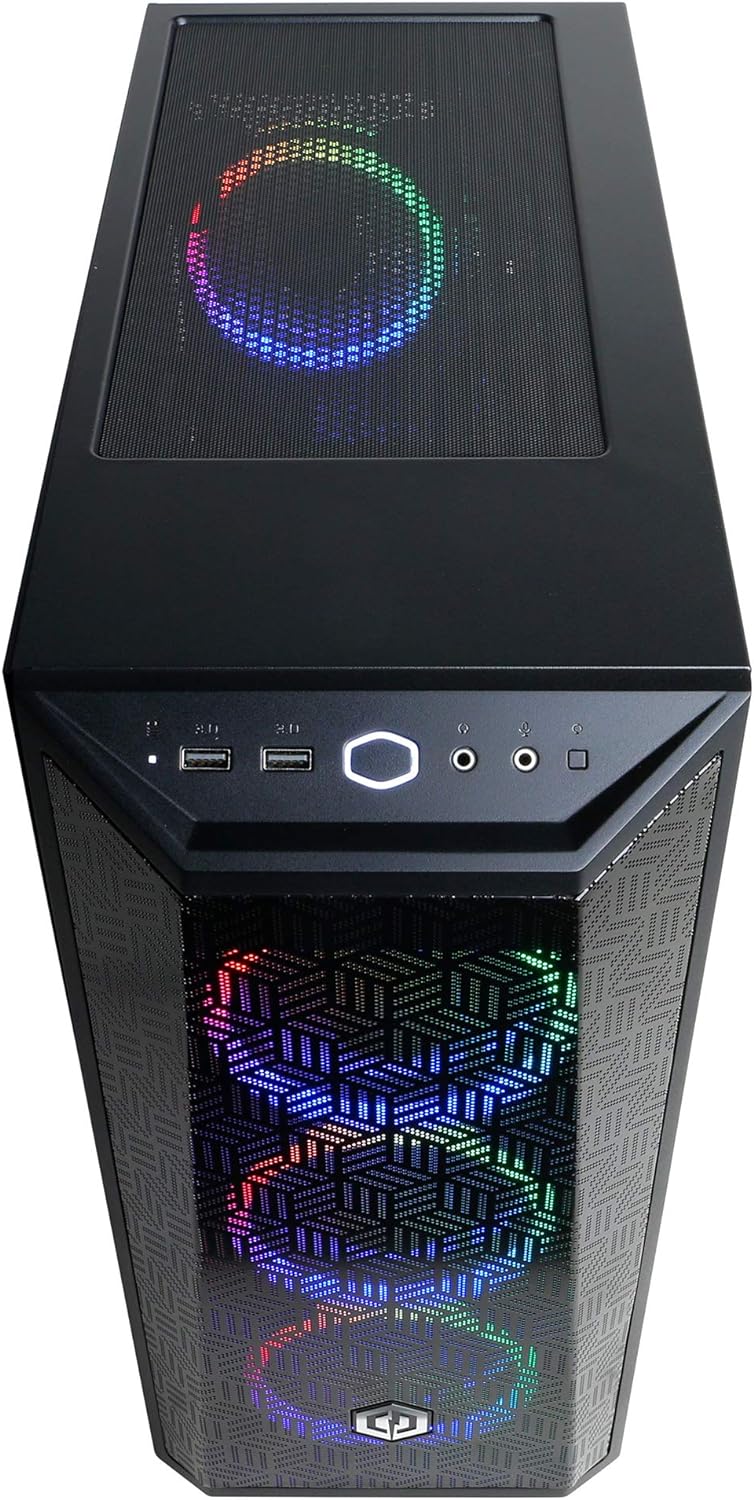
Figure 5: Top view of the PC, showing the power button and accessible front I/O ports.
2. Windows 11 Home Setup
Follow the on-screen prompts to complete the initial setup of Windows 11 Home. This includes selecting your region, keyboard layout, connecting to a network, and creating a user account.
3. Driver Installation and Updates
Your PC comes with pre-installed drivers. However, it is recommended to check for the latest graphics drivers from NVIDIA's official website and system updates via Windows Update to ensure optimal performance and security.

Figure 6: The Intel Core i5 processor provides powerful performance for gaming and multitasking.

Figure 7: The NVIDIA GeForce RTX 4060 graphics card is optimized for gaming and content creation.

Figure 8: Internal view of the PC, showcasing the CPU cooler, RAM, and graphics card.
Specifications
| Component | Detail |
|---|---|
| Processor | Intel Core i5-14400F 2.5GHz (10 Cores) |
| Chipset | Intel B760 |
| RAM | 16GB DDR5 |
| Storage | 2TB PCIe Gen4 NVMe SSD |
| Graphics Card | NVIDIA GeForce RTX 4060 8GB |
| Video Outputs | 1x HDMI, 2x DisplayPort |
| USB Ports | 6 x USB 3.1, 2 x USB 2.0 |
| Network | 1 x LAN 1G, WiFi 5 |
| Audio | 7.1 Channel Audio |
| Operating System | Windows 11 Home 64-bit |
| Case Features | Tempered Side Case Panel, Custom RGB Lighting |
| Dimensions (Package) | 24 x 23 x 12.5 inches |
| Weight | 31.4 pounds |
Maintenance
1. Cleaning
Regularly clean the exterior of your PC with a soft, dry cloth. Use compressed air to clear dust from vents and fans to ensure optimal airflow and prevent overheating. Do not use liquid cleaners directly on components.
2. Software Updates
Keep your Windows operating system, drivers (especially graphics drivers), and applications updated to ensure system stability, security, and performance. Windows Update can be accessed through the Settings menu.
Troubleshooting
- No Power: Ensure the power cable is securely connected to both the PC and the wall outlet. Verify the power switch on the PSU (at the back of the PC) is in the 'ON' position. Try a different power outlet.
- No Display: Confirm your monitor is connected to the graphics card's output ports, not the motherboard's. Check monitor power and input source settings. Try a different display cable or monitor if available.
- System Freezes/Crashes: Ensure all drivers are up to date. Check for adequate ventilation to prevent overheating. Run a system diagnostic tool if the issue persists.
- Peripheral Not Working: Try connecting the keyboard or mouse to a different USB port. Ensure drivers for specific peripherals are installed if required.
Warranty and Support
Your CyberPowerPC Gamer Xtreme VR Gaming PC comes with a 1 Year Parts & Labor Warranty. Additionally, CyberPowerPC provides Free Lifetime Tech Support for this product.
For technical assistance or warranty claims, please contact CyberPowerPC customer support directly. Refer to the contact information provided on the CyberPowerPC official website or included documentation.
Online Resources: For additional support, FAQs, and driver downloads, visit the official CyberPowerPC website: www.cyberpowerpc.com


