Introduction
This manual provides essential information for the proper installation, operation, and maintenance of your Pilipane 12V 8mm LED Panel Pilot Dash Warning Light Kit. This kit includes four LED indicator lights designed for various automotive applications, such as cars, vans, and trucks. Please read these instructions carefully before use to ensure safe and effective performance.
Safety Information
- Always disconnect the vehicle's battery before performing any electrical work to prevent short circuits or electrical shock.
- Ensure the power source is 12V DC. Connecting to a higher voltage may damage the LEDs.
- Observe correct polarity: the red wire is positive (+), and the black wire is negative (-). Incorrect wiring can prevent the lights from functioning or cause damage.
- Handle the lights with care to avoid damaging the LED chips or wiring.
- If you are unsure about any installation steps, consult a qualified automotive technician.
Package Contents
The Pilipane 12V 8mm LED Panel Pilot Dash Warning Light Kit includes:
- 4 x 12V 8mm LED Indicator Light Bulbs (White)

Image: Four individual 12V 8mm LED indicator lights, each with red and black wiring, ready for installation.
Specifications
| Feature | Specification |
|---|---|
| Material | Chrome Plating outside + Metal Shell |
| Light Color | White (other colors may be available separately) |
| Voltage | 12V DC |
| Hole Diameter of Panel | Approx. 8mm / 0.3in |
| LED Diameter | Approx. 4mm / 0.2in |
| Cable Length | Approx. 23cm / 9in |
| Quantity | 4 pcs/set |
| Item Weight | 0.352 ounces (per set) |
| Vehicle Service Type | Car, Truck, Van |

Image: A single LED indicator light showing its metal shell, threaded body, and red and black wires.
Setup and Installation
Follow these steps to install your LED indicator lights:
- Prepare the Mounting Location: Choose a suitable location on your vehicle's dashboard or panel. Ensure there is enough space behind the panel for the light's body and wiring.
- Drill the Hole: Using an 8mm (0.3 inch) drill bit, carefully drill a hole at the chosen mounting location. Deburr the edges of the hole if necessary.
- Insert the Light: Push the threaded body of the LED indicator light through the drilled hole from the front of the panel.
- Secure the Light: Use the provided nut (if applicable, typically integrated into the design) to secure the light firmly to the panel from the back. Do not overtighten.
- Wire Connection: Connect the red wire of the LED light to a 12V DC positive (+) power source. Connect the black wire to a negative (-) ground point on your vehicle's chassis or wiring harness. Ensure connections are secure and insulated.
- Test Functionality: Once all connections are made, reconnect the vehicle's battery and test the indicator light to ensure it functions correctly.

Image: A single LED indicator light emitting a bright white light, demonstrating its warning capability.
Important Note on Product Variations:
Due to manufacturing updates, you may receive either a 'new type' or 'old type' model of the LED indicator light. Both types are functionally identical and meet the same specifications. The difference is primarily in the physical appearance of the wire insulation near the light housing.
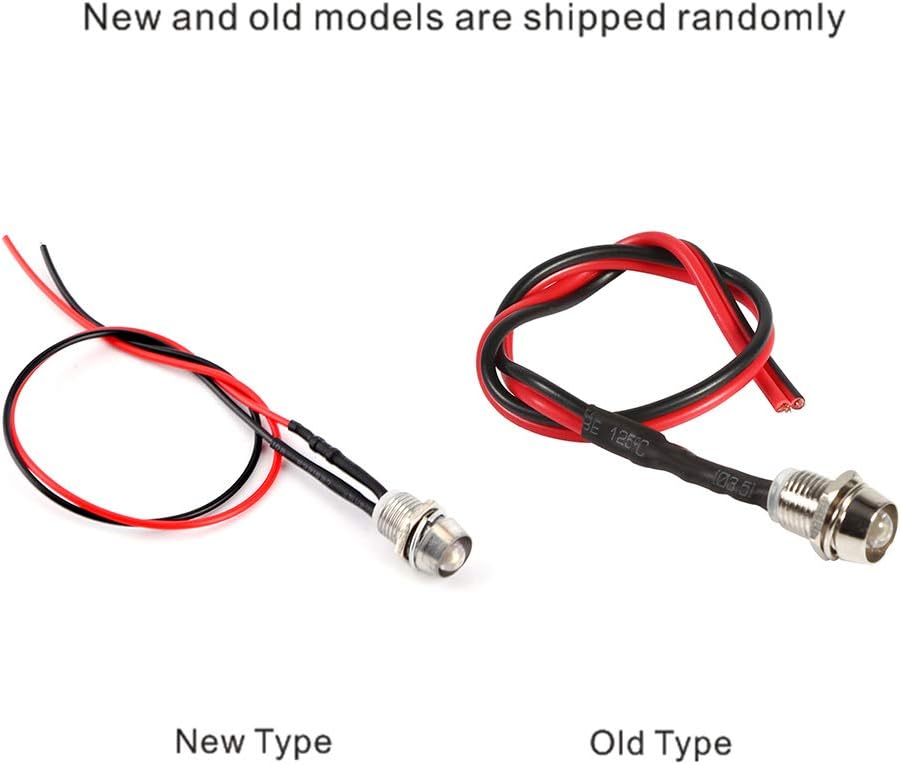
Image: A visual comparison showing the 'New Type' and 'Old Type' of the LED indicator lights, highlighting minor differences in their wire insulation.
Operating Instructions
The Pilipane 12V 8mm LED Panel Pilot Dash Warning Lights are designed for straightforward operation:
- Once properly installed and connected to a 12V DC power source, the LED lights will illuminate when power is supplied to their circuit.
- These lights serve as visual indicators for various functions within your vehicle, such as warning lights, status indicators, or auxiliary lighting.
- The bright LED output ensures clear visibility, even in varying light conditions.
Maintenance
These LED indicator lights require minimal maintenance:
- Cleaning: Periodically wipe the surface of the LED lights with a soft, damp cloth to remove dust and grime. Avoid using harsh chemicals or abrasive cleaners, which can damage the chrome plating or LED lens.
- Inspection: Occasionally check the wiring connections to ensure they remain secure and free from corrosion.
- The LED chips are designed for long-lasting performance and typically do not require replacement under normal operating conditions.
Troubleshooting
If your LED indicator light is not functioning as expected, consider the following:
- Light Does Not Illuminate:
- Check the power source: Ensure the circuit to which the light is connected is receiving 12V DC power.
- Verify wiring polarity: Confirm that the red wire is connected to positive (+) and the black wire to negative (-).
- Inspect connections: Ensure all wire connections are secure and free from corrosion or breaks.
- Check for blown fuses: The circuit powering the light might have a blown fuse.
- Light is Dim or Flickering:
- Check for loose connections or poor grounding.
- Ensure the voltage supply is stable at 12V DC. Fluctuating voltage can cause dimming or flickering.
Warranty and Support
For information regarding warranty coverage or technical support, please refer to the retailer or the Pilipane official website where the product was purchased. Keep your proof of purchase for any warranty claims.