1. Introduction
The Acbaeta Mini Body Camera (Model H82 Pro) is a compact and versatile recording device designed for various applications, including personal security, outdoor activities, and professional documentation. It features FHD 1080P video recording, a 1.4-inch color screen for instant playback, a 180° rotatable lens, infrared night vision, and motion detection capabilities. This manual provides detailed instructions for setting up, operating, and maintaining your device.

Image: The Acbaeta Mini Body Camera, showcasing its compact design, 1.4-inch screen, and included accessories like the 64GB SD card and USB reader.
2. Package Contents
Verify that all items listed below are present in your package:
- Acbaeta Multifunctional DV Body Camera
- 64GB High-Spec Micro SD Card
- USB 2.0 Card Reader
- User Manual
- Lens Cleaning Cloth
- Lanyard
- Detachable Back Clip
- USB Cable (Type-C)
- Flexible Stand (Mini Tripod)
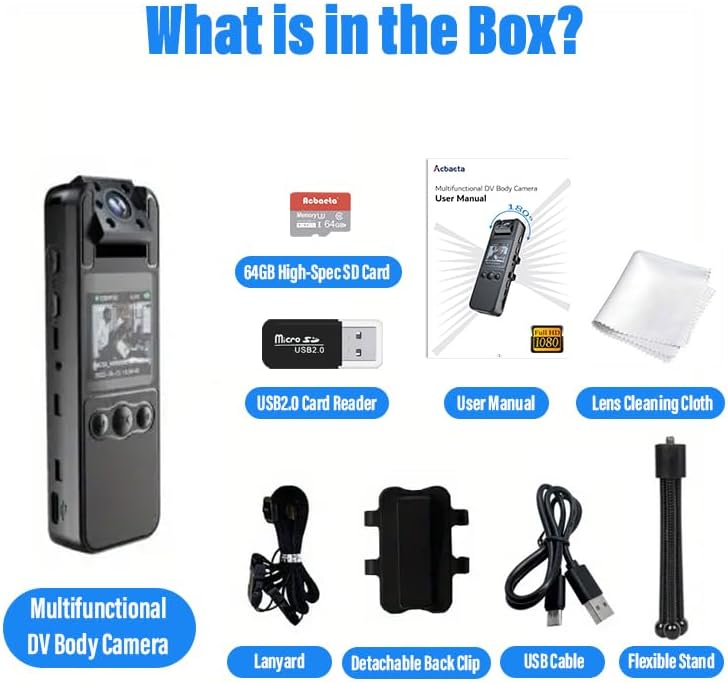
Image: A visual representation of all items included in the product box, such as the camera, SD card, USB reader, and various mounting accessories.
3. Product Overview
Familiarize yourself with the various components and controls of your Acbaeta Mini Body Camera.
3.1. Camera Features
- 1.4-inch Full-Color LCD Screen: For real-time viewing and playback of recordings.
- 180° Rotatable Lens: Allows adjustment of the recording angle and supports automatic screen rotation.
- Infrared (IR) Night Vision: Enables clear recording in low-light or dark environments.
- USB-C Port: For charging and data transfer.
- Micro SD Card Slot: Supports up to 64GB (included) for storage.

Image: The body camera highlighting its 1.4-inch full-color screen and the 180-degree rotatable lens, showing different lens orientations.
3.2. Controls and Indicators
Refer to the device for exact button placement.
- Power Button: Turns the device on/off.
- Record Button: Initiates/stops video recording.
- Photo Button: Captures still images.
- Menu Button (M): Accesses settings and options.
- OK Button: Confirms selections.
- Navigation Buttons (< / >): Navigates through menus and playback.
- Alarm Button: Activates sound and light alarm.
- Indicator Lights: Show device status (e.g., recording, charging).
4. Setup
4.1. Charging the Battery
Before first use, fully charge the camera's built-in 1750mAh battery. Connect the included USB-C cable to the camera's USB-C port and the other end to a standard USB power adapter (not included) or a computer's USB port. The charging indicator light will show the charging status. A full charge typically takes approximately 2 hours and provides 6-8 hours of recording time. The camera supports 24/7 recording while charging.
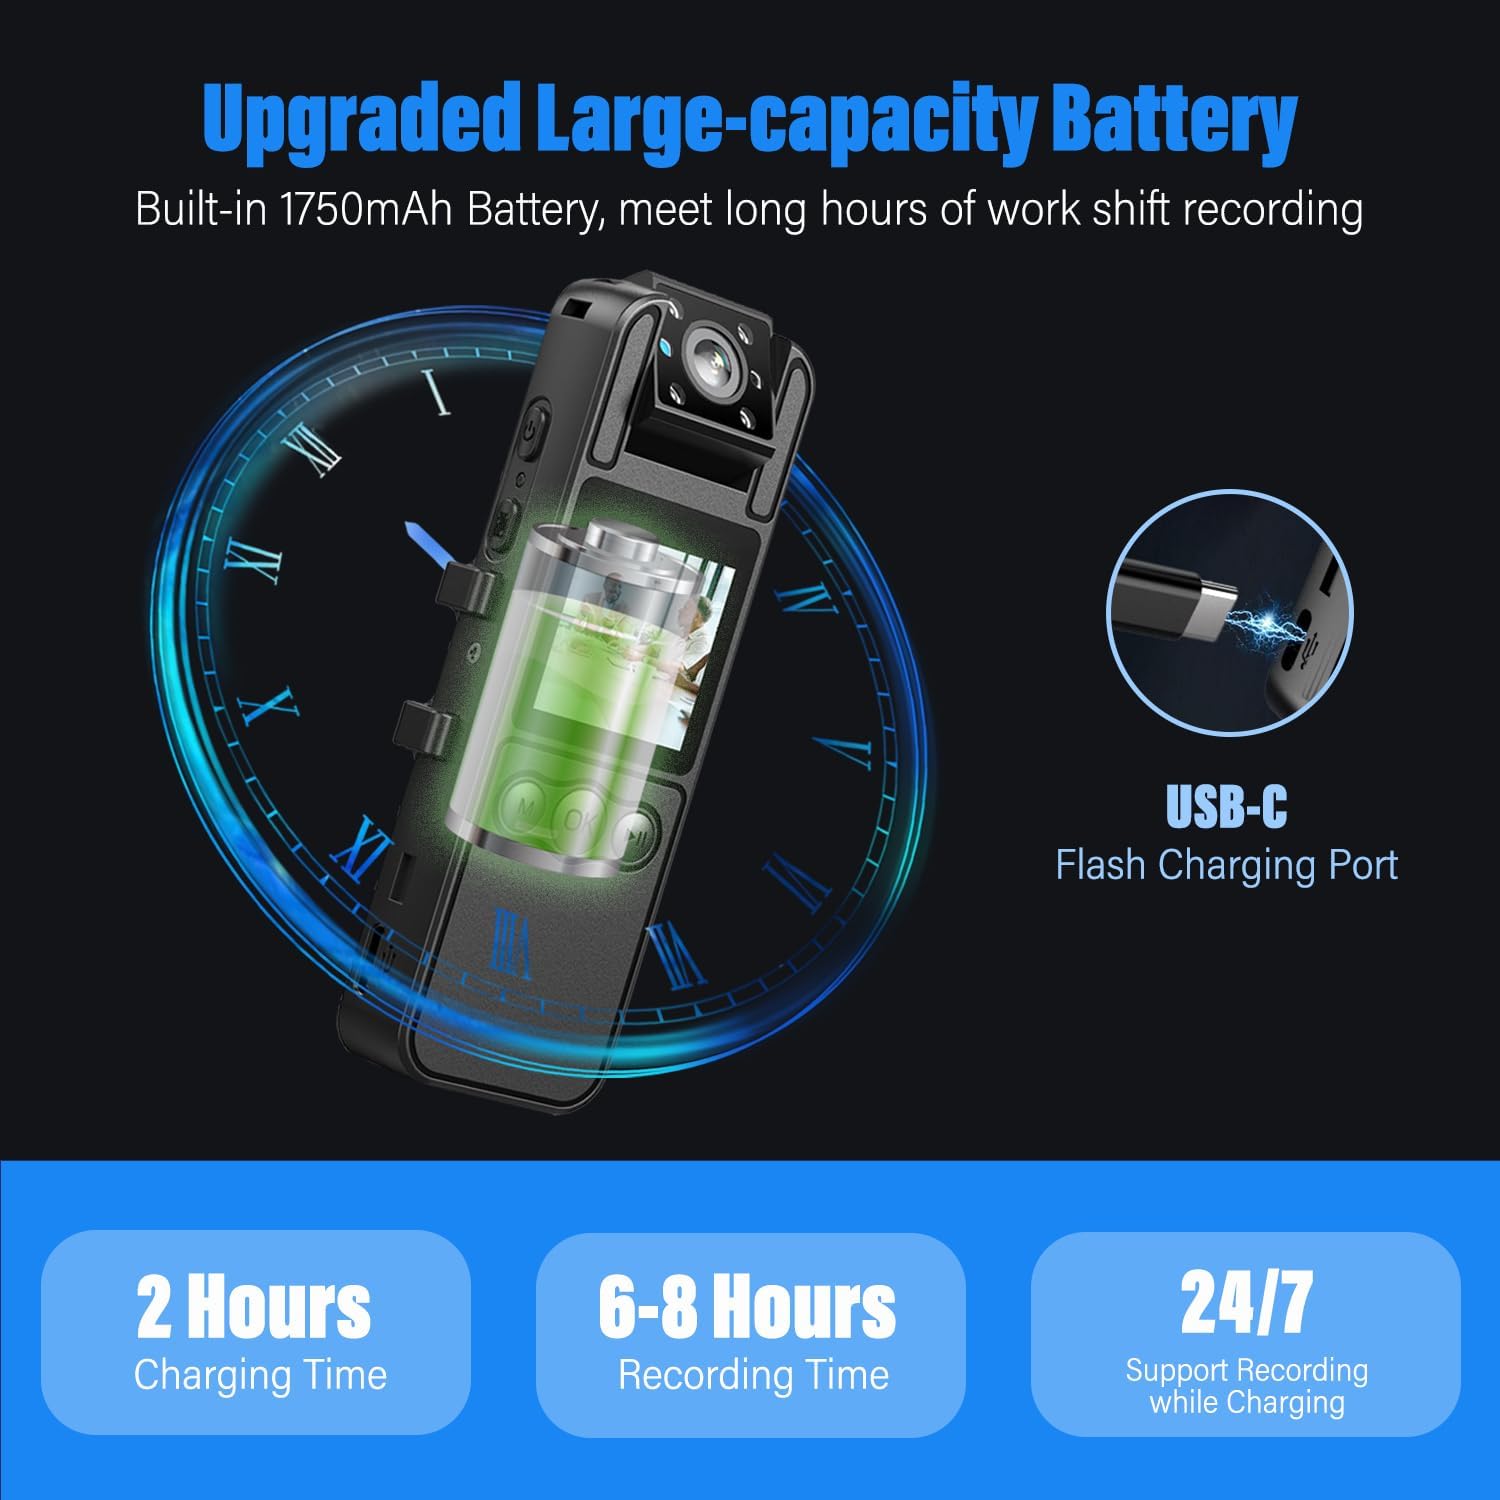
Image: An illustration showing the body camera connected via its USB-C port for charging, emphasizing its long battery life and continuous recording capability.
4.2. Inserting the Micro SD Card
The camera comes with a pre-installed 64GB high-spec Micro SD card. If you need to remove or replace it, gently push the card into the slot until it clicks, then release to eject. Ensure the card is inserted correctly with the gold contacts facing the camera's screen side.
4.3. Powering On/Off
Press and hold the Power button for a few seconds to turn the camera on or off. The screen will illuminate upon power-on.
5. Operating Instructions
5.1. Video Recording
To start video recording, press the Record button. The recording indicator light will typically flash, and a timer will appear on the screen. Press the Record button again to stop recording. Videos are saved as FHD 1080P files.

Image: The camera display showing options for 48MP snapshot, noise reduction audio recording, and true 1080P video recording, illustrating its one-click operation.
5.2. Photo Capture
To take a photo, press the Photo button. The camera will capture a 48MP still image.
5.3. Infrared Night Vision
The camera automatically switches to night vision mode in low-light conditions using its infrared LED lights. Ensure the lens is unobstructed for optimal night vision performance.

Image: The body camera demonstrating its infrared night vision capability in a dark environment and the one-click sound and light alarm feature.
5.4. Motion Detection
Activate the motion detection feature through the camera's menu. When enabled, the camera will automatically begin recording when movement is detected within its 130° wide-angle field of view, conserving storage space and battery life.

Image: An illustration showing the camera's motion detection feature, where it automatically starts recording when movement is detected in its field of view.
5.5. Sound & Light Alarm
In situations requiring attention, press the dedicated Alarm button to activate a sound and light alarm. This feature can be used to deter or signal for assistance.
5.6. Playback and File Management
Use the navigation buttons and OK button to browse and play back recorded videos and photos directly on the 1.4-inch screen. To manage files (e.g., delete), access the menu options.
5.7. Connecting to a Computer
Connect the camera to your computer using the provided USB-C cable. The camera will appear as a removable disk drive, allowing you to transfer or view files directly. Alternatively, use the included USB 2.0 card reader to access files from the Micro SD card.
6. Maintenance
6.1. Cleaning
Use the provided lens cleaning cloth to gently wipe the camera lens and screen. Do not use liquid cleaners or abrasive materials, as they may damage the device. Keep the USB port free of dust and debris.
6.2. Storage
Store the camera in a cool, dry place away from direct sunlight, extreme temperatures, and high humidity. When storing for extended periods, ensure the battery is partially charged (around 50%) to prolong its lifespan.
6.3. Battery Care
To maximize battery life, avoid fully discharging the battery frequently. Recharge the camera regularly, even if not in active use, to maintain battery health.
7. Troubleshooting
| Problem | Possible Cause | Solution |
|---|---|---|
| Camera does not power on. | Battery is depleted. | Charge the camera for at least 2 hours. |
| Cannot record video/take photos. | SD card is full or not inserted correctly. | Check SD card insertion. Delete old files or replace SD card. Format the SD card if necessary (this will erase all data). |
| Poor video/image quality. | Lens is dirty; insufficient lighting. | Clean the lens with the provided cloth. Ensure adequate lighting or activate night vision. |
| Camera freezes or becomes unresponsive. | Software glitch. | Press and hold the Power button for 10 seconds to force a restart. |
| Computer does not recognize the camera. | Faulty USB cable or port; driver issue. | Try a different USB port or cable. Use the included USB card reader to access files directly from the SD card. |
8. Specifications
| Feature | Detail |
|---|---|
| Model Number | H82 Pro |
| Video Resolution | FHD 1080P (1920x1080) |
| Photo Resolution | 48MP |
| Lens Rotation | 180° |
| Wide-Angle Lens | 130° |
| Screen Size | 1.4 Inches (Full-Color LCD) |
| Battery Capacity | 1750mAh Lithium Ion |
| Charging Time | Approx. 2 hours |
| Recording Time | 6-8 hours (continuous) |
| Storage | Micro SD Card (64GB included), Max supported: 64GB |
| Connectivity | USB-C |
| Video Format | AVI |
| Audio Format | AAC |
| Dimensions | 15.4 x 10.9 x 4.8 cm (Parcel Dimensions) |
| Weight | 210 g (Parcel Weight) |
9. Warranty and Support
Acbaeta is committed to providing high-quality products and customer satisfaction.
- 2-Year Warranty: Your Acbaeta Mini Body Camera is covered by a 2-year warranty from the date of purchase. This warranty covers manufacturing defects and ensures reliable performance.
- 30-Day Money-Back Guarantee: If you are not satisfied with your purchase, you may be eligible for a refund within 30 days of receipt.
- Lifetime Technical Support: Acbaeta offers lifetime technical support for its products. For assistance with setup, operation, or troubleshooting, please contact our support team.
- 24/7 After-Sales Support: Our dedicated after-sales support team is available 24 hours a day, 7 days a week to address any inquiries or concerns you may have.
For support, please refer to the contact information provided in your product packaging or visit the official Acbaeta website.

Image: Information regarding Acbaeta's commitment to customer satisfaction, including user-friendly experience, lifetime tech support, 24/7 after-sales support, 30-day money-back guarantee, and 2-year warranty.