1. Introduction
Thank you for purchasing the Texciting Heated Blanket Electric Throw. This manual provides essential information for the safe and efficient use of your new heated blanket. Please read all instructions carefully before use and retain this manual for future reference.
This electric throw is designed to provide warmth and comfort with adjustable heat settings and an automatic shut-off feature for safety and convenience.

Image 1.1: The Texciting Heated Blanket, folded, with its attached digital controller.
2. Important Safety Instructions
When using electrical appliances, basic safety precautions should always be followed to reduce the risk of fire, electric shock, and injury to persons.
- Read all instructions before using this heated blanket.
- Do not use with infants, children, incapacitated persons, or anyone insensitive to heat.
- Do not use if wet.
- Do not use with pointed objects.
- Do not use if folded, bunched, or crumpled.
- Do not use with damaged cords or plugs. If the supply cord is damaged, it must be replaced by the manufacturer, its service agent, or similarly qualified persons to avoid a hazard.
- Do not use for purposes other than warming human beings.
- Always unplug the blanket when not in use.
- Keep the control unit away from water or other liquids.
- This blanket is equipped with an Overheat Protection System that automatically shuts off the blanket if it reaches an unsafe temperature.
- Ensure the blanket is connected to a 120V AC electrical outlet.
3. Package Contents
- 1 x Texciting Heated Blanket Electric Throw (50" x 60")
- 1 x Digital Controller with Power Cord
- 1 x User Manual
4. Setup
- Unpack the heated blanket and controller from its packaging.
- Lay the blanket flat on your bed, sofa, or desired surface, ensuring it is not folded, bunched, or crumpled.
- Locate the connector on the blanket and the corresponding plug on the controller cord. Firmly push the controller plug into the blanket connector until it clicks securely into place.
- Plug the power cord of the controller into a standard 120V AC electrical outlet. Ensure the outlet is easily accessible.
5. Operating Instructions
Your Texciting Heated Blanket features a user-friendly digital controller for adjusting heat and timer settings.

Image 5.1: Digital controller displaying heat and timer settings.
5.1 Power On/Off
- To turn on: Press the Power Button (usually marked with a power symbol or 'ON/OFF'). The display will illuminate, and the blanket will begin heating at a default setting.
- To turn off: Press the Power Button again. The display will turn off, and heating will cease.
5.2 Adjusting Heat Settings
- The blanket offers 6 heat settings.
- Use the Heat Setting Buttons (often marked with '+' and '-' or a single button to cycle through) to select your desired warmth level from 1 (low) to 6 (high). The current setting will be displayed on the controller screen.
5.3 Setting the Auto-Off Timer
- The blanket features an automatic shut-off timer, adjustable from 2 to 10 hours.
- Press the Timer Button (often marked 'Timer' or with a clock symbol) to cycle through the available auto-off durations (e.g., 2h, 4h, 6h, 8h, 10h). The selected time will be indicated on the display.
- Once the set time expires, the blanket will automatically turn off for safety.
6. Maintenance and Care
Proper care ensures the longevity and performance of your heated blanket. Always follow these instructions carefully.
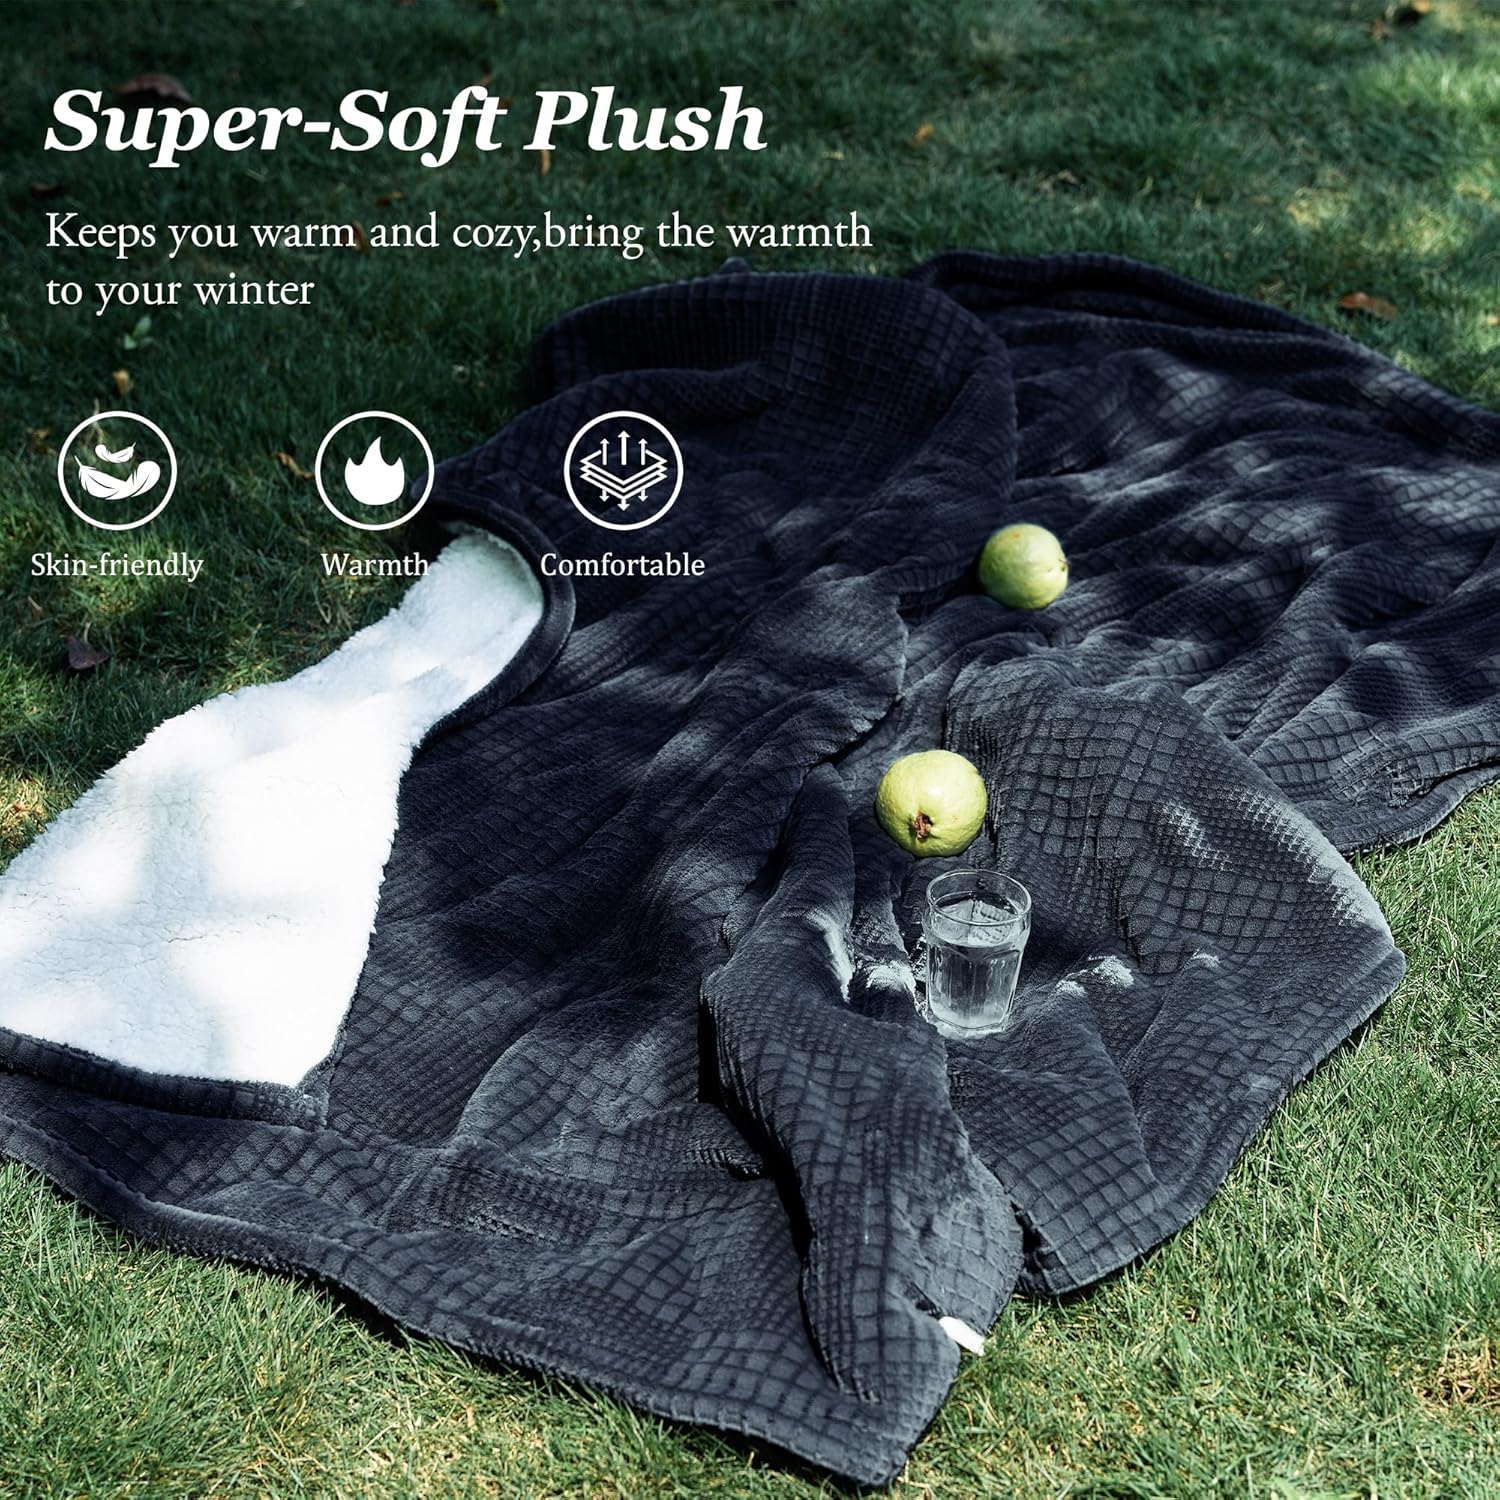
Image 6.1: The heated blanket is machine washable after disconnecting the controller.
6.1 Before Cleaning
- Always unplug the power cord from the wall outlet.
- Disconnect the controller from the blanket by firmly pulling the plug out of the blanket connector. Ensure the controller is completely cool before handling.
6.2 Machine Washing
- Machine wash the blanket in cold water on a gentle cycle.
- Use a mild detergent. Do not use bleach.
- Do not dry clean or iron the blanket.
6.3 Drying
- Tumble dry on low heat.
- Ensure the blanket is completely dry before reconnecting the controller or storing.
6.4 Storage
- Store the blanket in a cool, dry place.
- Avoid placing heavy objects on the blanket during storage to prevent damage to the internal wiring.
7. Troubleshooting
If you encounter any issues with your heated blanket, please refer to the following common problems and solutions:
| Problem | Possible Cause | Solution |
|---|---|---|
| Blanket is not heating. | Power cord not fully plugged in. Controller not securely connected to blanket. Outlet not functioning. Auto-off timer expired. | Ensure all connections are firm. Test the outlet with another appliance. Reset the blanket by unplugging and replugging. |
| Controller display is off or flashing. | Power interruption. Overheat protection activated. Faulty connection. | Unplug the blanket from the wall for 5 minutes, then reconnect. Check all connections. If the issue persists, contact customer support. |
| Blanket feels too hot or not warm enough. | Incorrect heat setting. | Adjust the heat setting using the controller. Allow a few minutes for the blanket to reach the desired temperature. |
| Blanket is bunched or folded. | Improper usage. | Lay the blanket flat and smooth out any folds or bunches. Do not use if folded. |
8. Specifications
- Model: TW1-F-F
- Dimensions: 50 inches (Width) x 60 inches (Length)
- Material: 100% Polyester
- Color: Black
- Heat Settings: 6 Levels
- Auto-Off Timer: 2-10 Hours
- Power Input: 120V AC
- Certifications: ETL Certified
- Care Instructions: Machine Washable (Controller detachable)
- Item Weight: Approximately 2.8 Pounds
9. Warranty and Support
For any questions, concerns, or support regarding your Texciting Heated Blanket, please contact the seller, JIESHEN HOME, directly through the Amazon platform. They can assist with product inquiries, troubleshooting, and warranty information.
To contact the seller:
- Go to the product page on Amazon.
- Look for the 'Sold by' section, usually located near the 'Add to Cart' button.
- Click on the seller's name, JIESHEN HOME.
- On their seller page, you will find an option to 'Ask a question' or 'Contact Seller'.
Please retain your proof of purchase for any warranty claims.


