
1. Introduction
This manual provides essential information for the safe assembly, operation, and maintenance of your Outvita 3-Burner Flat Top Gas Griddle Cooking Station. This unit is designed for outdoor cooking, offering a versatile surface for various culinary tasks. The ceramic-coated cast iron pan ensures a non-stick cooking experience, promoting healthier meals with minimal oil.
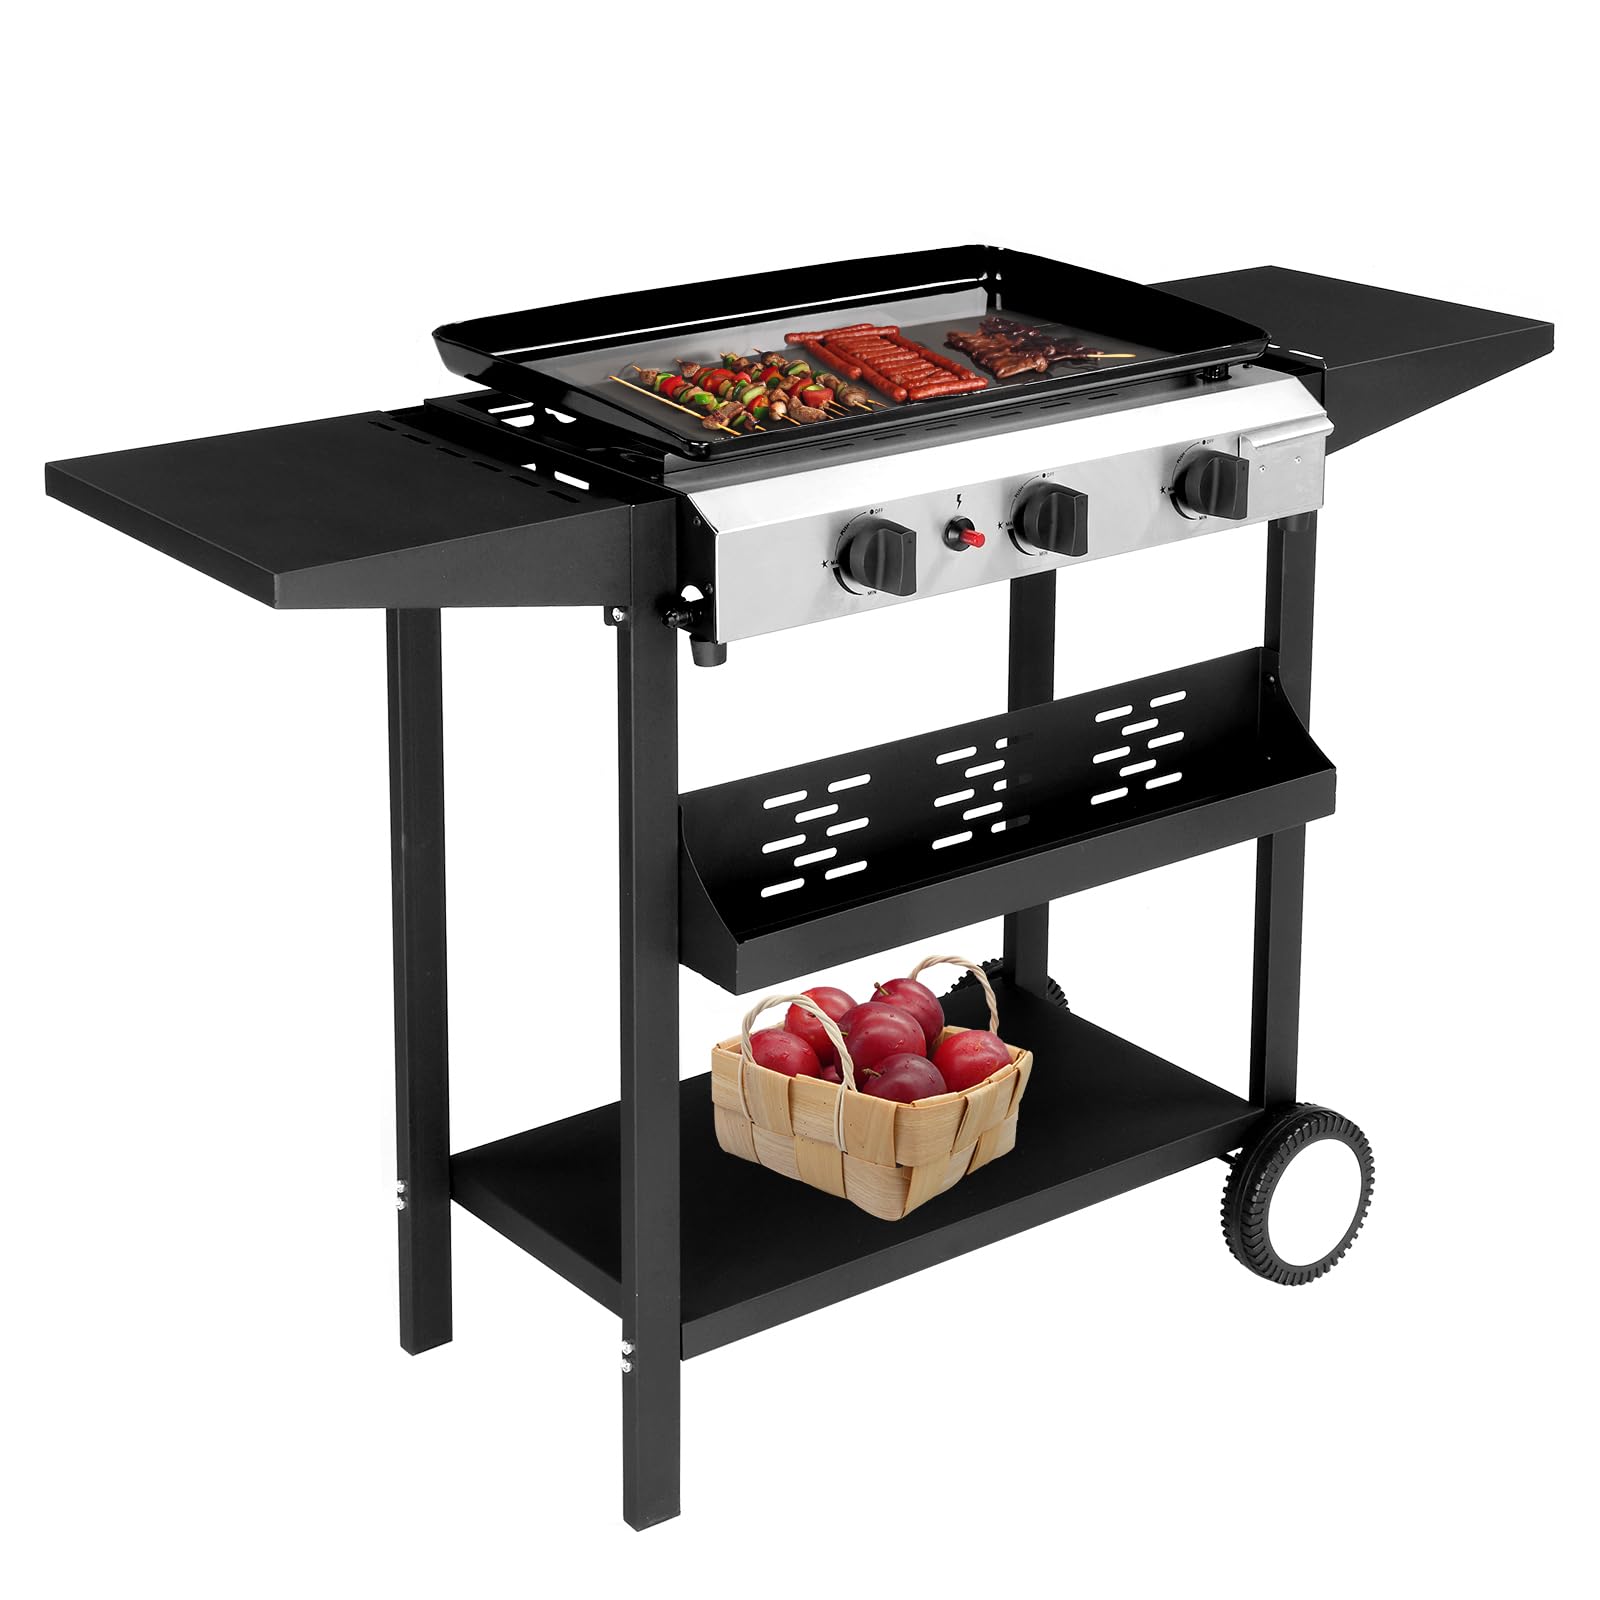
Figure 1.1: The Outvita 3 Burner Propane Griddle, ready for outdoor use.
The griddle features three independently controlled stainless-steel tube burners, providing 10,000 BTU each for a total of 30,000 BTUs. This allows for precise temperature control across different cooking zones. Convenient storage options include a spice rack and spacious side shelves, enhancing your outdoor cooking experience.

Figure 1.2: The griddle in use, cooking various foods for a gathering.
2. Safety Information
WARNING: For outdoor use only. Do not store or use gasoline or other flammable vapors and liquids in the vicinity of this or any other appliance. Failure to follow these instructions could result in fire or explosion, causing property damage, personal injury, or death.
DANGER: If you smell gas:
- Shut off gas to the appliance.
- Extinguish any open flame.
- Open lid (if applicable).
- If odor continues, keep away from the appliance and immediately call your gas supplier or fire department.
General Safety Precautions:
- Read all instructions thoroughly before assembling and using the griddle.
- Keep children and pets away from the griddle during operation and while it is cooling down.
- Ensure the griddle is placed in a well-ventilated area. Do not obstruct the flow of combustion and ventilation air.
- Always use the propane regulator and hose assembly provided with the appliance. Do not use unauthorized parts.
- Perform a gas leak test before each use and after replacing the propane tank.
- Never operate the griddle unattended.
- Do not attempt to move the griddle while it is in operation or hot.
- Keep electrical supply cords and fuel supply hoses away from heated surfaces.
3. Package Contents
Verify that all components are present and undamaged before proceeding with assembly. If any parts are missing or damaged, do not attempt to assemble or operate the griddle. Contact customer service for assistance.
- Gas stove unit (with 3 burners)
- Propane regulator
- Hose assembly
- Griddle cooking surface (ceramic-coated cast iron pan)
- Cart frame with wheels
- Side shelves (2 units)
- Lower shelf rack
- Spice rack (front-mounted)
- Grease cup (slide-out)
4. Setup and Assembly
The Outvita 3 Burner Propane Griddle is designed for straightforward assembly. While not requiring complex assembly, some components like the side shelves and griddle top need to be securely attached to the main cart frame.
4.1. Assembly Steps
- Unpack all components and ensure they are free from damage.
- Assemble the cart frame according to the visual instructions provided in the packaging. Ensure all bolts and fasteners are tightened securely.
- Attach the side shelves to the designated points on the cart frame.
- Install the lower shelf rack and the front spice rack.
- Place the griddle cooking surface onto the gas stove unit, ensuring it sits flush and stable.
- Insert the slide-out grease cup into its designated slot.

Figure 4.1: Illustration of placing the griddle cooking surface onto the gas stove unit.
4.2. Location and Placement
Place the griddle on a level, stable, non-combustible surface outdoors. Maintain a minimum clearance of 24 inches (61 cm) from the back and sides of the griddle to any combustible materials or surfaces.
4.3. Propane Tank Connection
- Ensure the propane tank valve is closed.
- Connect the propane regulator and hose assembly to the propane tank valve. Turn the coupling nut clockwise until it is hand-tight. Do not use tools to tighten.
- Connect the other end of the hose to the griddle's gas inlet. Tighten securely.
- Perform a leak test as described in Section 5.1 before first use.
5. Operating Instructions
5.1. Leak Test Procedure
Always perform a leak test before initial use, after any propane tank change, or if the griddle has been stored for an extended period.
- Ensure all burner control knobs on the griddle are in the OFF position.
- Turn on the gas supply at the propane tank valve.
- Mix a solution of equal parts liquid dish soap and water.
- Apply the soapy solution to all gas connections, including the tank connection, regulator connection, and griddle inlet connection.
- Observe for bubbles. The presence of bubbles indicates a gas leak.
- If a leak is detected, immediately turn off the gas supply at the tank. Tighten the leaking connection. Repeat the leak test. If the leak persists, do not use the griddle and contact customer service.
5.2. Ignition Instructions
The griddle features a quick start-up ignition system.
- Ensure the griddle is placed in a safe, outdoor location.
- Open the propane tank valve slowly.
- Push in and turn one of the burner control knobs to the HIGH position.
- Press and hold the igniter button repeatedly until the burner ignites. You should hear a clicking sound and see a flame.
- Once ignited, release the igniter button. Adjust the flame to the desired setting.
- If the burner does not ignite within 5 seconds, turn the control knob to OFF, wait 5 minutes for gas to dissipate, and then repeat the ignition process.
- Repeat for additional burners as needed.
5.3. Temperature Control and Cooking
The three independent burners allow for precise temperature control and the creation of different heat zones across the griddle surface. This enables versatile cooking, from searing to simmering.
- Preheating: For optimal cooking results, preheat the griddle for 10-15 minutes on medium heat before placing food on the surface.
- Adjusting Heat: Turn the control knobs to adjust the flame intensity for each burner.
- Cooking Surface: The ceramic-coated cast iron pan provides a non-stick experience. Use appropriate heat-resistant cooking utensils.

Figure 5.1: The griddle can be used as a standalone unit on its cart or as a tabletop unit.
5.4. Shutting Down the Griddle
- Turn all burner control knobs to the OFF position.
- Close the gas supply valve on the propane tank.
- Allow the griddle to cool completely before cleaning or moving.
6. Maintenance and Care
Regular maintenance ensures the longevity and optimal performance of your Outvita griddle.
6.1. Cleaning the Griddle Surface
- After each use, once the griddle has cooled slightly but is still warm, scrape off food residue with a griddle scraper or spatula.
- Wipe the surface with a damp cloth. For stubborn residue, a small amount of griddle cleaning solution can be used, followed by a thorough rinse and wipe.
- Avoid abrasive cleaners or metal brushes that can damage the ceramic coating.
6.2. Grease Management
The griddle features an oil drip hole and a slide-out grease cup for efficient grease collection.
- Regularly check and empty the grease cup.
- Clean the grease cup with warm, soapy water.
6.3. Exterior Cleaning
- Wipe down the stainless-steel control panel and the iron/stainless steel frame with a mild detergent and a soft cloth.
- Do not use harsh chemicals or abrasive pads on painted or stainless-steel surfaces.
6.4. Storage
- When not in use, especially for extended periods, disconnect the propane tank.
- Store the griddle in a dry, protected area to prevent rust and damage from weather elements. A griddle cover is recommended.
7. Troubleshooting
Refer to the following table for common issues and their solutions.
| Problem | Possible Cause | Solution |
|---|---|---|
| Burner not igniting | Low or empty propane tank Gas supply valve closed Igniter electrode dirty or misaligned Gas leak | Check tank level, replace if empty Open propane tank valve Clean and adjust electrode Perform leak test (Section 5.1), tighten connections |
| Uneven heating | Griddle not level Burners or griddle surface dirty | Ensure griddle is on a level surface Clean burners and griddle surface thoroughly |
| Low flame or no flame | Low propane tank pressure Regulator in bypass mode Obstructed gas flow | Check tank level, replace if low Disconnect and reconnect regulator, ensuring slow opening of tank valve Check hose for kinks or obstructions |
8. Specifications
Detailed technical specifications for the Outvita 3 Burner Propane Griddle.

Figure 8.1: Dimensional overview of the griddle and its components.
| Feature | Detail |
|---|---|
| Brand | Outvita |
| Model Number | c2777c40-d8fa-4e7f-86e8-cef47bc41952 |
| Overall Dimensions (W x D x H) | 45.9" x 17.7" x 33.5" (116.5 x 45 x 85 cm) |
| Griddle Cooking Surface Size | 23.2" x 14.2" (59 x 36 cm) |
| Cooking Surface Area | 326.6 Square Inches |
| Main Burner Count | 3 |
| Total BTU | 30,000 BTU (3 x 10,000 BTU) |
| Fuel Type | Propane Gas |
| Material | Iron, Stainless Steel, Plastic (Frame: Stainless Steel, Handle: Stainless Steel) |
| Special Feature | Locking Caster Wheels |
| Included Components | Gas stove, Propane regulator, Hose assembly, Griddle, Cart |
| Installation Type | Free Standing |
9. Warranty and Support
For specific warranty information regarding your Outvita 3 Burner Propane Griddle, please refer to the warranty card included with your product packaging or visit the official Outvita website. Keep your purchase receipt as proof of purchase for any warranty claims.
If you encounter any issues or require technical assistance, please contact Outvita customer support. Contact details can typically be found on the product packaging, the official Outvita website, or through your retailer.