
1. Introduction
This manual provides detailed instructions for the installation, operation, and troubleshooting of the AOGETYO 2x2 4K HDMI DVI Video Wall Controller. This device is designed to split a single HDMI or DVI 4K input signal across four HDMI output displays, creating a large dynamic video wall. It supports various display configurations and offers multiple control methods for ease of use.

Figure 1: AOGETYO 2x2 4K HDMI DVI Video Wall Controller and a sample 2x2 video wall setup.
2. Product Features
- 4K Input Resolution Support: Compatible with HDMI 1.4 and HDCP 1.4, supporting input resolutions up to 4K@30Hz (3840x2160P @24/30Hz). DVI input does not support 4K.
- Full HD Output: Each HDMI output channel supports resolutions up to 1920x1080P@60Hz.
- Multiple Splicing Modes: Supports 2x2, 1x2, 1x3, 1x4, 2x1, 3x1, 4x1 display modes, and 1x1 HDMI splitter mode.
- 180° Screen Rotation: Allows rotation of output 1 and output 2 by 180 degrees in 2x2 mode to minimize bezel gaps.
- Edge Masking Function: Corrects and aligns bezels and image edges for a more seamless display.
- Independent Audio Output: Features 3.5mm stereo audio port and SPDIF audio port for external audio connections.
- Multiple Control Methods: Operable via IR remote control, front panel buttons, and RS232 serial control.
- Memory Function: Retains the last settings upon power cycling.
- Plug and Play: No driver installation required for operation.
- Wide Compatibility: Supports various HDMI/DVI input sources (DVD, TV Box, Xbox, PS4, Computer) and HDMI output devices (TVs, monitors, projectors, splicing screens).
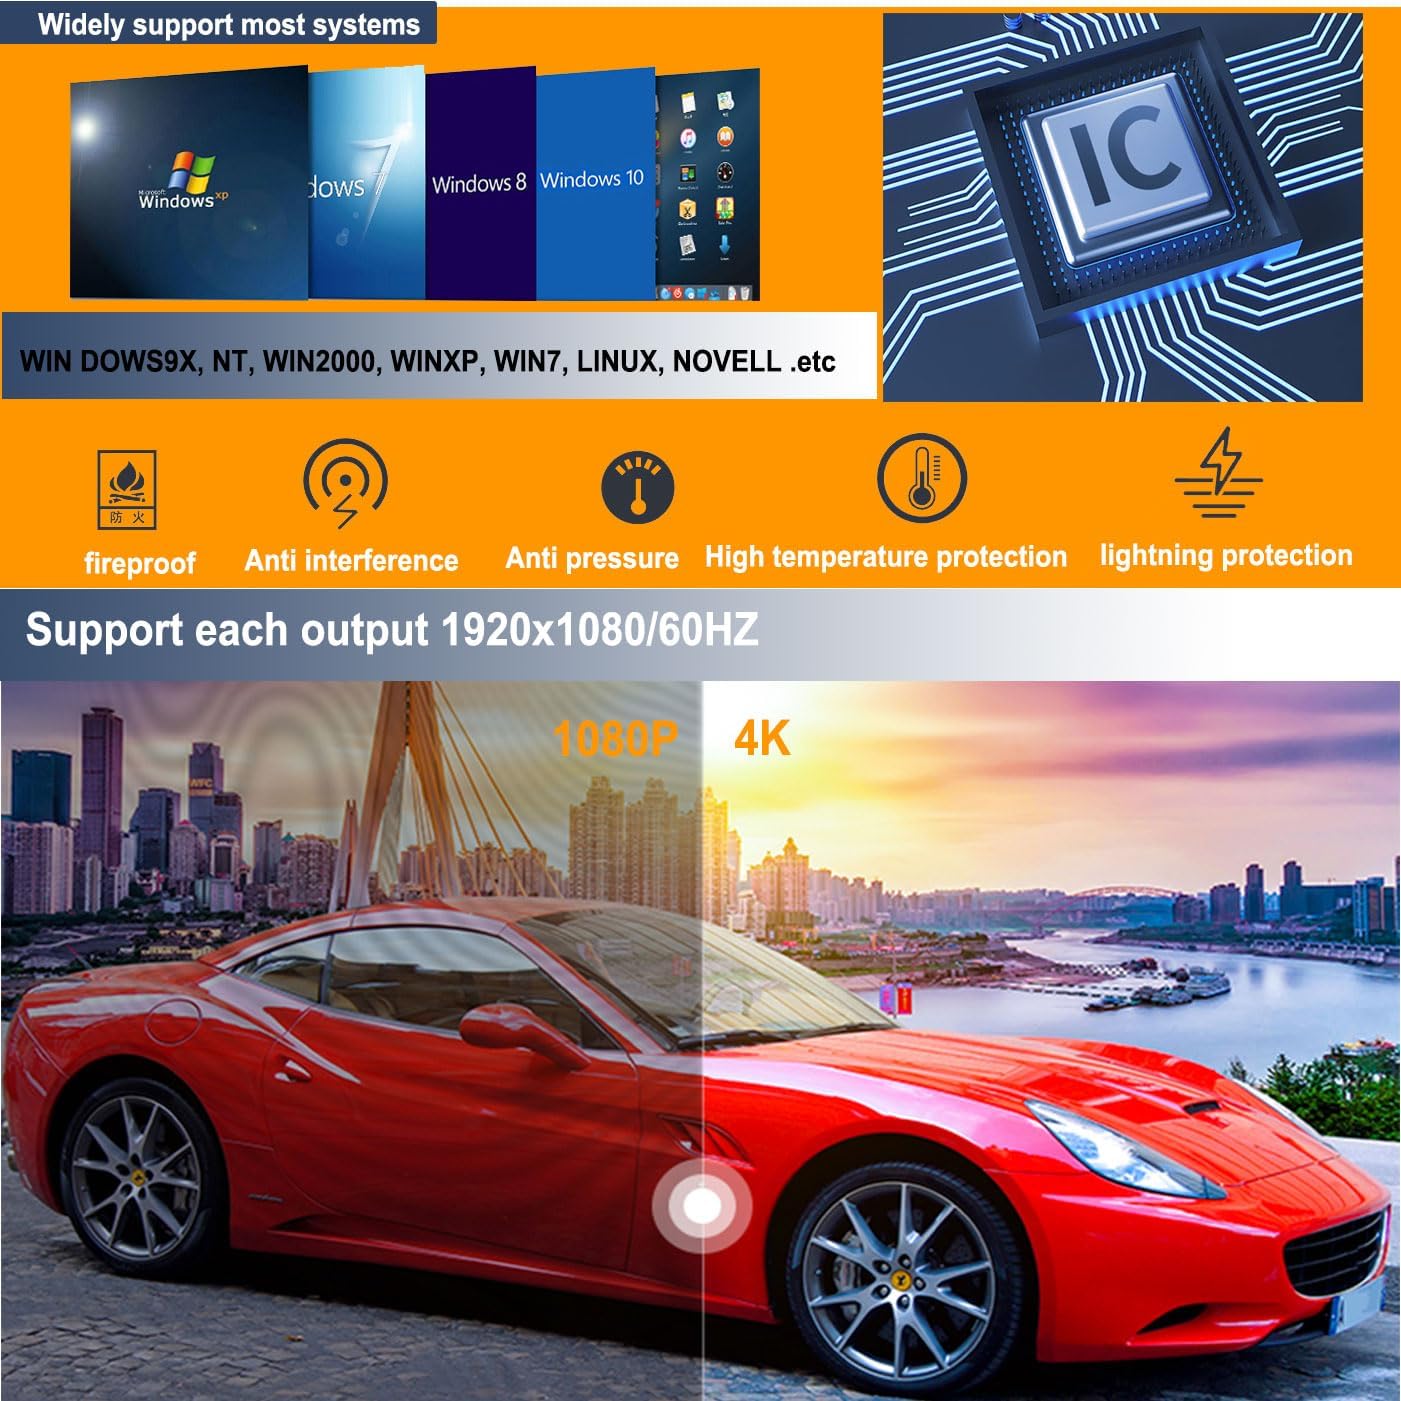
Figure 2: System compatibility and protection features of the video wall controller.
3. Package Contents
Verify that all items are present in the package:
- HDMI DVI Video Wall Controller (x1)
- IR Remote Control (x1) (AAA batteries not included)
- USB Power Cable (x1)
- USB Power Adapter (x1)
4. Product Diagram
4.1 Front Panel

Figure 3: Front Panel Layout. Includes HDMI IN, DVI IN, IR receiver, output signal indicators, Audio ON/OFF, MODE, HDMI/DVI input selection, and AUX audio port.
4.2 Rear Panel
Figure 4: Rear Panel Layout. Includes four HDMI OUT ports, SPDIF digital audio out, RS232 control port, and DC 5V power port.
5. Setup Instructions
- Power Off Devices: Ensure all source devices (e.g., computer, game console) and display devices (TVs, monitors) are powered off before making connections.
- Connect Input Source: Connect your HDMI or DVI source device to the "HDMI IN" or "DVI IN" port on the video wall controller using appropriate cables.
- Connect Output Displays: Connect up to four HDMI displays to the "OUT 1" through "OUT 4" ports on the rear panel of the controller using HDMI cables.
- Connect Audio (Optional): If external audio is desired, connect your amplifier, soundbar, or speakers to the 3.5mm AUX audio port or the SPDIF digital audio port.
- Connect Power: Connect the provided USB power cable and adapter to the "DC 5V" port on the controller and then to a power outlet.
- Power On Devices: Power on the video wall controller, followed by your display devices, and then your input source device.
- Initial Configuration: The device will recall the last settings. If setting up for the first time or if issues arise, configure the desired splicing mode and other settings using the remote control or front panel buttons.

Figure 5: Typical connection diagram for the video wall controller.
6. Operating Instructions
6.1 Splicing Modes
The controller supports various display configurations. Use the remote control or front panel buttons to select the desired mode.
- Standard Modes: 2x2, 1x2, 1x3, 1x4, 2x1, 3x1, 4x1.
- HDMI Splitter Mode: 1x1 mode functions as an HDMI splitter, duplicating the input to all outputs.
- Vertical Splicing (Portrait Mode): For portrait modes (1x2, 1x3, 1x4), select a PC as the input source and rotate the desktop to portrait orientation. Then, select the corresponding horizontal mode (2x1, 3x1, 4x1) on the controller.
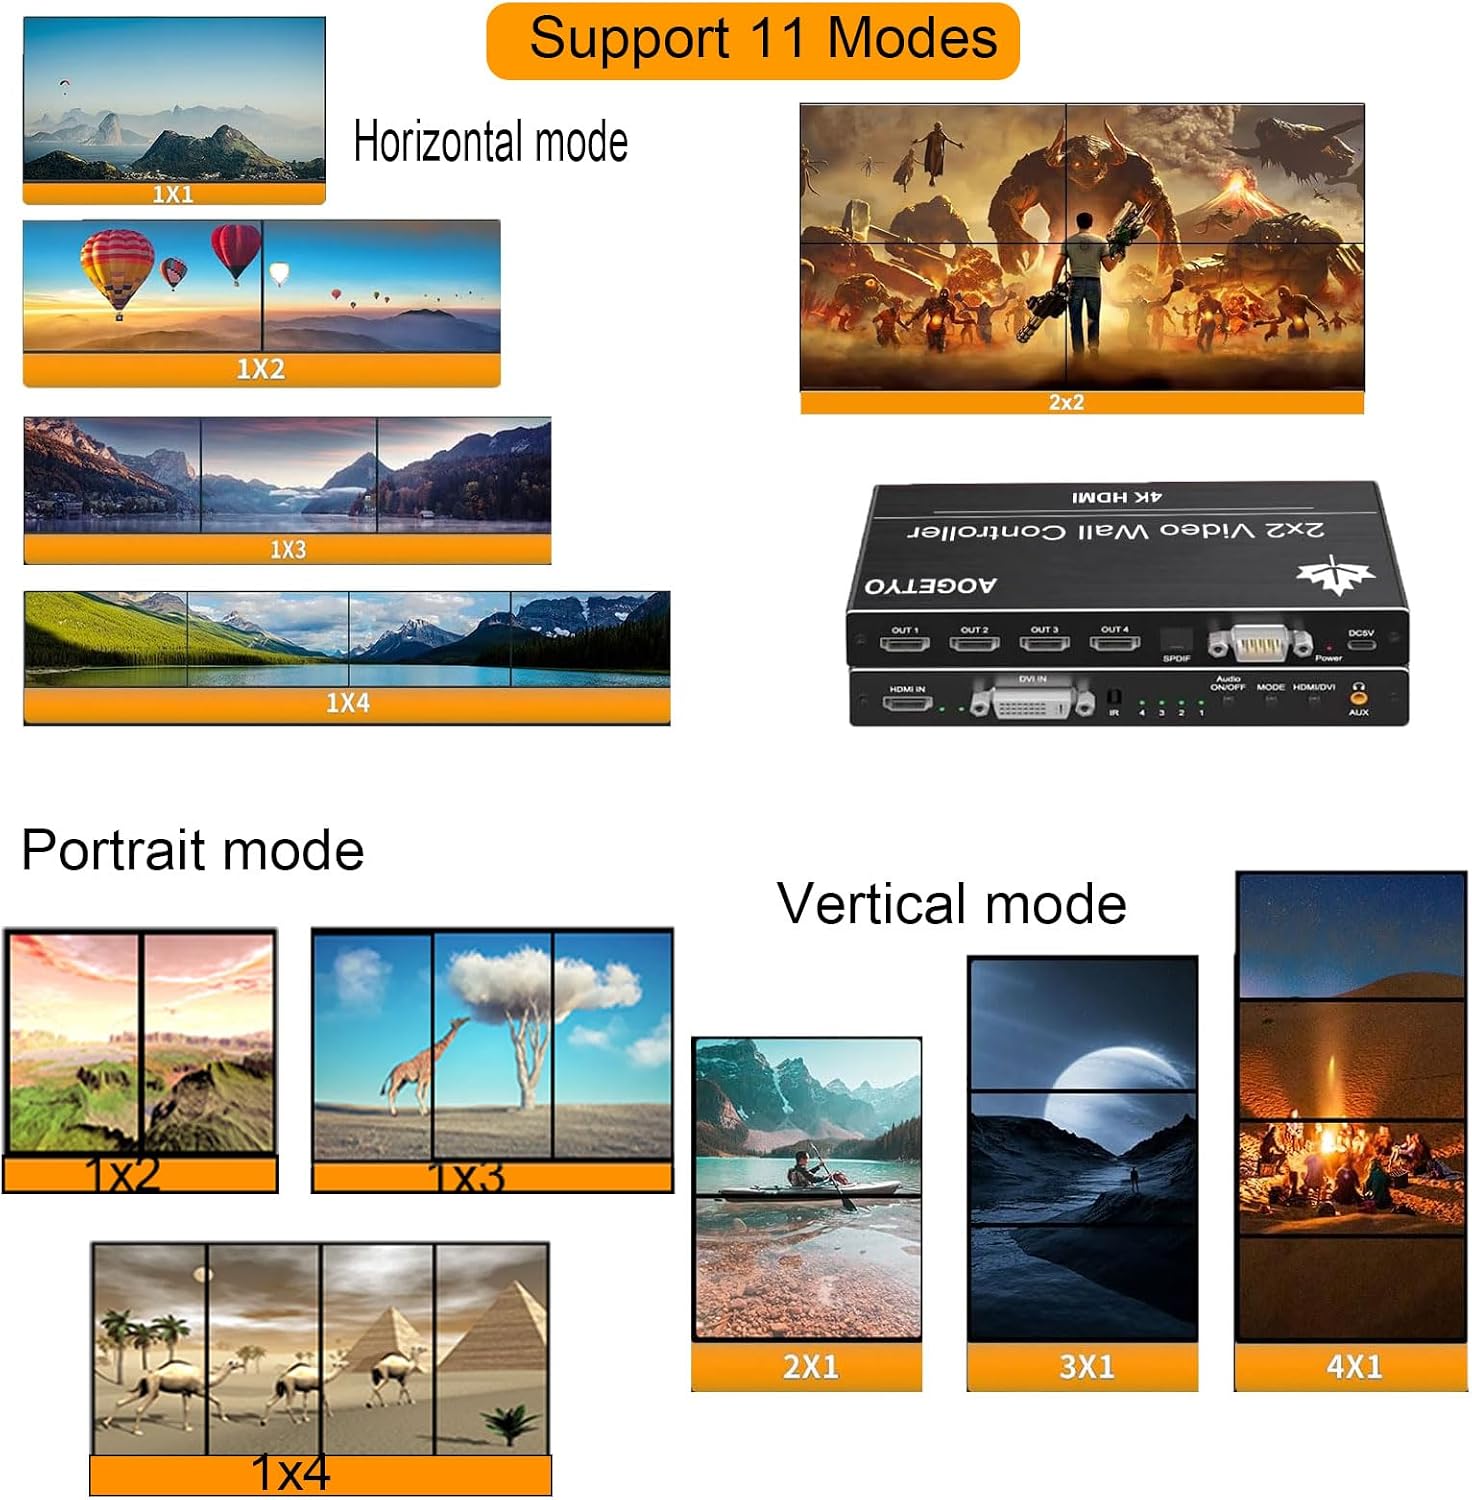
Figure 6: Available splicing modes.
6.2 180° Screen Rotation
The 180° rotation function is available exclusively in 2x2 mode. This feature allows you to flip the image on HDMI output 1 and output 2 by 180 degrees. This is useful for adjusting screens to achieve the thinnest possible bezels in a video wall setup.

Figure 7: 180° Screen Rotation in 2x2 mode.
6.3 Audio Output
The controller provides independent audio output options:
- 3.5mm Stereo Audio: Connect to external speakers, amplifiers, or soundbars.
- SPDIF Digital Audio: For digital audio connections.
If no external audio device is connected, audio will be output directly from your HDMI display devices.
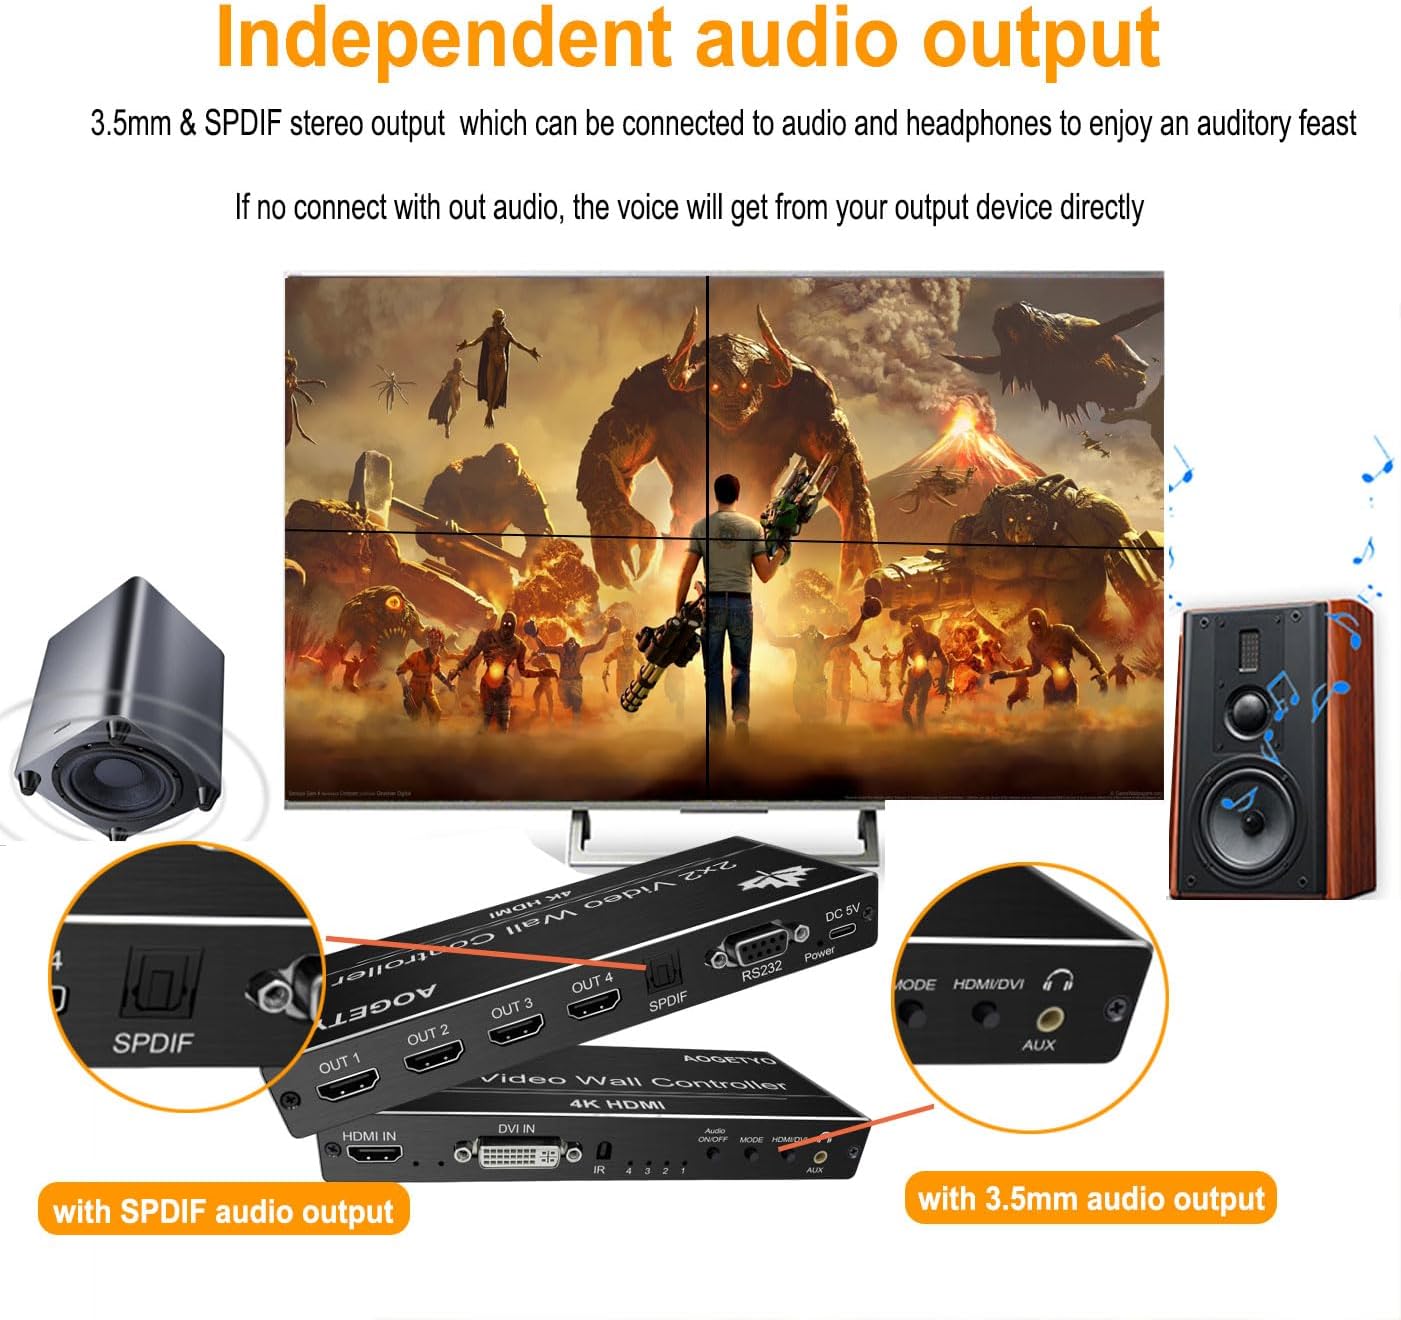
Figure 8: Independent audio output ports.
6.4 Control Methods
The video wall controller can be operated using three methods:
- IR Remote Control: Provides direct access to common modes and settings. (AAA batteries not included).
- Front Panel Buttons: Physical buttons on the device for basic control.
- RS232 Control: For advanced integration and control via a serial connection.

Figure 9: Available control methods.

Figure 10: IR Remote Control functions.
7. Troubleshooting
- No Display/Black Screen:
- Ensure all cables (HDMI, DVI, power) are securely connected.
- Verify that the input source is powered on and outputting a signal.
- Check if the correct input (HDMI or DVI) is selected on the controller.
- Confirm that display devices are powered on and set to the correct HDMI input.
- Try reducing the input resolution from the source device, especially if using 4K input with 1080p displays, as some displays may not scale 4K input correctly.
- Distorted or Fuzzy Image:
- Ensure all display resolutions are set to 1080p for optimal performance with the controller.
- Check cable quality; use high-quality HDMI/DVI cables.
- If using a PC as input, ensure the graphics card settings are configured correctly for the desired output resolution and aspect ratio.
- For splicing screens, reset them to factory default settings before use.
- No Audio:
- Verify that the audio is not muted on the controller or the display devices.
- If using external audio, ensure connections to the 3.5mm or SPDIF ports are secure and the external audio device is powered on and functioning.
- Check the audio settings on your input source device.
- Remote Control Not Working:
- Ensure AAA batteries are correctly inserted and not depleted.
- Point the remote directly at the IR receiver on the front panel of the controller.
- Remove any obstructions between the remote and the controller.
- 180° Rotation Not Working:
- Confirm that the controller is set to 2x2 splicing mode. The 180° rotation function only operates in this mode.
8. Specifications
| Feature | Detail |
|---|---|
| Input Ports | 1x HDMI, 1x DVI |
| Output Ports | 4x HDMI |
| Audio Output | 1x 3.5mm AUX, 1x SPDIF |
| Input Resolution | Up to 4K@30Hz (HDMI), 1080P (DVI) |
| Output Resolution | Up to 1920x1080P@60Hz per channel |
| Control Methods | IR Remote, Button Press, RS232 |
| Power Supply | DC 5V |
| Dimensions | 8.62 x 5.31 x 1.69 inches |
| Weight | 13.4 ounces |
9. Warranty and Support
AOGETYO provides a 1-year manufacturer's warranty for this product. Lifetime technical support is also available. For assistance, please contact AOGETYO customer service. A 24-hour reply service is provided for inquiries.
10. Safety Information
- Do not expose this device to water, moisture, or excessive humidity.
- Avoid placing the device near heat sources or in direct sunlight.
- Use only the provided power adapter.
- Do not attempt to open or repair the device yourself. Refer all servicing to qualified personnel.
- Keep the device away from children.
- Ensure adequate ventilation around the device to prevent overheating.