1. Introduction
This manual provides essential information for the safe and effective installation and maintenance of your vhbw replacement V-belt. This V-belt is designed to replace worn or defective drive belts in compatible AEG dryer models, ensuring proper drum rotation and restoring optimal appliance performance. Please read these instructions carefully before proceeding with any installation or maintenance.
2. Safety Information
Always prioritize safety when working with electrical appliances. Failure to follow these safety guidelines may result in injury or damage to the appliance.
- Disconnect Power: Before beginning any work on your dryer, ensure it is completely disconnected from the main power supply. Unplug the appliance from the wall outlet.
- Wear Protective Gear: Use appropriate personal protective equipment, such as gloves, to protect your hands.
- Consult a Professional: If you are unsure about any step or uncomfortable performing the repair, consult a qualified appliance technician.
- Handle with Care: The dryer components may have sharp edges. Exercise caution during disassembly and reassembly.
3. Package Contents
Verify that all components are present in the package:
- 1 x vhbw V-belt (Drive Belt)
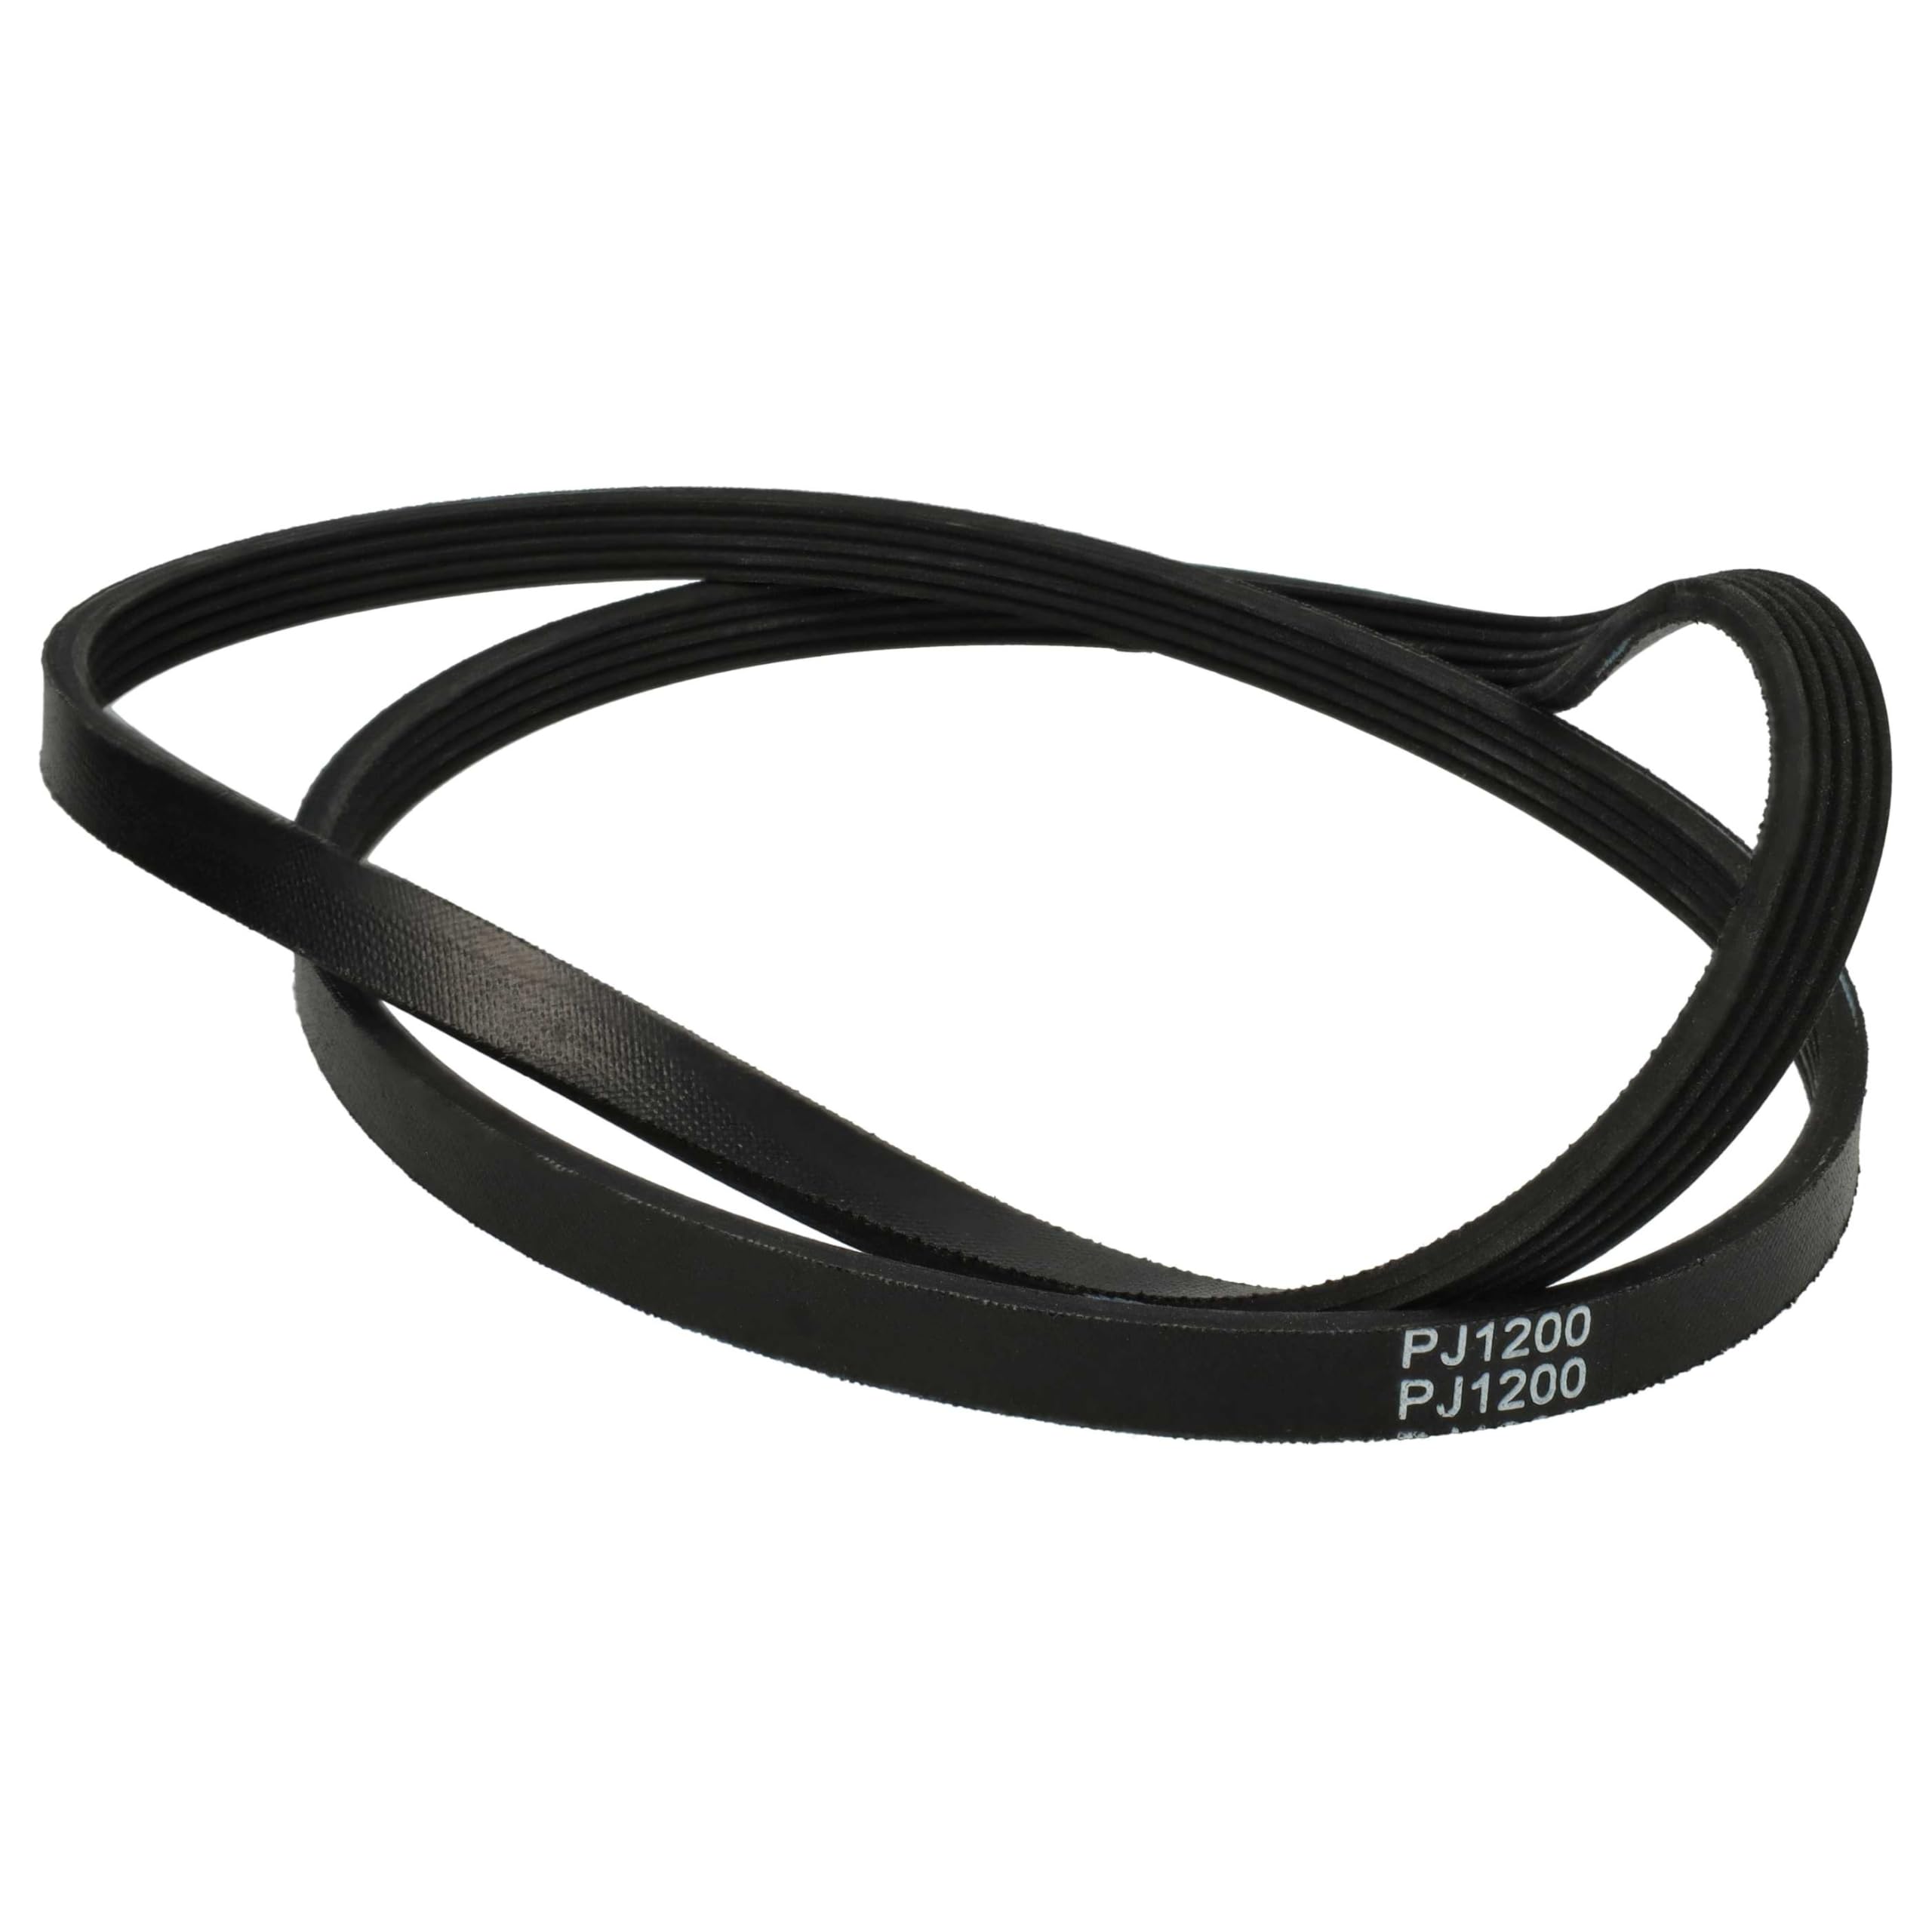
Image: The vhbw V-belt, shown coiled, as it appears when removed from its packaging.
4. Compatibility
This vhbw V-belt is compatible with the following AEG dryer models:
- AEG L647
- AEG L6470
- AEG L6470AFL
- AEG L64680L
- AEG L6468AFL
- AEG L6469
- AEG L6469AFL
- AEG L6470FL
- AEG L64680
This belt also replaces original part numbers including: 346320203, 1240211100, 1240211308, 6454261709, 50211945006, 50213780005, 50220805001, 5022182606, 20620620622220622062206220620622002030071, 311062643003, 4210013599007, 4210018328006, 8996454258691, 8996454261703, 8996454284200, 132353103100310000310000000000/2.
5. Specifications
| Feature | Specification |
|---|---|
| Brand | vhbw |
| Model / Part Number | VHBW4068201528200 |
| Material | Textile / Rubber |
| Length | 120 cm |
| Number of Ribs | 5 |
| Width | 1.13 cm (approx. 1 cm) |
| Thickness | 0.4 cm |
| Color | Black |
| Weight | 66 g |

Image: A detailed view of the V-belt's ribbed surface, highlighting the five distinct ribs.
6. Installation (Setup)
Replacing the dryer's V-belt requires careful disassembly and reassembly. The exact steps may vary slightly depending on your specific dryer model. Refer to your dryer's service manual for model-specific instructions if available.
Required Tools (May Vary):
- Screwdrivers (Phillips and Flathead)
- Wrenches or Nut Drivers
- Pliers
- Work Gloves
Step-by-Step Installation:
- Disconnect Power: Ensure the dryer is unplugged from the electrical outlet.
- Access the Belt: Depending on your dryer model, you may need to remove the top panel, front panel, or rear panel to gain access to the drum and motor assembly. This usually involves unscrewing retaining screws and carefully detaching panels.
- Remove the Old Belt: Locate the old V-belt. It will be wrapped around the dryer drum and the motor pulley, often with an idler pulley providing tension. Carefully release the tension from the idler pulley (if applicable) and remove the old belt from the drum and motor pulley. Note how the old belt was routed.
- Inspect Components: While the dryer is open, inspect the motor pulley, idler pulley, and drum rollers for any wear or damage. Replace any worn components if necessary.
- Install the New Belt: Place the new vhbw V-belt around the dryer drum. Ensure the ribbed side of the belt faces the drum.
- Route the Belt: Route the belt around the motor pulley and the idler pulley (if present) in the same manner as the old belt. Apply tension to the idler pulley to secure the belt. Ensure the belt is properly seated on all pulleys and the drum.
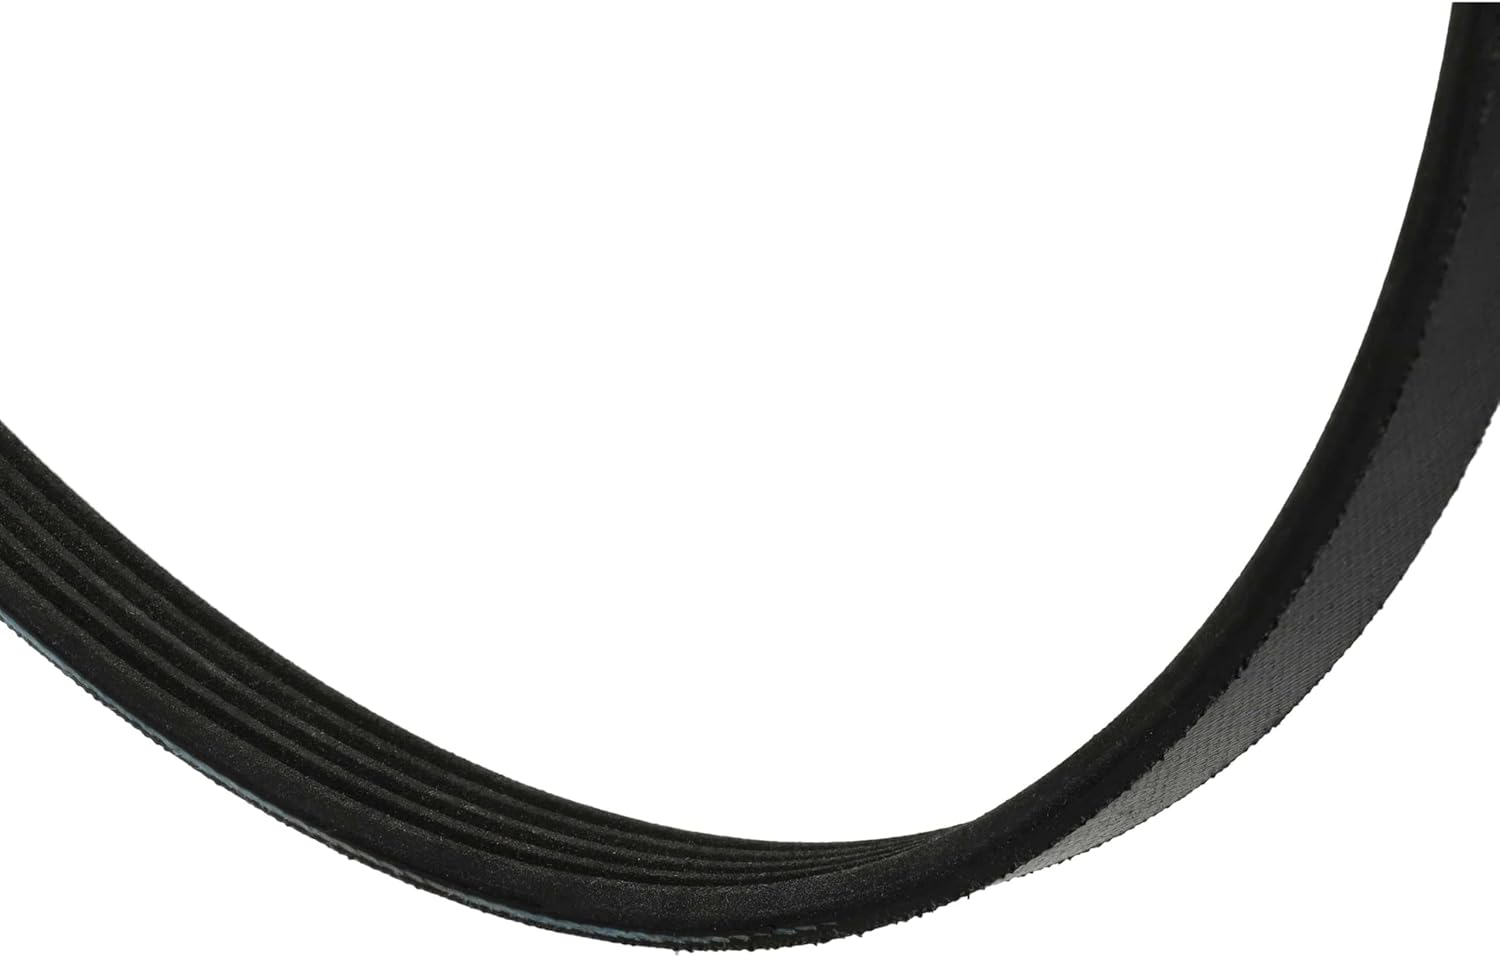
Image: The vhbw V-belt displaying the 'PJ1200' marking, which denotes its profile and effective length, crucial for proper fit.
- Test Belt Movement: Manually rotate the dryer drum a few times to ensure the belt moves smoothly and does not slip off the pulleys.
- Reassemble Dryer: Carefully reattach all panels and secure them with their original screws.
- Reconnect Power: Plug the dryer back into the electrical outlet.
- Initial Test Run: Run a short cycle on the dryer to confirm proper operation. Listen for any unusual noises and observe if the drum rotates smoothly.
7. Operating
Once the vhbw V-belt is correctly installed, your dryer should operate as intended. The V-belt's function is to transmit power from the motor to the drum, causing it to rotate. Proper operation is indicated by:
- Smooth and consistent drum rotation during cycles.
- Absence of squealing, grinding, or thumping noises related to belt movement.
- The dryer completing cycles without stopping due to drum immobility.
No special operating procedures are required for the V-belt itself; its performance is integral to the dryer's normal function.
8. Maintenance
The vhbw V-belt is designed for durability and long-term performance. While it does not require routine maintenance, adhering to the following can help prolong its lifespan and the overall health of your dryer:
- Regular Cleaning: Periodically clean the lint filter after each use to prevent excessive lint buildup, which can sometimes affect internal components.
- Avoid Overloading: Do not overload the dryer, as this puts undue stress on the motor and drive belt, potentially leading to premature wear.
- Inspect During Other Repairs: If you open your dryer for other repairs, take the opportunity to visually inspect the V-belt for signs of wear, cracking, fraying, or stretching.
- Keep Dry: Ensure the dryer's internal components remain dry. Moisture can degrade belt material over time.
A V-belt is a wear-and-tear part. When signs of wear become apparent (e.g., drum not turning, squealing noises), it indicates the belt needs replacement.
9. Troubleshooting
If you experience issues after installing the new vhbw V-belt, consider the following:
- Drum Not Turning:
- Check Belt Seating: Ensure the belt is correctly seated on the motor pulley, idler pulley, and drum. It might have slipped off during reassembly.
- Belt Tension: Verify that the idler pulley (if present) is providing adequate tension to the belt.
- Obstruction: Check for any foreign objects or lint buildup obstructing the belt's path or the drum's movement.
- Unusual Noises (Squealing, Thumping):
- Belt Alignment: The belt might not be perfectly aligned on the pulleys. Re-check its routing.
- Other Components: Noises might originate from worn drum rollers, idler pulley, or motor bearings, not the belt itself. Inspect these components.
- Dryer Stops Mid-Cycle:
- This is less likely to be a belt issue unless the drum completely seizes. Check for overheating, power supply issues, or other dryer component failures.
Always disconnect power before inspecting internal components.
10. Support
For further assistance, technical inquiries, or if you encounter issues not covered in this manual, please contact vhbw customer support through your purchase platform or the official vhbw website. When contacting support, please have your product model number (VHBW4068201528200) and dryer model information ready.