Introduction
This manual provides detailed instructions for the safe and efficient operation, maintenance, and troubleshooting of your SUNMAX RT50S Walk-behind Floor Scrubber Dryer. Please read this manual thoroughly before operating the machine to ensure proper usage and to prevent damage or injury.

Figure 1: The SUNMAX RT50S Walk-behind Floor Scrubber Dryer with its included heavy-duty brush, red, black, and white pads, and charger.
Safety Information
Always follow basic safety precautions to reduce the risk of fire, electric shock, and personal injury when using this appliance.
- Read all instructions before using the appliance.
- Do not operate the machine if it is damaged or malfunctioning.
- Ensure all covers and guards are in place before operation.
- Use only recommended cleaning solutions and defoamers.
- Keep hands, feet, and loose clothing away from moving parts.
- Do not operate in explosive atmospheres or near flammable liquids/vapors.
- Always disconnect power before performing maintenance or repairs.
- Wear appropriate personal protective equipment (PPE) such as gloves and eye protection.
Key Components
Familiarize yourself with the main components of the SUNMAX RT50S for effective operation and maintenance.

Figure 2: Overview of the SUNMAX RT50S, highlighting the handle, display screen/operation panel, sewage tank, water tank, drain pipe, squeegee, and burnishing pad.

Figure 3: Rear view of the machine, detailing the vacuum hose, squeegee lifting handle, brush lifting pedal, and squeegee assembly.

Figure 4: Detailed view of the control panel, showing the power display, sewage suction motor switch, brush switch, water switch, and main power switch.
Setup
1. Unpacking and Initial Assembly
Carefully unpack the machine and its components. This video demonstrates the unpacking process, connecting the battery, installing the squeegee assembly, and attaching the vacuum hose. It also shows how to install the brush tray and pads.
Video 1: This video provides a quick guide to unpacking, battery connection, squeegee and brush installation, and initial setup steps for the RT50S.
2. Battery Connection
Access the battery compartment (under the sewage tank) and connect the battery cables. Ensure a secure connection.
3. Squeegee Assembly Installation
Attach the squeegee assembly to the rear of the machine. Ensure the suction hose is securely connected to the squeegee's connection point and tighten the bolts on each side. Adjust the squeegee height as needed.
4. Brush/Pad Installation
Place the desired brush or pad directly under the brush tray shield. Step on the brush lifting pedal to lower the brush cover and automatically load the brush/pad. To remove, depress the pedal and move the machine slightly to the left to disengage. Rotate the brush disc counter-clockwise to detach.
5. Filling the Water Tank
Open the freshwater tank cap and fill with clean water. For optimal cleaning, add a neutral pH low-foam cleaning solution. Do not overfill.

Figure 5: The solution tank, showing the inlet for water and cleaning solution. A measuring cup is used to ensure correct detergent concentration.
Operating Instructions
1. Pre-Operation Checklist
- Ensure battery is fully charged.
- Check that the freshwater tank is filled with water and appropriate cleaning solution.
- Verify the sewage tank is empty.
- Confirm the brush/pad and squeegee are correctly installed and adjusted.
2. Starting the Machine
- Insert the key into the power switch on the control panel and turn it to the 'ON' position.
- Lower the brush/pad by pressing the brush lifting pedal.
- Lower the squeegee assembly using its lifting handle.
- Activate the brush motor, water flow, and vacuum motor using their respective switches on the control panel.
Video 2: This video provides a comprehensive demonstration of the RT50S in operation, showcasing its water output, scrubbing capabilities, and water suction functions on various floor types.
3. Cleaning Procedure
Push the machine forward at a steady pace. The machine will automatically dispense cleaning solution, scrub the floor, and vacuum up the dirty water, leaving the floor dry. The 22-inch scrub path and 31.5-inch squeegee ensure efficient cleaning.
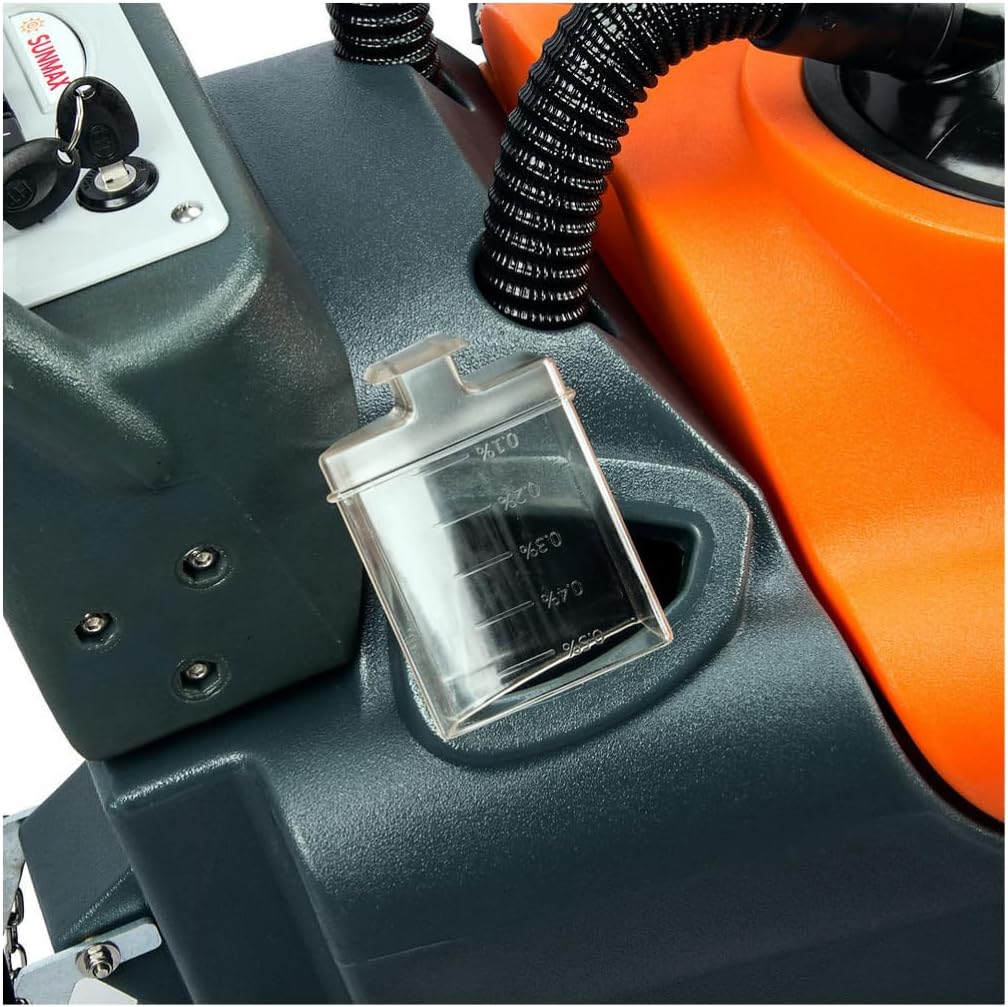
Figure 6: The RT50S is suitable for cleaning various hard floor types, including concrete, tile, linoleum, marble, epoxy, PVC, emery, and terrazzo floors.
4. Post-Operation
- Turn off the brush motor, water flow, and vacuum motor.
- Raise the squeegee assembly and brush/pad.
- Turn the key to the 'OFF' position and remove it.
Maintenance
1. Draining and Cleaning Tanks
After each use, drain the sewage tank by detaching the drain hose and emptying the wastewater. Rinse the sewage tank with clean water. Periodically drain the freshwater tank to prevent stagnant water buildup.
2. Squeegee and Brush/Pad Care
- Inspect the squeegee blades for wear or damage. Replace if necessary to ensure effective water pickup.
- Clean the brush/pad after each use to remove debris and maintain cleaning performance.
- To remove the brush/pad, depress the brush lifting pedal and move the machine slightly to the left. Rotate the brush disc counter-clockwise to detach.
- To install, align the brush disc with the motor shaft and rotate clockwise until secure.
3. Filter Maintenance
Regularly check and clean the water inlet filter and the vacuum motor filter (if applicable) to prevent clogging and maintain optimal performance.
4. Battery Charging
Connect the charger to the machine's charging port. Ensure the machine is turned off before charging. The charger indicator lights will show charging status (e.g., red for charging, green for fully charged).
Troubleshooting
| Problem | Possible Cause | Solution |
|---|---|---|
| Machine not starting | Battery low or disconnected; Power switch off; Key not inserted. | Charge battery; Connect battery; Turn on power switch; Insert key. |
| Poor water suction | Squeegee blades worn or damaged; Suction hose clogged; Sewage tank full; Vacuum motor filter clogged. | Replace squeegee blades; Clear suction hose; Empty sewage tank; Clean vacuum motor filter. |
| Ineffective scrubbing | Brush/pad worn; Incorrect brush/pad for floor type; Insufficient cleaning solution. | Replace brush/pad; Use appropriate brush/pad; Refill water tank with solution. |
| Water leakage | Loose hose connections; Damaged tank; Squeegee not properly adjusted. | Tighten connections; Inspect and repair tank; Adjust squeegee. |
Specifications
| Feature | Detail |
|---|---|
| Brand | SUNMAX |
| Model Name | RT50S |
| Product Dimensions | 45"D x 37"W x 23"H |
| Item Weight | 405 pounds |
| Scrub Path | 22 inches |
| Recovery Tank Capacity | 14.5 Gallons |
| Power Source | Battery Powered or Corded |
| Brush Motor Power | 550W |
| Brush RPM | 200 RPM |
| Efficiency | Up to 30,000 Sqft/h |
| Continuous Working Time | Up to 5 hours |
| Included Accessories | Heavy duty brush, red, black, and white burnishing pads, 2 sets of rubber squeegees. |
Warranty and Support
SUNMAX offers comprehensive support for your floor scrubber dryer.
- 2-Year Protection Plan: Available for extended coverage.
- US Local Support: Access to local customer service for assistance.
- Complete OEM Kit: Genuine replacement parts available.
- Nationwide On-site Repair: Repair services available across the nation.


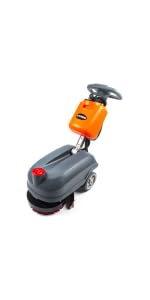
Figure 7: Visual representation of available support services.