
Bulova Clocks B1376
Bulova Clocks Model B1376 The Clearview Digital Alarm Clock User Manual
Comprehensive instructions for setup, operation, and maintenance.
Product Overview
The Bulova Clocks Model B1376 The Clearview is a versatile digital timepiece designed for both tabletop and wall-mounted use. It features a large, easy-to-read digital display, multiple alarm functions, temperature display, and sound control for display activation. This manual provides detailed instructions to help you set up and operate your new clock.
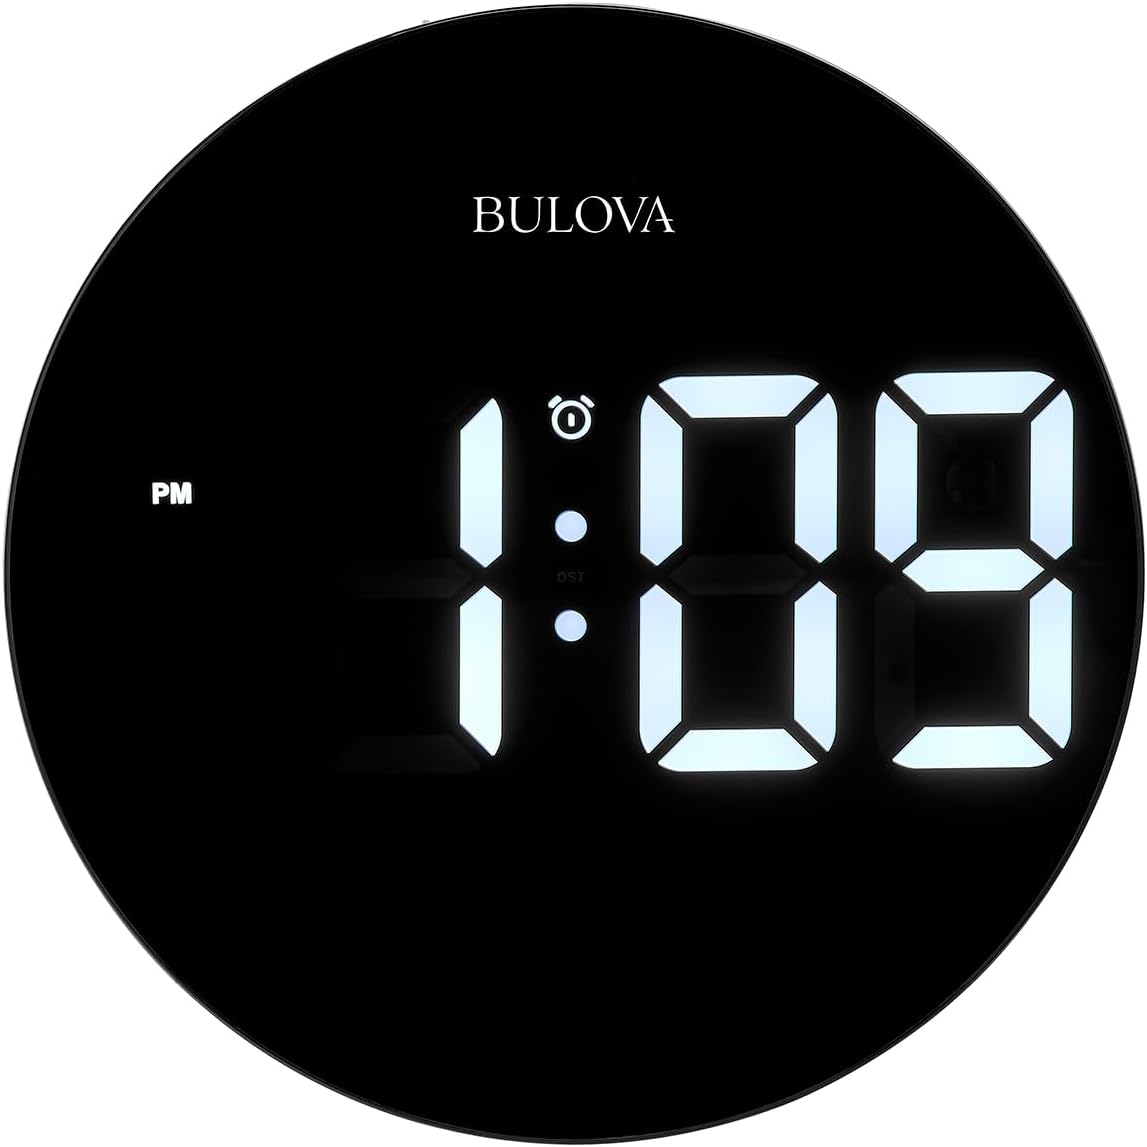
Image: Front view of the Bulova Clearview digital alarm clock, showcasing its large digital time display and sleek black design. The clock is round with bright white LED digits.
Setup
Package Contents
Before proceeding, ensure all items are present in the package:
- Bulova Clocks Model B1376 The Clearview Digital Alarm Clock
- Remote Control
- Five-foot USB Power Cable
- CR2032 Backup Battery (pre-installed or separate)
- Wall Hanger
- Table Stand (pre-attached or separate)
Powering On
- Connect the provided five-foot USB power cable to the clock's power input port.
- Plug the other end of the USB cable into a compatible USB power adapter (not included) and then into a standard electrical outlet.
- The clock display will illuminate, indicating it is powered on.
The CR2032 battery serves as a backup for time and settings during power outages and does not power the main display.
Mounting Options
The Clearview clock offers flexible placement options:
- Tabletop Use: The clock comes with a removable table stand. Ensure the stand is securely attached for stable placement on flat surfaces such as nightstands, desks, or shelves.
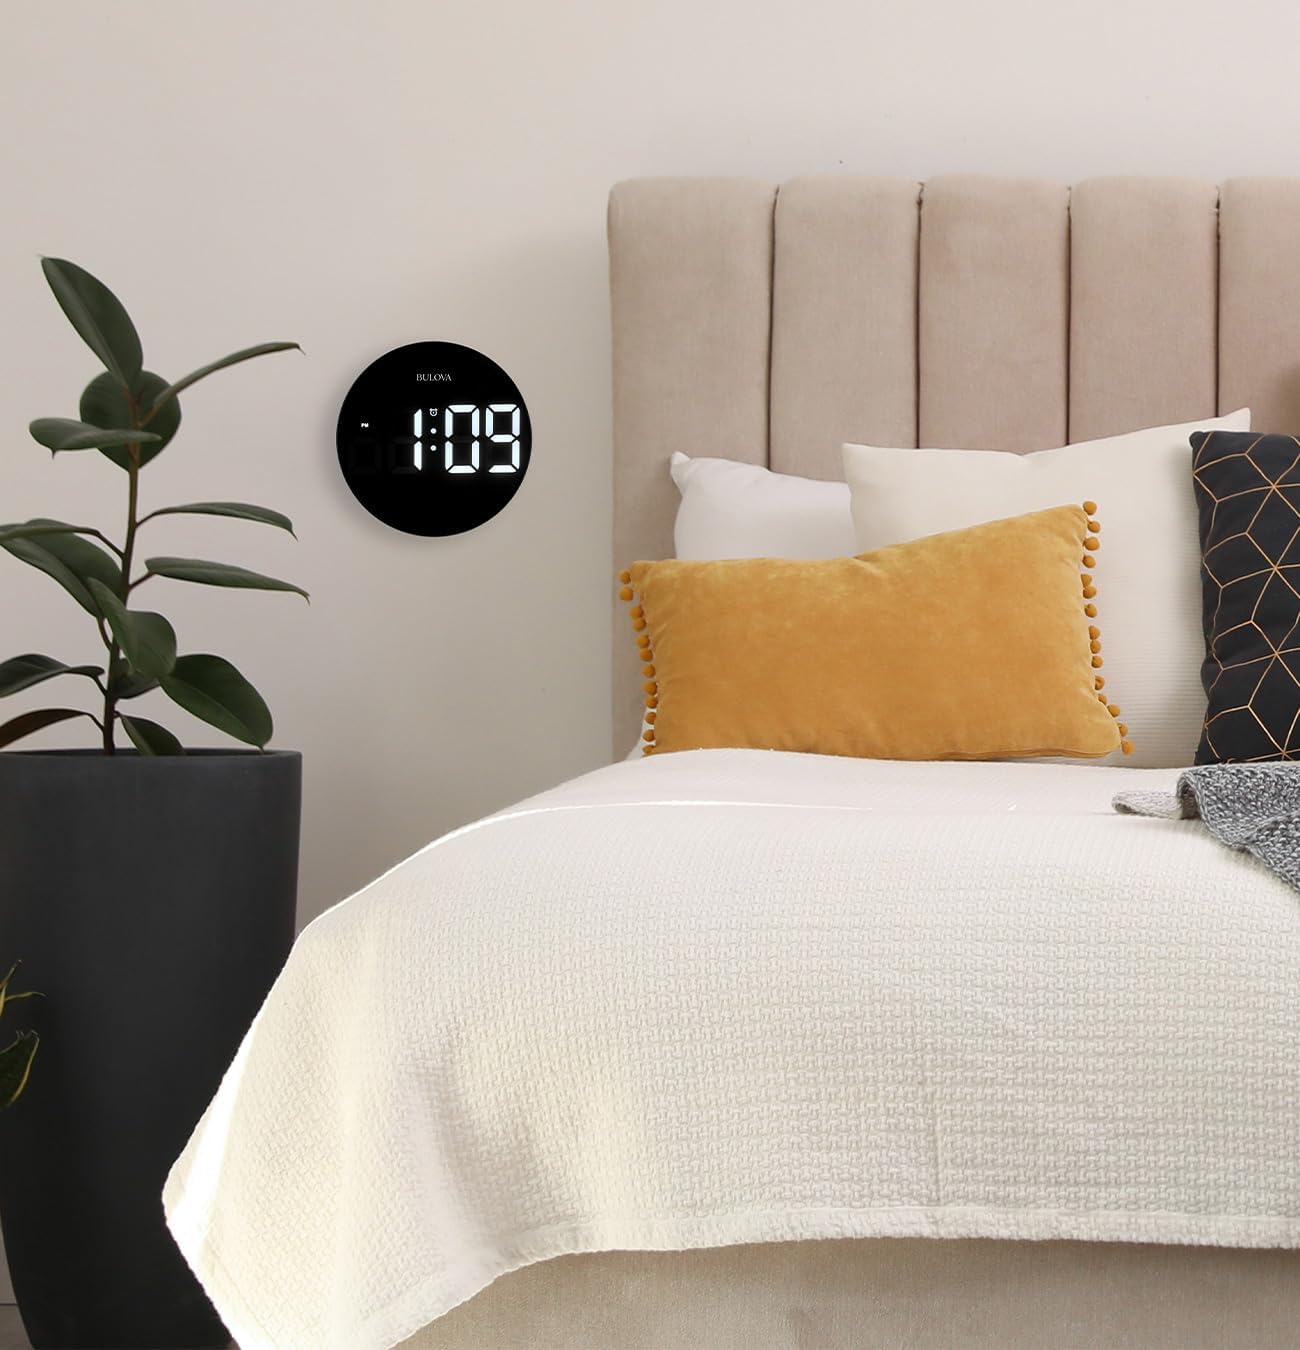
Image: The Bulova Clearview digital clock placed on a nightstand next to a bed, demonstrating its use as a tabletop alarm clock.
- Wall Mounting: To hang the clock on a wall, gently remove the table stand. Use the included wall hanger and appropriate wall anchors (not included) to secure the clock to a desired location. Ensure the power cable can reach an outlet.

Image: The Bulova Clearview digital clock mounted on a wall in a bedroom, showcasing its versatility as a wall clock.

Image: Rear view of the Bulova Clearview clock, showing the power input, control buttons (DOWN, UP, SET), and the removable table stand. The remote control is also visible next to the clock.
Operating Instructions
Setting Time and Date
Use the remote control or the buttons on the back of the clock to set the time.
- Press the SET button on the remote or the back of the clock to enter time setting mode.
- Use the UP and DOWN buttons to adjust the hour.
- Press SET again to move to minute adjustment, then use UP and DOWN.
- Continue pressing SET to cycle through other settings like 12/24-hour format, year, month, and day.
- Press SET one last time or wait a few seconds for the settings to save and exit.
The clock supports both standard 12-hour and Military (24-hour) time formats.
Alarm Functions
The clock features three independent alarms.
- Press the ALARM button on the remote to select Alarm 1, 2, or 3.
- Use the UP and DOWN buttons to set the desired alarm time.
- Press SET to confirm each segment (hour, minute).
- To activate/deactivate an alarm, press the ALARM button repeatedly until the alarm icon appears/disappears for the selected alarm.
- When an alarm sounds, it will ring steadily for up to 10 minutes. Press any button (e.g., SNOOZE on the remote) to activate the snooze function.
Brightness Adjustment
The digital display has three levels of brightness.
- Press the BRIGHTNESS button (often represented by a sun icon) on the remote to cycle through the brightness levels (High, Medium, Low).
Sound Control Setting
This feature allows the display digits to go dark for total darkness and illuminate with a sound.
- Press the SOUND CONTROL button (often represented by a speaker icon) on the remote to toggle this feature on or off.
- When active, a clap or sharp noise will temporarily illuminate the display.
Temperature Display
The clock can display the ambient temperature.
- Press the TEMP button (often represented by a thermometer icon) on the remote to switch between Fahrenheit (°F) and Celsius (°C) display.

Image: The Bulova Clearview digital clock displaying "75°F", indicating its temperature measurement capability. The large, clear digits are easily readable.
Maintenance
Cleaning
To maintain the appearance and functionality of your clock:
- Wipe the clock's surface with a soft, dry, lint-free cloth.
- Do not use abrasive cleaners, solvents, or chemical sprays, as these may damage the finish or electronic components.
- Avoid getting moisture into any openings.
Battery Replacement (Backup Battery)
The CR2032 backup battery should be replaced when the clock fails to retain time during a power outage.
- Locate the battery compartment on the back of the clock.
- Open the compartment cover.
- Remove the old CR2032 battery and dispose of it properly.
- Insert a new CR2032 battery, ensuring the correct polarity (+/-).
- Close the battery compartment cover securely.
Note: The main power source for the clock is the USB power cable. The CR2032 battery is for backup only.
Troubleshooting
| Problem | Possible Cause | Solution |
|---|---|---|
| Clock display is off. | No power; Sound control activated. | Ensure USB cable is securely connected and power adapter is plugged in. Deactivate sound control feature via remote. |
| Remote control not working. | Remote battery low/dead; Obstruction between remote and clock. | Replace remote battery. Ensure clear line of sight to the clock's sensor. |
| Alarm does not sound. | Alarm not activated; Volume too low (if applicable). | Verify alarm is set and activated (alarm icon visible). (Note: This model has a fixed beep alarm, no volume control). |
| Time/settings lost after power outage. | CR2032 backup battery is dead or missing. | Replace the CR2032 backup battery. |
Specifications
- Brand: Bulova Clocks
- Model: B1376 The Clearview
- Color: Black
- Display Type: Digital
- Style: Modern
- Special Features: Adjustable Brightness, Alarm, Calendar Display, Large Display, Snooze, Sound Control
- Product Dimensions: 9"W x 9"H
- Power Source: Corded Electric (USB power cable)
- Backup Battery: CR2032 (required, not included for main power)
- Mounting Type: Tabletop or Wall Mount
- Item Weight: Approximately 2 Pounds
- Operation Mode: Electrical
- Manufacturer: Bulova
- UPC: 042429598324
- ASIN: B0CVCGWVLZ
Warranty and Support
For information regarding product warranty, please refer to the warranty card included with your purchase or visit the official Bulova Clocks website. For technical support or further assistance, please contact Bulova customer service through the contact information provided on their official website or the product packaging.
Keep your purchase receipt as proof of purchase for warranty claims.
Related documentsB1376

Ask a question about this manual
Ask about setup, troubleshooting, compatibility, parts, safety, or missing instructions. Manuals+ will review the question and use this page’s manual context to help answer it.