
1. Introduction
Thank you for choosing the GUTINNEEN Mobile Chicken Coop AIR96-J. This manual provides essential information for the safe assembly, operation, and maintenance of your new chicken coop. Please read all instructions carefully before beginning assembly and retain this manual for future reference.
2. Safety Instructions
- Always assemble the coop on a flat, stable surface.
- Ensure all screws and fasteners are securely tightened before use. Regularly check for loose parts.
- Keep children and pets away from the assembly area to prevent injury.
- When moving the coop, ensure the path is clear and stable. Exercise caution to prevent tipping.
- This coop is designed for chickens and similar small poultry. Do not use it for other animals or purposes.
- Protect the coop from extreme weather conditions to prolong its lifespan and ensure animal safety.
3. Package Contents
Verify that all components are present before beginning assembly. If any parts are missing or damaged, please contact GUTINNEEN customer support.
- Wooden panels for walls, roof, and floor
- Metal wheels and axles
- Nesting box components
- Pull-out tray
- Ramp
- Hardware pack (screws, bolts, latches, hinges)
- Assembly instructions (this manual)
4. Setup and Assembly
Follow these general steps for assembling your chicken coop. Refer to the included diagrams for specific part identification.
- Prepare the Base: Assemble the main floor frame. Attach the support legs securely.
- Install Wheels: Attach the metal wheels to the designated points on the base frame. Ensure they are firmly secured for mobility.
- Construct Walls: Erect the side and back wall panels, securing them to the base and to each other using the provided hardware.
- Add Front Panel and Doors: Install the front panel, including any integrated doors or windows. Attach hinges and latches for all access points.
- Assemble Nesting Box: Construct the nesting box according to the diagrams and attach it to the main coop structure. Ensure the lid opens and closes smoothly.
- Install Roof: Place the asphalt roof panels onto the coop structure, ensuring a weather-tight seal. Secure them with the appropriate fasteners.
- Insert Pull-Out Tray: Slide the metal pull-out tray into its designated slot beneath the main living area.
- Attach Ramp: Secure the ramp to allow chickens access between the ground and the coop entrance.
- Final Check: Inspect all connections to ensure they are tight and stable. Confirm all doors and latches function correctly.

Image: Structural Reinforcement. A diagram illustrating the structural integrity of the coop, featuring strong iron frames at all edges for enhanced durability and stability during assembly and use.

Image: Roof and Nest Box Construction. This image compares the weather-proof asphalt roof and reinforced nesting box construction of the GUTINNEEN coop with typical designs, emphasizing superior durability and ease of assembly.
5. Operating Instructions
5.1 Moving the Coop
The GUTINNEEN Mobile Chicken Coop is equipped with durable 8.1-inch metal wheels for easy relocation.
- To move, gently lift the non-wheeled end of the coop and push or pull it to the desired location.
- Ensure the path is clear of obstacles and the ground is relatively even to prevent damage or tipping.
- Always move the coop slowly and deliberately.
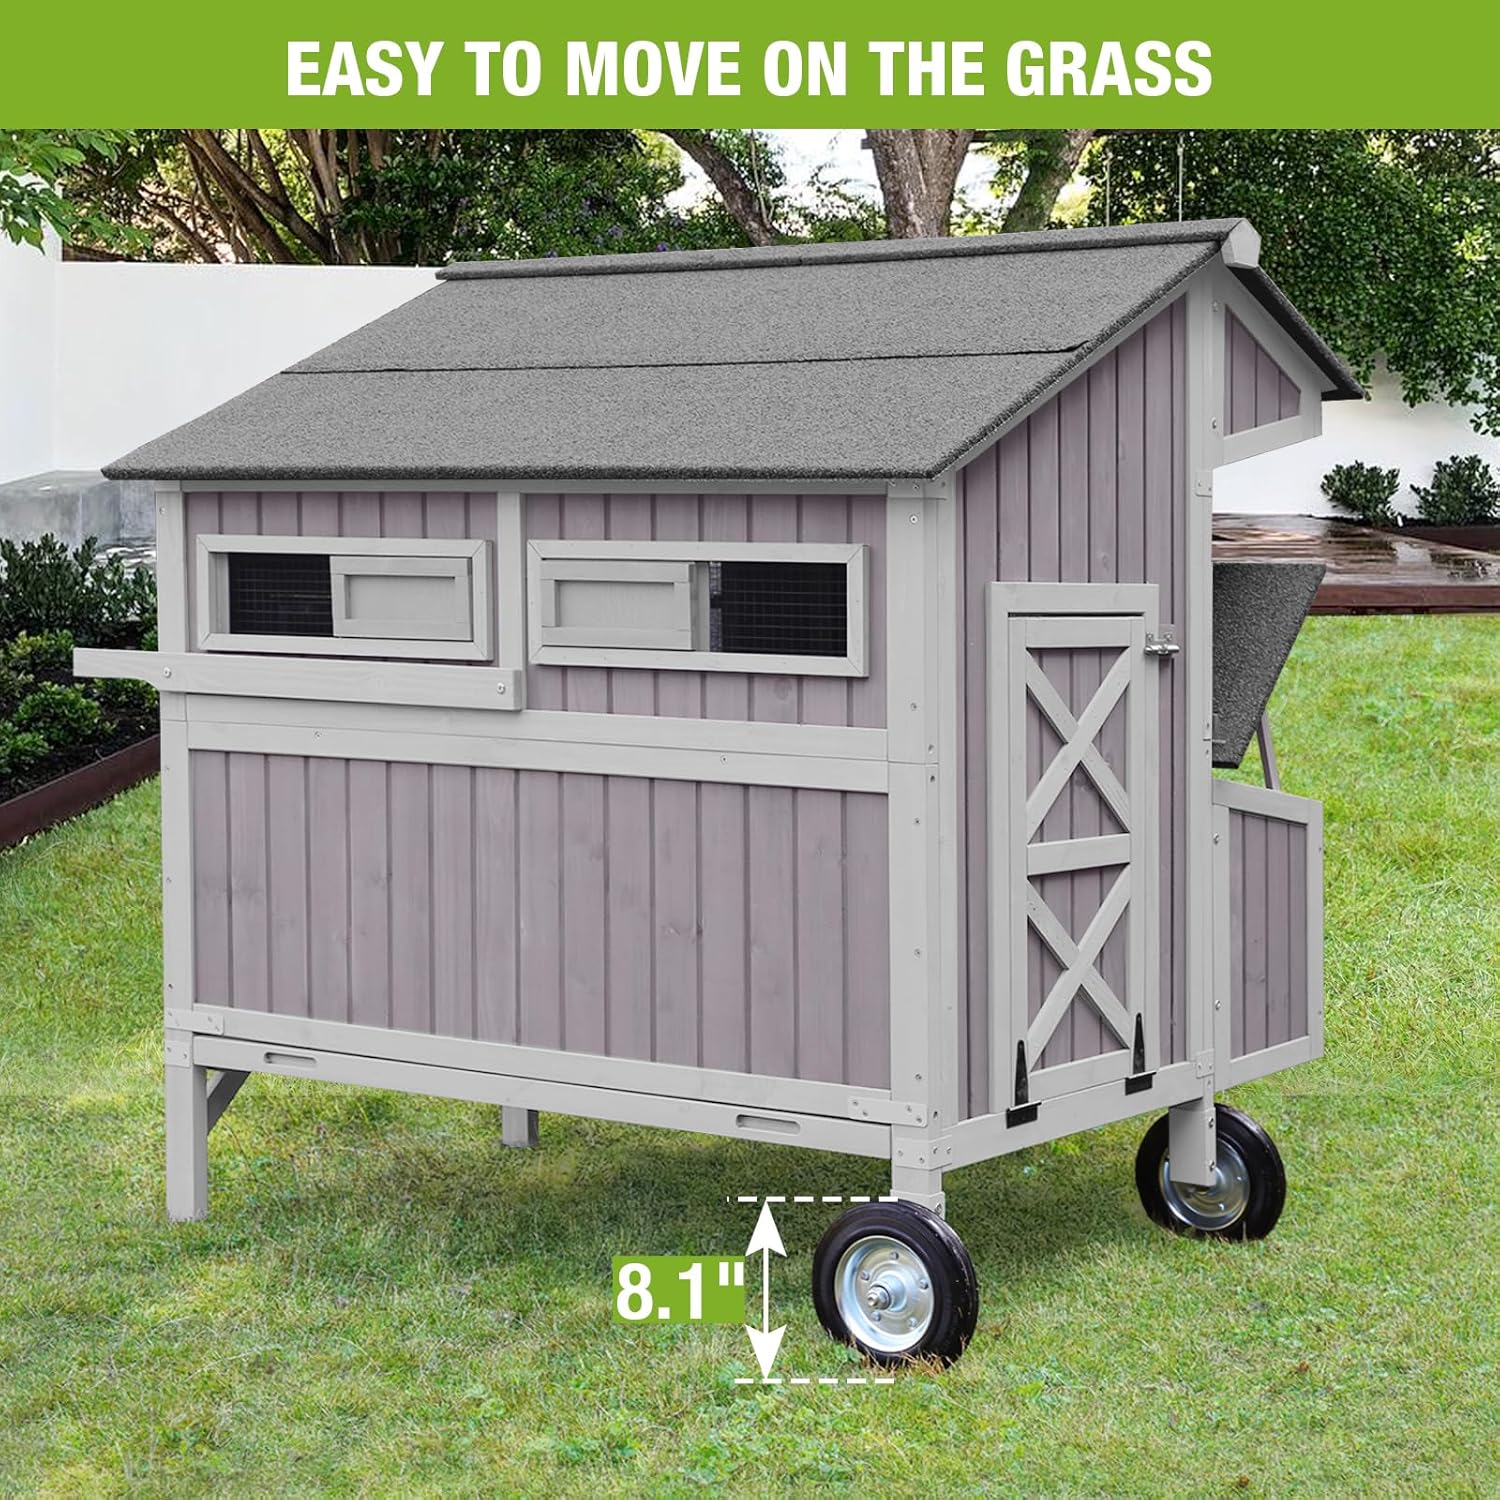
Image: Movable Wheels. This image highlights the durable 8.1-inch metal wheels, designed for easy movement of the coop across grass and uneven terrain.
5.2 Accessing the Coop
The coop features multiple access points for convenience:
- Main Entrance: The ramp provides access for chickens to enter and exit the main living area.
- Side Door: A secure side door allows for easy access to the interior for cleaning or tending to your flock.
- Nesting Box Lid: The hinged lid on the nesting box provides convenient access for egg collection.

Image: Access Areas and Dimensions. A detailed diagram outlining the spacious interior and exterior dimensions of the coop, indicating capacity for 4-5 adult chickens and three access areas for user convenience.
6. Maintenance
6.1 Cleaning the Pull-Out Tray
The integrated pull-out tray simplifies cleaning of the main living area.
- Regularly slide out the metal tray from the side of the coop.
- Empty and clean the tray with water and a mild, pet-safe disinfectant.
- Ensure the tray is completely dry before sliding it back into place.

Image: Pull-Out Tray for Cleaning. An interior view demonstrating the comfortable sleeping area and the convenient pull-out tray for easy cleaning and maintenance, ensuring a hygienic environment for your poultry.
6.2 General Maintenance
- Regular Inspection: Periodically check the coop for any signs of wear, damage, or loose components. Tighten screws as needed.
- Weather Protection: While the asphalt roof provides weather resistance, consider additional protection in extreme conditions (e.g., heavy snow, prolonged rain) to extend the coop's lifespan.
- Wood Treatment: The natural wood is coated with water-based paint. Reapply a pet-safe, non-toxic wood sealant or paint periodically to maintain weather resistance.
- Ventilation: Ensure ventilation openings remain clear to provide adequate airflow for your chickens.
7. Troubleshooting
- Difficulty Moving Coop: Ensure wheels are free of debris. Check that the ground surface is not excessively soft or uneven.
- Doors/Latches Sticking: Apply a small amount of lubricant to hinges and latches if they become stiff. Ensure no wood swelling is obstructing movement.
- Water Leakage: Inspect the asphalt roof for any damage or gaps. Ensure all roof panels are securely fastened.
- Unstable Structure: Re-check all assembly screws and bolts. Tighten any loose connections. Ensure the coop is on a level surface.
8. Specifications
- Model: AIR96-J
- Brand: GUTINNEEN
- Overall Dimensions (L x W x H): 48.58" x 37.6" x 51.22"
- Material: 100% Solid Fir Wood, Asphalt Roof
- Capacity: Suitable for 4-5 adult chickens
- Special Features: Movable 8.1" metal wheels, Large nesting box, Pull-out cleaning tray, Weather-resistant asphalt roof, Multiple access points.
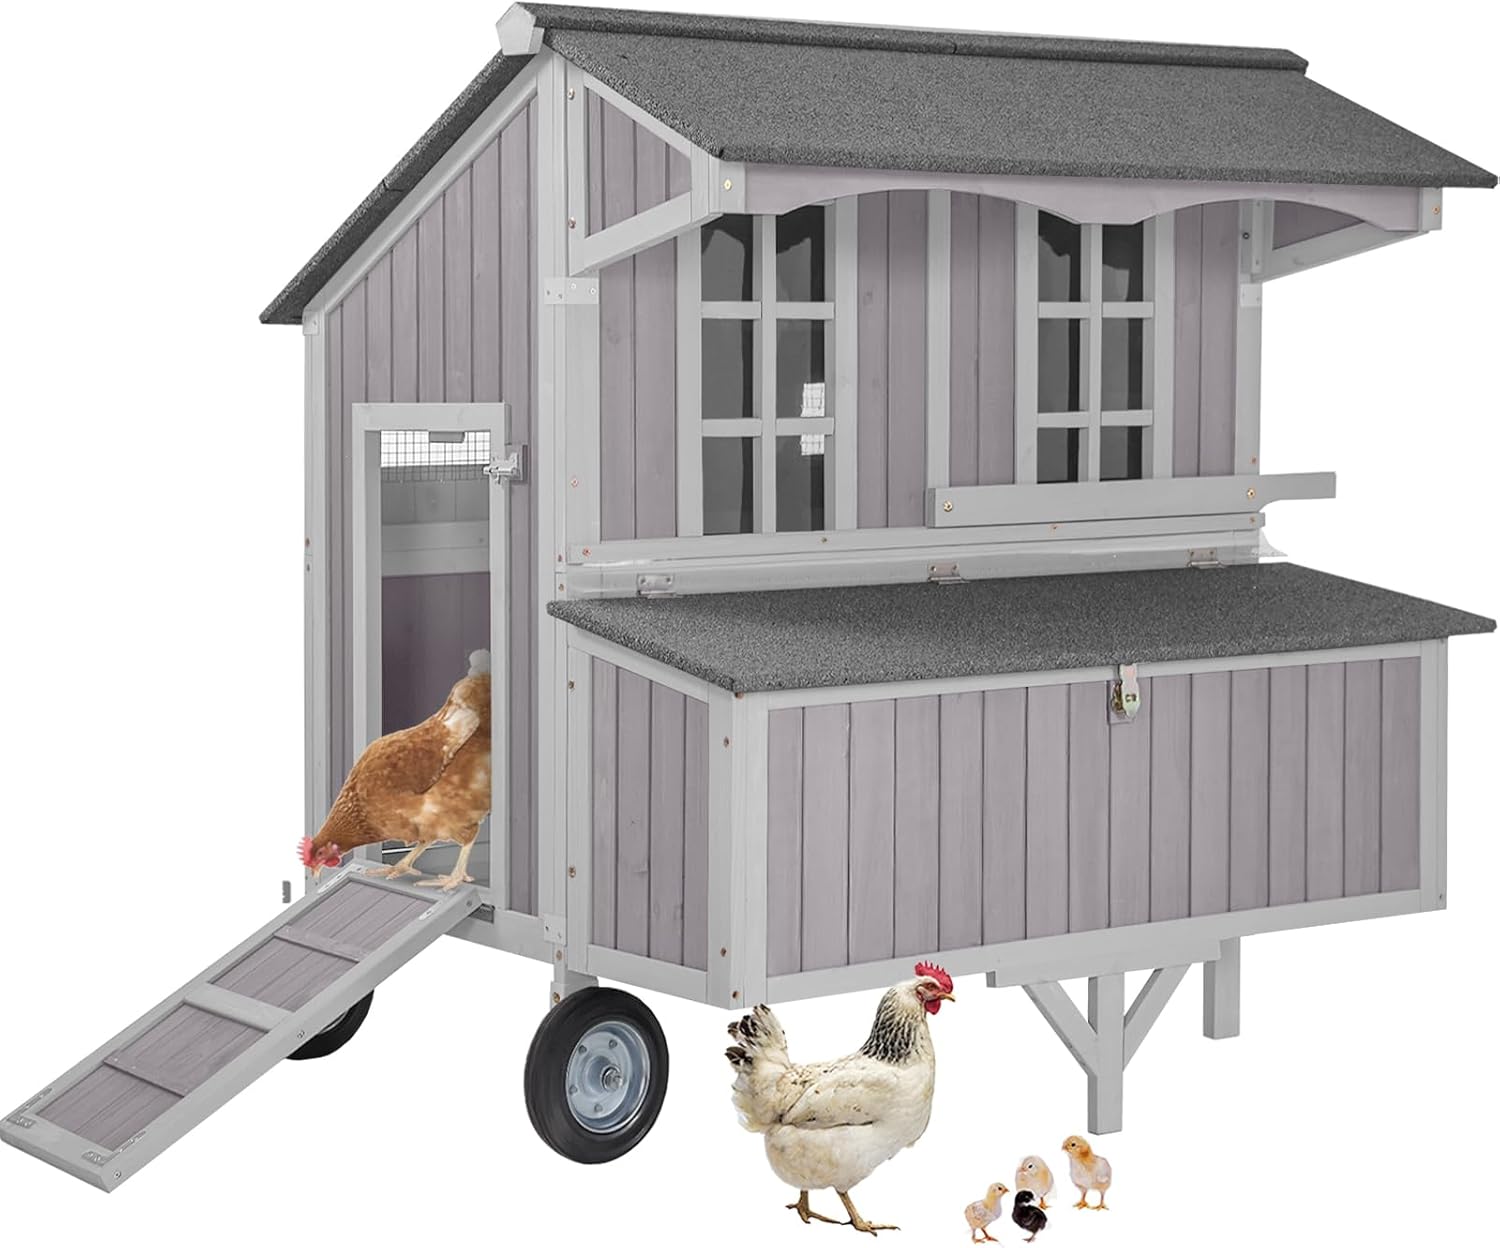
Image: GUTINNEEN Mobile Chicken Coop. An overview of the GUTINNEEN Mobile Chicken Coop, showcasing its design, ramp, and wheels, with chickens and chicks around it, illustrating its intended use.
9. Warranty and Support
For warranty information or technical support, please refer to the purchase documentation or contact GUTINNEEN customer service directly. Keep your proof of purchase for any warranty claims.
10. Official Product Videos
No official seller-created videos were found in the provided product data for embedding in this manual.