1. Introduction
Thank you for choosing the Homix Solo Digital Microwave Oven, Model 67185. This manual provides essential information for the safe and efficient operation, maintenance, and troubleshooting of your new appliance. Please read these instructions thoroughly before use and retain them for future reference.
2. Important Safety Instructions
- Do not attempt to operate this oven with the door open as this can result in harmful exposure to microwave energy.
- Do not place any object between the oven front face and the door or allow soil or cleaner residue to accumulate on sealing surfaces.
- Do not operate the oven if it is damaged. It is particularly important that the oven door closes properly and that there is no damage to the: (1) door (bent), (2) hinges and latches (broken or loosened), (3) door seals and sealing surfaces.
- The oven should not be adjusted or repaired by anyone except properly qualified service personnel.
- Always use microwave-safe cookware. Metallic containers for food and beverages are not allowed during microwave cooking.
- Liquids or other foods must not be heated in sealed containers since they are liable to explode.
- This appliance is intended for household use only.
3. Product Overview
Familiarize yourself with the components of your Homix microwave oven.
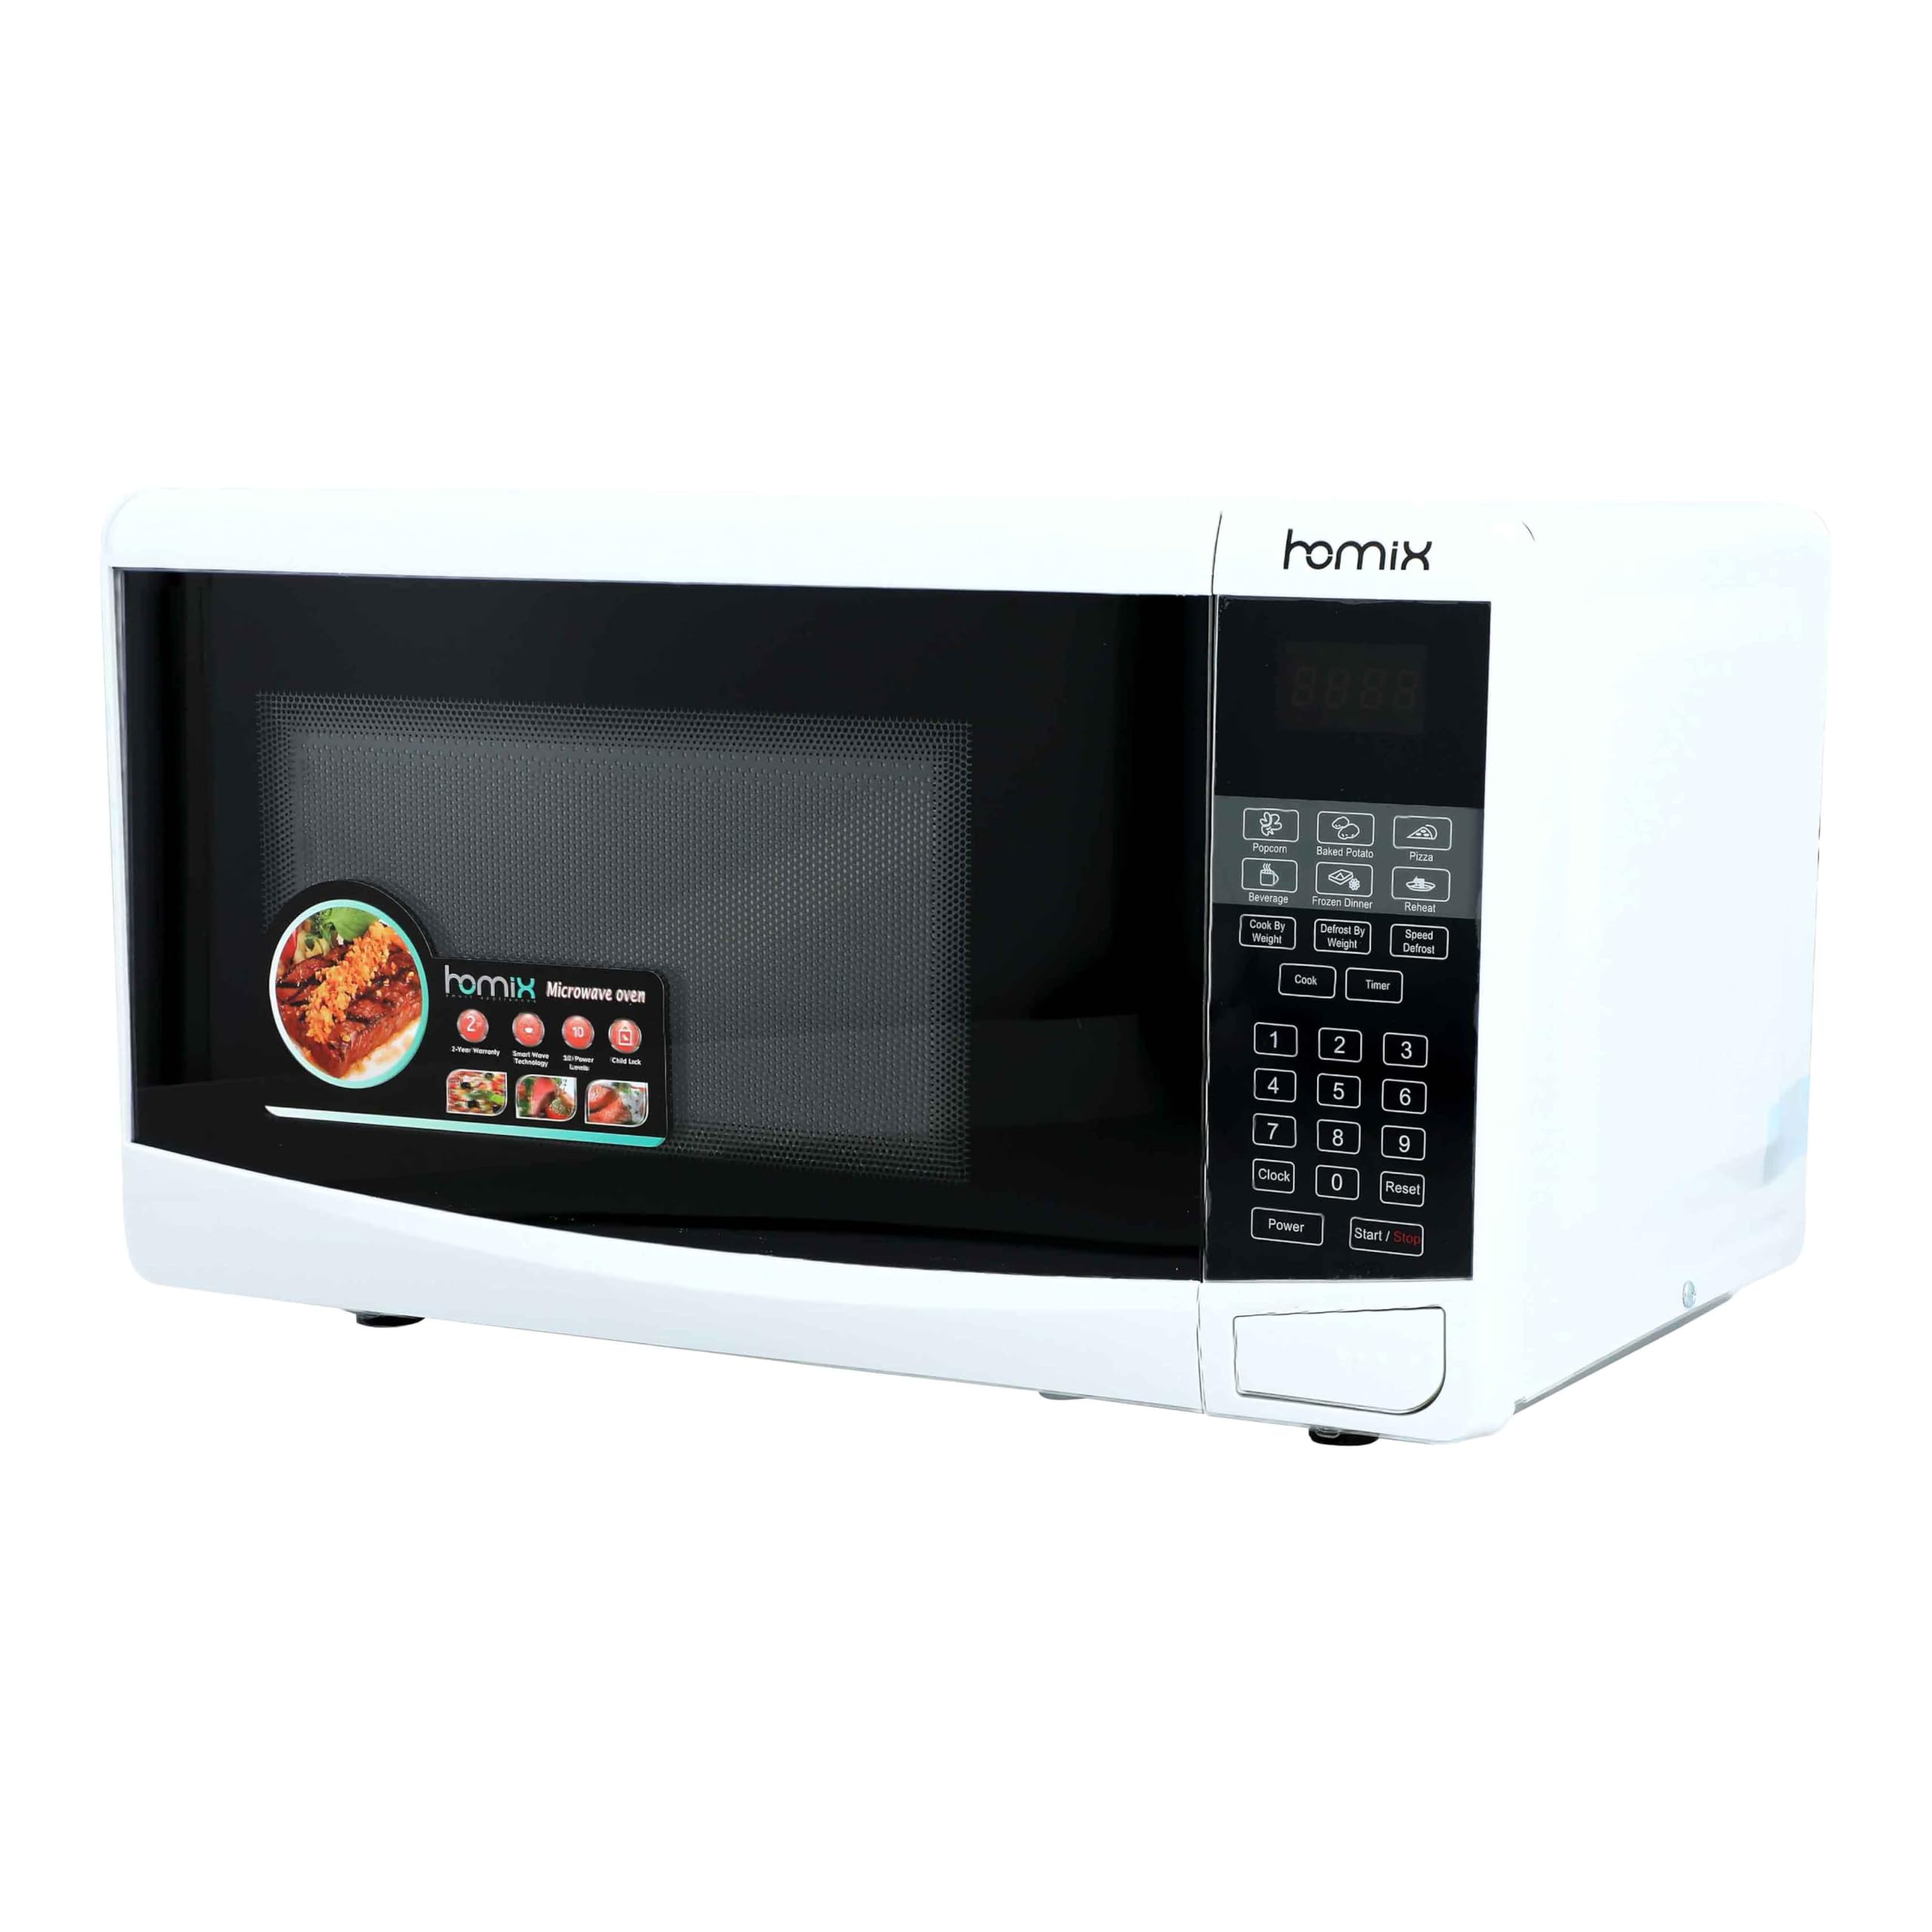
Control Panel Functions
The digital control panel allows for easy selection of cooking functions and settings.
- Digital Display: Shows cooking time, power level, and various indicators.
- Pre-set Functions: Buttons for common food items like Popcorn, Baked Potato, Pizza, Beverage, Frozen Dinner, and Reheat.
- Cook By Weight: Allows cooking based on the weight of the food.
- Defrost By Weight: Allows defrosting based on the weight of the food.
- Speed Defrost: Quick defrosting option.
- Cook: Initiates manual cooking settings.
- Timer: Sets a countdown timer.
- Number Pad (1-9, 0): For entering time, weight, or other numerical values.
- Clock: Sets the current time.
- Reset: Clears current settings.
- Power: Selects the microwave power level.
- Start /: Starts the cooking process or adds 30 seconds.
- Child Lock: Feature to prevent unintended operation.
4. Setup
Unpacking
- Remove all packaging materials from inside and outside the oven.
- Check the oven for any damage, such as a misaligned or bent door, damaged door seals and sealing surface, broken or loose door hinges and latches, or dents inside the cavity or on the door. If there is any damage, do not operate the oven and contact customer support.
Placement
- Place the microwave oven on a flat, stable surface that can support its weight and the heaviest food item likely to be cooked in the oven.
- Ensure adequate ventilation. Leave a minimum of 20 cm (8 inches) of space above the oven, 10 cm (4 inches) at the rear, and 5 cm (2 inches) on each side for proper airflow.
- Do not block air vents.
- Keep the oven away from heat sources and strong magnetic fields.
Power Connection
- Plug the power cord into a properly grounded electrical outlet. Ensure the voltage matches the specifications of the oven.
- Do not use extension cords or adapters.
5. Operating Instructions
Setting the Clock
- Press the Clock button.
- Use the number pad to enter the current time (e.g., 12:30).
- Press the Clock button again to confirm.
Basic Microwave Cooking
- Place food in a microwave-safe container inside the oven.
- Close the door firmly.
- Press the Power button repeatedly to select the desired power level (e.g., P100 for 100% power, P80 for 80% power).
- Use the number pad to enter the desired cooking time.
- Press the Start / button to begin cooking.
Using Pre-set Functions
The oven features convenient pre-set functions for common food items:
- Popcorn: For cooking popcorn.
- Baked Potato: For baking potatoes.
- Pizza: For reheating or cooking pizza.
- Beverage: For heating drinks.
- Frozen Dinner: For cooking frozen meals.
- Reheat: For reheating various dishes.
To use a pre-set function:
- Place the food in the oven.
- Press the corresponding pre-set function button (e.g., Popcorn).
- The oven will automatically set the time and power. Press Start / to begin.
Defrosting
Your microwave offers two defrosting options:
- Defrost By Weight:
- Press the Defrost By Weight button.
- Enter the weight of the food using the number pad.
- Press Start /.
- Speed Defrost:
- Press the Speed Defrost button.
- Enter the desired defrosting time.
- Press Start /.
Using the Timer
- Press the Timer button.
- Enter the desired countdown time using the number pad.
- Press Start /. The timer will count down without microwave operation.
Child Lock Function
To activate the Child Lock:
- Press and hold the Reset button for 3 seconds. A lock indicator will appear on the display.
To deactivate the Child Lock:
- Press and hold the Reset button for 3 seconds. The lock indicator will disappear.
6. Maintenance and Cleaning
Regular cleaning helps maintain the performance and longevity of your microwave oven.
- Interior: Wipe the interior cavity after each use with a damp cloth and mild detergent. For stubborn stains, place a bowl of water with lemon juice inside and microwave for 2-3 minutes, then wipe clean.
- Exterior: Clean the exterior surface with a soft, damp cloth. Avoid abrasive cleaners.
- Door Seals: Keep the door seals and sealing surfaces clean to ensure proper door closure.
- Turntable: The glass turntable and roller ring can be removed and washed in warm soapy water or a dishwasher. Ensure they are completely dry before placing them back in the oven.
- Always unplug the oven before cleaning.
7. Troubleshooting
If you encounter issues with your microwave, refer to the following common problems and solutions:
| Problem | Possible Cause | Solution |
|---|---|---|
| Oven does not start | Power cord not plugged in; Door not closed properly; Fuse blown or circuit breaker tripped. | Ensure plug is firmly in outlet; Close door securely; Check household fuse/circuit breaker. |
| Food not heating | Incorrect cooking time/power level set; Microwave-safe cookware not used. | Adjust time/power; Use appropriate cookware. |
| Turntable not rotating | Turntable or roller ring not correctly placed; Debris under turntable. | Re-position turntable and roller ring; Clean under turntable. |
| Unusual noises during operation | Food container touching oven walls; Turntable not centered. | Adjust food container position; Re-center turntable. |
If the problem persists after trying these solutions, please contact Homix customer support.
8. Specifications
| Feature | Specification |
|---|---|
| Brand | Homix |
| Model Number | 67185 |
| Type | Solo Digital Microwave Oven |
| Power Output | 700 Watts |
| Capacity | 17 Liters |
| Color | White |
| Product Dimensions (D x W x H) | 48.2 cm x 38.4 cm x 29.6 cm |
| Item Weight | 10.6 kg |
| Control Type | Button |
| Installation Type | Countertop |
| Special Features | Timer, Pre-set Food Functions, Child Lock |
| Included Components | Microwave Oven |
9. Warranty and Support
The Homix Solo Digital Microwave Oven, Model 67185, comes with a 2-year warranty from the date of purchase, covering manufacturing defects under normal household use. Please retain your proof of purchase for warranty claims.
For technical support, service, or warranty inquiries, please contact Homix customer service through the retailer where the product was purchased or refer to the official Homix website for contact information.